
Introduction to Inkscape laser cutting
Inksacpe laser cutting stands for setting up G code for the CNC or laser cutting machine for having cutting of your desired shapes, text, or any logo. You can set parameters for making your desired object ready for laser cutting operation in Inkscape. Here in this article, we will understand how a text as well as we have a logo can make ready for laser cutting. For having our result we will use some important options and features of Menus of the menu bar of Inkscape. So let us analyze how we can create G code for cutting your drawn object?
Laser cutting with Inkscape
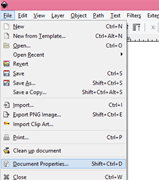
The very first thing you have to do is set the size of the document the same as the cutting material of the Laser cutting machine. For this purpose, go to the File menu bar and click on it. A drop-down list will be open, choose the Document properties option from the list or press Shift + Ctrl + D as keyboard entry which works as a short cut key for it.
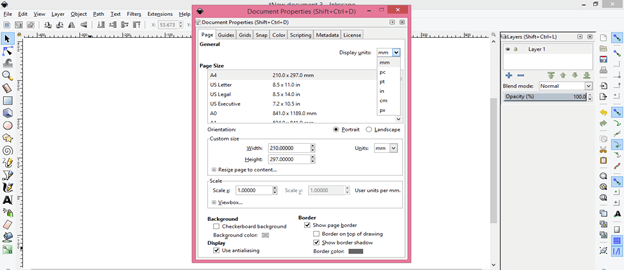
A document Properties settings dialog box will be open once you click on this option. Here in this box choose display units according to your drawn object’s unit. I will set it as mm.
Now set the Height and width of the document in the Custom size panel of this dialog box. I will set is like 200 x 200 mm.
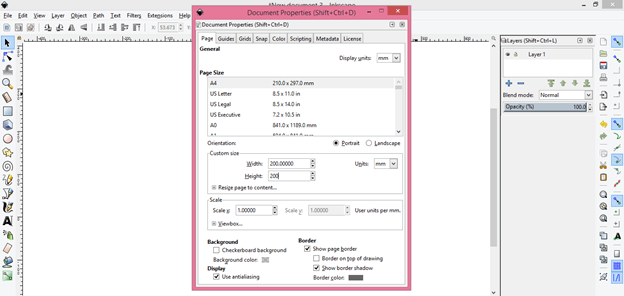
Make sure unit of the size of the document should the same as the display unit for proper management.
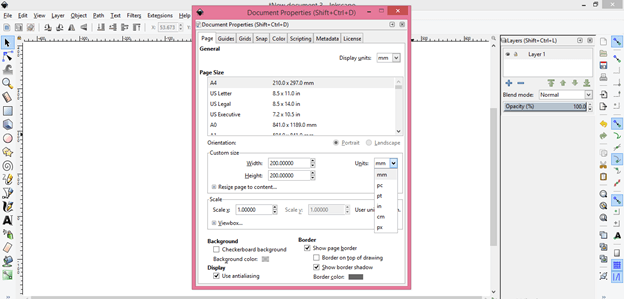
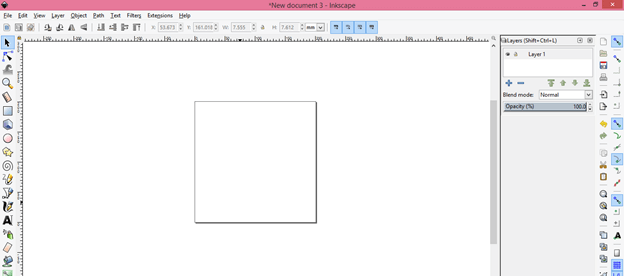
This is our desired size of the document.
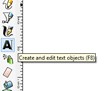
Now take text tool from tool panel which is at the left side of the working screen or you can press F8 functional key of the keyboard.
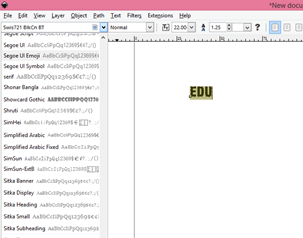
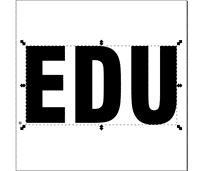
Now choose your desired font style from the list of font styles. I will type EDU as my text which is the first three letters of your official name which is eduCBA.
Now take the selection tool from the tool panel and lock this icon so that when we resize this text the ratio of width and height of text remains the same.

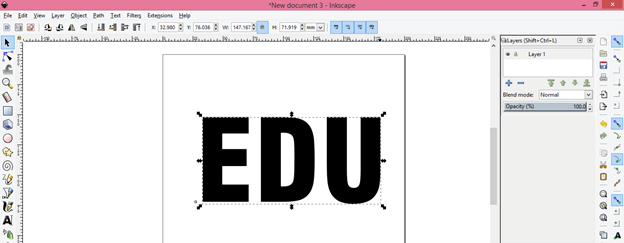
Now resize it according to your requirement. I will resize it like this.
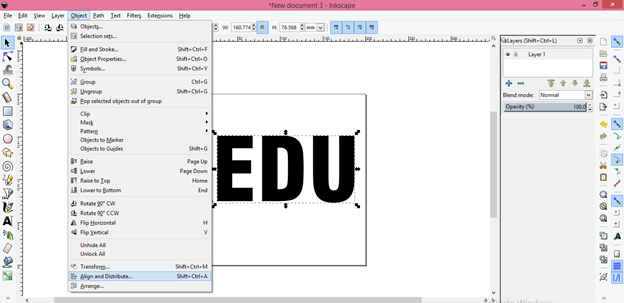
Let us align this text at the center of the page. So for that, we need aligns tab. Now go to the object menu of the menu bar which is at the top of the working screen and click on it. A scroll-down list will be open and at the bottom of this list, you will find Align and Distribution tab. So click on this option.
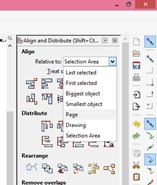
Choose Page option in ‘Relative to’ option of the panel of Align tab so that our selection aligns to page.
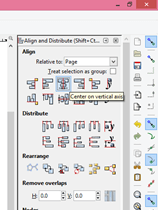
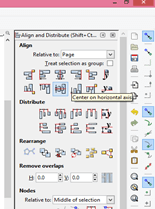
Now click on the ‘Center on vertical axis’ option to align it vertically then click on the ‘Center on horizontal axis’ option to align it horizontally.
And it will align at the center of the page like this.
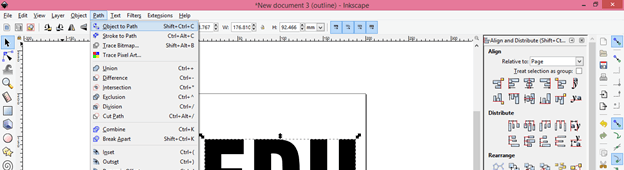
Now go to the Path menu of the menu bar and click on it then click on the ‘Path to object’ option for converting this text into the path. You can also press Shift + Ctrl + C for this purpose.
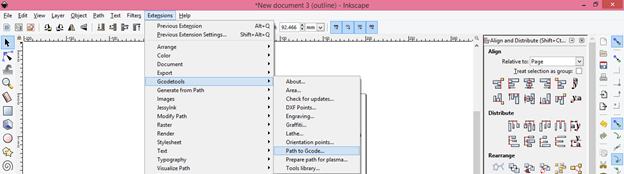
Now let us generate G code. For this go to the Extensions menu of the menu bar and click on it. Go to Gcodetools option of drop-down list then click on ‘Path to Gcode’ option of the new drop-down list.
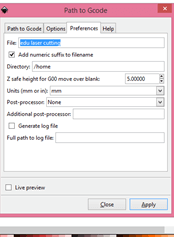
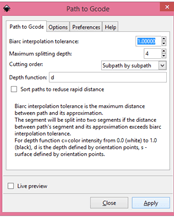
Here a new tab will be open like this and in the Preference tab of this new tab you can name your file as per your choice. I will name it edu laser cutting.
Now come to the ‘Path to Gcode’ tab of this dialog box and click on Apply tab which is at the button of this dialog box.
Now a pop-up window will open like this make click on the Ok button of this window.
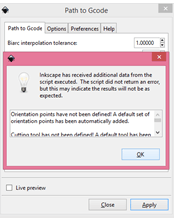
This way you can create G code for laser cutting machines. Inkscape generates this Code automatically which has the Off and ON option code for laser.
Now let us tell you how can u use logo for this purpose. Go to open option of Fill menu or press Ctrl + O as short cut key.
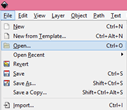
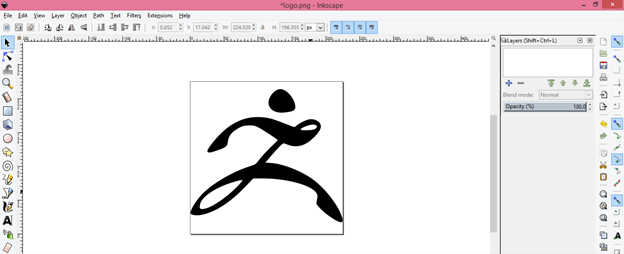
And choose Png or Jpeg file of your desired logo from its saved location. I will choose this one.
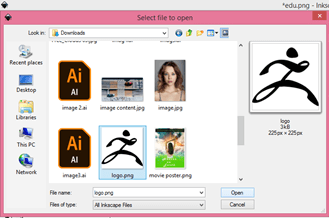
This is PNG file but not transparent.
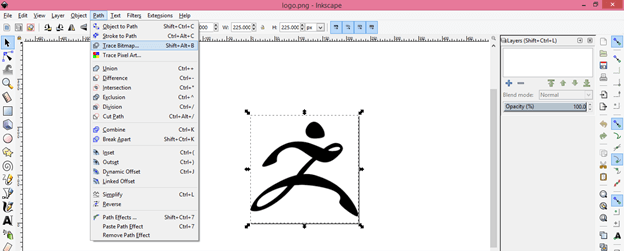
Now we will convert it into vector file format because it is rasterize format. So select this logo and go to Path menu of menu bar and click on Trace Bitmap option or press Shift + Alt + B as short cut key.
Enable ‘Remove background’ option so that our traced object has transparent background.
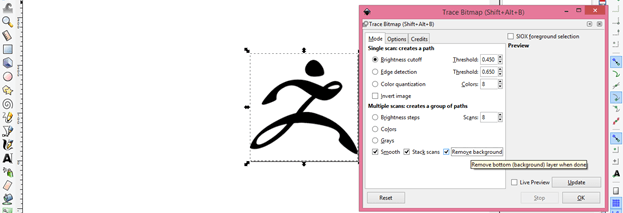
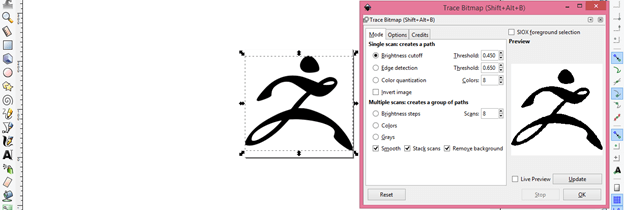
You can see preview or you traces object by click on Ok button or Live preview button of this dialog box. Here in this box set Threshold value according to how much accuracy you want in traced object and once you are satisfied click on OK button of this dialog box and close this dialog box.
You can move your traces object to see the difference between both of the images.
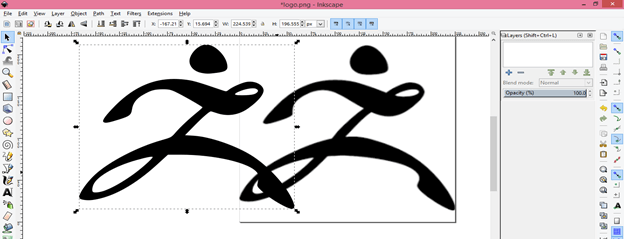
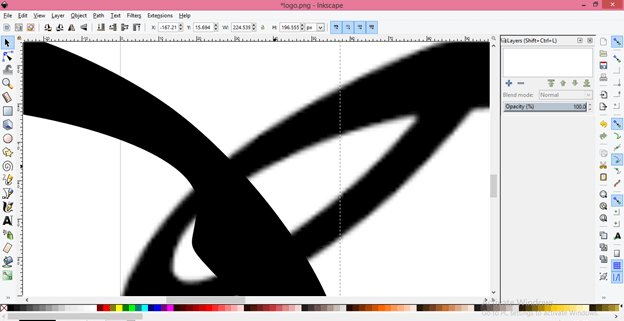
When you zoom out it, you can understand raster and vector object difference. Vector object will not pixelate and raster will pixelate.
Now after having vector object and set document size according to material of which will cut through laser cutter.
After this follow all the steps for getting G-code as we did above in the text case.
This way you can create an object, logo, or text for getting ready for laser cutting. Make sure the black and white color of the object will give you the best result. You can also change the generated G code if you know coding for deciding On and Off position of the laser.
Conclusion
It was our best try to giving you a lot of information about laser cutting in Inkscape through which you can create objects like key chains, engraved text for a different purpose, and many other things. Now you can try it for your own work and see its result for having cutting of your desired object.
Recommended Articles
This is a guide to Inkscape laser cutting. Here we discuss the laser cutting in Inkscape through which you can create objects like key chain, engraved text for different purpose. You may also have a look at the following articles to learn more –
