Introduction to Inkscape Curved Text
Inkscape curved text is a style through which you can set any text on curved path for making an effective typographical arrangement with it and for having a curved text we will go through many tools and features of Inkscape software which we will find on the user interface of this tool. We can also edit that curve text for having change in the shape of curved path. So today we will explain this technique of Inkscpace software through two ways and edit them according to our need. So let us start our discussion about this topic.
How to Create Curved Text in Inkscape?
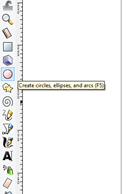
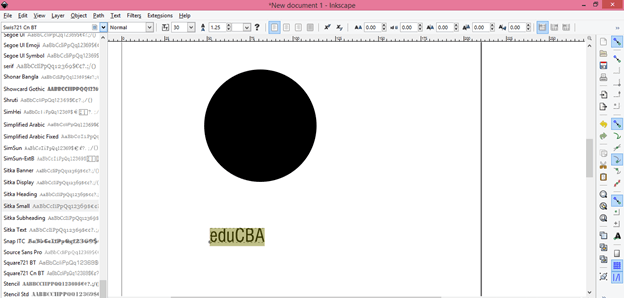
Creating curved text in Inkscape is not very big deal we just have good knowledge of doing this in proper way. The very first thing which you have to do is take an Circle or Ellipse tool from tool panel which is at the left side of user interface for making a circle which will be curve path for out text. You can press F5 as short cut key of this tool or directly take it from tool panel by clicking on its icon.
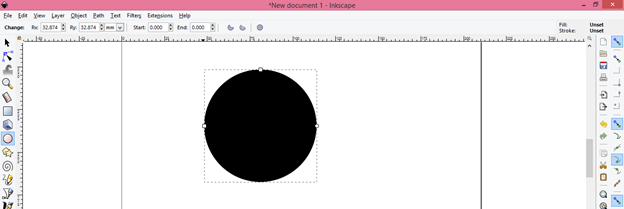
Now hold shift and Ctrl key of keyboard for drawing a circle like this. You can draw an ellipse for having curved path of your text. It totally depends on you which path you want to take.
Now again navigate to tool panel and take Text tool from the list of tools or hit F8 of keyboard for having this tool active.
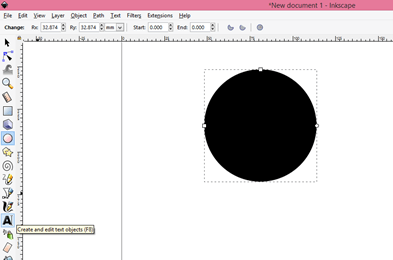
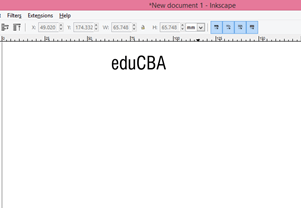
Now choose text style for your text according to you and then set size of text also from properties panel of text tool which is below to Menu bar. I will type eduCBA as my text which is our official name. You can type any other text.
Now take Select tool from tool panel or for quick switch to this tool you can press F1 key of keyboard.
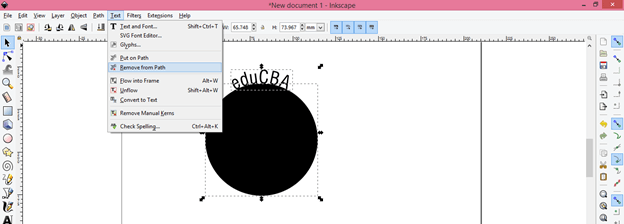
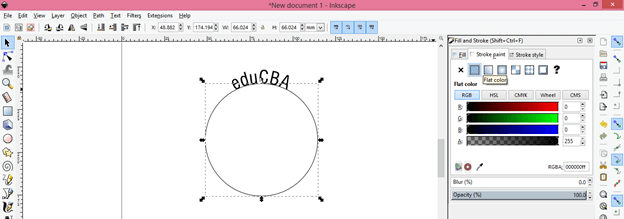
And hold Shift key of keyboard then select both text and circle by clicking on them one by one. Now go to Text menu of menu bar which is at the top of the user interface of this tool and click on it. Click on ‘Put on Path’ option of scroll down list of this menu.

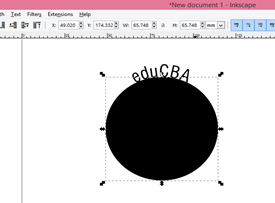
Now you selected text will wrap around this circle like this.
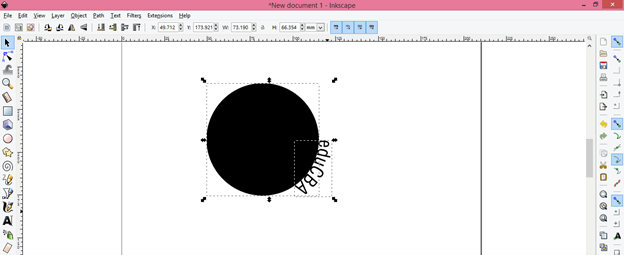
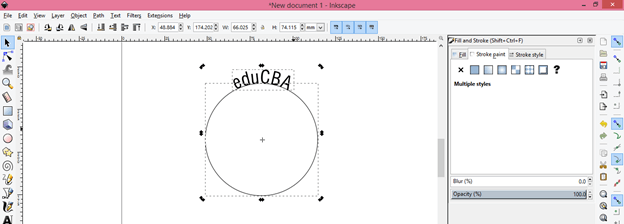
Make click on this selection and you will have rotation handle around the bonding box of this selection. Hold mouse click on this rotation arrow of boding box.
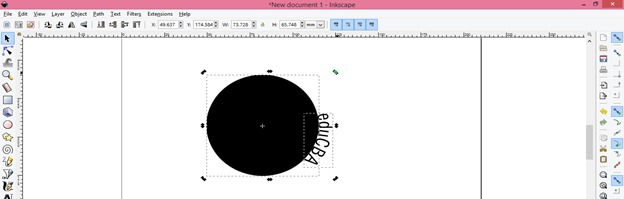
Then rotate this selection for moving your text on this circular path at your desired point on path. If you want to remove this warp of text then again go to Text menu and click on ‘Remove’ from Path option of scroll down list.
And text will get back to its original shape by leaving circular path on its place.
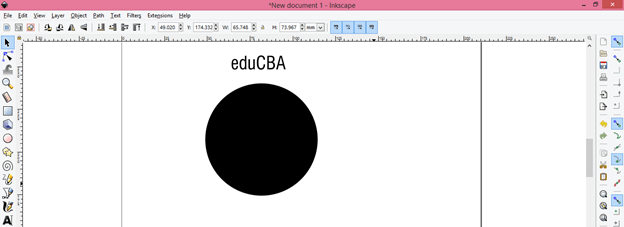
Or you can select this circle with select tool then press delete button of keyboard for releasing warp.
Now let us remove fill of this circle and for udnerstanding next steps of curved text so for this go to Object menu of menu bar then click on Fill and Stroke option of scroll down list.
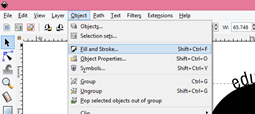
A Fill and Stroke panel will open at the right side of user interface .Now select Fill table and click on cross button for removing fill of this circle then click on Stroke tab and choose flat color for having stroke of this circle.
Select both text and circle by same method as we did above steps.
Rotate this text at the bottom of this circle with the help of select tool.
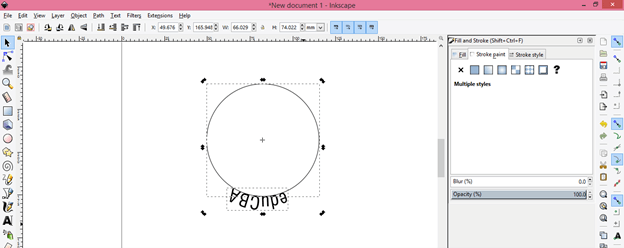
Now click on ‘Flip selected objects horizontally’ option of property bar or press H as short cut key.
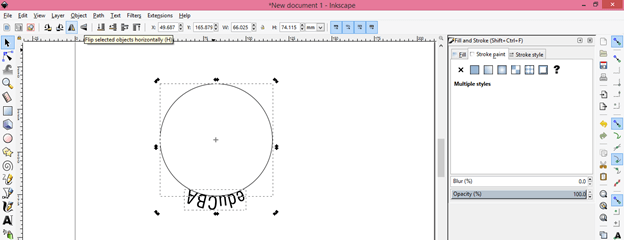
And our text will come inside of this circle.

Now go to Path menu of menu bar and click on ‘Object to Path’ option of scroll down list of it.
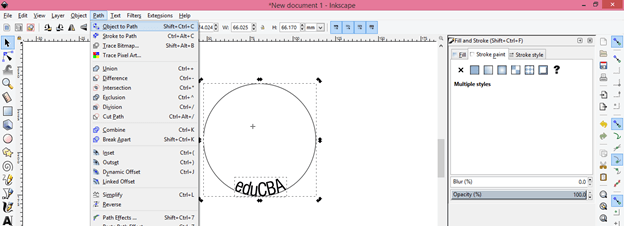
Now you can separate you text from this circle.

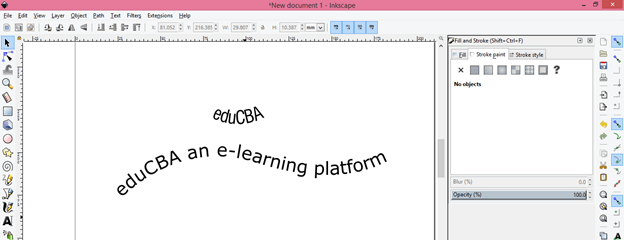
And your curved text is ready like this.
Now let us see another way of doing this. For this method take Bezier tool from tool panel and draw your desired curved path. I will draw a curved path like this.
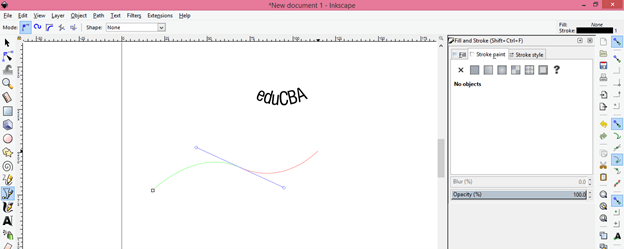
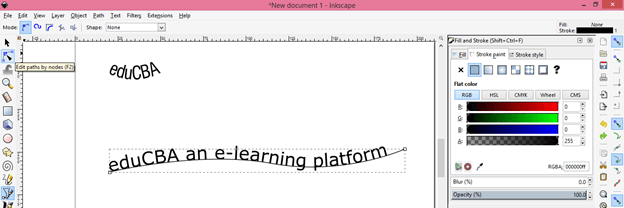
Now again take text tool and type a text. This time i will type a sentence and select both text and path by select tool.
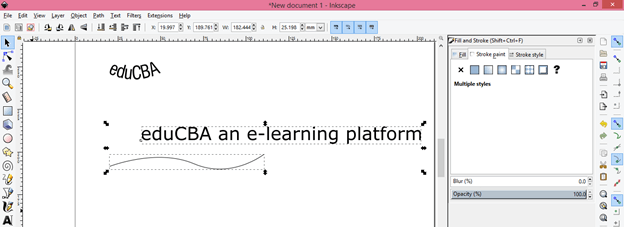
And go through same option for assigning path to this text which we use for above curved text.
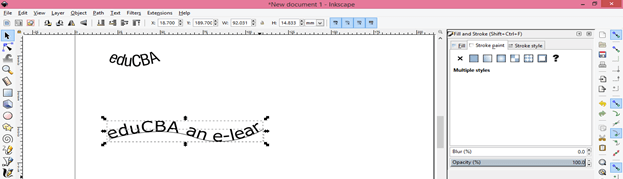
You can see our text is not properly fit on this path. You can increase the area of bonding box for having your full text so for this click on arrow of this bonding box and drag it for increasing size of box. Increase size of box at the point where you can see your whole text.
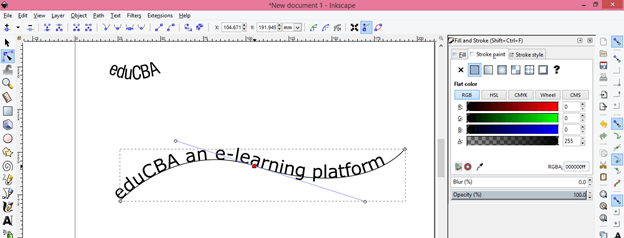
You can rotate this text also by rotating this bonding box.
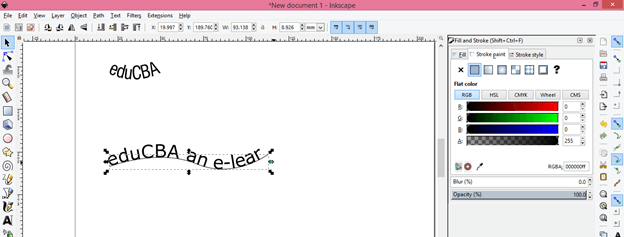
You can edit this curved path also so for editing take Edit paths tool from tool panel or press F2 as short cut key.
And edit it from the anchor points of this curved path.
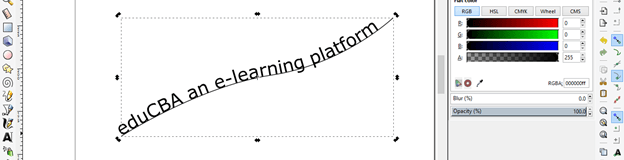
Now select both text and curved path then go to Path menu and click on ‘Object to Path’ option of scroll down list or you can go with its short cut key which is Shift + Ctrl + C.
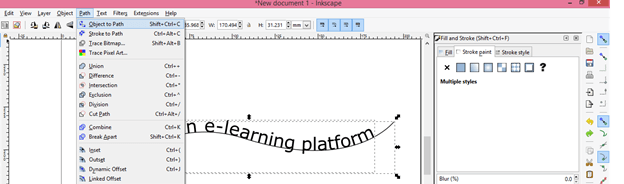
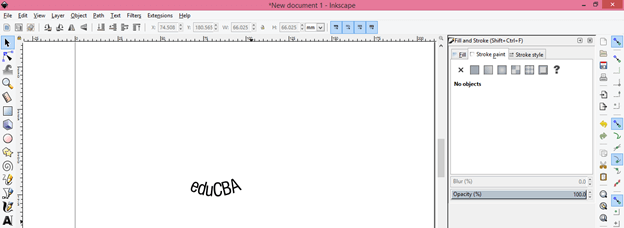
Now separate your text from path by moving it.
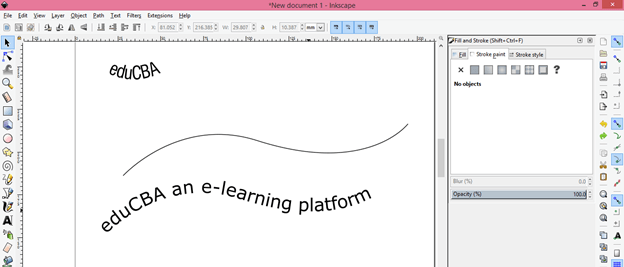
Now you can delete this path and our two wander full curved text are ready. You can use them in any one of your designing work.
This was two methods through which you can create curved path in Inkscape.
Conclusion
This was a good discussion about how can we have curved text in this software with the different curved path which we have created by using tools of the tool panel. Now you can create your own curved text with your own idea just follow the steps that I explained you in this article and you will have good command on this feature.
Recommended Articles
This is a guide to Inkscape Curved Text. Here we discuss How to Create Curved Text in Inkscape and you can create your own curved text with your own idea. You may also have a look at the following articles to learn more –
