
Introduction to GIMP vector graphics
In this article, we are going to learn how to work with vector graphics in GIMP. Though GIMP is a graphic editing program, you can extract paths and create svg format images, which can be used with your choice vector graphics applications. Apart from that, you can also create a vector shape from png or jpg images. We can also create our own vector art in GIMP using the path tool by producing smooth and beautiful curves, but if you want a more geometric shape, then just don’t pull the handles of the path, and you get a perfect angular shape. Vector graphics are used to create a logo, drawing, banner, t-shirt design, stationery, brochures, and much more.
Steps of GIMP vector graphics
Different steps are mention below:
Step 1: First, we will start by using a png image. Go to the following url and download the required images from pngtree, or you can feel free to use your own assets – https://pngtree.com/freepng/human-character-with-green-tree-logo_3732560.html.
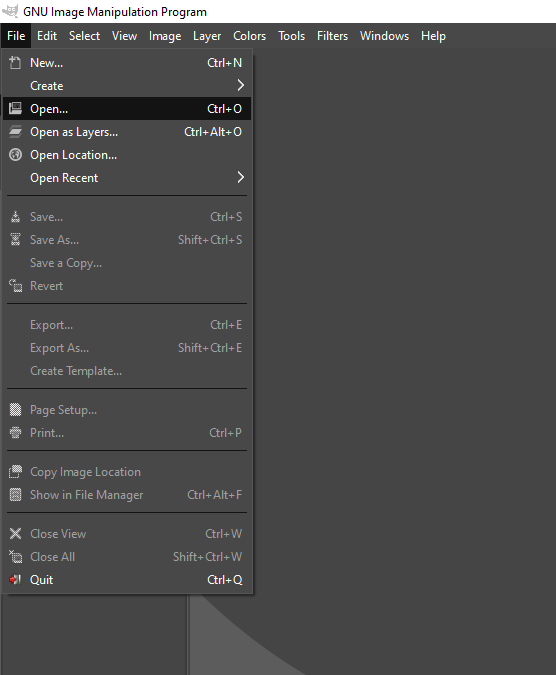
Step 2: Let’s start by opening an image by going in the File menu, then open or press Ctrl + O.
Step 3: Then navigate to the downloaded image and open it in GIMP

Step 4: Now, we have made this png into svg so that any vector graphics application can work it.
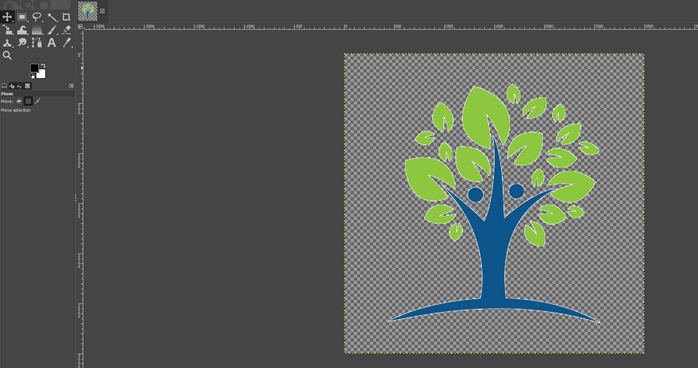
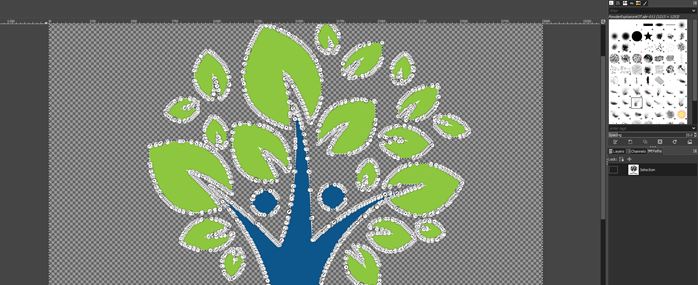
Step 5: Then use the fuzzy select tool or press U, then click on any empty area which will select the path, and it is similar to the photoshop magic wand tool. If you want to select a specific item, then click on it and if you want to select multiple items, then press shift and select.

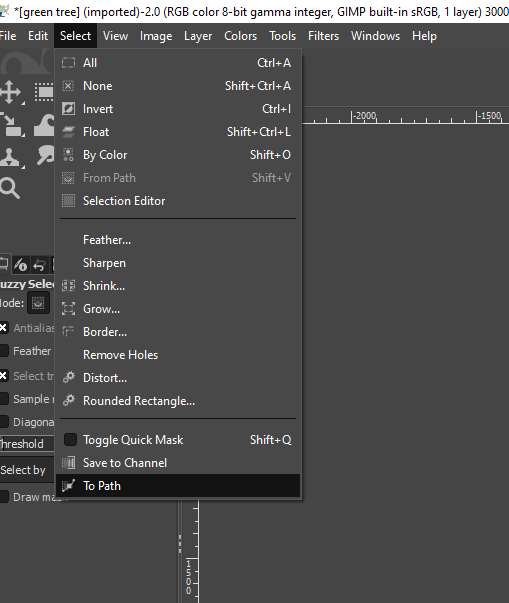
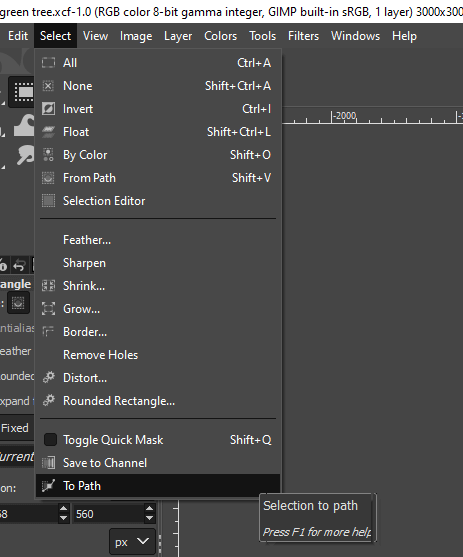
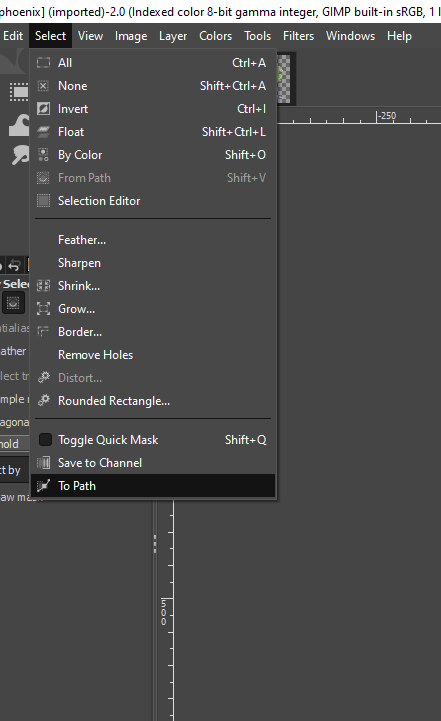
Step 6: Now, to create a path from this selection, navigate to Select -> To Path
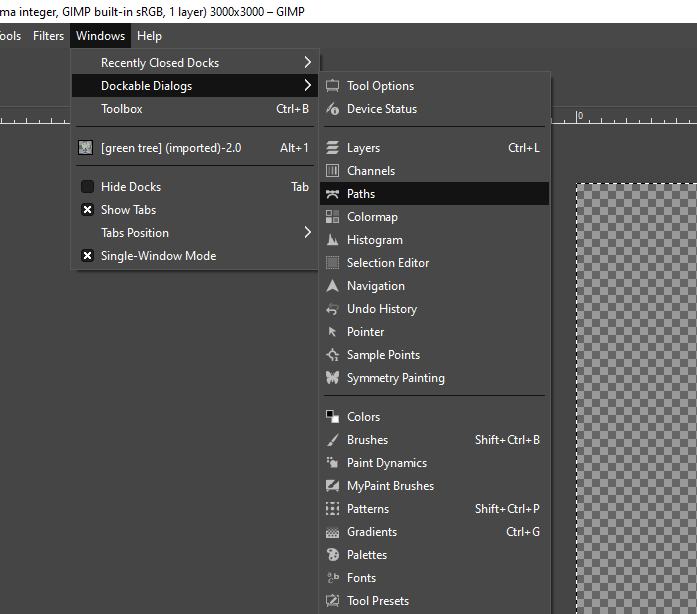
Step 7: Path panel is visible beside the layer panel in the bottom right, but if it is not visible, then select Windows -> Dockable Dialogs -> Paths and then dock it beside the layers panel.
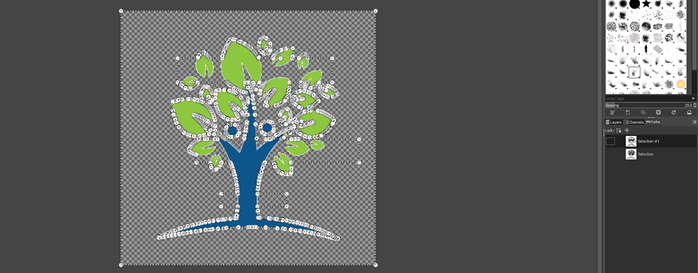
Step 8: Then double click on the selection in the path panel to view the selection. Here you can adjust the path and make sure that you have a nice crisp, clean edges. Review any unnecessary points and adjust by click and drag. This is the same as working with the path tool, and all the techniques used using the path tool can be applied to get a perfect selection.
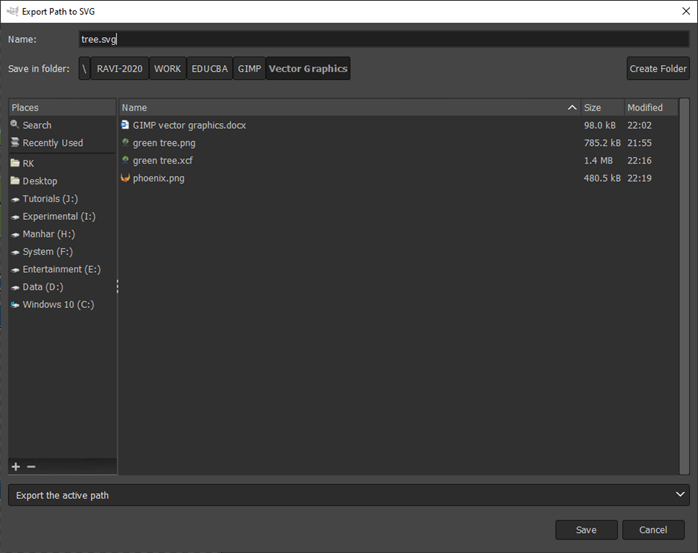
Step 9: After the adjustment is done right click on the selection and then click export path, which will export an svg file

Step 10: Give the name to the exported file with the .svg extension, which can be imported in any vector graphic application and worked further.
Step 11: This is the result that can be previewed in any browser.

Step 12: You can change the selections by using the rectangle select tool and add and subtract the selection region.

Step 13: Then, we will convert the selection to a path from the select menu. Select -> To Path
Step 14: Then double click to select the path, and we get the updated path in the Paths panel at the bottom right corner.
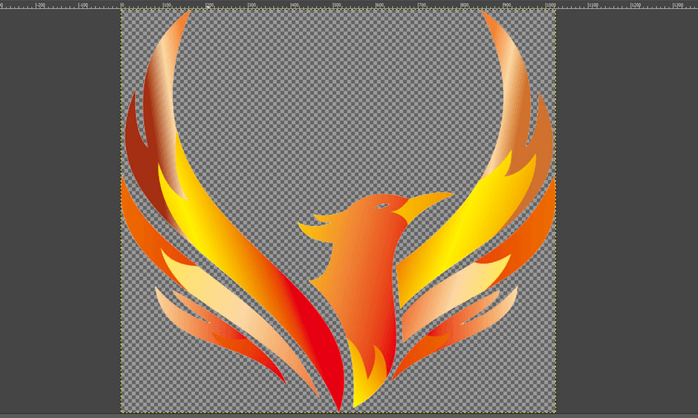
Step 15: We have worked till now with a simple image with no gradient now; let’s see how we can select the path if there is a gradient in the image.
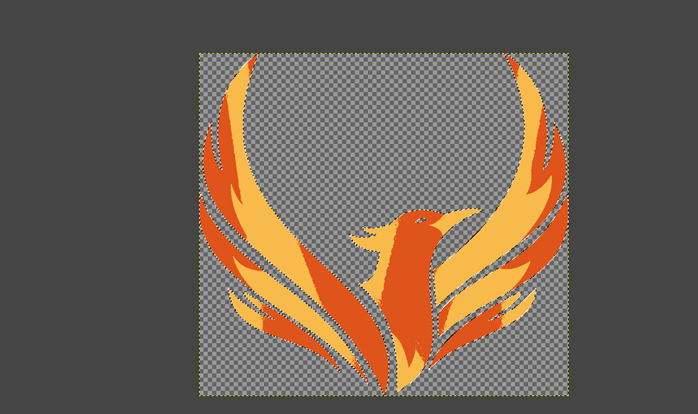
Step 16: Again, use the fuzzy select tool and try to select the part of phoenix, but now, due to the gradient, we cannot make a proper selection. To solve this problem, let’s change the threshold value to 150, which is currently 15. This depends entirely on the type of image. It might be different in your image, but 150 works fine in this image.
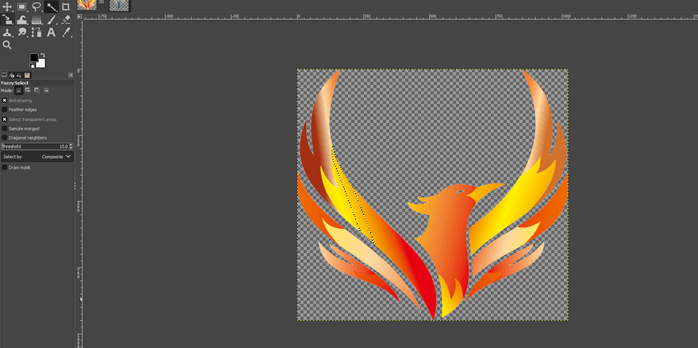
Step 17: Using the shift key, select all the parts of the phoenix
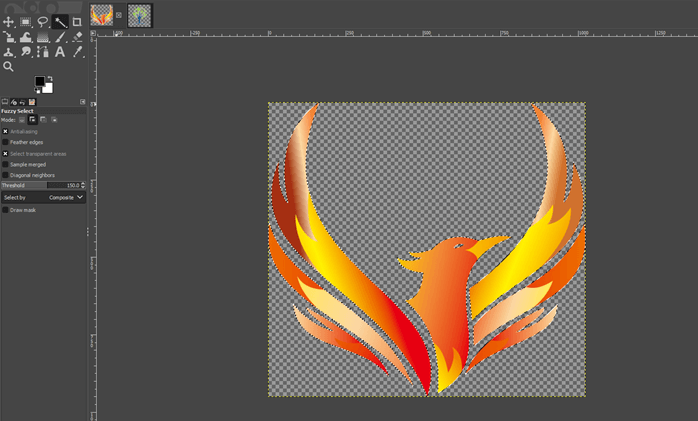
Step 18: There are some situations in which even if we change the threshold value, we cannot make proper selections; in that case, we can change the mode to Indexed from the image menu.
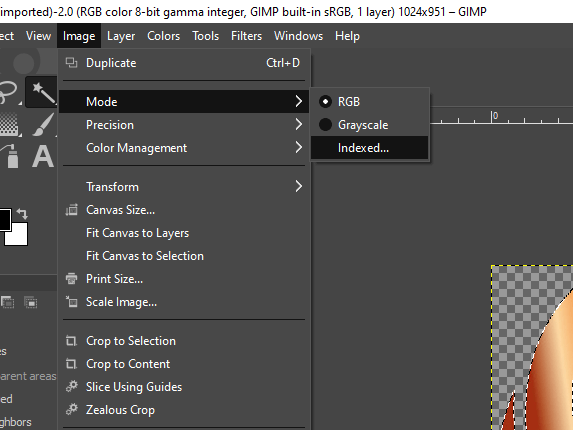
Step 19: You might want to experiment with your particular image, but we can generate an optimum palette with a maximum number of colors to 2 and click convert for this image.
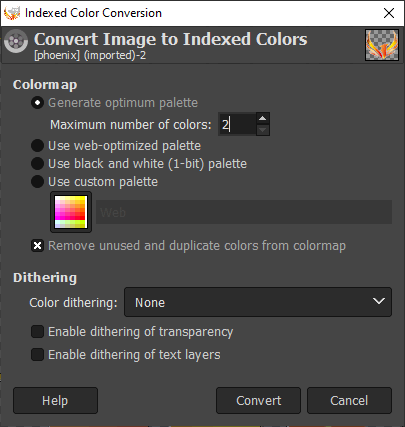
Step 20: As we can see, the image is converted to 2 colors, and the gradient is removed, which makes the use fuzzy selection tool simpler.
Step 21: To make a path of the image, go to select and to path.
Step 22: This is the result of export, and a couple of tips to keep in mind is that keep paths simple and using svg with many paths could be challenging. Solid color works better in such scenarios than the gradient. Do not overlap vertices which could complicate things.

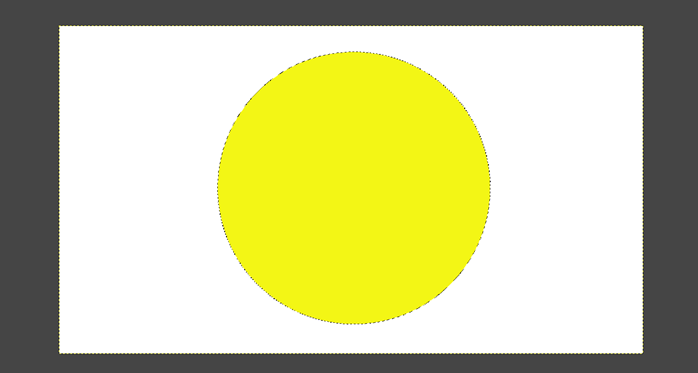
Step 23: Next, we will create a simple vector graphic in gimp; for this, first, we use the ellipse select tool or press E and create a circle and fill it with yellow.
Step 24: Then use the path tool or press B and create a simple shape as shown.
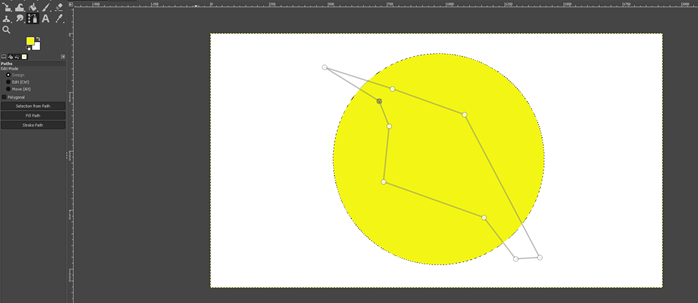
Step 25: Using the path tool, add some points to make a shape like a bird. You can also drag to create a curve.
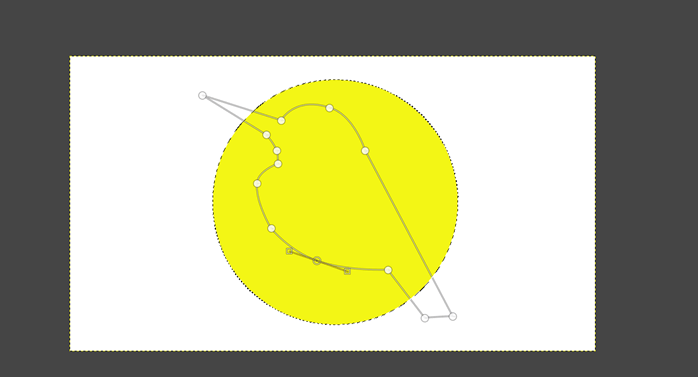
Step 26: Fill foreground by creating a selection from the path using the bucket fill tool
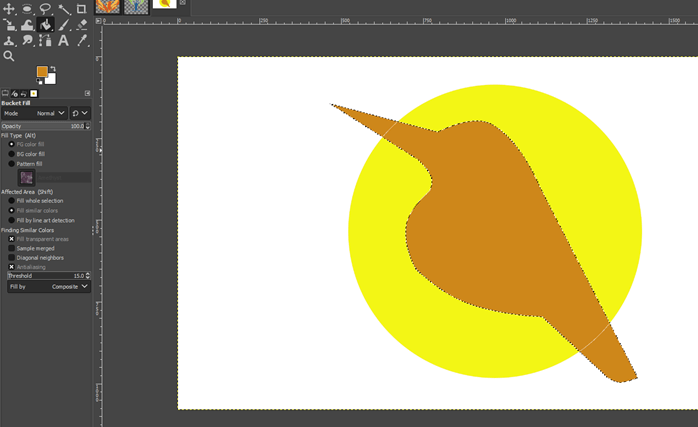
Step 27: Similarly, keep creating paths using the path tool and then fill it.
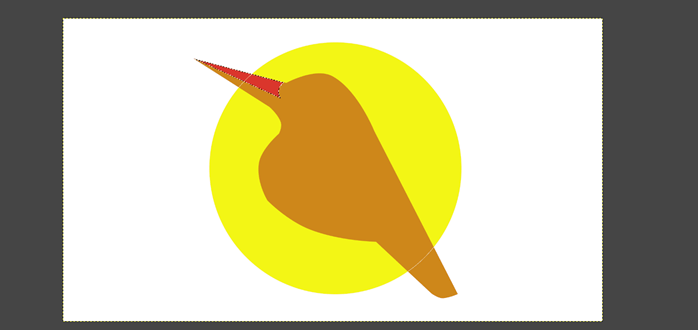
Step 28: You can also use the ellipse tool to make a selection and then fill it with black or white.
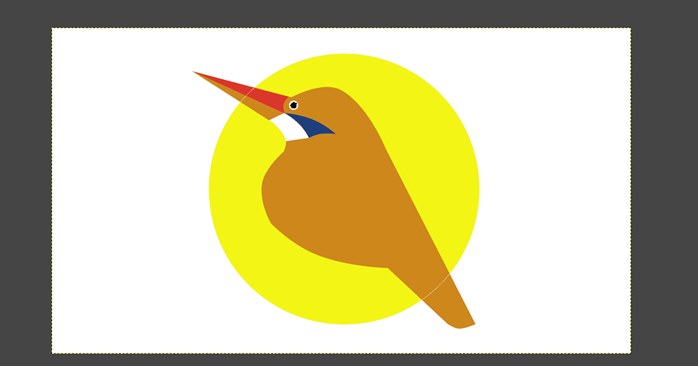
Step 29: You can continue creating a path and fill it. You can also use gradient fill in which you can create your own gradient or select a prebuilt gradient. So we have successfully created a vector graphic in GIMP as well as used images to get the svg shapes.

Conclusion
In this article, we have seen how to create vector graphics in GIMP. Firstly, we have seen how to extract an svg file from any png file, which we can use further in any vector applications. Then we have seen complex images and how to tackle gradient by simplifying if using index mode. Then we have created a vector graphic from scratch using the path tool. The quality factor is important if the art will be used for printing purposes.
Recommended Articles
This is a guide to GIMP vector graphics. Here we discuss how to work with vector graphics in GIMP and how to extract an svg file from any png file. You may also have a look at the following articles to learn more –
