Introduction to GIMP text effects
In this article, we are going to learn how to create text effects in GIMP. Text effects are generally used in websites to create banner images; they can also be used in print media for brochures. Basically, the text effect is used to make important information visible. Apart from that, text effects can also be used for purely aesthetic purposes, and to do that; we do not need expensive graphic editing programs when we have programs like GIMP for absolutely free. We can combine some freely available assets and brushes from stock sites to create stunning text effects in GIMP.
Steps of GIMP text effects
Here are the following steps mention below
Step 1: First, we will work using an image and a brush to create a text effect for which we will go to the following url and download the required brush and images from Behance, or you can feel free to use your own assets – https://www.behance.net/gallery/31115821/Powder-Explosion-brush-set
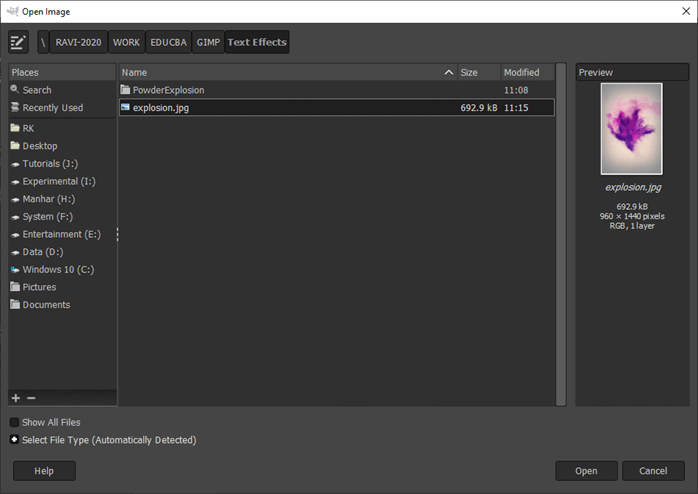
Step 2: Let’s start by opening an image by going in the File menu, then open or press Ctrl + O.

Step 3: Then navigate to the downloaded image and open it in GIMP
Step 4: Then select the crop tool or press Shift + C, which will remove the edges area from the layer or the image.
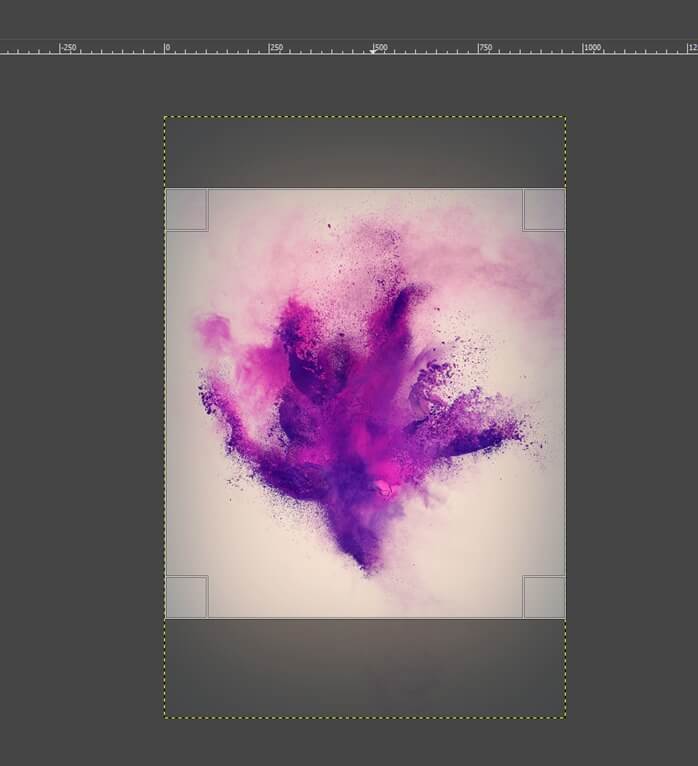
Step 5: Drag a square or any shape that will bring the image’s explosion to focus. You can go on the edges to adjust the image then drag. After you are happy with the crop selection, double click on the center to create a crop.
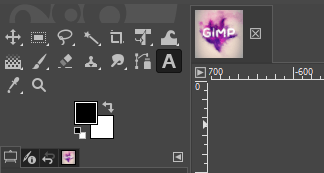
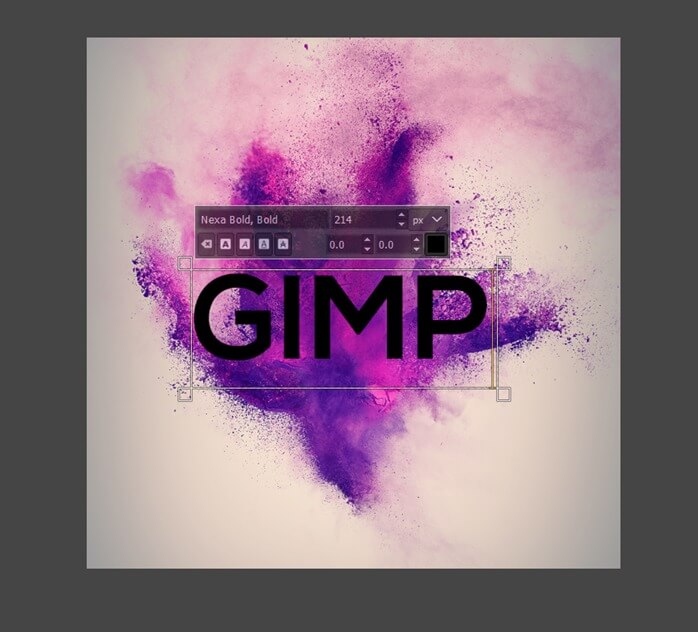
Step 6: Then use the Text tool or press T, which is used to create and edit the text layer
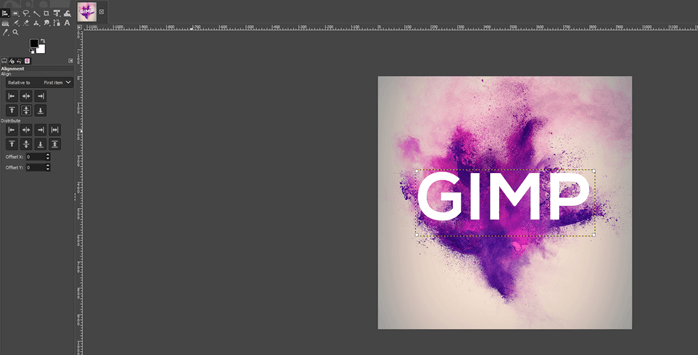
Step 7: Click once to create the text layer and give it some text. The font we have used in Nexa Bold and give the appropriate size in pixel.
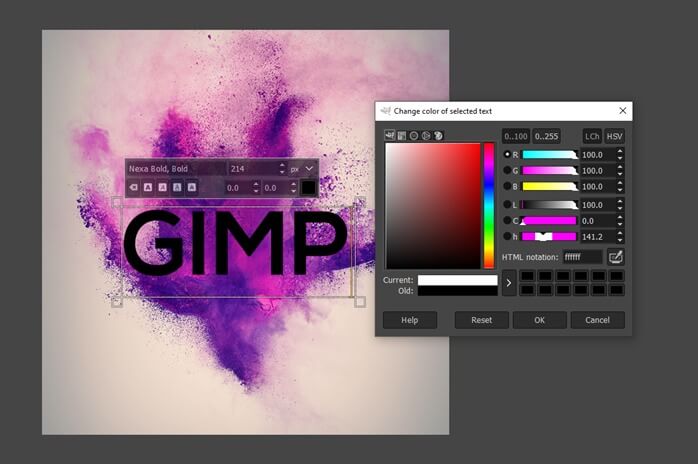
Step 8: Next, we can change the color and make it white
Step 9: Adjust the font size and color and change the kerning to increase the spacing between the characters by selecting all text.
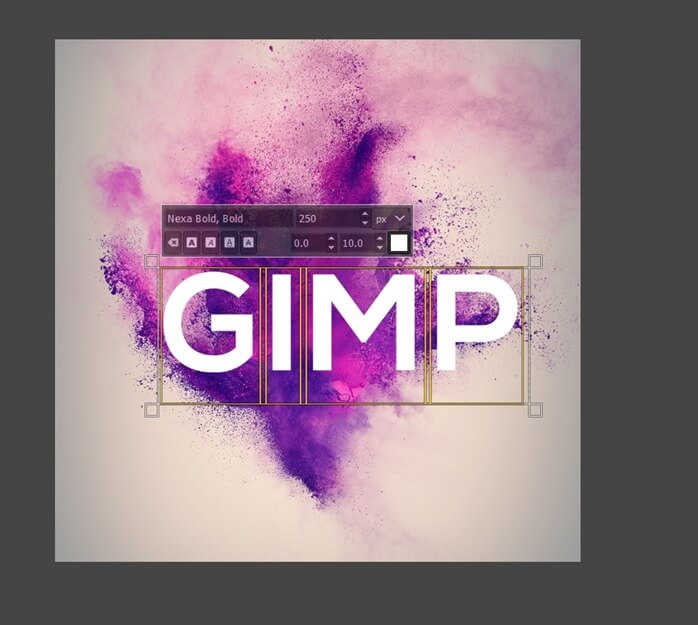
Step 10: Click on the move tool, which will bring the alignment tool or press Q, aligning or arranging layers and other objects. Then in the alignment panel, select align center or target and align the middle of the target, which will align the image horizontally and vertically.
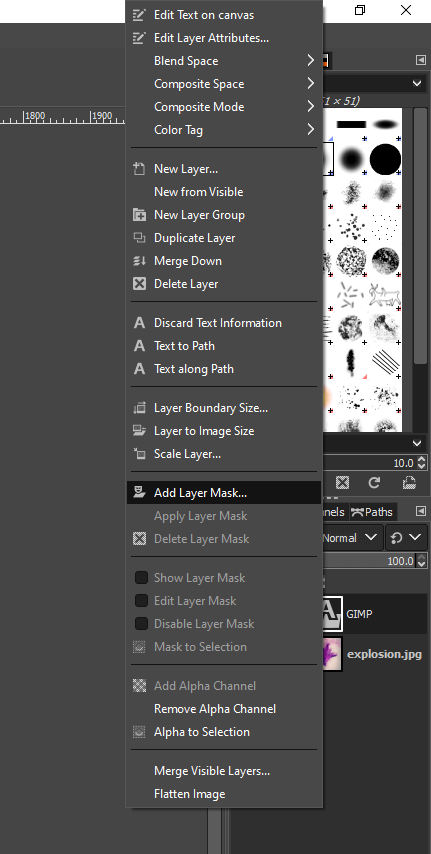
Step 11: Next, we will add a layer mask to the text; what it will do basically is that we will paint black on the layer mask, which will show some of the areas below the text layer or from the explosion graphic. This is also called non-destructive editing, which allows for painting the text, which erasing it and if you make a mistake, then you can paint it back. To add a layer mask right click and select add a layer mask.
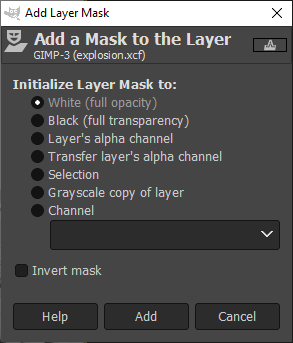
Step 12: Keep the Initialize layer mask to white as we want to see all of the text except which we will mask with black paint.
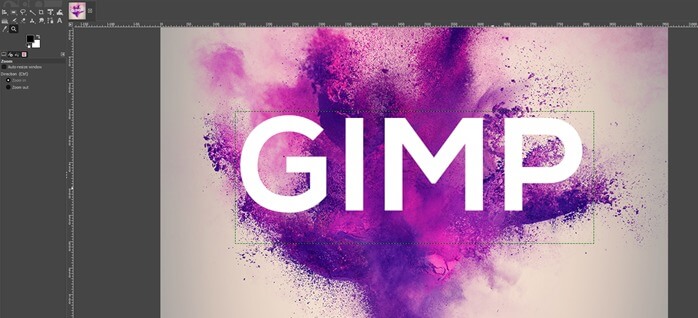
Step 13: Then use the zoom tool to adjust the zoom level or press Z so we can work closely on the text.
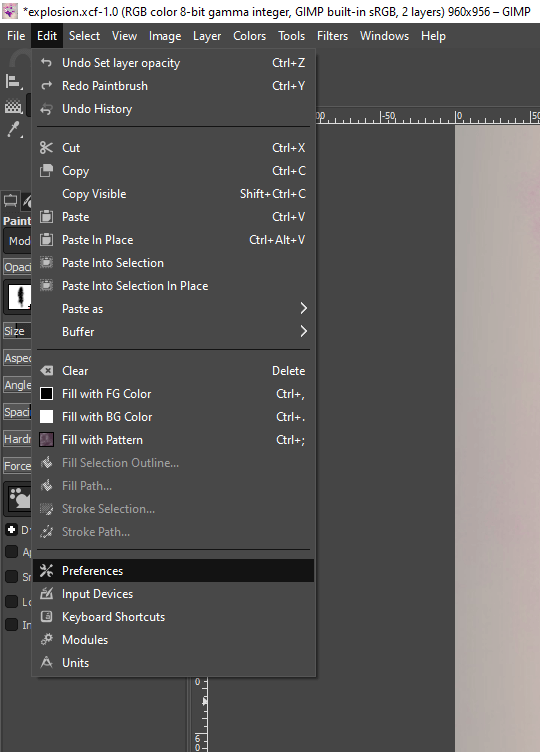
Step 14: Let’s import some brushes to work with and import a brush; go to preferences from the edit.
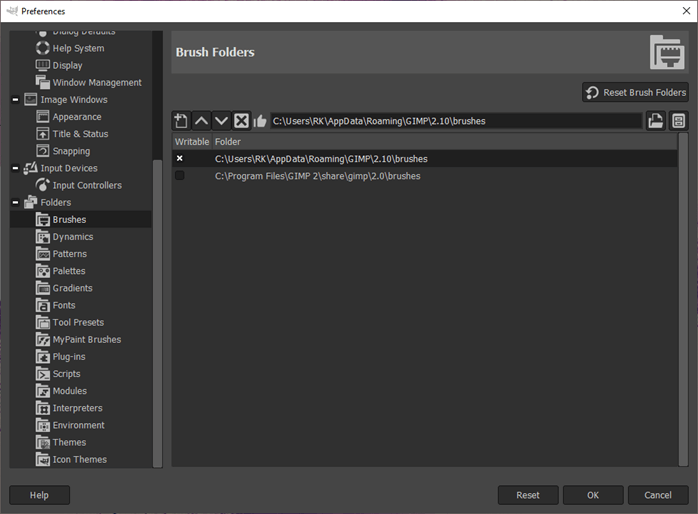
Step 15: In brush folders, you will find the location of the folder. Select the writable folder, which is indicated by a cross icon and then select the icon to show the file location in the file manager.
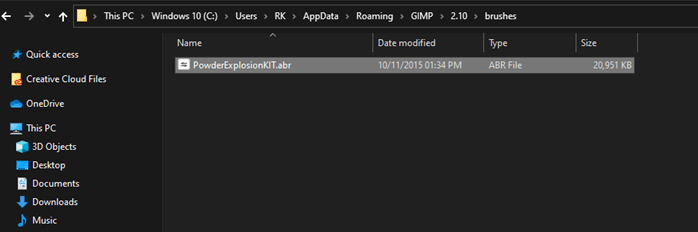
Step 16: Drag the downloaded brush into this folder which is PowderExplosion.abr
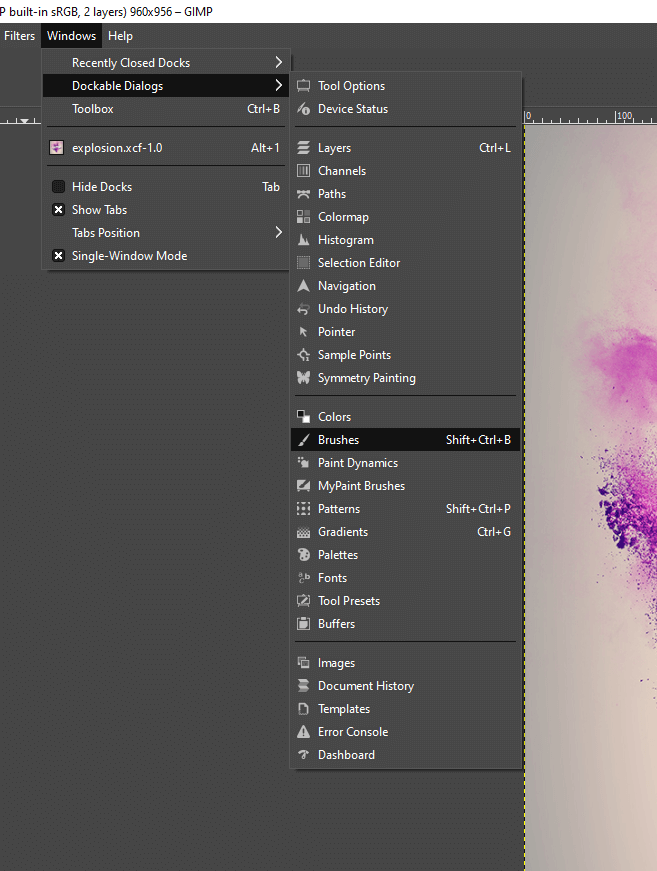
Step 17: Check the brush panel; if it is not on the right side, then go to Windows -> Dockable Dialogs -> Brushes or press Shift + Ctrl + B
Step 18: Click the refresh brushes icon in the lower right corner, which will load the new brushes. As shown, we have multiple brushes in the PowderExplosion pack. These are photoshop brushes, as seen by extension .abr, but these are compatible with GIMP.
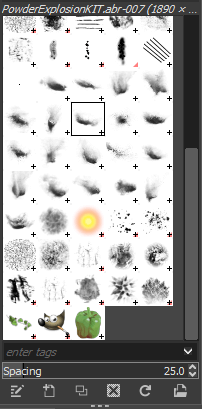
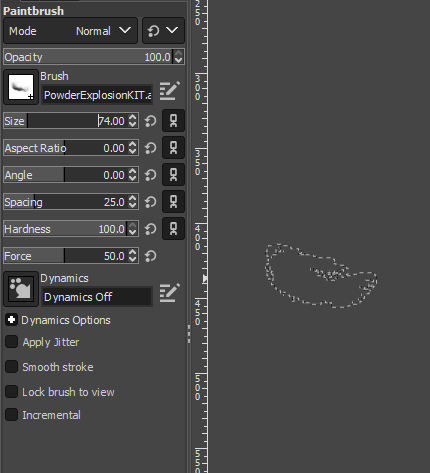
Step 19: Then select the paintbrush tool or press P, which creates smooth strokes using the brush. Select any one of the brushes from the imported pack, and at first, the size will be ginormous, which can be reduced from the size option. You can also change the brush by selecting the Brush icon.
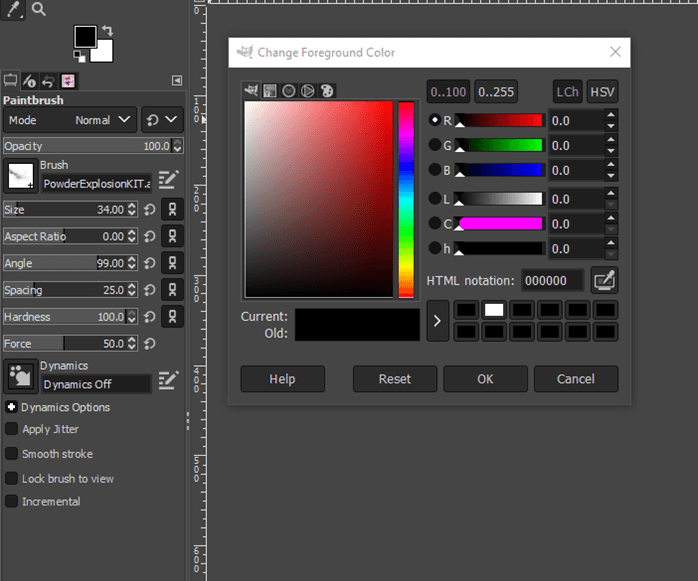
Step 20: Make sure that the foreground color is black, and this is an important step and will see why later.
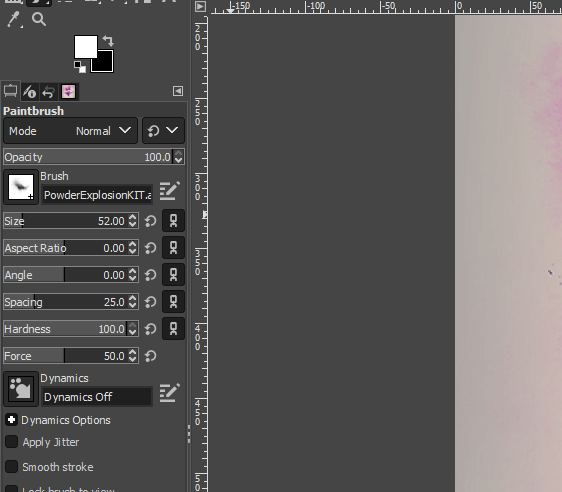
Step 21: Brush size, aspect ratio, angle, spacing, hardness, the force can be changed to get the desired effect as shown. You can use a graphic tablet to get more subtle effects. When you start painting, make sure that the mask is selected and not the text. You can adjust the opacity of the mask layer if you want to look at the color properly. A shortcut to change the brush size quickly is to use “[” to decrease and “]” to increase as it a function frequently required. You also have to periodically change the brush as the powder is not the same across the image. You can also zoom in further to get a better view and use a brush similar to the area you want to paint over.
Step 22: Suppose if you have accidentally overdone some parts of the mask, then the simple way is to Undo or press Ctrl + Z but then is another way if you have taken too many steps and it is not possible to undo. Change the active foreground color to white by pressing the double arrow icon, which exchanges the foreground and background color. Then paint it on the parts which you want to remove.
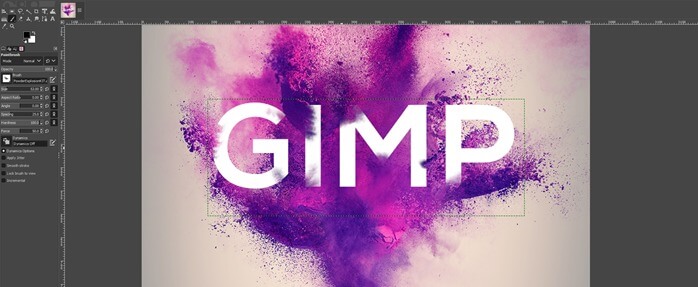
Step 23: This is the final piece of artwork, and a text effect in GIMP is ready.

Conclusion
In this article, we have seen how we can create text effects in GIMP. We have seen how to import and crop images. Then we import brushes and create text. Adjust the brushes and text so that it can blend with the image using a layer mask and create beautiful artwork of text splashing on the powder.
Recommended Articles
This is a guide to GIMP text effects. Here we discuss how we can create text effects in GIMP and also seen how to import and crop images. You may also have a look at the following articles to learn more –
