
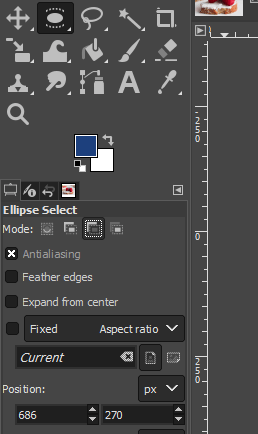
Introduction to GIMP move selection
In this article, we are going to learn how to perform move selection in GIMP. Selections in GIMP can be done with various methods, and its main purpose is to limit the area of operations on which we have to apply. The move tool allows moving the outline of selection. For the move tool, we can click and drag any selection outline on the canvas. Not only that, but we can also use arrow keys to make some precise adjustments for moving the selection. We can also change the hue or saturation of only the applied selection. Regarding moving the selection, we can do a simple cut, copy, paste operation after the selection is made.
Steps of GIMP move selection
Here are the following steps mention below
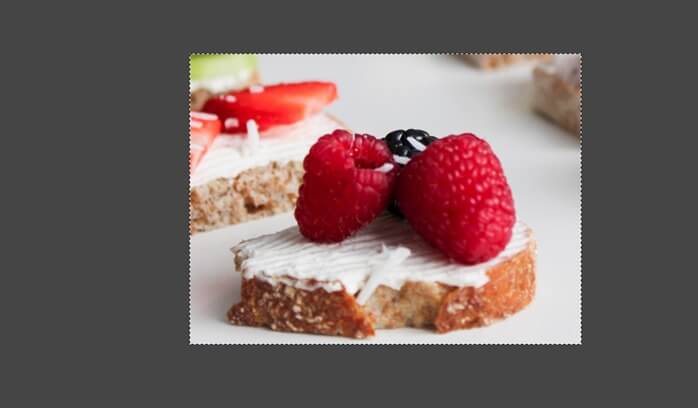
Step 1: First, we will start by using a jpg image. Go to the following url and download the required images from pixels, or you can feel free to use your own assets – https://www.pexels.com/photo/round-pastry-with-fruit-toppings-952724/.
Step 2: Let’s start by opening an image by going in the File menu, then open or press Ctrl + O.
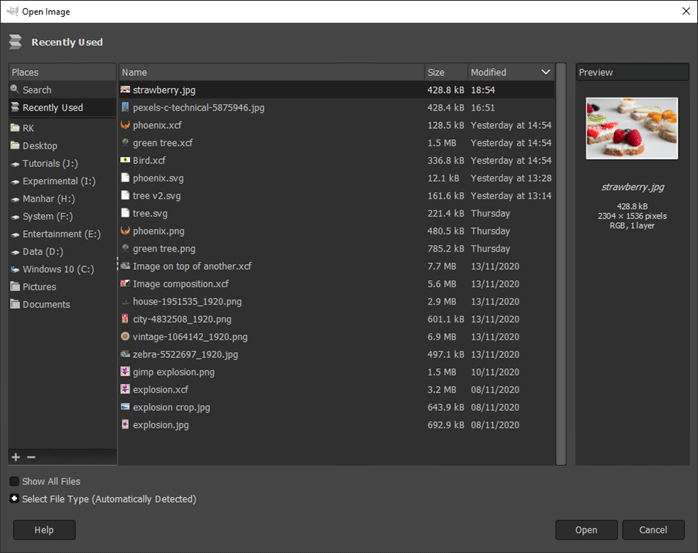
Step 3: Then navigate to the downloaded image and open it in GIMP. If you have used a recent image, then it will show in the recently used section.
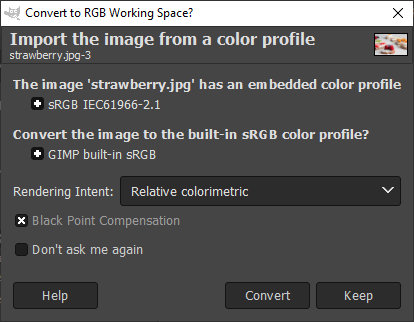
Step 4: If asked to convert to RGB Working space, then convert it. In this case, this image already has a color profile embedded in it which will be mapped to GIMP built-in sRGB space.
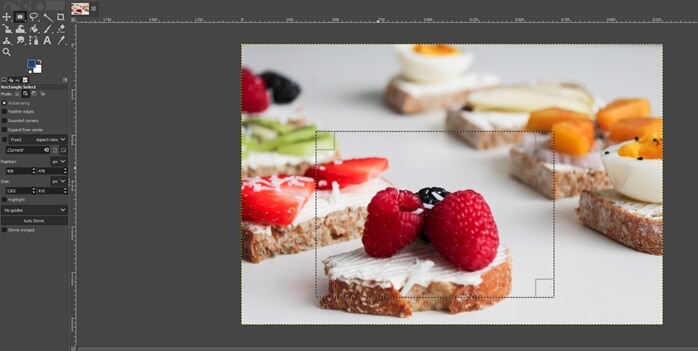
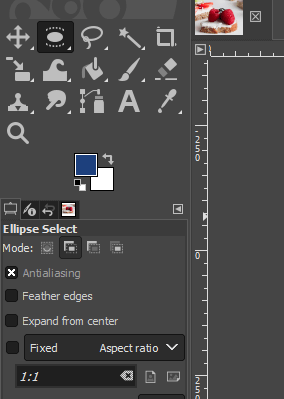
Step 5: Let’s start with the rectangle select tool, which can be found in the toolbox on the left side, or you can press R. Click and drag over the area on which you want to select
Step 6: Now, to adjust the selection, move the mouse over the edges, and you will see a rectangle on that edge, and the mouse cursor will change to indicate that you can resize the selection. This will adjust any one side while keeping the opposite side fixed, and the adjacent sides will be adjusted with the side you drag
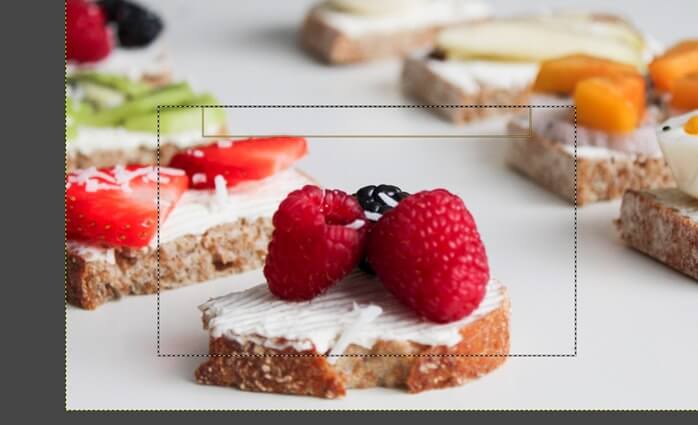
Step 7: You can also go to the corner, and an icon will appear to change the size of the selection and make adjustments. Dragging any corner will make the opposite corner to be fixed after the selection is done; press enter. This means if you drag the top left, then the bottom right will be fixed and vice versa. If you hold the Ctrl key, then the resize of selection will happen from the center. Holding the shift key will keep the aspect ratio fixed while you drag. Make sure that you adjust the selection and finalize it before you press enter as then you cannot adjust the selection; what you can do is by using the move tool only to change the position of the selection but not the size and shape of it.
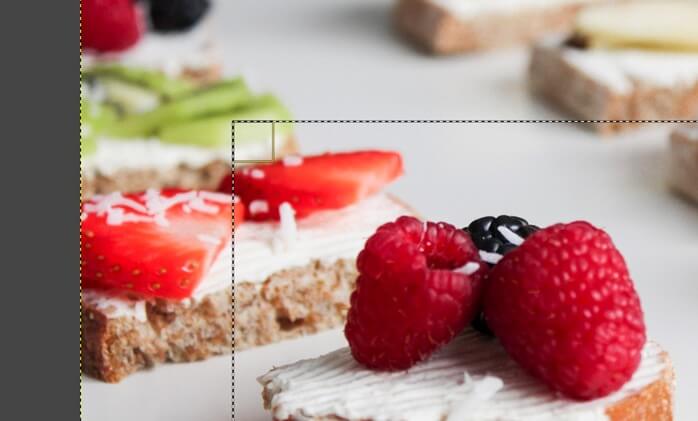
Step 8: Now, we use the move tool from the toolbar or press M and then move by clicking and dragging on the selection so we get a proper composition
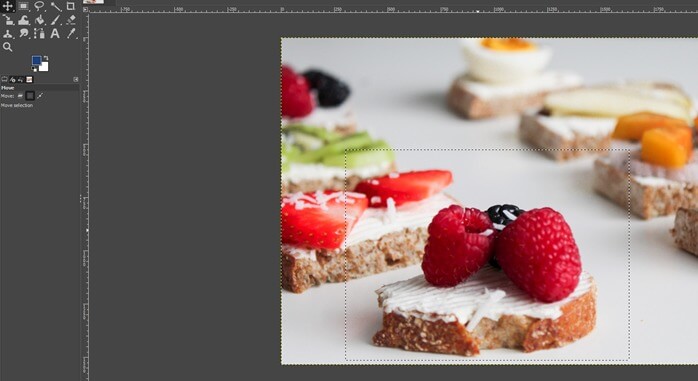
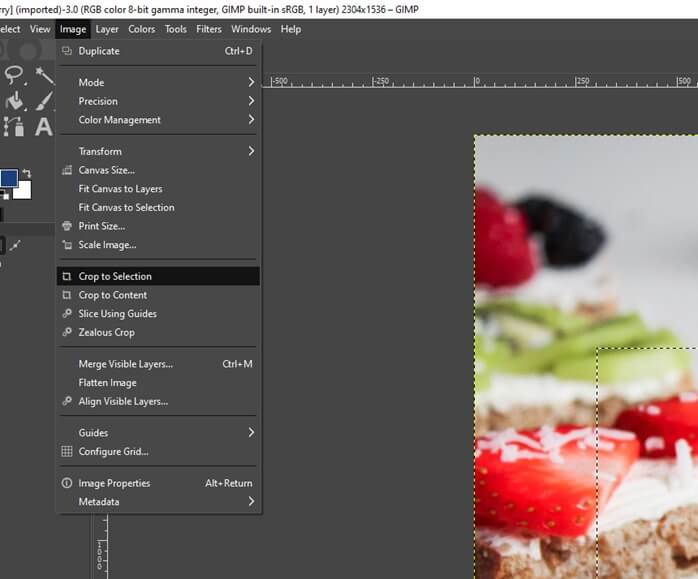
Step 9: Once we are good with the selection, then go to Image -> Crop to selection which will crop the composition which we want.
Step 10: As we can see, after cropping, the entire image is still selected, and if we use any tool, then it will apply to the entire image, like for the smudge tool, for example.
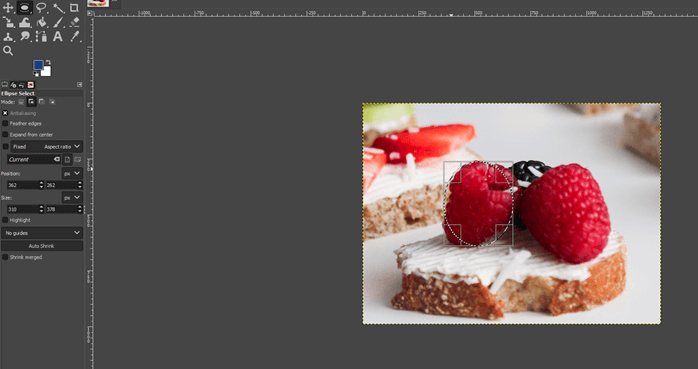
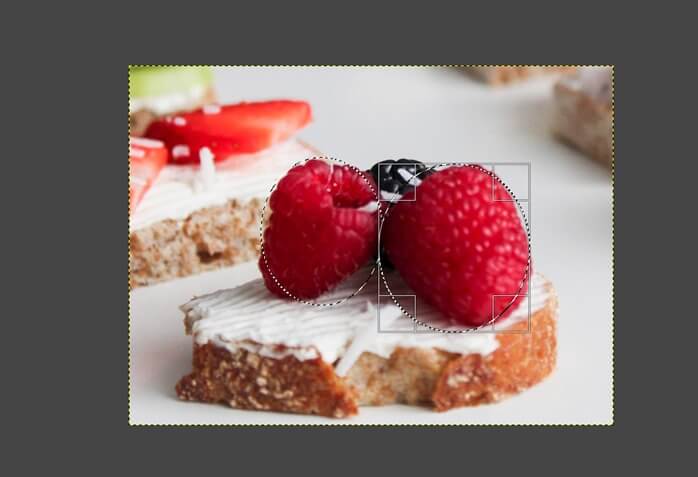
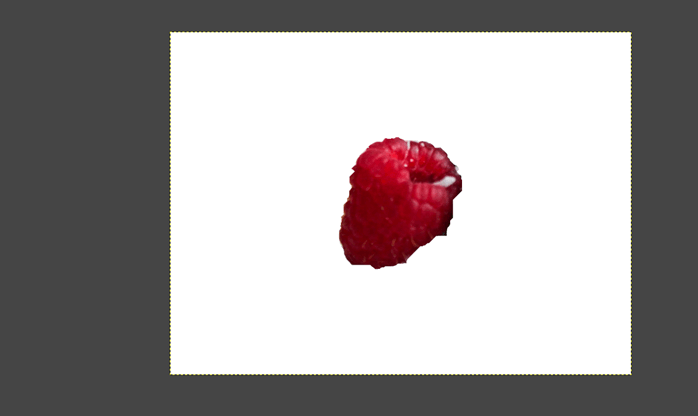
Step 11: Now, let’s use the ellipse tool with which we drag around a strawberry and drag the appropriate corner and edges to make the selection or move it by clicking and dragging. Here also, the same rules apply like ctrl dragging the corner will scale from center and shift dragging will keep the aspect ratio of the original selection.
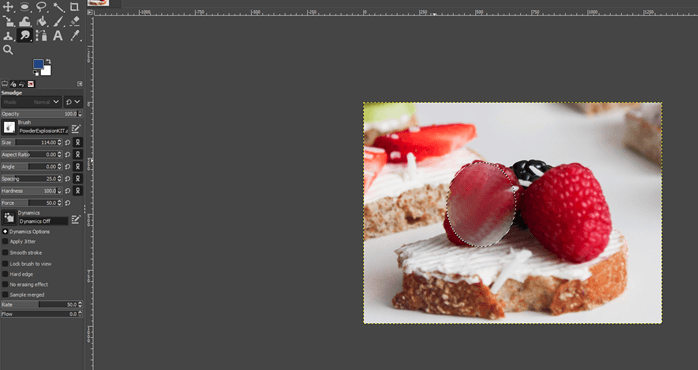
Step 12: Now, when we use the smudge tool or press S, then brush it over the selection, only that part of the selection is affected.
Step 13: Press Ctrl + Z a couple of times to undo the smudge operations; then again, using the ellipse tool, we use the second option, which is added to the current selection or uses the shift key.
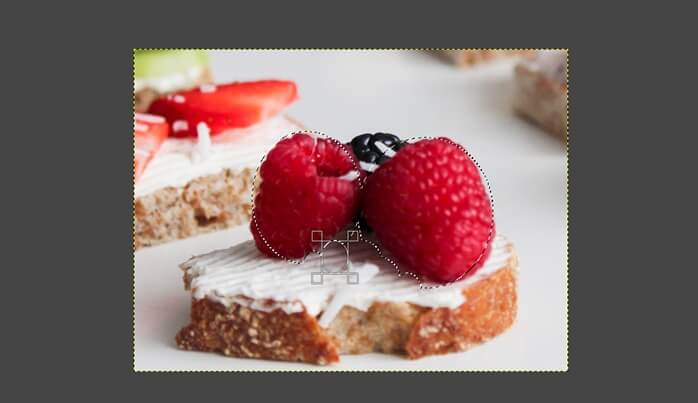
Step 14: So we can drag the ellipse tool multiple times and join the selection.
Step 15: Now, in the ellipse tool, we select the third option, which subtracts from the current selection.
Step 16: We can drag the ellipse tool multiple times and remove it from the selection to adjust the part we want. Though there are other better ways for selection, this is one of the methods.
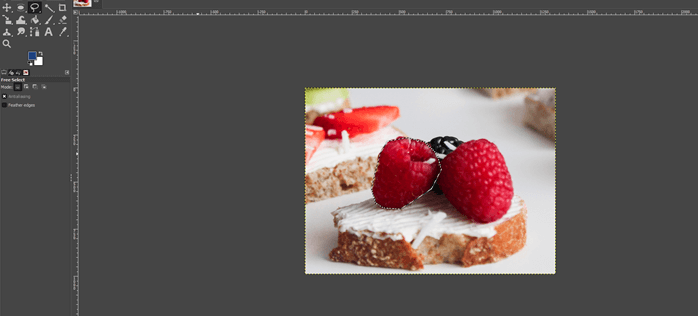
Step 17: Then, we will use the free select tool or press F, which is used to select hand-drawn regions with free and polygonal segments. Then we can click on points to adjust the required shape; then, you can use any operation like burn or dodge tool, which just affects that region.
Step 18: Another option in ellipse selection is the feather edges off by default, and when you paint using the paintbrush tool or press P, you will get hard edges.
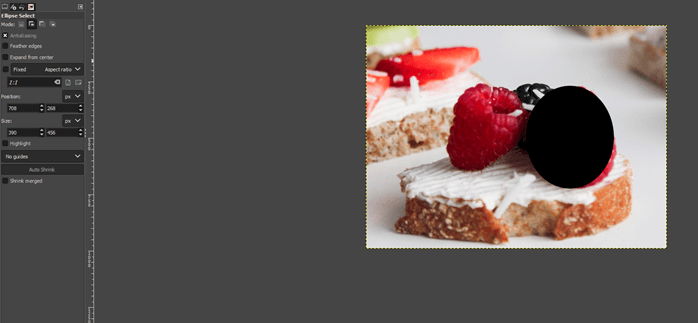
Step 19: By turning on feather edges and painting on them, we get smooth edges. Apart from that, antialiasing also helps to smooth out jagged edges. Also, the position and size of the selection can be changed.
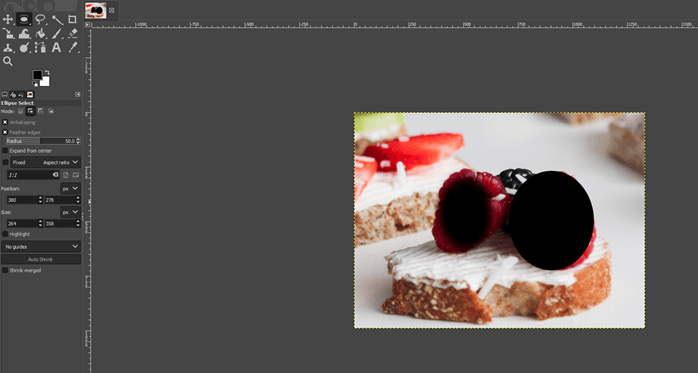
Step 20: Undo a couple of times to remove black patches and then use the scissor select tool or press I, which makes the selection by intelligent edge fitting.
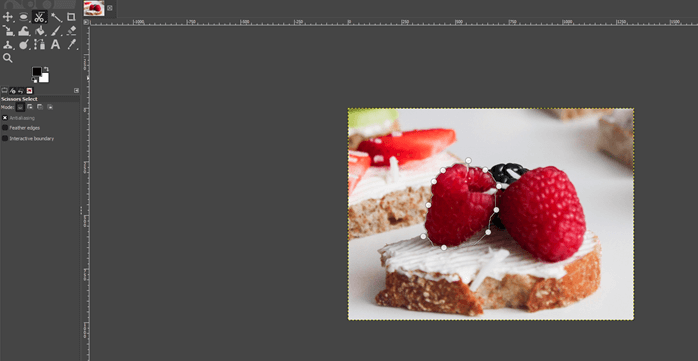
Step 21: Then we can Ctrl + C to copy and open a new document and press Ctrl + V. Since feather edges were not on so we get jagged edges
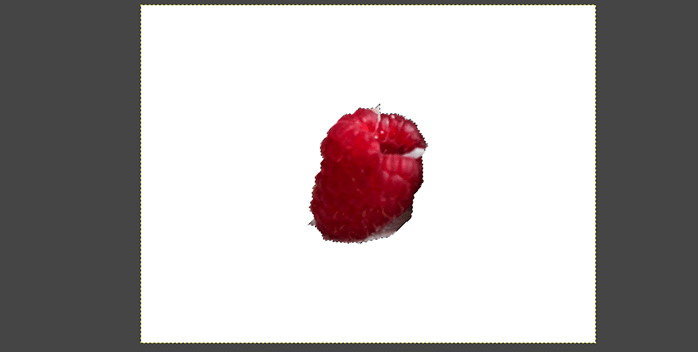
Step 22: now we have turned on the feather edges and done the same selection and then copied and pasted in a new document, and we get a much better result.
Conclusion
In this article, we have seen how we can perform move selection in GIMP. First, we have started with the rectangular selection; then, we moved on to the ellipse selection tool and various other tools for selection. We have seen various selection techniques and how we move the selection to a new document and smooth out the edges.
Recommended Articles
This is a guide to GIMP move selection. Here we discuss how we can perform move selection in GIMP and various selection techniques. You may also look at the following articles to learn more –
