Introduction to GIMP Extensions
GIMP extension is a good bundle of extensions that helps us in getting good plug-ins, Scripts well as Brushes, and many more, which we can install in gimp for extension of the working capacity of gimp. When you use the gimp extensions pack with your gimp software, then it will overwrite perilously installed extensions. All most of all, extensions of the gimp extensions pack are from the plugin registry of GIMP. You can install the gimp extension pack according to the version of your gimp software from the internet and use it to make your work easy in this software. Let us analyze GIMP Extensions to get more knowledge about them.
How to use gimp Extensions?
We can use it for having a good idea about the suitable plugin, scripts, brushes, and other additional accessories that enhance the working ability of gimp. So, first of all, search for ‘GIMP Extensions pack according to the version of your gimp software.

And install it on your computer. It will be overite on all your previous plugins, script brushes, etc.

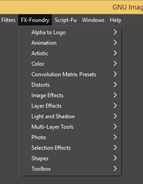
Once you install the extensions, pack you will have these changes in the menu bar of gimp, which is at the top of the working screen. You will have to more menus such as Fx-Foundry and Script-Fu.
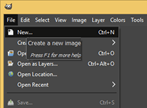
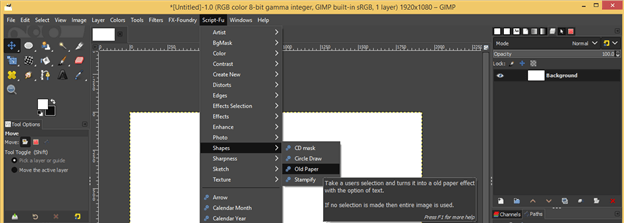
Now let us use these extensions and analyze what we can do with them. For that, create a new document by clicking on the New option of the drop-down list of File menu or just press Ctrl + N as short cut key.
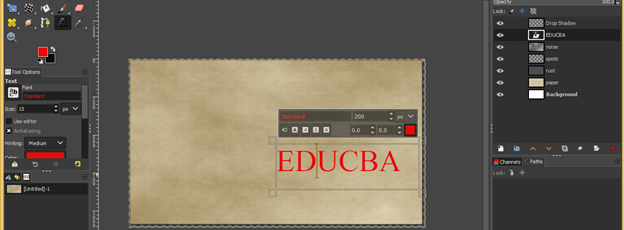
And go to the Script-Fu menu of the menu bar. The script generally has presets of a combination of work that means you will get a result of many steps in just one like. Let us understand it by an example. Go to the Shapes option of the drop-down list of the Scrip-Fu menu and choose the ‘Old paper’ option from the new drop-down list by click on it.
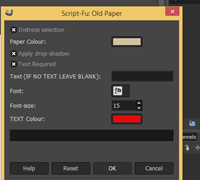
You will have a parameters settings box for this option. Here you can choose the color of paper from the Paper color option, can choose the font style, color, and size, which you can write on it once you have done all settings according to your hit on the Ok button of this box.
And you will get this type of old paper effect on your selected document.
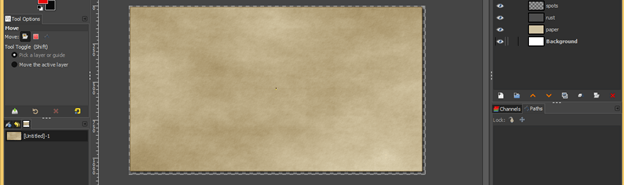
You will have a separate layer of all effects in the layers panel. We have a text layer here also. So if you want to type any text on it, then just make double-click on that text layer.
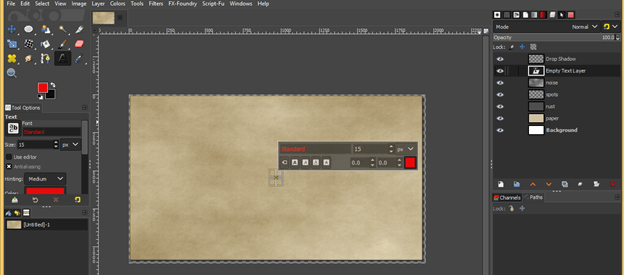
And type your desired text here.
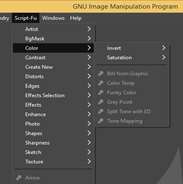
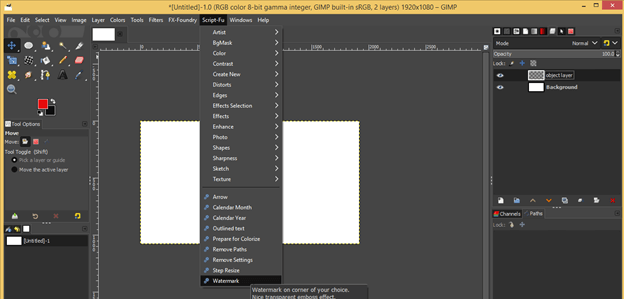
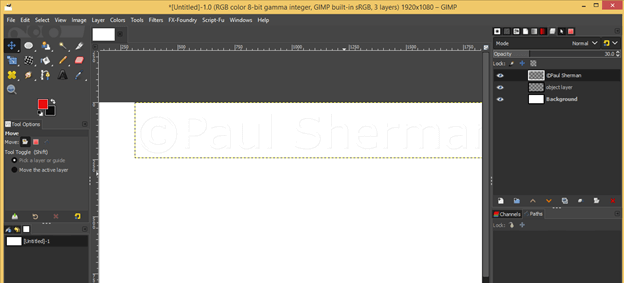
You can also create a watermark by using the Script-Fu menu. You will find a Watermark option at the last of the scroll-down list of this menu. Go to this option and click on it.
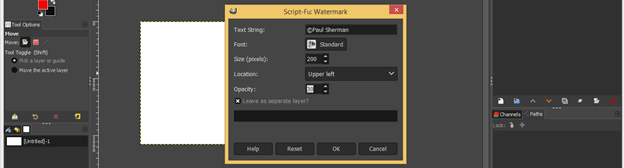
Again you will have a parameters settings box of this effect. Here you can type your desired text which you want as a watermark, from the Text String option of this box.

You can set Font style as well as the size of your text. Just make a click on the box Font option, and the separate dialog box will open; here, choose your desired style.

You can choose the location of your text on the image area from this list.
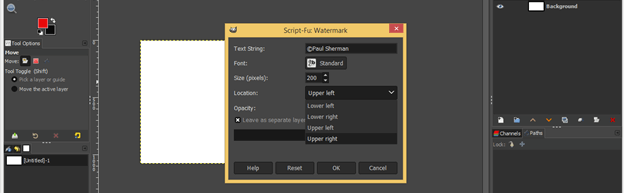
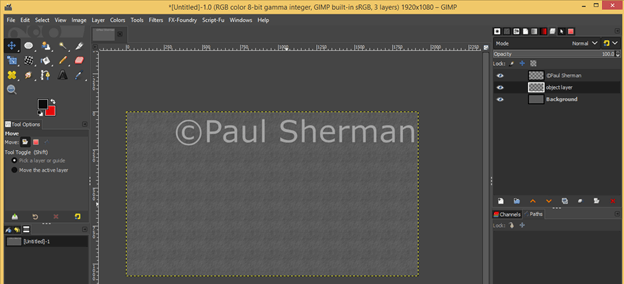
Set the opacity value of the water mark from this option and hit on the Ok button of this box.
And you will have the water mark on your chosen location.
You can see it on gray background clearly.
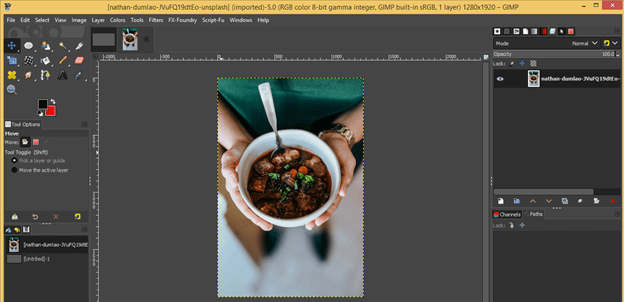
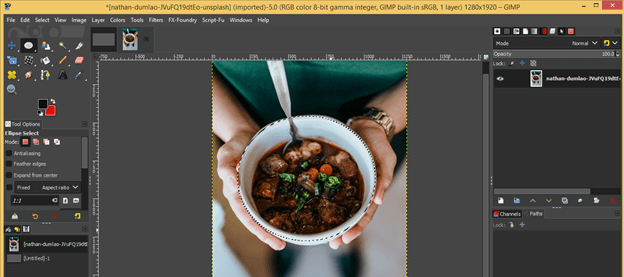
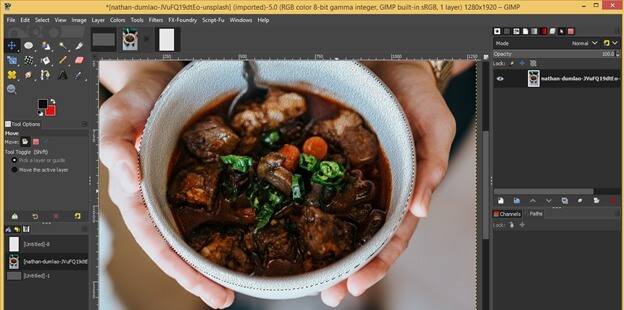
Now let us open an image in gimp by the Open option of File menu of the menu bar. I will open this image.
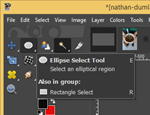
Now take Ellipse select tool from the tool panel, or you can press the E button of the keyboard as short cut key.
And make a selection around the food which is inside the bowl.
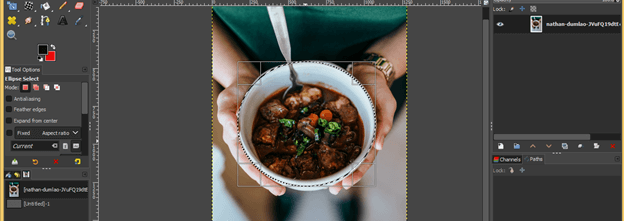
Hit the enter button on the keyboard to enable selection.
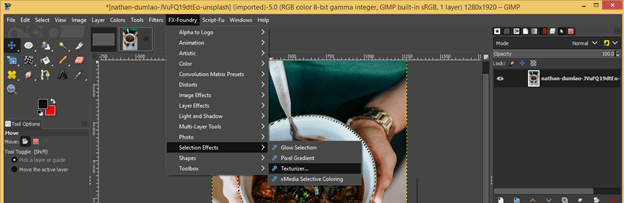
Now go to the Fx-Foundry menu of the menu bar and go to the Selection Effects option of the drop-down list, then click on the Texturize option of the new drop-down list. I will add texture to the selection area.
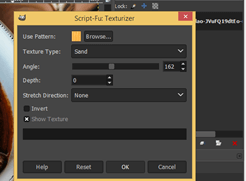
Now the Texturizer parameters box will be open. You can choose the pattern or texture that you will apply.
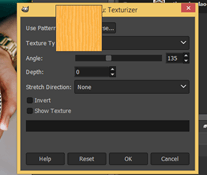
You can also choose the texture type from here. I will choose sand from this list.
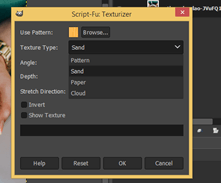
You can set the angle of the grains of your chosen texture type from the angle option of this box.
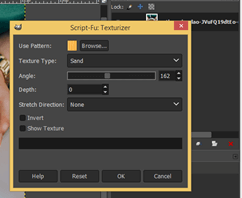
Now, if you enable the Show texture option of this box, you will also have applied texture on a separated tab. Now hit on the Ok button of this box.
And the sand texture is ready.
And our applied texture is also on a different tab like this. So you can use it in other image editing work or save it for future use.
Now let us see one more effect of the FX-Foundry menu on this image. Again go to the FX-Foundry menu and click on it, then go to the layer Effects option of the drop-down list. Now click on the Apply Mirrors option of the new drop-down list.

Here we have the parameters’ settings dialog box of this effect. This effect mirrors the whole layer of this image so that you can choose the number of the mirrored object from the ‘Iteration (Image doubles each time)’ option. I will give 1 as its value because I want one mirror copy of this image.
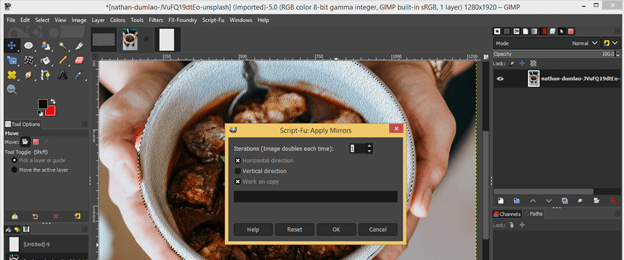
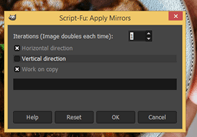
You can choose the direction in which you want to mirror this image. It may be horizontal or vertical. I will go with the Horizontal option of this dialog box by enabling it. Just click on the small check box of the horizontal option for enabling it with the mouse button.
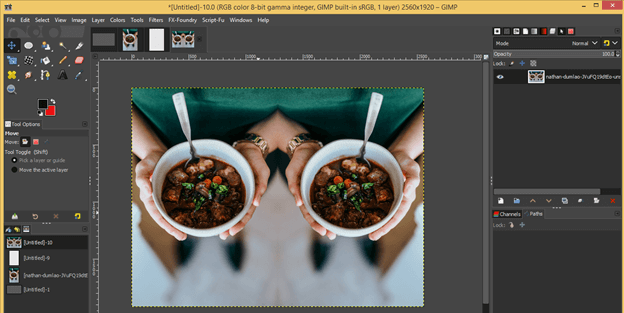
And here, the mirror image of the original image is ready. You will get this mirrored effect on the new layer in a separate tab. So it is a non-destructive change for your original image.
Conclusion
There were many more effects that you can find in the extensions pack; we just discussed some of them for a reference idea about the extensions of GIMP. You can use the different extensions in your work and get benefit from them by making different changes in their parameters.
Recommended Articles
This is a guide to GIMP extensions. Here we discuss How to use gimp Extensions and analyze Extensions for getting more knowledge about them. You may also have a look at the following articles to learn more –
