Updated June 2, 2023
Row Height in Excel
Excel Row Height helps the user to adjust the height of rows as per need so that data in the rows can be seen properly, and also, by this, we can make our table uniform in shape. To execute the Row Height operation in Excel, select the row for which we want to adjust the height, then from the right-click menu list, select the Row Height option. Give the height by which we want to expand the rows. There is another way: select the entire rows and, with the help of a mouse pointer, select and drag any selected row from the position of the row number.
If the text you entered is in Times New Roman font style in Excel 2013, the row height is default 15 points. This row height varies depending on the display scaling (DPI) from 15 points on a 100% dpi to 14.3 points on a 200% dpi.
One can also manually set a row height in Excel, starting from 0 to 409 points. The cell has a row height equal to 1 point, approximately 0.035 cm, whereas the height of a hidden row is zero. In the Home tab, you can adjust the row height or column width under the format option.
You can manually set the Row Height option, whereas Autofit row height will automatically adjust based on the cell’s text or font size.

Different Ways of Changing Row Height
Below are the different ways of changing row height:
1. Using Mouse
- This is the easiest and quick way of adjusting the row height by dragging the row boundaries with the help of the mouse.
- If you want to change the size of one cell, drag the lower boundary of the row until you get the desired height.

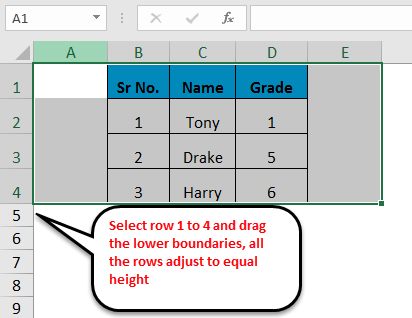
- First, for changing multiple cells, select the rows for which you want to make changes and then drag the boundary of the row heading.
2. Row height option
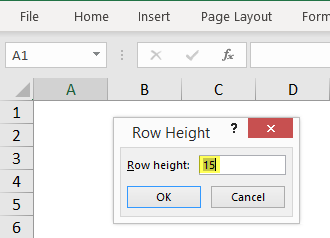
- This option provides the user to change or set the row height to a specific point.
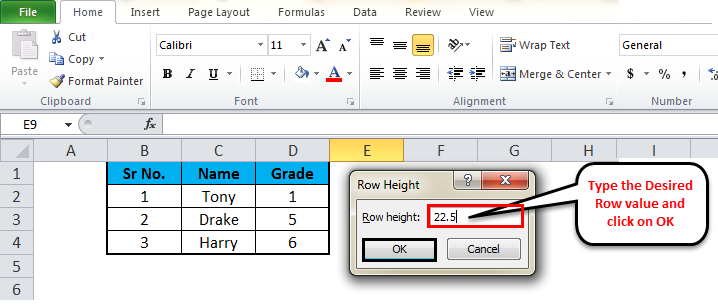
- Choose the format option from the Home tab ribbon, and click Row Height. In the Row height box, type the specified value of the row and click OK.

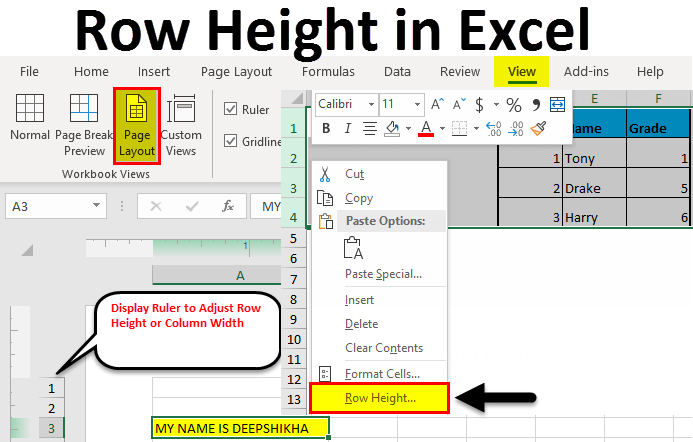
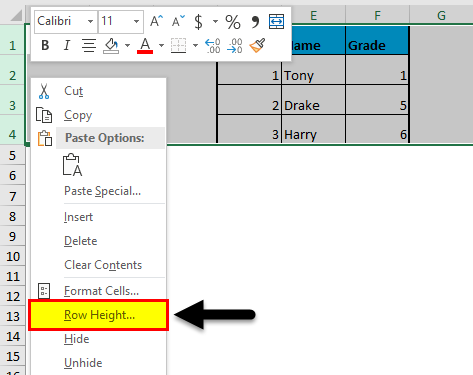
- There is also a shortcut way of getting the Row height dialog box, select the rows of your choice, and then right-click, and select Row height from the drop-down menu.
3. Auto-Fit row height
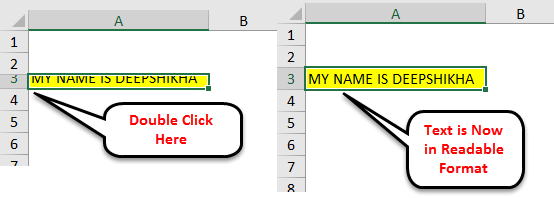
- Sometimes you may have encountered a situation wherein you have copied any text in the cell, and you cannot read the text properly as the text is clipped off. The row height needs to be fixed using autofit row height option. This will allow the row height to adjust automatically using the largest value of that row.
- Double click on the lower boundary of the row heading to adjust the row height of the entered text.
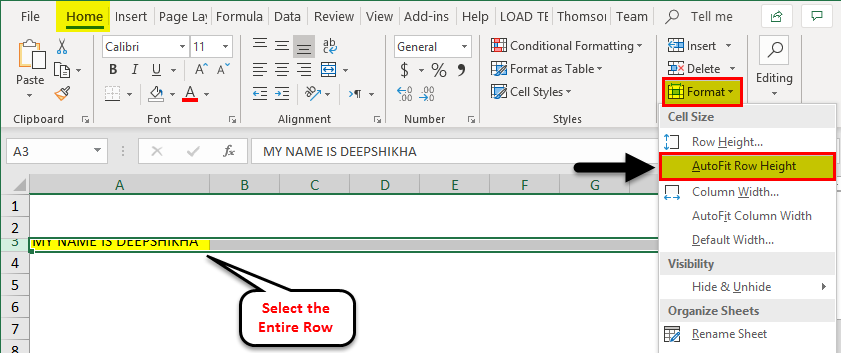
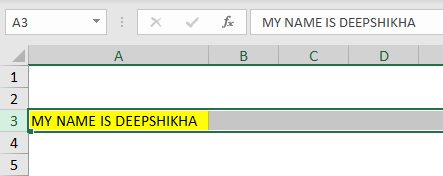
- Select row A3, go to the Format option, and click the Auto-fit row height option. The row height of the text will get adjusted automatically.
Note: To Autofit all rows of the Excel sheet, press the select button (Ctrl + A) and then do double-click on the lower boundary of any two-row headings or click on AutoFit Row Height option from the format menu available in the Home tab ribbon.
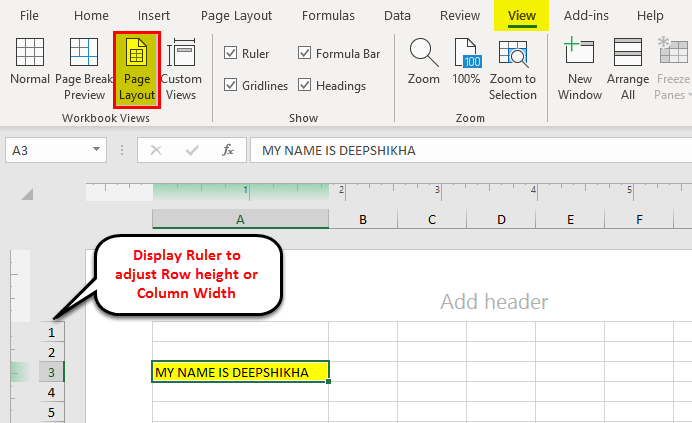
4. Using Ruler
- Sometimes when we need to take a printout of our Excel working, we need to set the Excel row height based on inches, and this can be done using the Page Layout option.
- In the View tab, select the Page Layout option. This will display the rulers, allowing you to adjust the column width or row height in inches, centimeters, or millimeters as required.
- Select one or multiple rows of the Excel sheet and set the row height by dragging the lower boundary of the selected row headings.
Things to Remember About Row Height in Excel
- Excel grid sometimes appears static, but you can customize the page layout using the Excel tool of row height or column width.
- The easiest method of adjusting the rows is by dragging the Mouse up or down. You can use the row height option under the format menu to get the specified row height.
- Select the entire sheet and click on the Auto-fit option to resize the whole dataset. This sets the required rows/column automatically.
- If a user wants to customize the sheet, use the page layout option and adjust the row height in either inches, centimeters, or millimeters. It’s the most effective and simple technique useful in our daily activities.
Recommended Articles
This has been a guide to Row Height in Excel. The easiest way to adjust a column is to use the Row Height in Excel. Here we also discuss Row Height in Excel, along with practical examples. You can also go through our other suggested articles –
