Updated June 2, 2023
Rows and Columns in Excel (Table of Contents)
- Introduction to Rows and Columns in Excel
- Rows and Column Navigation in Excel
- How to Select Rows and Columns in excel?
- Adjusting Column Width
Introduction to Rows and Columns in Excel
In Microsoft Excel, if we open a new workbook, we can see that sheet will contain tables with light grey color. Excel is a tabular format that contains n number of rows and columns, where rows in Excel will be in a horizontal line, and columns in Excel will be in a vertical line.
- In Excel, we can find each row by its row number, as shown in the screenshot below, which shows vertical numbers on the left side of each sheet.
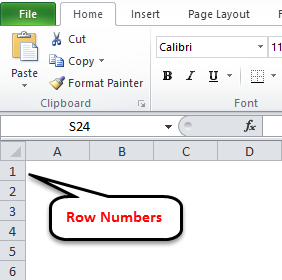
- As we can see in the above screenshot, each row can be identified by its row numbers like 1, 2, 3, etc.
- Whereas we can find the column in Excel, which can be identified by the column header A, B, C. which will be shown normally in all Excel sheets, shown below.
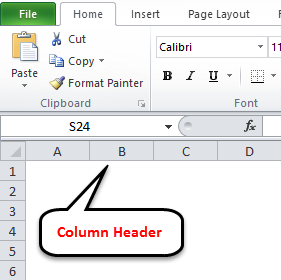
- Each column is named in Excel by its header, which shows the column header horizontally at the top of the Excel sheet.
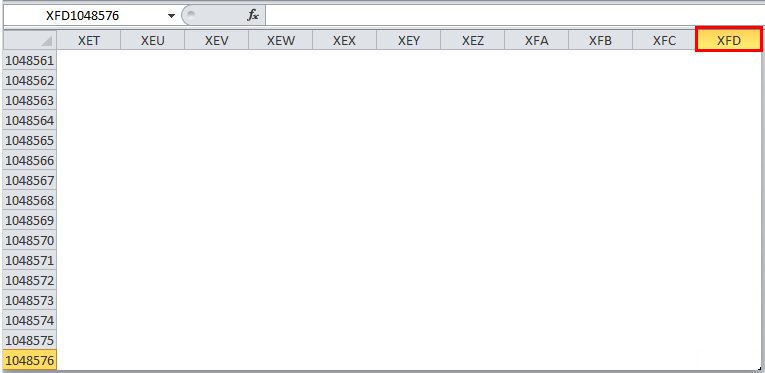
In Microsoft Excel 2010 and the latest version, we have row numbers ranging from 1 to 1048576 in 1048576, whereas the column ranges from A to XFD in a total of 16384 columns, shown in the screenshot below.
Rows in Excel range from 1 to 1048576, which is highlighted in red mark
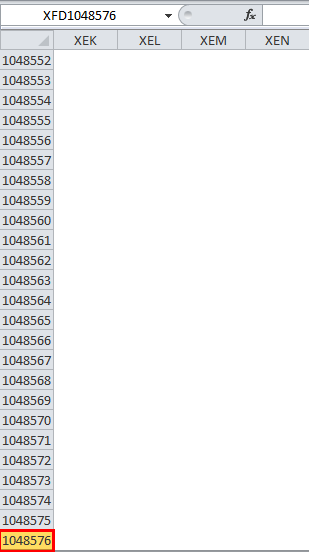
The column in Excel ranges from A to XFD, which is highlighted in red mark.
Rows and Column Navigation in Excel
In this example, we will see how to navigate rows and columns with the below examples.
We can find the last row of Excel using the keyboard shortcut key CTRL+DOWN NAVIGATION ARROW KEY, or else we can use the vertical scrollbars to go to the end of the row.
We can find the last column of Excel using the CTRL+RIGHT NAVIGATION ARROW KEY, or else we can use the horizontal scrollbars to go to the end of the column.
How to Select Rows and Columns in Excel?
In this example, we will learn how to select the rows and columns in Excel.
Rows and Columns in Excel – Example#1
Normally, when we open a workbook, we can see that sheet contains tabular rows and columns where each row is specified by its row number and column specified by their column header.
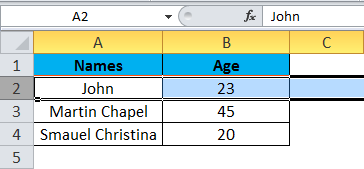
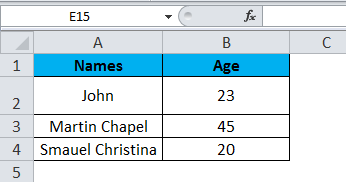
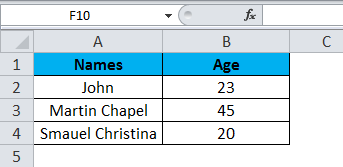
Consider the below example, which has some data in an Excel sheet. Here we will see how to select the rows and columns.
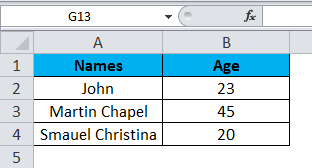
In the above screenshot, we can see that names and age column have their own header name, A and B, and each row has its own row number.
In Excel, when we select a row or column, the “Name Box” will display the specific row number and column name, shown in the screenshot below.
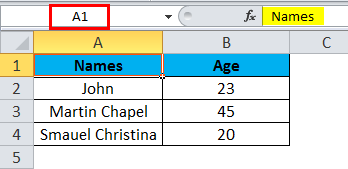
In this example, we will select the Names and Ages, and let’s see how the rows and column header are displayed.
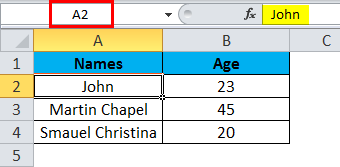
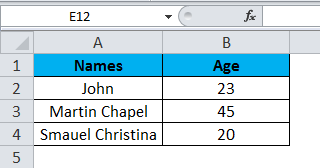
Step 1 – First, select the cell Name, John.
Step 2 – Once you select the cell name, John, we will get the row number and column name as A2 in the name box, which means that we have selected A column second row as A2, as shown below screenshot with yellow highlighted.
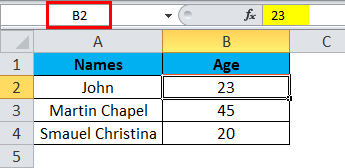
Step 3 – Now select cell 23, where it will show the selected cell is B2, shown in the below screenshot with yellow highlighted.
Step 4 – Now select all the names and columns to show that we have 4 rows and 2 columns in the screenshot below.
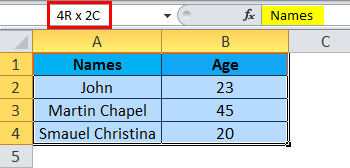
In this way, we can identify the row number and column name by selecting each cell in Excel.
Example#2 – Changing Row and Column Size
This example shows how to change the row and column size using the following examples.
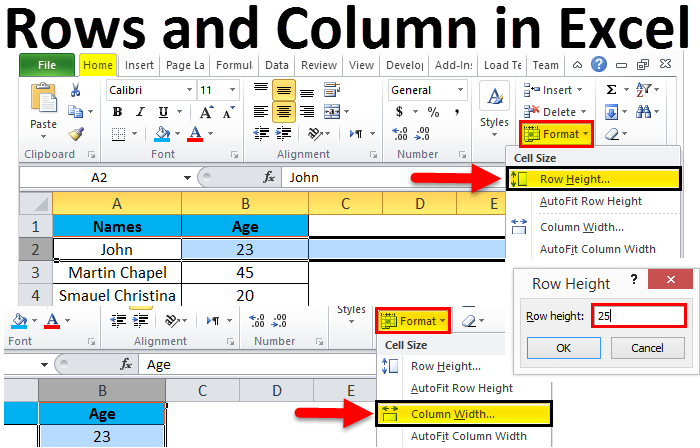
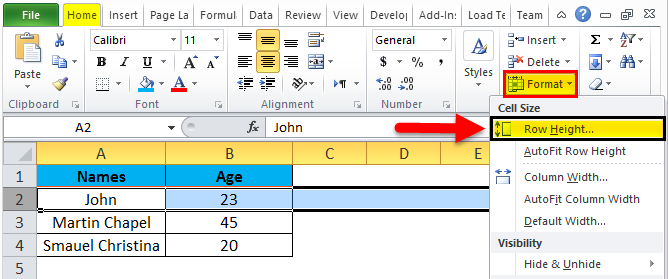
Excel row and column width sizes can modify by using the format option in the HOME menu, shown below.
Using the format menu, we can change the row and column width where we have the list option, which is as follows:
- ROW HEIGHT– This is used to adjust the row height.
- AUTOFIT ROW HEIGHT– This will automatically adjust the row height.
- COLUMN WIDTH – This is used to adjust column width.
- AUTOFIT COLUMN WIDTH– This will automatically adjust the column width.
Let’s consider the below example to change the row and column width. Follow the below steps.
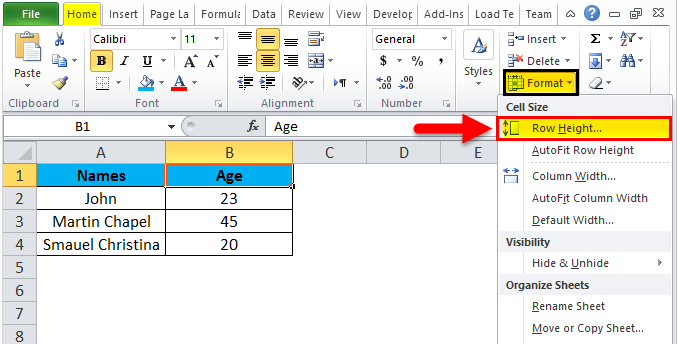
Step 1 – Select the second row, as shown in the screenshot below.
Step 2 – Go to the Format menu and click ROW HEIGHT, as shown below.
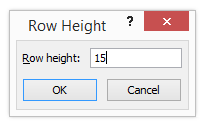
Step 3 – Once we select the ROW HEIGHT, we will get the dialog box below to change the row’s height.
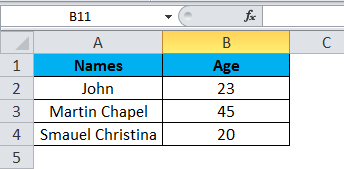
Step 4 – Now increase the row height to 25 so that the selected row height will increase, as shown in the screenshot below.
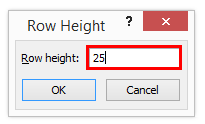
We can see that the row height has increased compared to the previous one; alternatively, we can change the row height by using the mouse.
Step 5 – Go to the second option in the format list, AUTOFIT ROW HEIGHT, which automatically resets the row to its original height.
Step 6 – Select the same row and go to the Format menu.
Step 7 – Now select the “AutoFit Row Height” as shown below.

Once we click the “AutoFit Row Height” option, the row height will reset to the original position, as shown below.
Adjusting Column Width
We can adjust the column width similarly by using the format option.
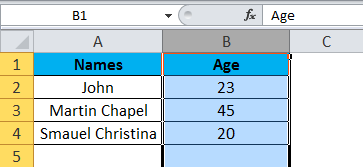
Step 1 – Click on the cell B cell as shown below.
Step 2 – Go to the Format menu and click on column width, as shown in the screenshot below.
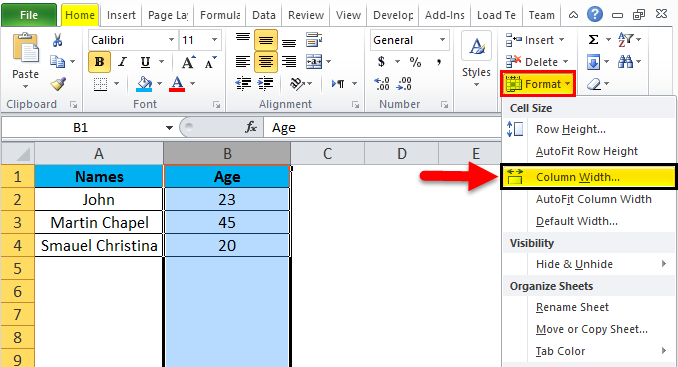
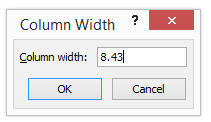
Once we click on the Column width, we will get the below dialog box to increase the column width, as shown below.
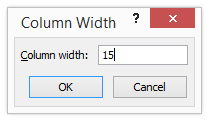
Step 3 – Increase the column width by 15 to increase the selected width.
The above screenshot shows that the column width has been increased; alternatively, we can adjust the column width by using the mouse. If we place the mouse cursor, we will get the + plus mark sign near the column.
Step 4 – Now click on the “AutoFit Column width” option. So that the selected column will get reset to its original size, which is shown below.
Things to Remember
- In Excel, we can delete and insert multiple rows and columns.
- We can hide the specific row and columns using the hide option.
- Row and column cells can be protected by locking the specific cells.
Recommended Articles
This has been a guide to Rows and Columns in Excel. Here we also discuss Rows and Columns in Excel, practical examples, and downloadable Excel templates. You can also go through our other suggested articles –
