Updated August 16, 2023
Row Limit in Excel (Table of Contents)
Row Limit in Excel
Although we have a sufficient number of rows and count in Excel to handle ample data, we still have some limitations in the number of rows in Excel, which is limited to 1048576 rows in Excel 2019 Office 365. Every workbook has limited memory, allowing Excel to function properly without any crashes. We can insert multiple sheets if we still have data exceeding the 1048576-row count.
Hide Rows Which You Don’t Want to Show
This is not strange for you if you are old enough to excel in hiding and unhiding. A similar technique can apply here as well. We rarely use more than 1 lakh rows of data sets. I often don’t want to show unnecessary rows to the users. We can hide both rows and columns in Excel. Follow the below steps to learn this technique.
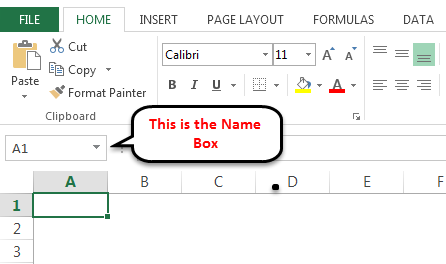
Step 1: Select the row below where you want to display the number of rows. For example, if I want to display 1 lakh rows, I will select the row after 1 lakh. Reaching after the row of 1 lakh is not that easy. Scrolling till the 1 lakh row is not that easy. Place a cursor on the Name Box.
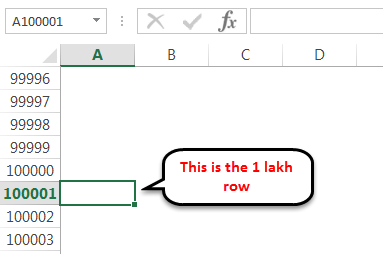
Now type A100001in the Name Box and Hit Enter; it will take you to the row after 1 lakh row.
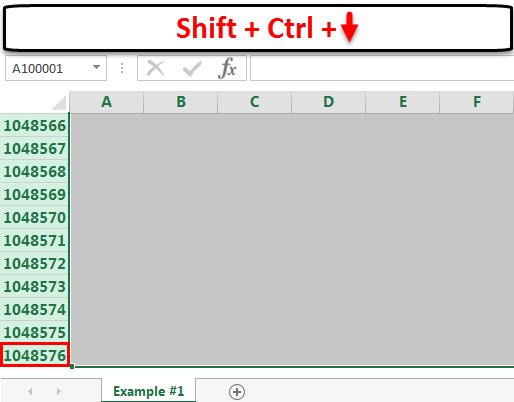
Select this entire row by pressing the shortcut key Shift Space.
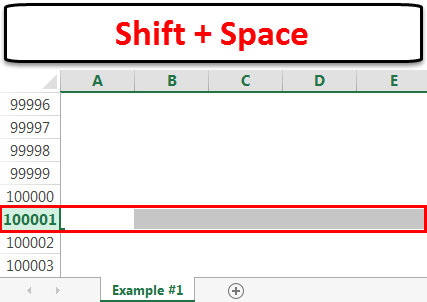
Step 2: Hold the Keys Shift & Ctrl > Press down Arrow; it will take you to the end of the last row.
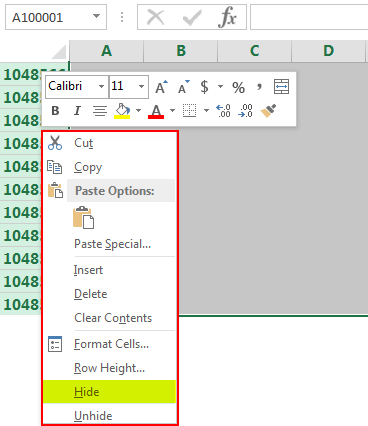
Step 3: Right-click on the column header and select the hide option.
Pro Tip: We can press Ctrl + 9, the shortcut key, to hide selected rows.
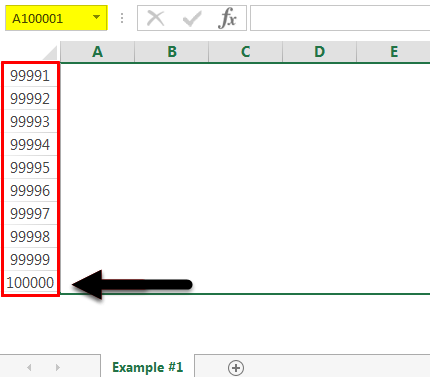
Step 4: It will hide all the selected rows and display only 1 lakh rows.
Limit the Scrolling Area
The user can move around in a general spreadsheet anywhere in the worksheet. However, sometimes we need to restrict the user’s access to specific areas.
We can do this by using the VBA coding technique
Step 1: Open the Workbook you want to restrict.
Step 2: Press ALT + F11, the shortcut key, to open the VBA editor. It will show the VBA Editor window.
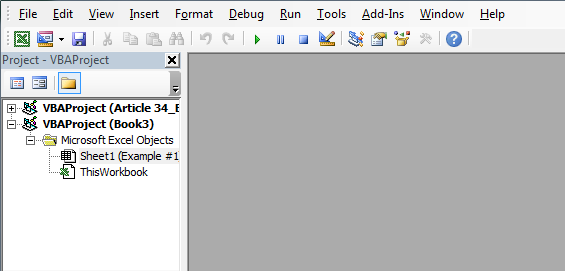
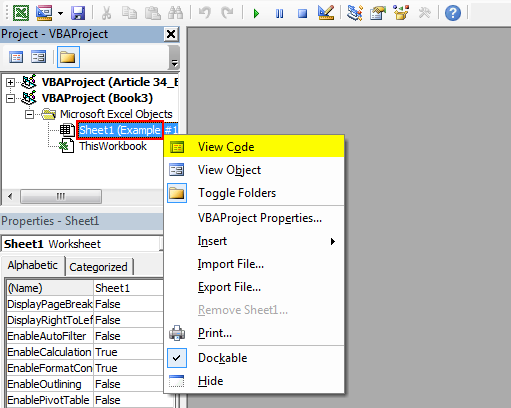
Step 3: Right-click on the worksheet where you want to restrict the user access. In my case, I am selecting Sheet 1. Right-click and select View Code; it will enable the VBA code space.
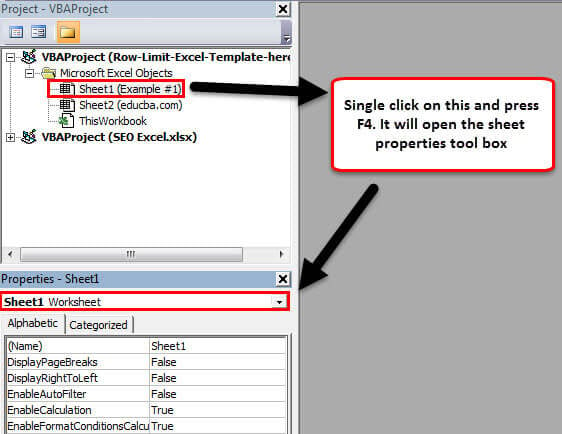
Step 4: Select Sheet 1 and press F4 to open the Sheet Properties window.
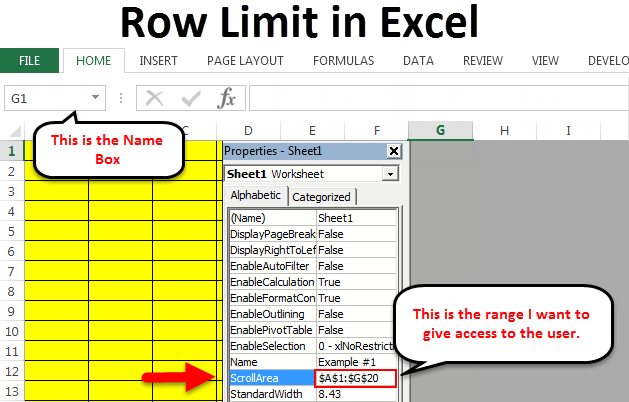
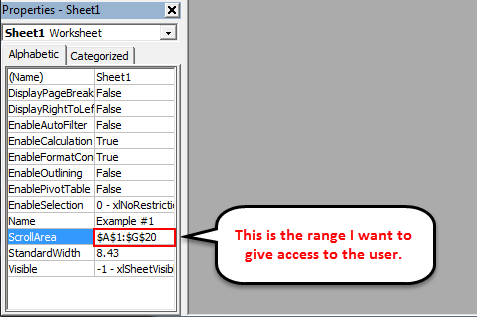
Step 5: Find the ScrollArea in this toolbox.
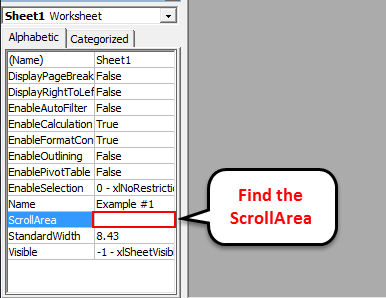
Type the area (range) in the worksheet to which you want to give them access. I have mentioned A1 to G20 in the below image.
Step 6: Close the VBA Editor window and Save the workbook. Now the user cannot move beyond the selected cells. We have limited the access of rows to the users.
Now test your worksheet. You cannot place your cursor other than the yellow-colored area.
Things to Remember about Row Limit in Excel
- The shortcut key to hide rows is Ctrl + 9. Use a horizontal number keypad.
- We can specify any range in the scroll area to limit access.
- Once the rows are hidden, we can unhide them at any time.
- In the latest version of Excel, a maximum of 1,048,576 rows by 16,384 columns are available.
Recommended Articles
This has been a guide to Row Limits in Excel. Here we discuss the Row Limit in Excel and how to use Row Limit in Excel, along with practical examples and a downloadable Excel template. You can also go through our other suggested articles –
