Updated August 11, 2023

Merge and Center in Excel
Merge and Center commands in Excel are available in the Home menu ribbon’s Alignment section, which merges or combines two cells into one and aligns them at the center. First, to merge any two cells, select the two cells minimum, which are adjacent, and then Click on Merge and Center. It will merge those selected cells but keep the value of only the first cell. We can also use Merge and Merge Across from the Merge and Center drop-down list.
How to use Merge and Center in Excel?
We use Merge and Center in Excel to merge a group of cells or to center the headings or text. Merge and Center are located in the Home menu tab under the Alignment section. Using Merge and Center in Excel is very easy and convenient.
Let’s understand how to Merge and Center in Excel with some examples.
Merge and Center in Excel – Example #1
We have sales data for products of a month below. And we have named this table Sales and Order, which is on the top row in font size 20, to have pure clarity and visibility of the performed function.
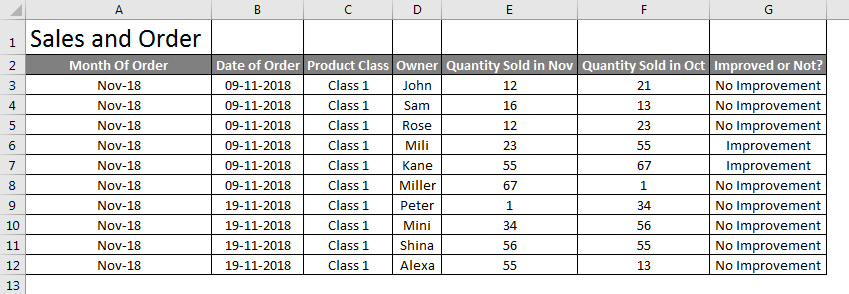
To merge the table name Sales and Order in one cell to become the table’s heading, select the cells you want to merge with Sales and Order text, as shown below.

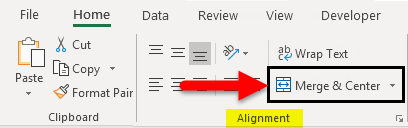
Now go to Home, and click on Merge and Center in the Alignment section.
As we click on Merge and Center, the text Sales and Order is merged in a single cell. You can later change the alignment of merged text to any position as per your need.

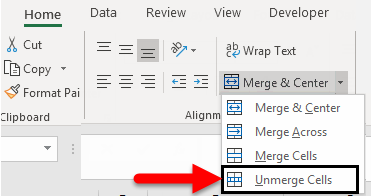
You can unmerge the cells as well if you want to. For that, follow the same path and click on the down arrow in the right corner of the Merge and Center option. We will have more options, and one of them is Unmerge Cells.

Click on it. It will unmerge the cell, and the text will come back to the same previous format.
Merge and Center in Excel – Example #2
We will see another function of Merge and Center in Excel: Merge Across. Unlike Merge and Center in Excel, Merge Across is used to merge multiple rows or line items. In Merge and Center, we could only merge one cell with multiple cells.
In Merge Across, a text comes to one side of the selected cells or row.
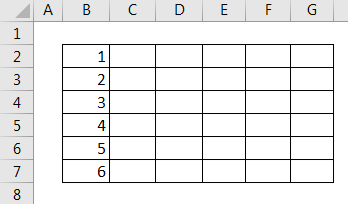
Below, we have some numbers in different rows. Here, we will merge them into one row.
Select all cells covered in the box. Select Merge Across from a drop-down list of Merge & Center. Once we click on it, we will get the complete selected multiple rows merged with numbers entered from rows 2 to 6 as below.
If we need to unmerge the merged cells, select the Unmerge Cells options from the drop-down, as shown below.
Once we click on Unmerge Cells, the whole row will return to the same condition as before.
Merge and Center in Excel – Example #3
We can directly merge any cell content with multiple cells. This is an easy and quick process to perform. For that, we have sample data below.
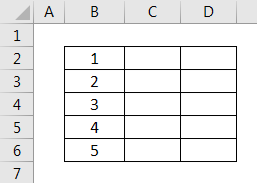
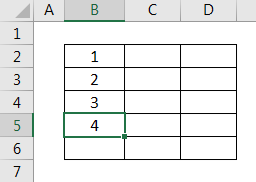
The above screenshot shows some numbers from 1 to 5 in sequence. Now Let’s try to merge any of the numbers with one or more than one cell. First, select the range of those cells that we need to merge, as shown below.
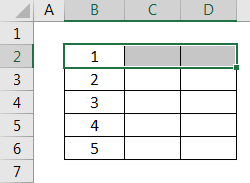
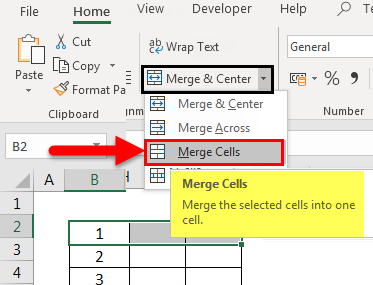
Above, we have selected the cell from B2 to D2 in a range. Now select Merge Cells from the drop-down list of Merge & Center, as shown in the below screenshot.
Once we click on it, the selected cells merge into one cell. And the data present in the first cell will be the only cell data carried in other merged cells, as shown in the below screenshot.

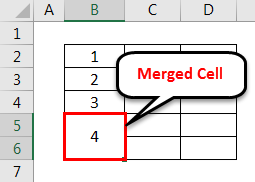
Let’s see what happens when we merge the cell number B5 and B6, as selected in the below screenshot.

Now select Merge Cells from a drop-down list of Merge & Center. Once we do that, we will get a warning message, as shown below. This means only the upper or first value will be kept, and the rest will be discarded. Then, to proceed further, click on OK, as shown below.

Once we do that, the selected cells will merge with only one value: the first or upper value from the range, as shown below.
If I want to see the value in the previous format, then unmerge the cells by selecting Unmerge Cells option from a drop-down list of Merge & Center, as shown below.
After that, all the merged cells will get separated, and only the upper or first value will be retained further, as shown below, losing the rest of the value.
Pros
- It manages data to look good by having a single value for multiple headers.
- By changing the position of merged cells, we can adjust the data and its visibility as per requirement.
- Merge & Center can be used for both rows and columns.
Cons
- Not advised to use where any file has a huge amount of data, and it is becoming bulky to handle it.
Things to Remember
- Always change the alignment of the merged cell to help adjust and look for correct attributes.
- Use Wrap Text, which is located above Merge & Center, so that if a cell has lengthy text, then by wrapping, it will be visible in the same cell and will be on its border.
- If all selected cells contain data, it merges and carries only the first or upper cell value.
Recommended Articles
This has been a guide to Merge and Center in Excel. Here we discussed How to use Merge and Center in Excel and unmerge the cells, the Pros and cons of Merge and Center in Excel, practical examples, and a downloadable Excel template. You can also go through our other suggested articles –
