Introduction to Blur in After Effects
Blur is nothing but making something unclear when we are willing to hide something; we can use this option, blur in Photoshop, Premiere cc, and After effects based on the requirement, we can change the software when we take a picture from DSLR we can blur the background of an object if we take a normal picture we can make blur in editing software like photoshop, if we need to blur a video we use editing software like Premiere cc and to create visual graphics we use After effects. Blur is used to unclear someone’s face, unwanted objects and censored objects, etc. nowadays, blur is mostly used for censor purpose.
How Can We Use Blur in After Effects?
Below are the following steps to use blur in After Effects:
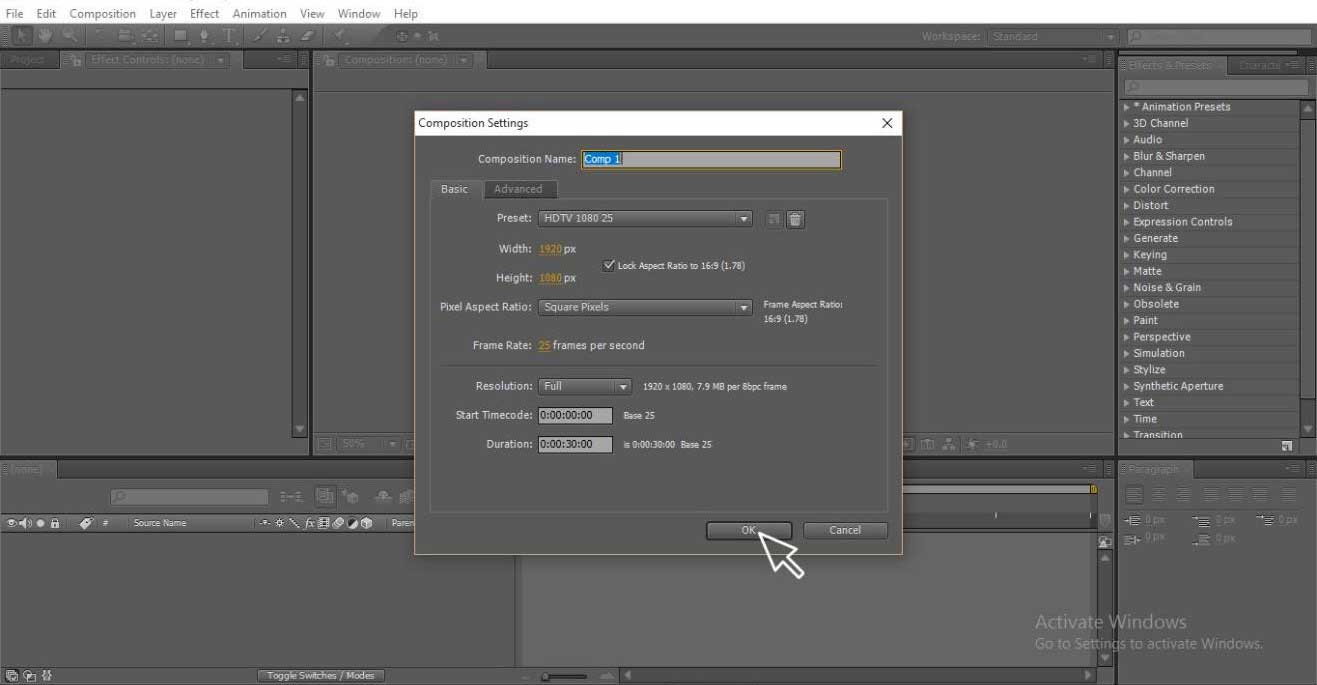
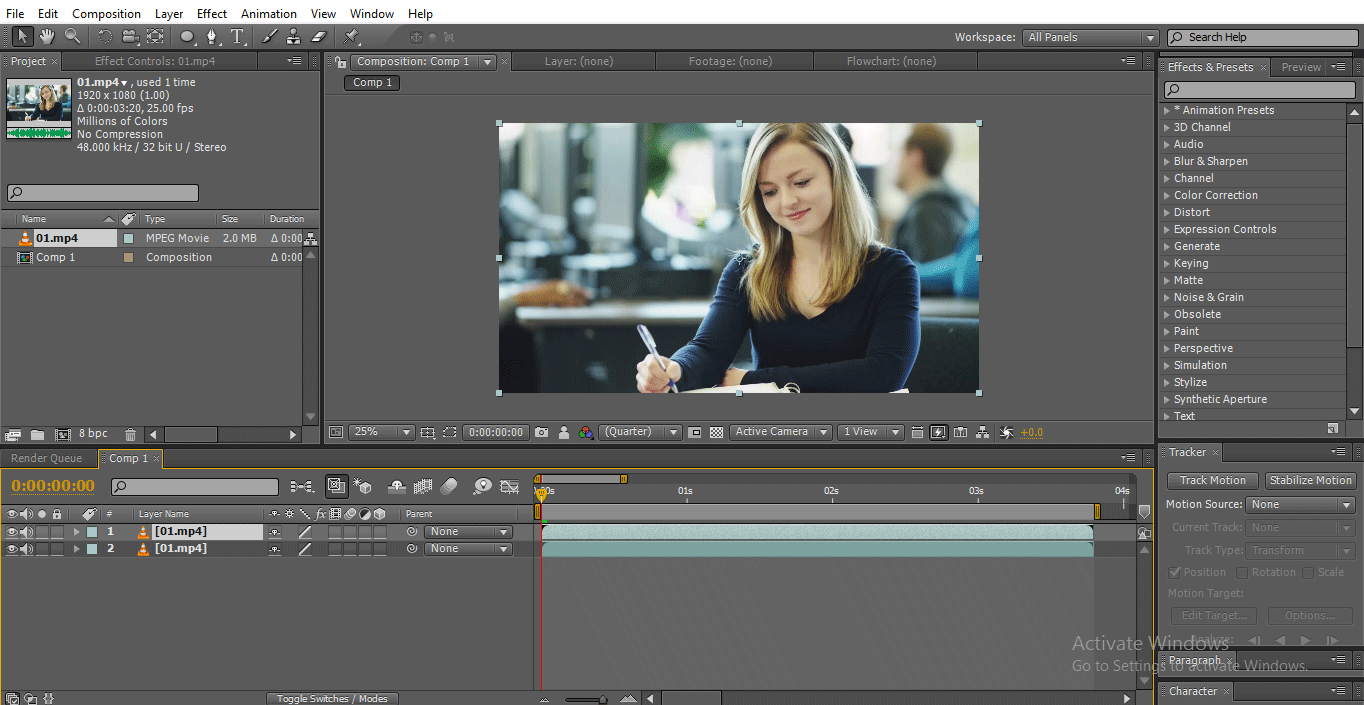
Step 1: Create a New Composition.
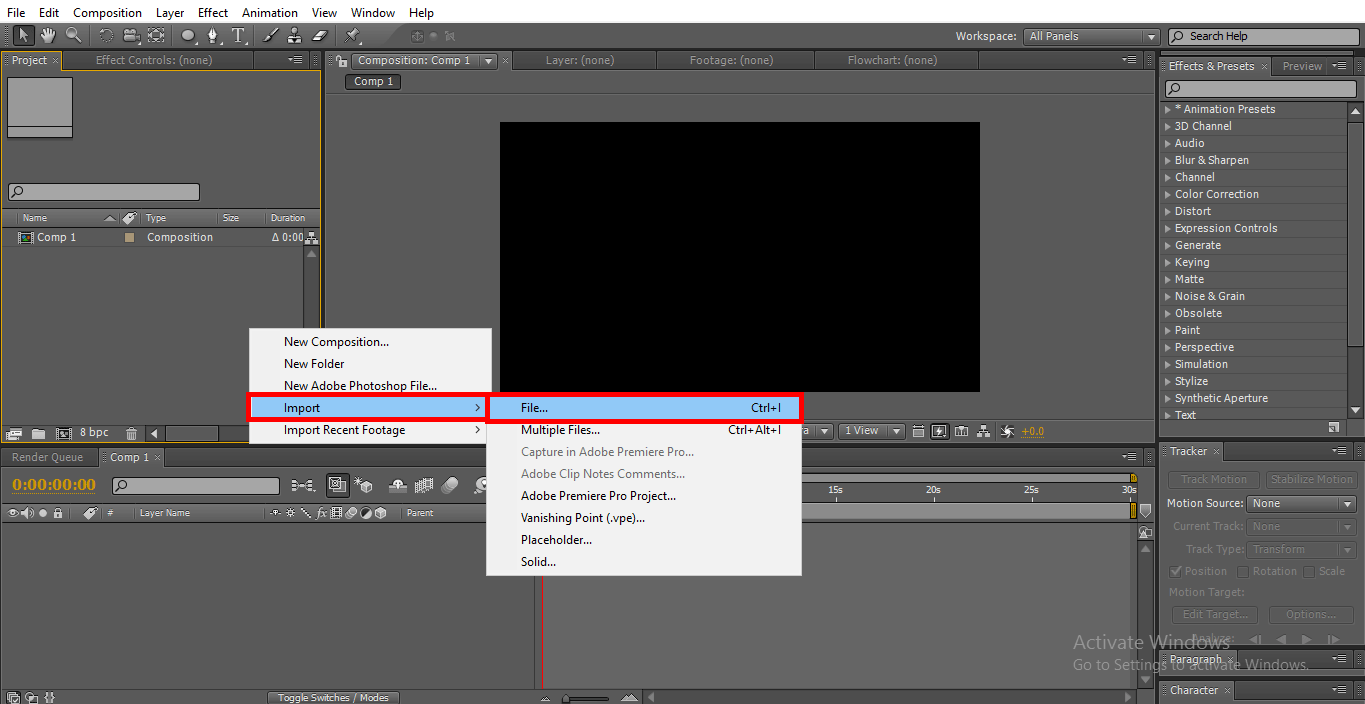
Step 2: Import a video.
Step 3: Import video to timeline.
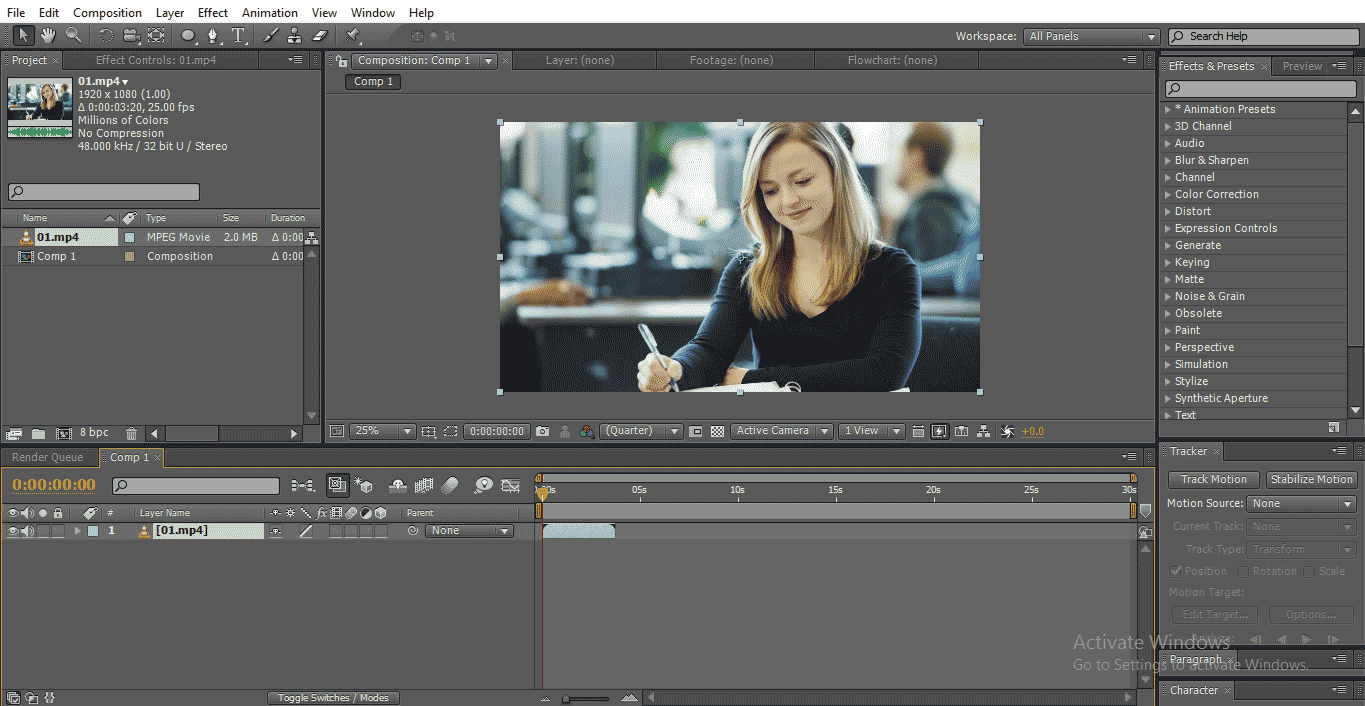
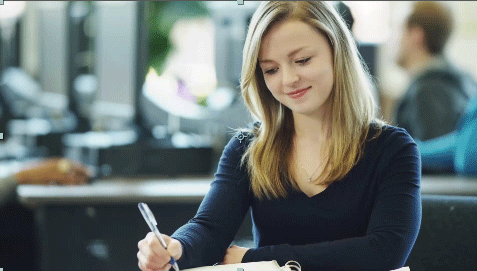
- Here we can find a girl in the video; we are going to blur the girls face
Step 4: Make a duplicate video; we always need to duplicate the video, which we need to blur because we blur the upper layer, and we need to maintain the source in the below layer.
Step 5: We can use two types of selection Ellipse tool or Pen tool. The ellipse tool is used to create a circle path for a particular object.
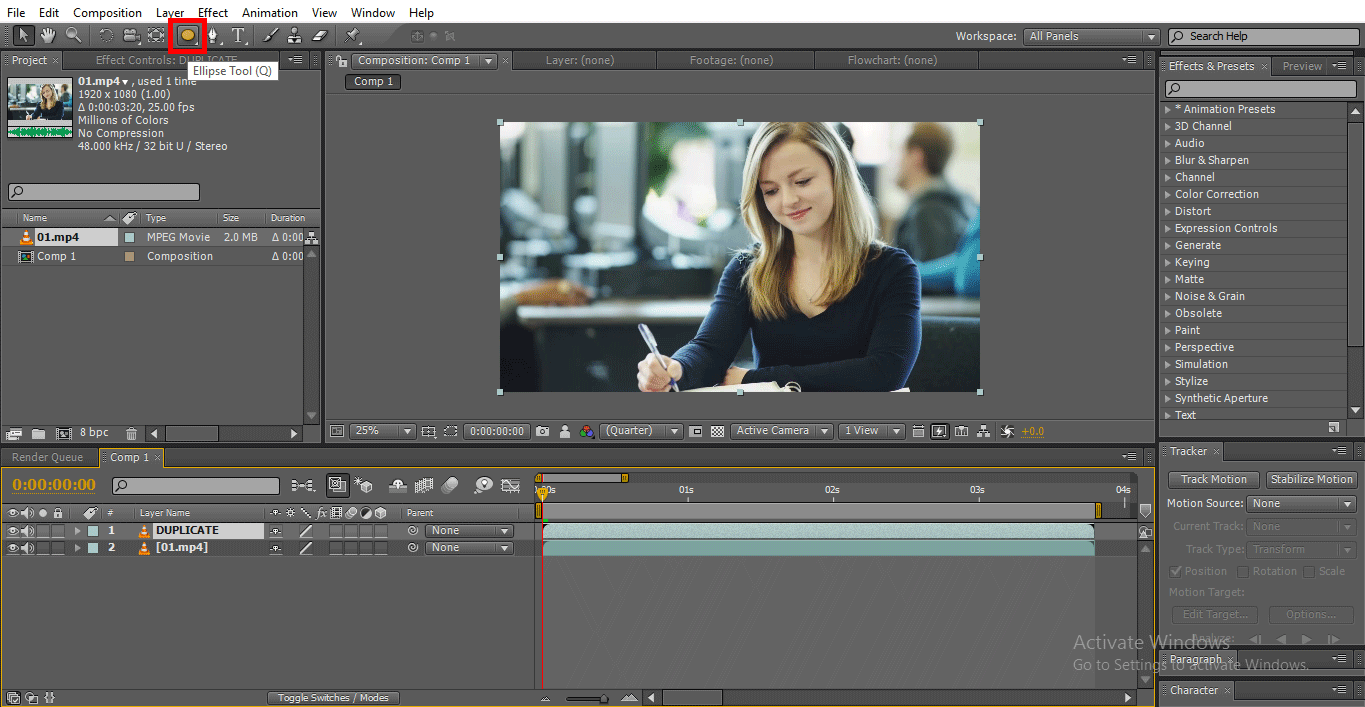
- If we need to create a non-uniform path, we can use the pen tool to create the path.

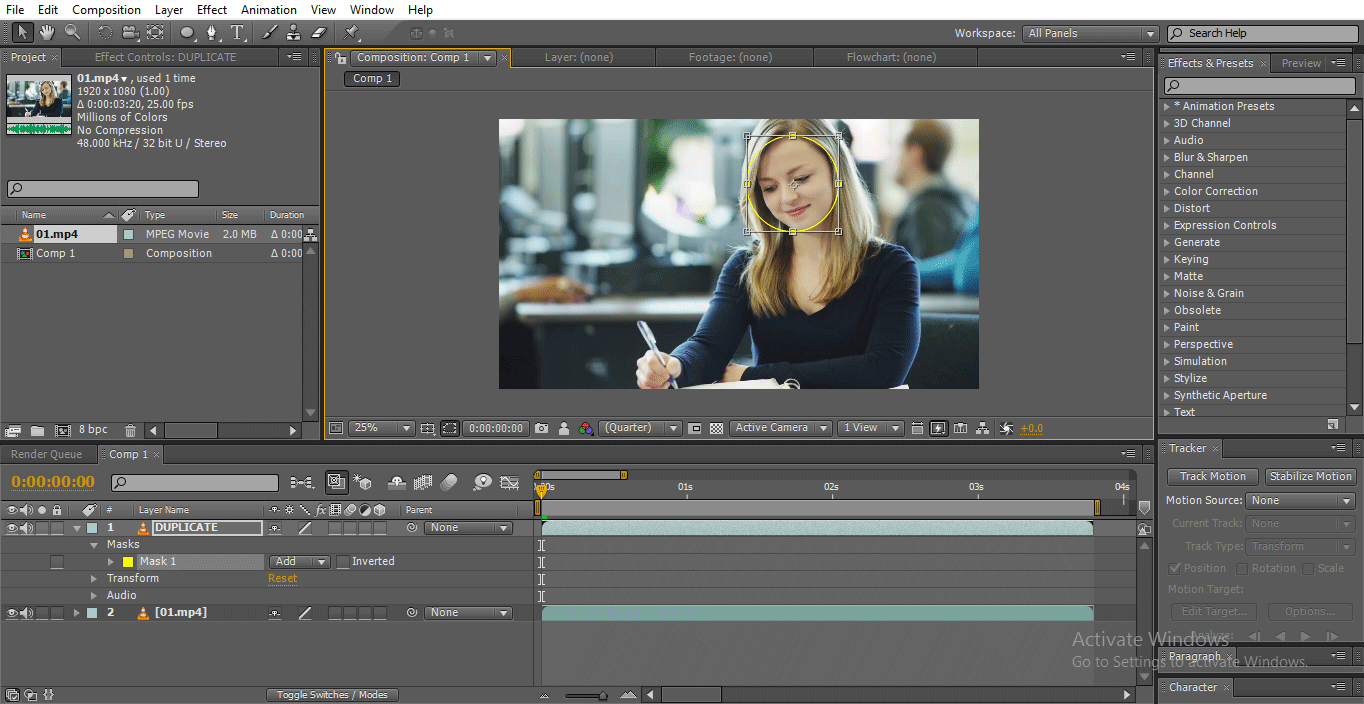
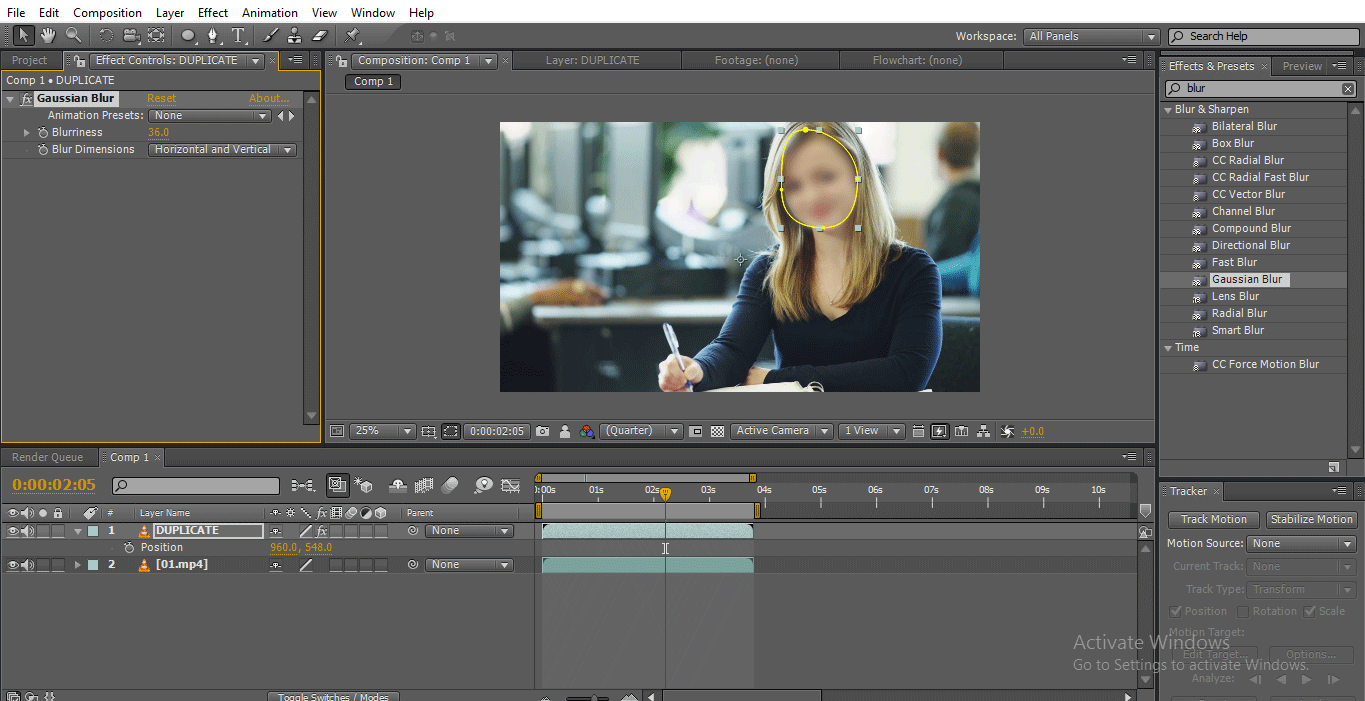
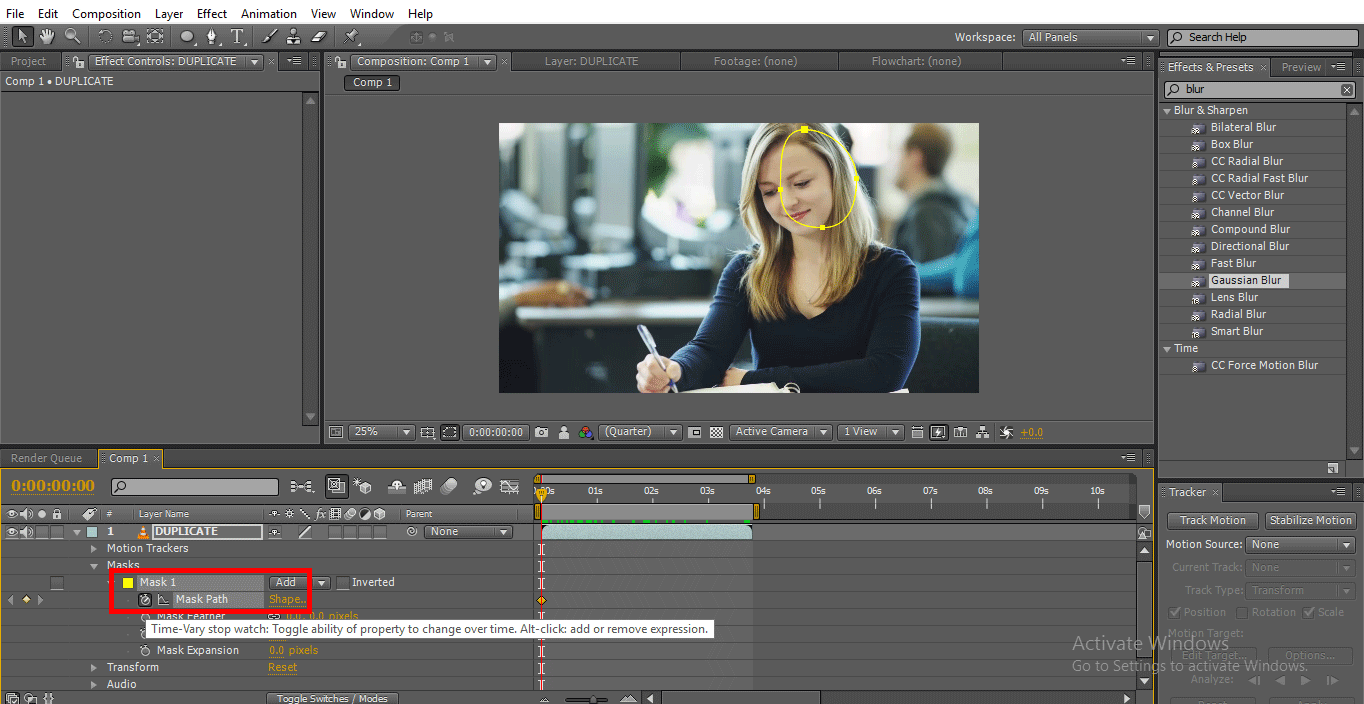
Step 6: Here, I am using the Ellipse tool because I am planning to draw a round object.
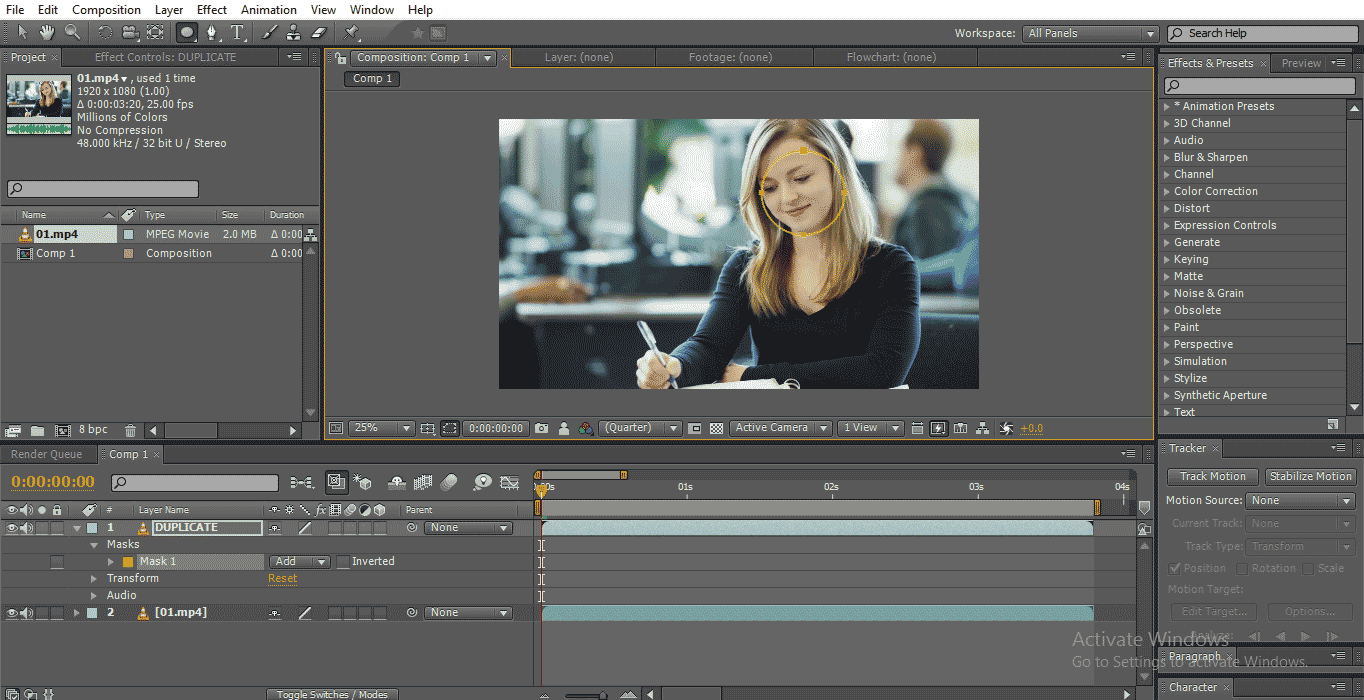
- Draw a circle to the face of the girl; after drawing with the help of the Selection tool, adjust the points (Scale & Position).
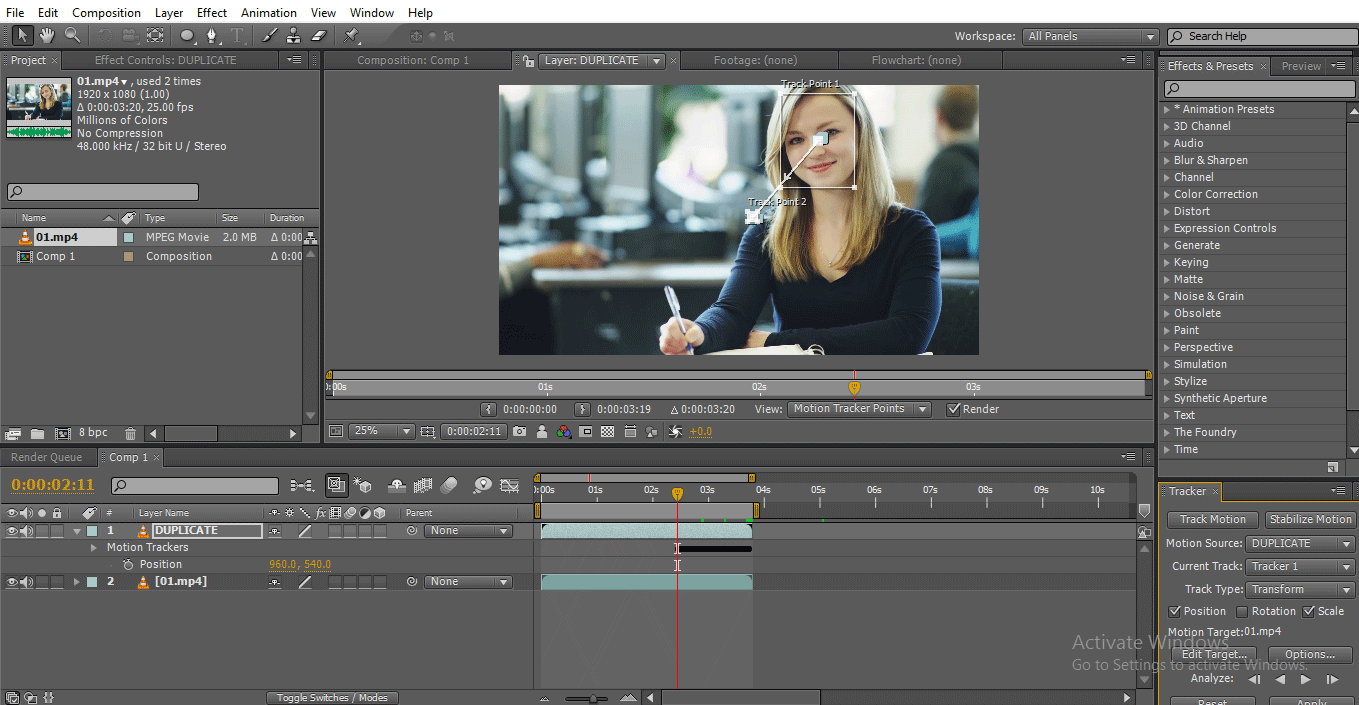
Step 7: Go to Tracer and select the Track motion option.
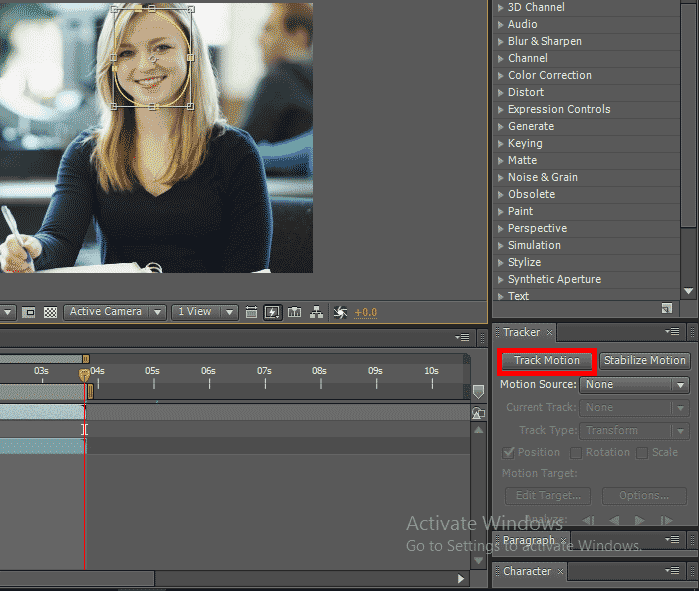
- Let’s use the Tracking option here because the path is moving, so we need to trace the moment of the object.
Step 8: Tracking motion selects the position and scale options by that the moment of the object is traced.
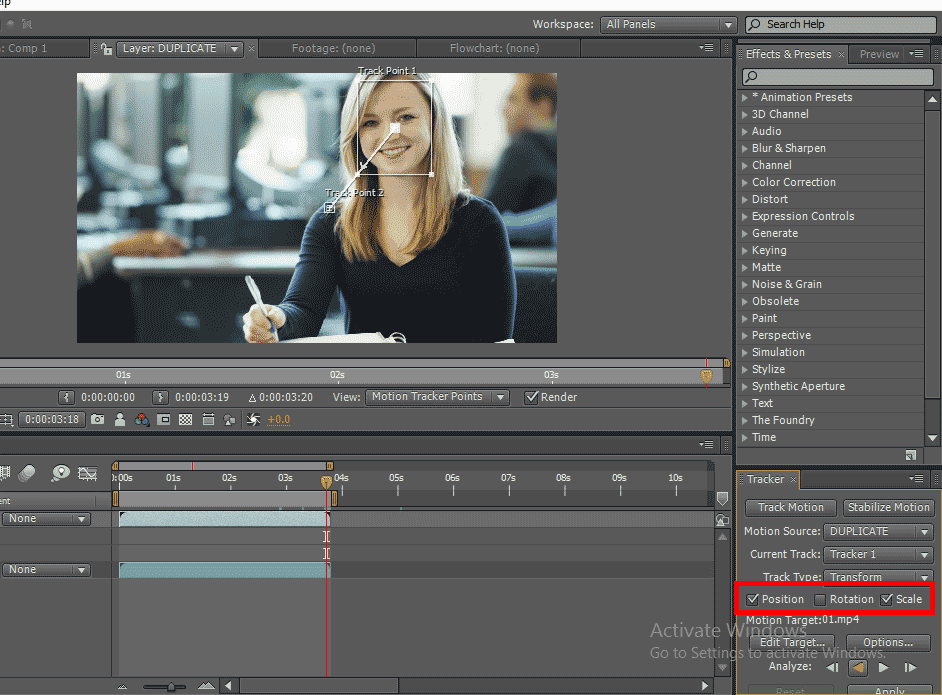
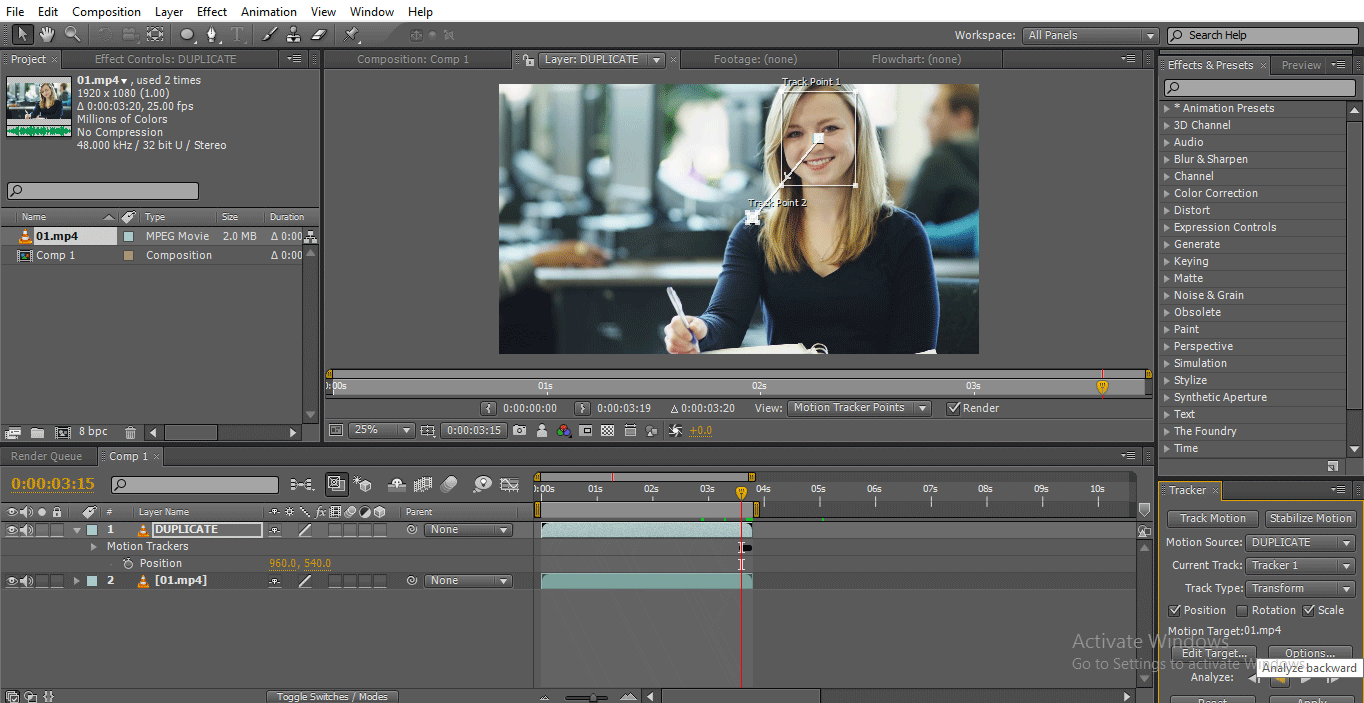
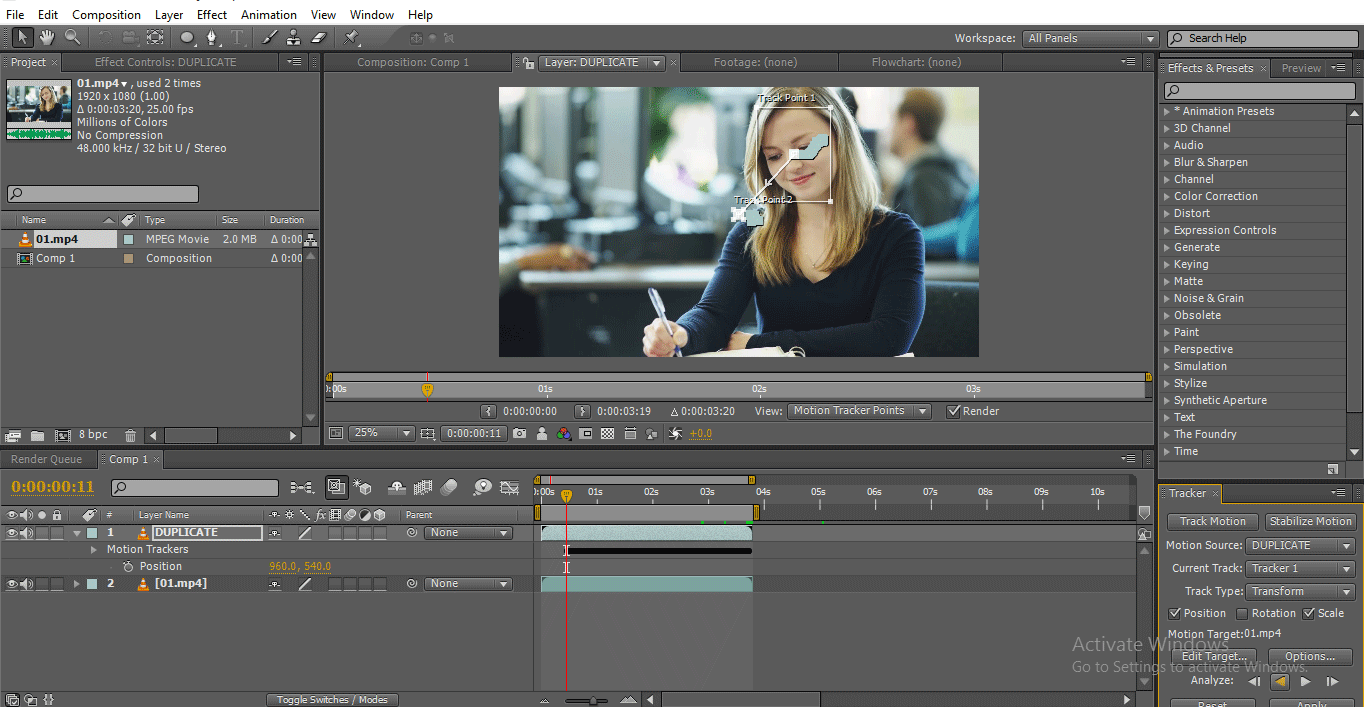
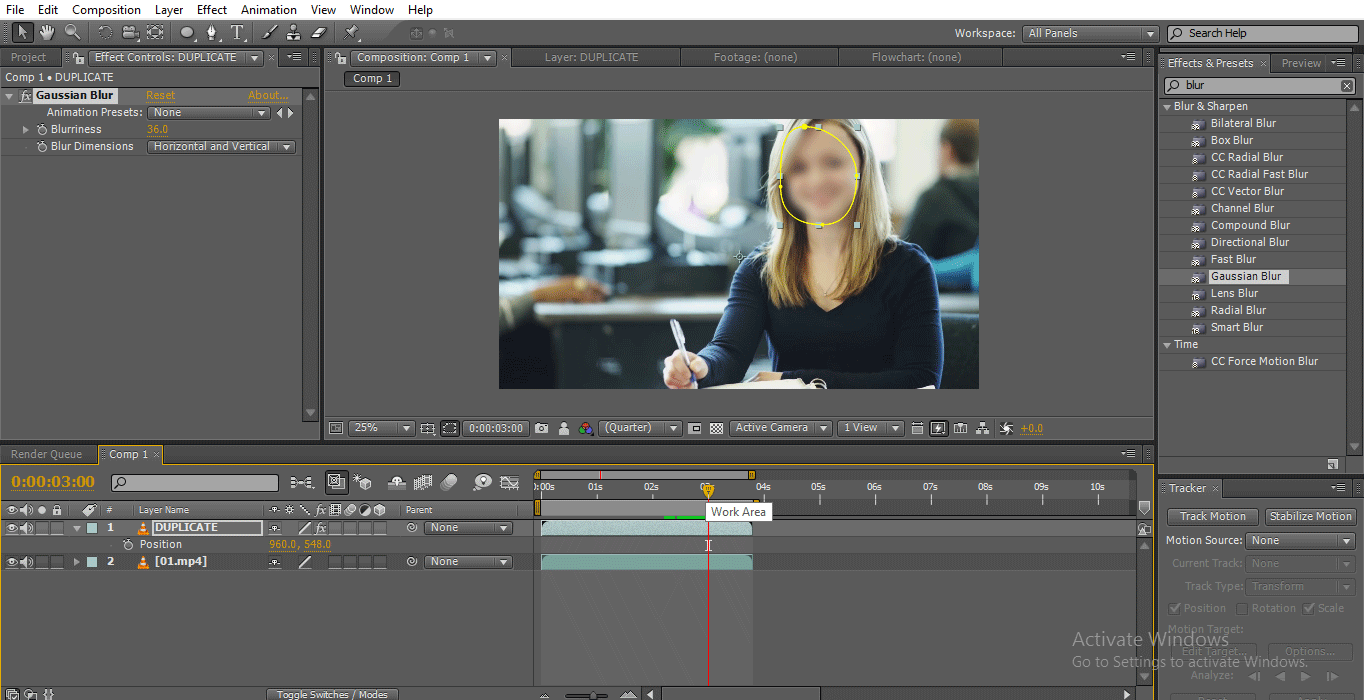
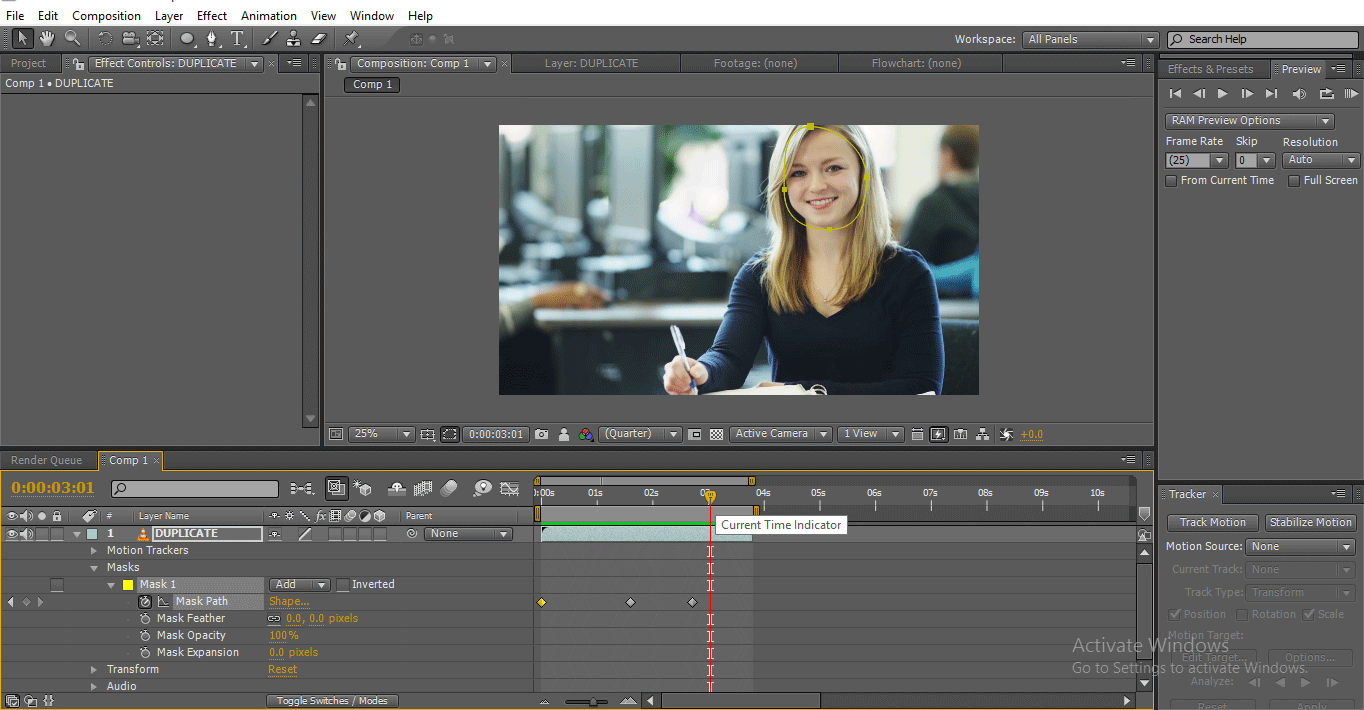
Step 9: Now we are at the last frame, just click on the backward to trace the motion of the face.
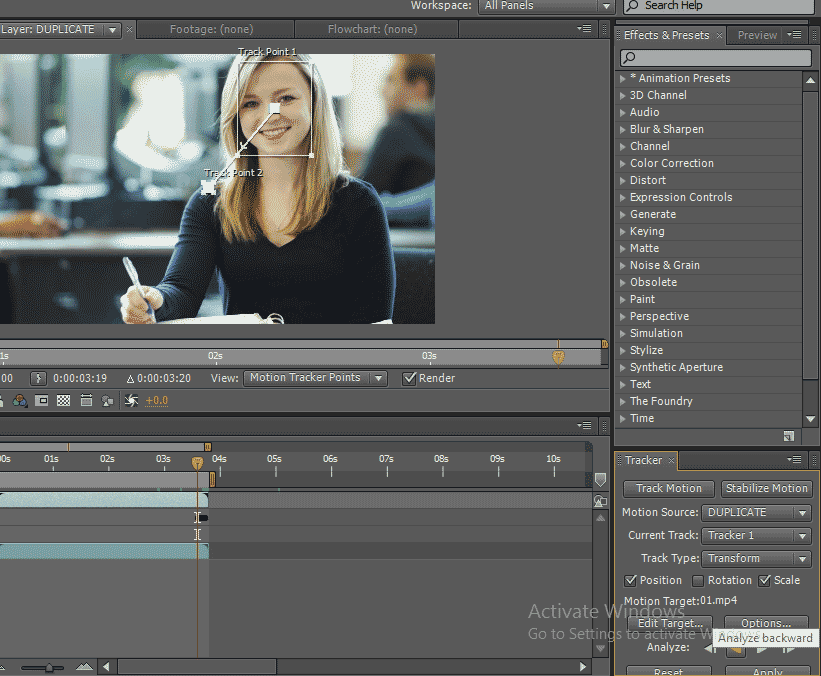
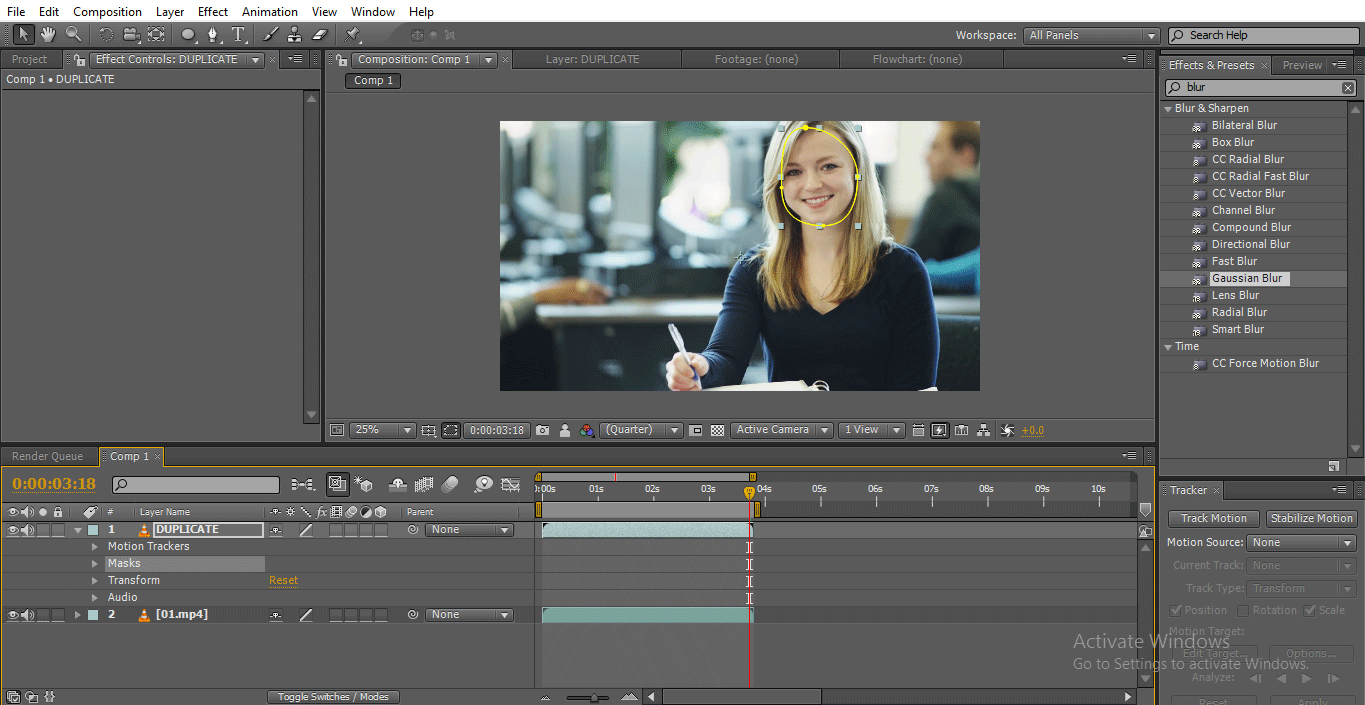
Step 10: Here, we can find how the motion is tracked.
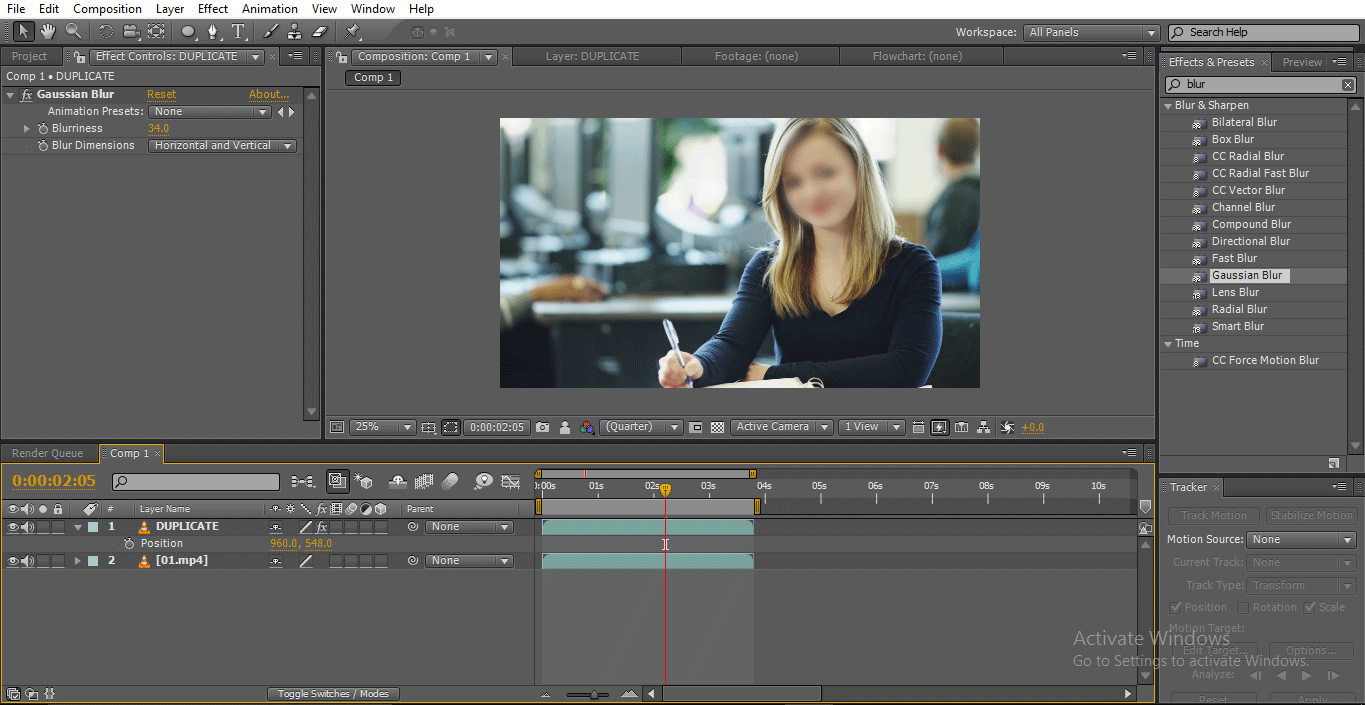
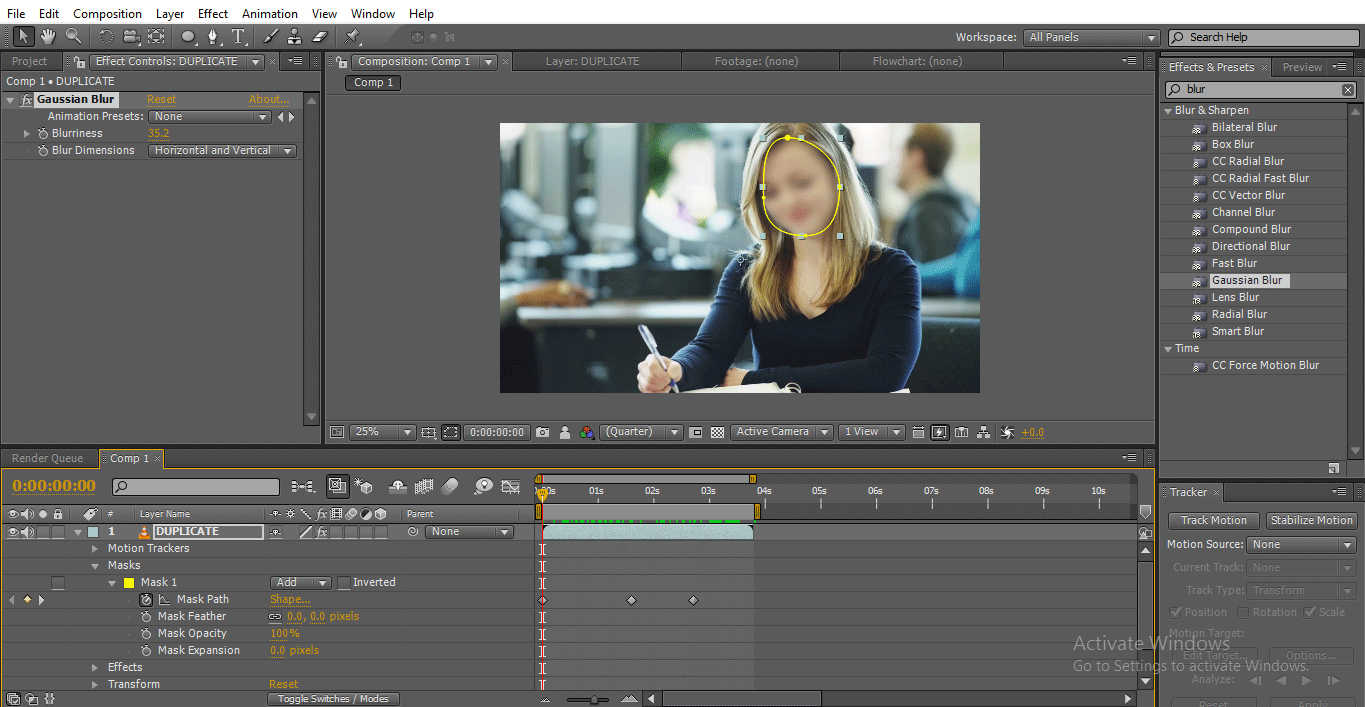
Step 11: Go to effects and select Gaussian Blur and apply to the duplicate layer.
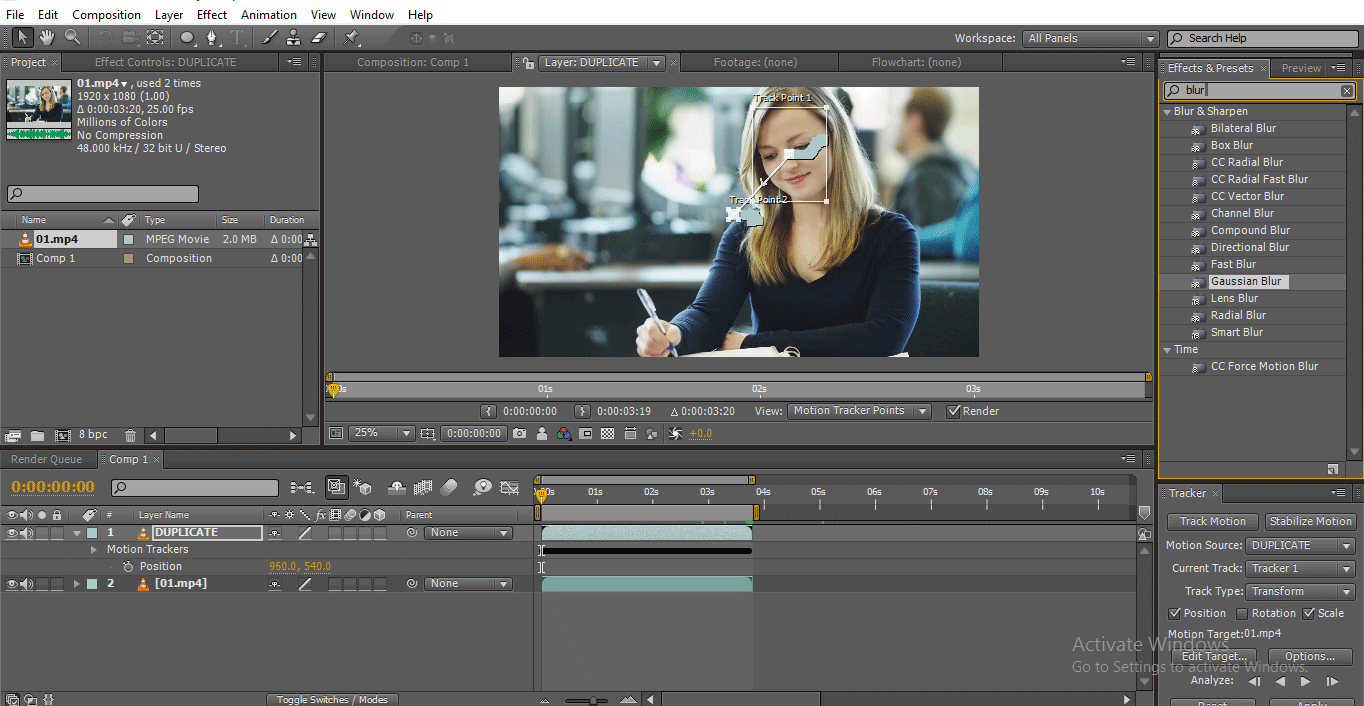
Step 12: Change the values of the blur.
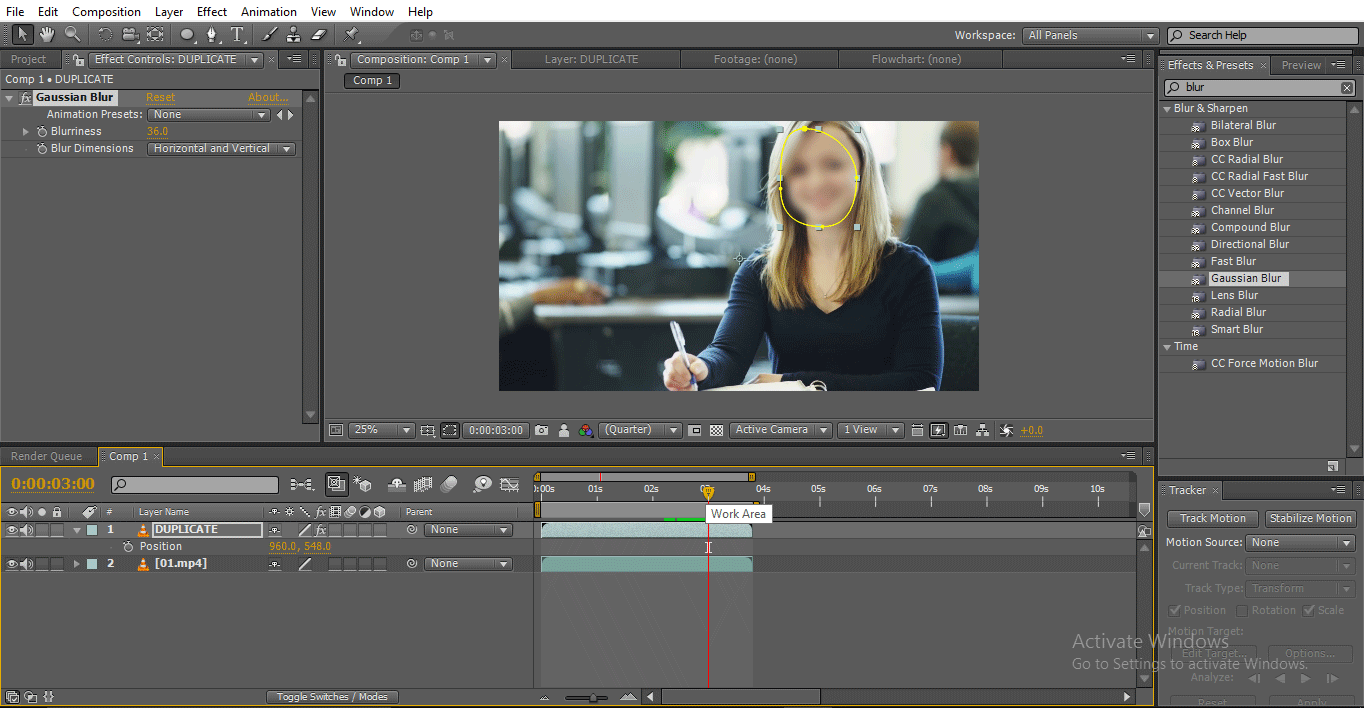
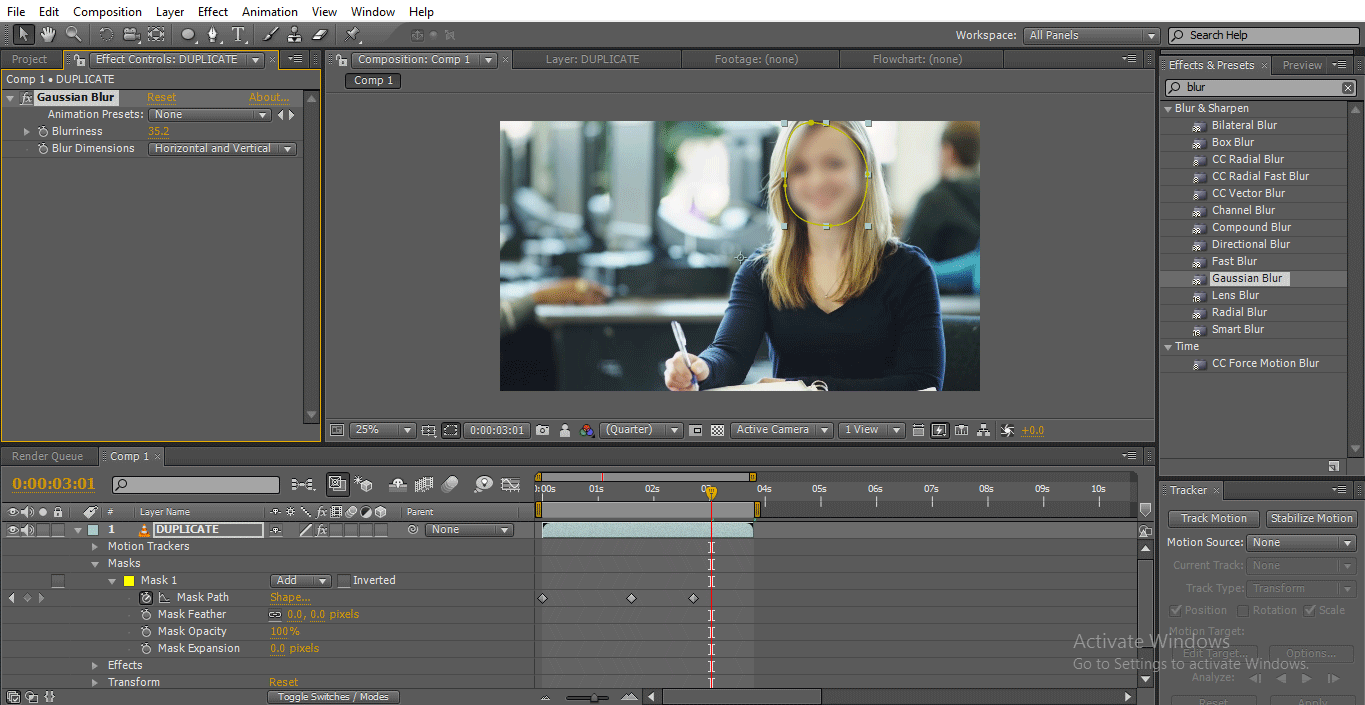
Step 13: Now, the blur will travel according to the motion tracer.
In this process, we import a video and make it a duplicate, we drew a path to the face of the girl and tracked the motion of the video, then we applied Gaussian blur to the duplicate layer, and we tracked the motion too, so the blur follows the track point. Here we saw how we trace a blur with motion tracer; now, let’s try with keyframe animation.
Tracing Blur with Keyframe Animation
With the keyframe animation, we can change the mask path position according to the moment. Let us see how it works:
Step 1: Draw a path to the object; I drew a circle on the girl’s face.
Step 2: Go to the Mask path, give a keyframe and adjust the path.
- Here we can see the circle is out of the face; we need to adjust the path.
Step 3: Play the video, and we need to adjust the path if it moves away from the target.

Step 4: Play up to the end and adjust the path.
- Now we created the path to the video from start to end; we fix 4 keyframes and adjust the path, now we apply blue to the object.
Step 5: Go to Effects and select Gaussian blur and apply, change the value.

Step 6: Here, we can see how the blur moves.
This is how blur follows the path.
Types of Blurs and How it Works
Here we explain the three types of blurs and how it works:
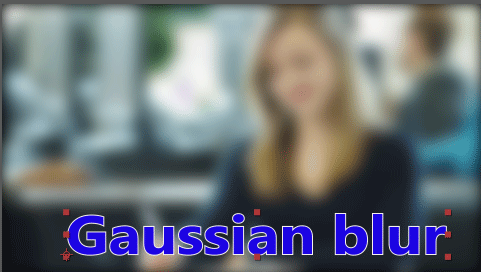
1. Gaussian Blur
Gaussian was an important and most commonly used blur; just change the value and decide how to apply Vertical only or Horizontal only; the default option is horizontal and vertical.
This blur is mostly used to show slide blur like we can see the face but can’t identify in such cases we can use this blur, we can use for face blur and a particular object.
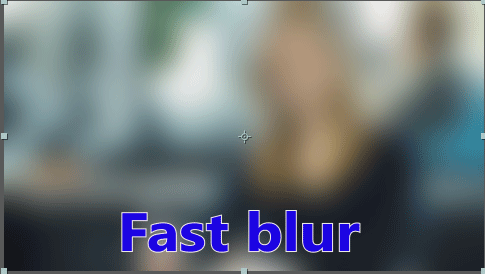
2. Fast Blur
Gaussian and Fast blur has the same blur engine; the only advantage in a fast blur is repeat edge pixel function.

If we change the value of the image, the image becomes a blur, and we can find a black and smooth edge.
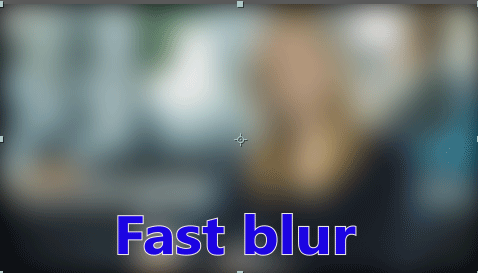
Fast blur is used to create complete blur we can’t identify the image, and repeat edge pixel is an attractive thing in this blur; it is mostly used for background purposes.
By clicking on the option as shown below in the image, we can disable the repeat edge pixel; when we disable this option, edge smoothness disabled; I hope it won’t look good if we disable Repeat edge pixel.

When we disable the repeat edge pixels, it looks like a Gaussian blur.
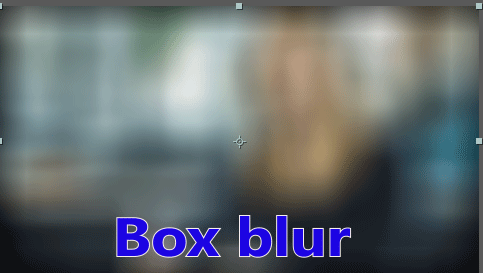
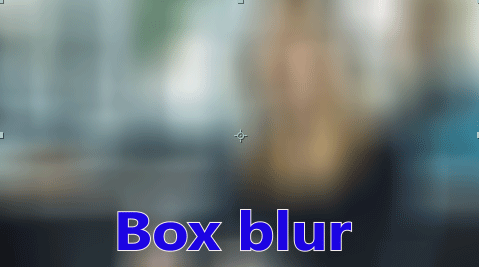
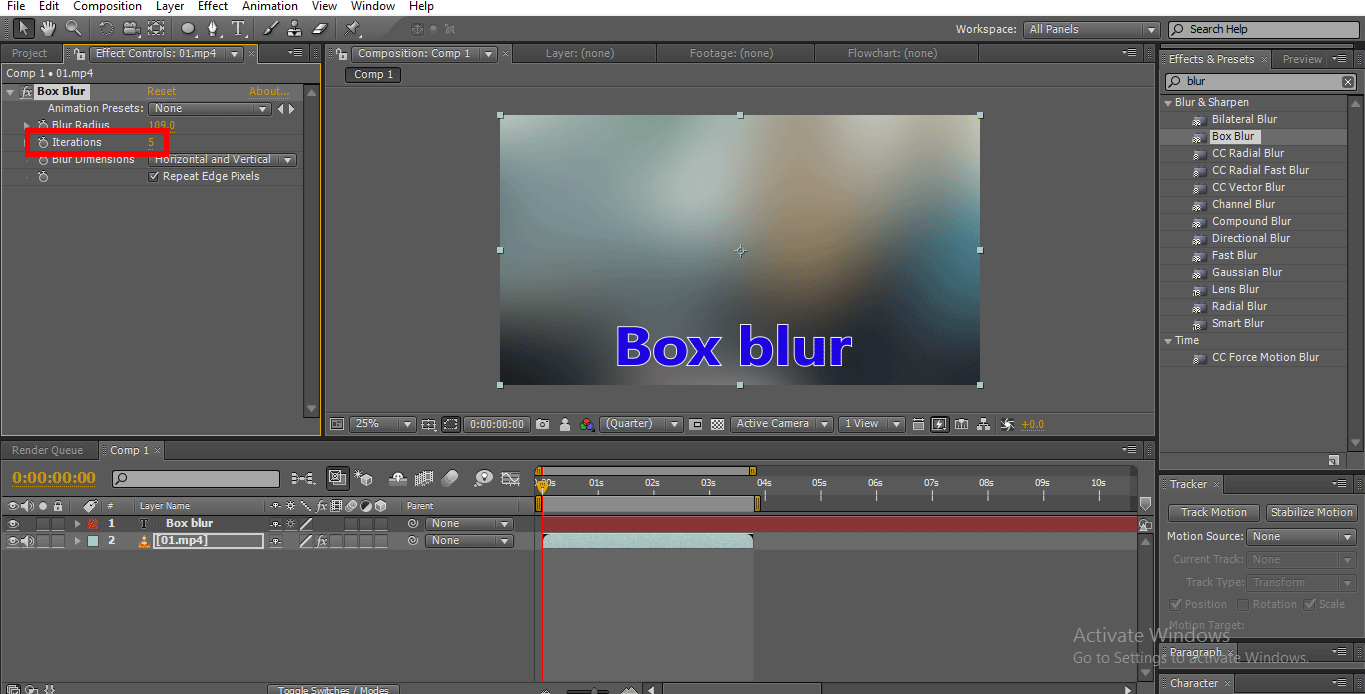
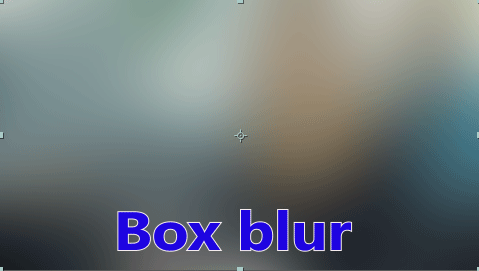
3. Box Blur
Box blur looks the same as Gaussian and Fast blur, but the difference creates a boxy shape blur.

When we look closely, we can see the boxy blur in the below image.
The same option repeat edge pixel, which has fast blur, has existed in box blur also. If we disable the repeat edge pixel, the smooth edges will disappear.
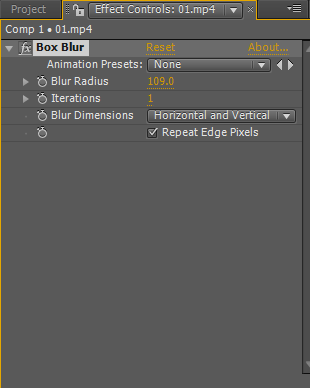
Here is another important option that is Iterations. If we set the Iterations value as 5, we can get a smooth blur.
In this process, we learn what blur is and how we can use blur and types of blurs; we did two types of methods to make an object blur one is with the help of tracking motion another one is with the help of keyframe animation.
The easy method is tracking, but in some versions of after effects, tracking won’t work; in such cases, we need to use keyframe animation, but by using keyframe animation, we won’t get exact output every time. We learn three types of blurs which mostly used; I hope we learn some important topics here.
Recommended Articles
This is a guide to Blur in After Effects. Here we discuss the types of blur effect in after effects, how to use blur in after effects and how to trace a blur in the keyframe. You can also go through our other related articles to learn more –
