Updated August 28, 2023
Introduction to Animation in After Effects
Adobe After Effects software is developed and maintained by Adobe Systems. It was originally developed in January 1993 by David Herbstman, David Simons, Daniel Wilk, David M. Cotter, and Russell Belfe at the company of Science and Art; after that, it was hired by Adobe in 1994. Adobe After Effect is used for Visual effects, Motion Graphics, Compositing and different types of Animation in our project. Animation is the basic part of Adobe After Effects software. Animation gives a moving appearance to your object and connects it to the real world, and we can make changes until we get the best result of our model in our project.
Animating Objects in Adobe After Effects
Animation gives a realistic view of our model. Here you will learn how to animate in your project in a step by step manner. But, first, let’s start our tutorial in a very interesting way.
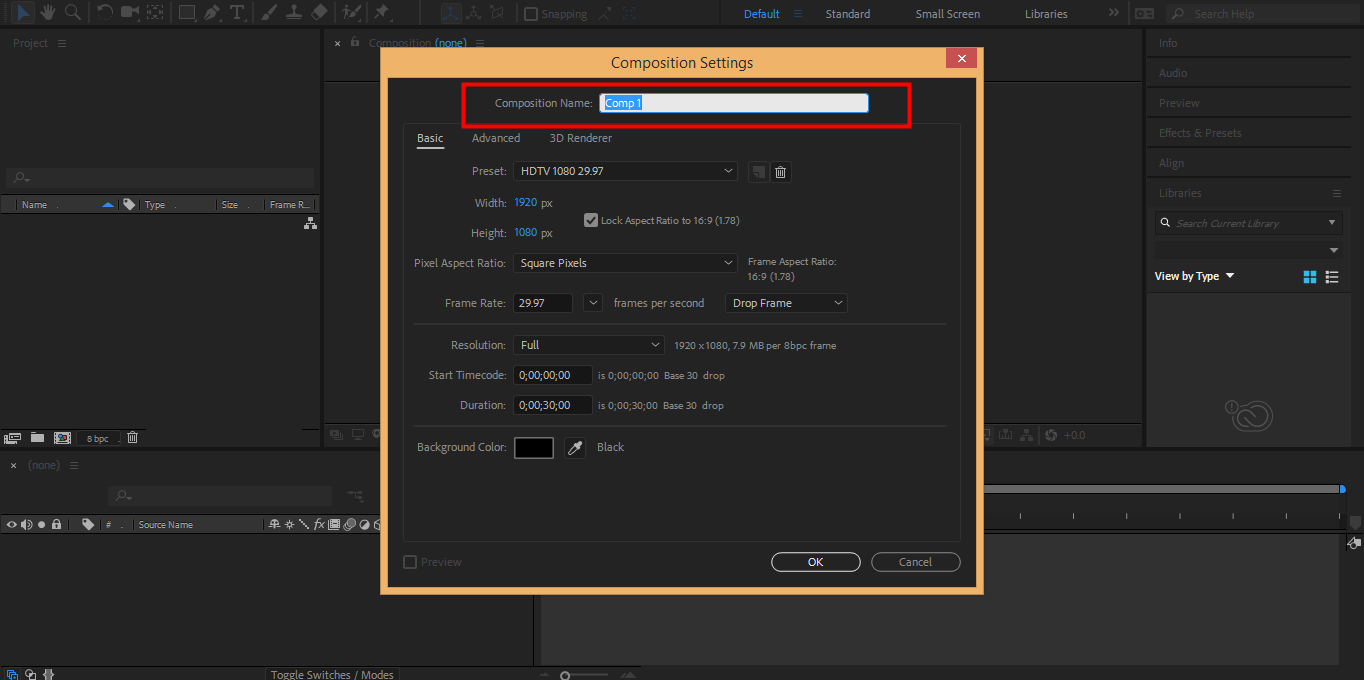
Step 1: First of all, we set some composition settings in this step for this setting. A Dialog box of composition settings will automatically open when you start the software. Right-click anywhere in the work area, then click on the Composition setting option. We will not change the width and height of the background layer; from here, you can change it according to you.
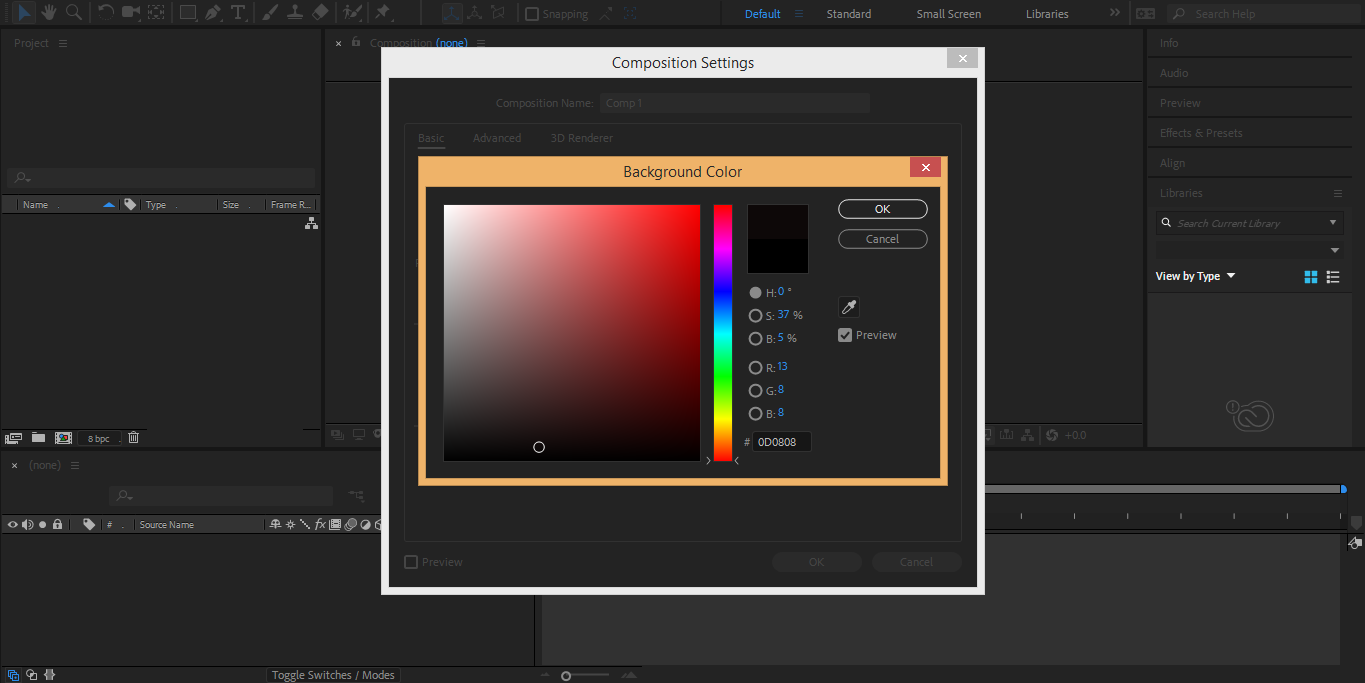
Step 2: We will change the color of this layer. Click on the Background Color tab of this dialog box. I will choose gray color from here; you can choose as you like, then click Ok.
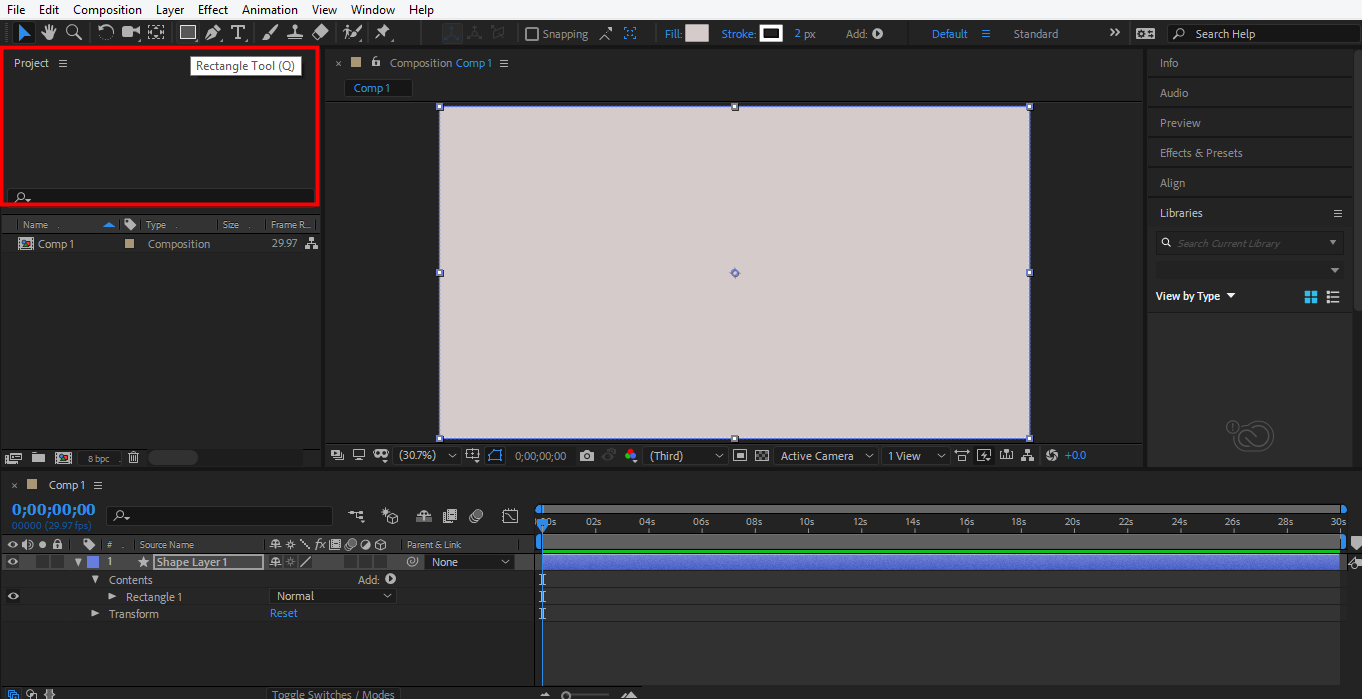
Step 3: Now, I will apply the gradient to this layer. For applying the gradient, double click on the rectangle icon on the top left corner of the working area.
Step 4: Now, I will apply Off the Stroke of this gradient. For off stroke, click on the stroke at the top of the work area.
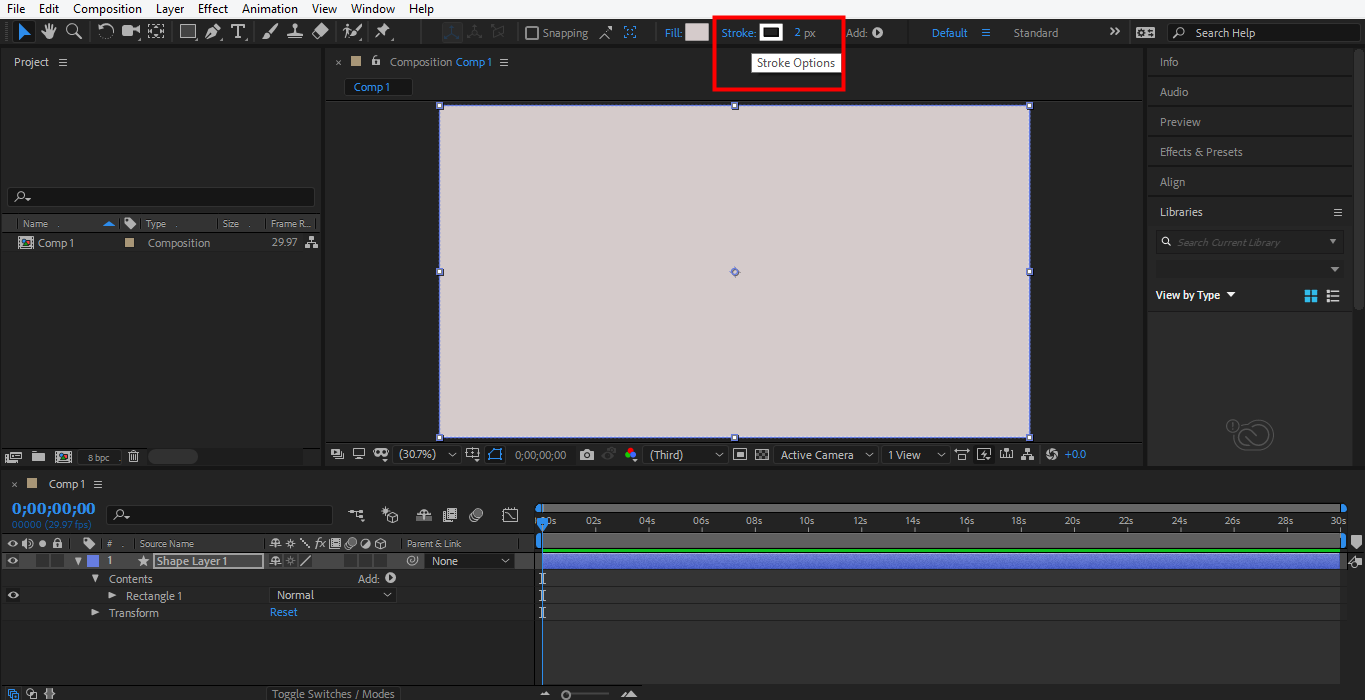
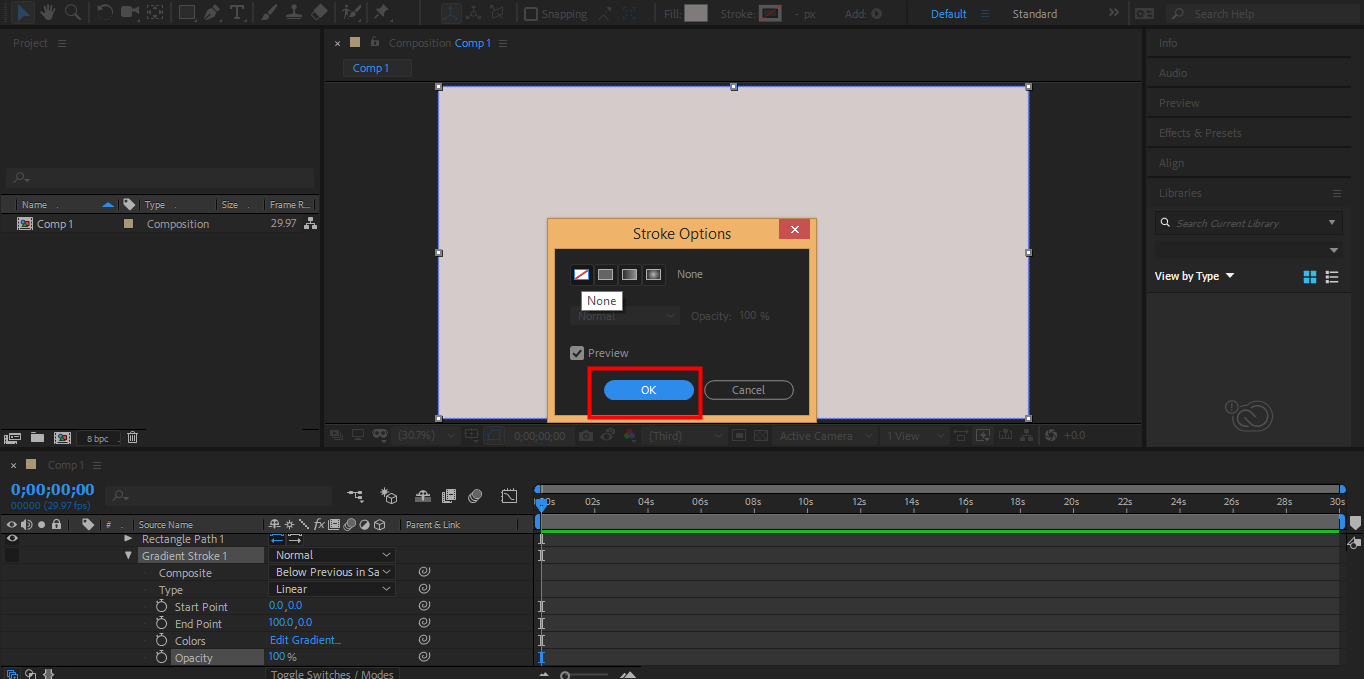
Step 5: A dialog box will open; click on this icon to off the stroke and click on the OK tab.
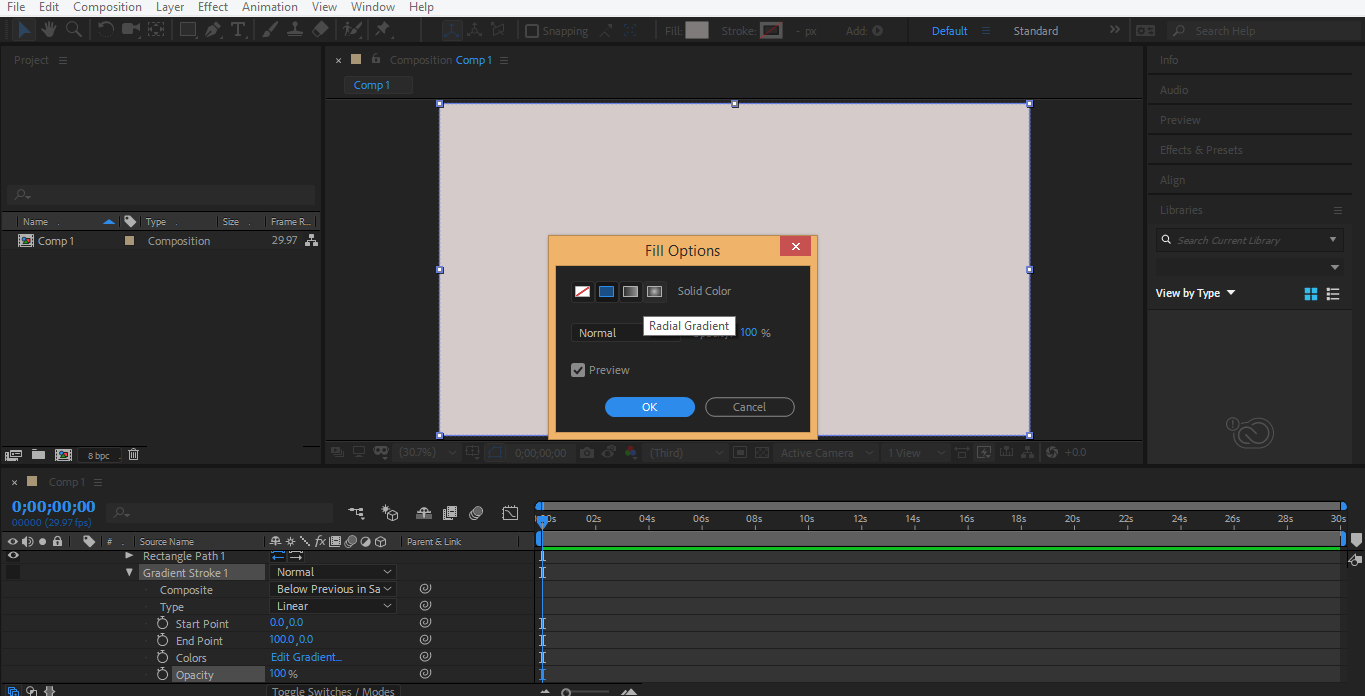
Step 6: Now click on the Fill, which is at the top of the work area.

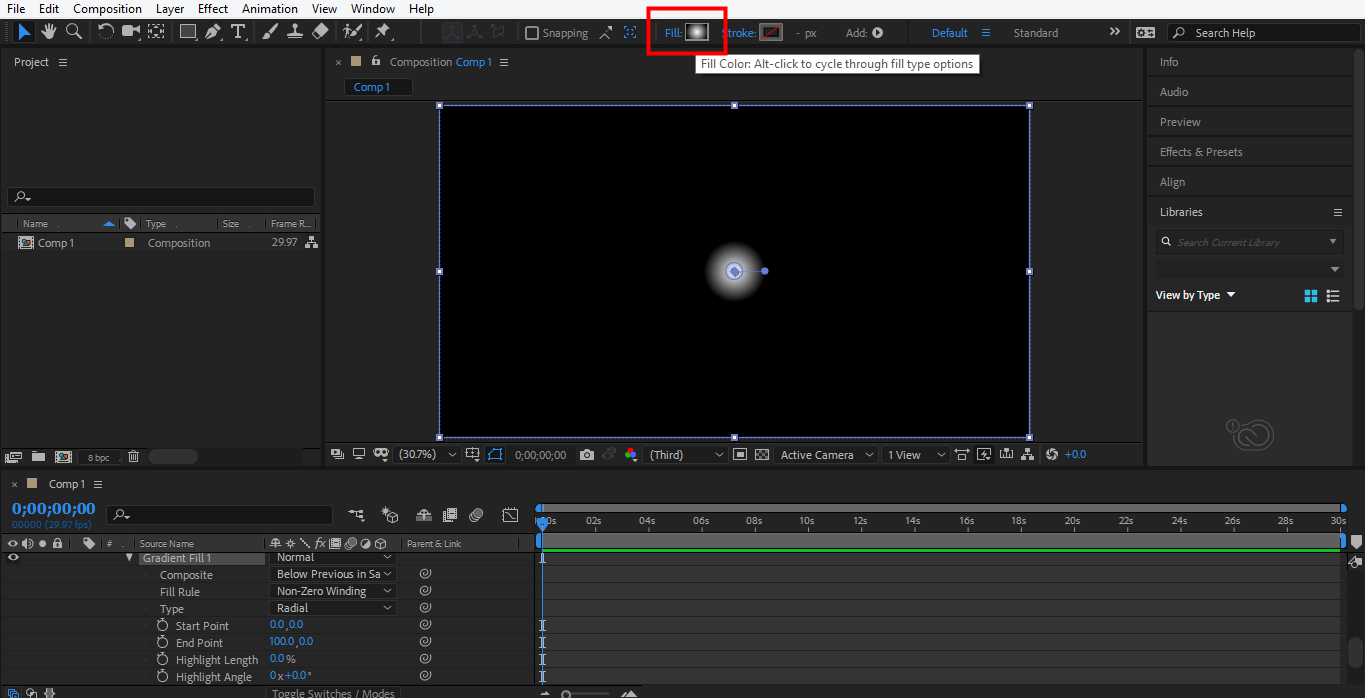
Step 7: A dialog box of Fill Option will open. Click on the Radial gradient to give a radial shape of our applied gradient. Press on the OK tab.
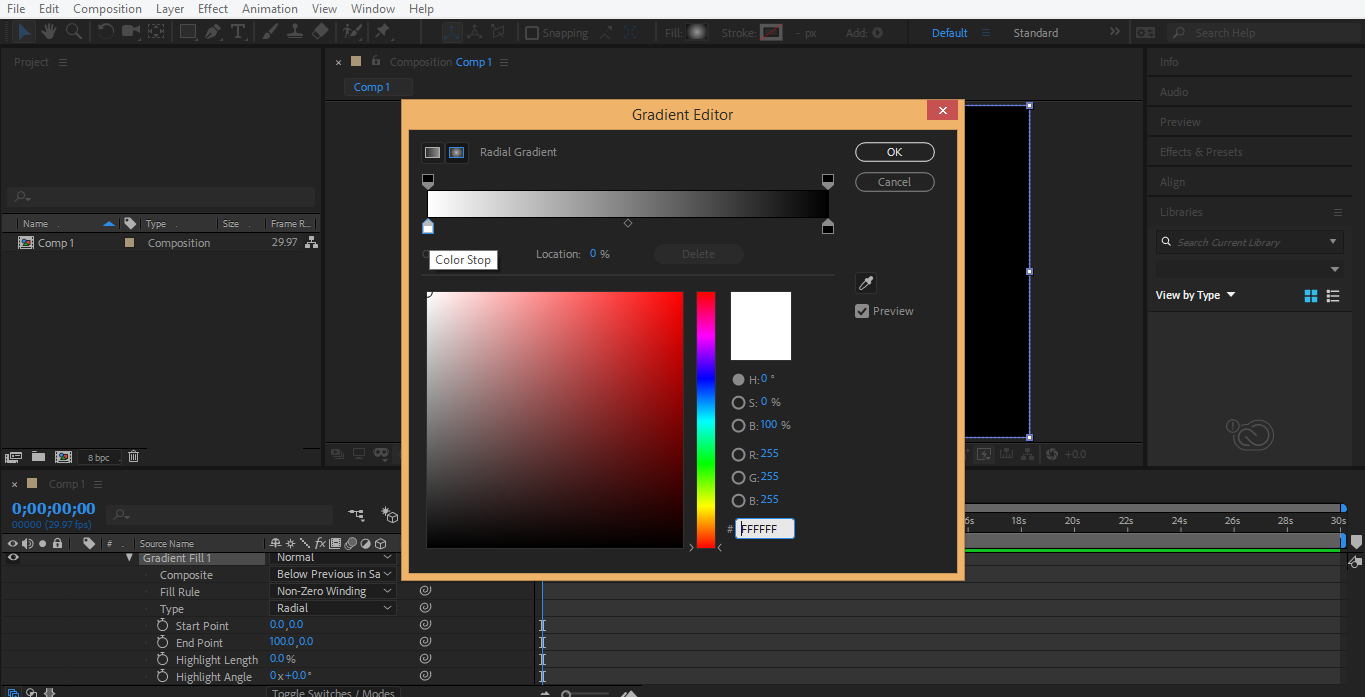
Step 8: Now, I will change the Color of the Gradient. Click on the color box near the Fill option on the top of the work area.
Step 9: First, I will give color to the first stop. I will select the first Color Stop and give a light gray color to it.
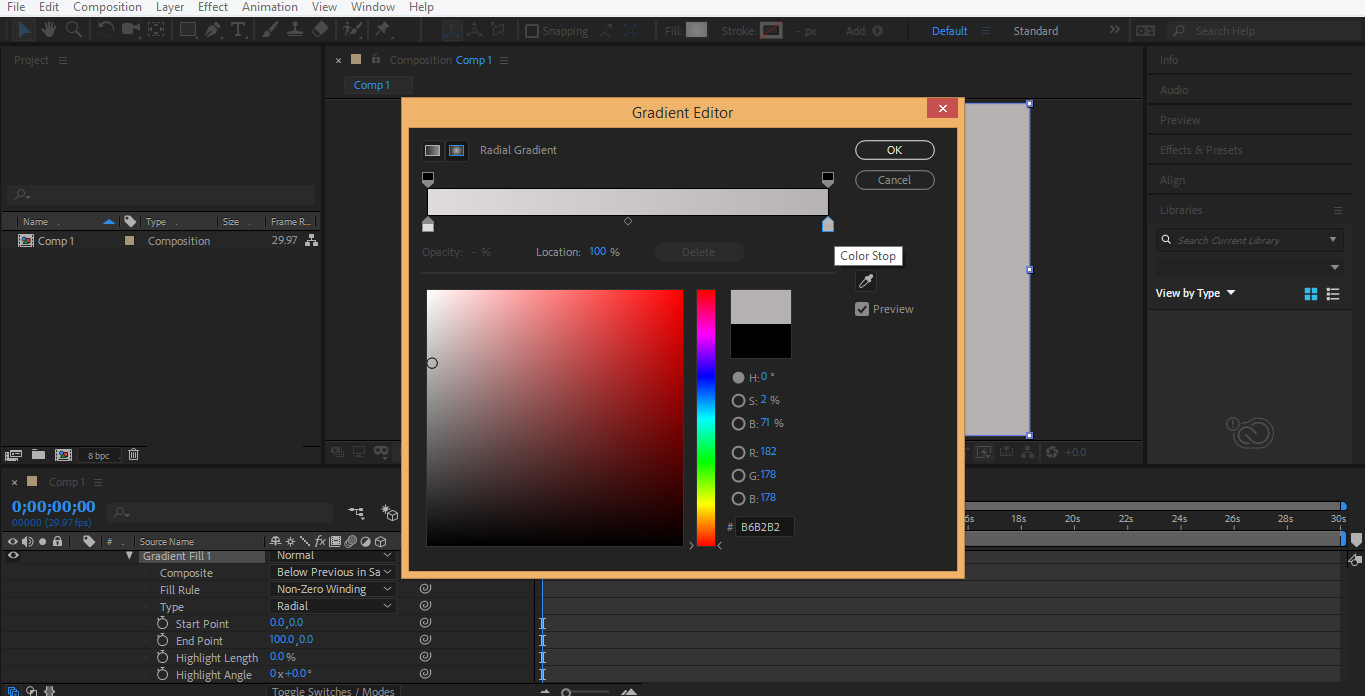
Step 10: Now, I will select the second color stop and give it a dark grey colour. Press the OK tab to apply the color.
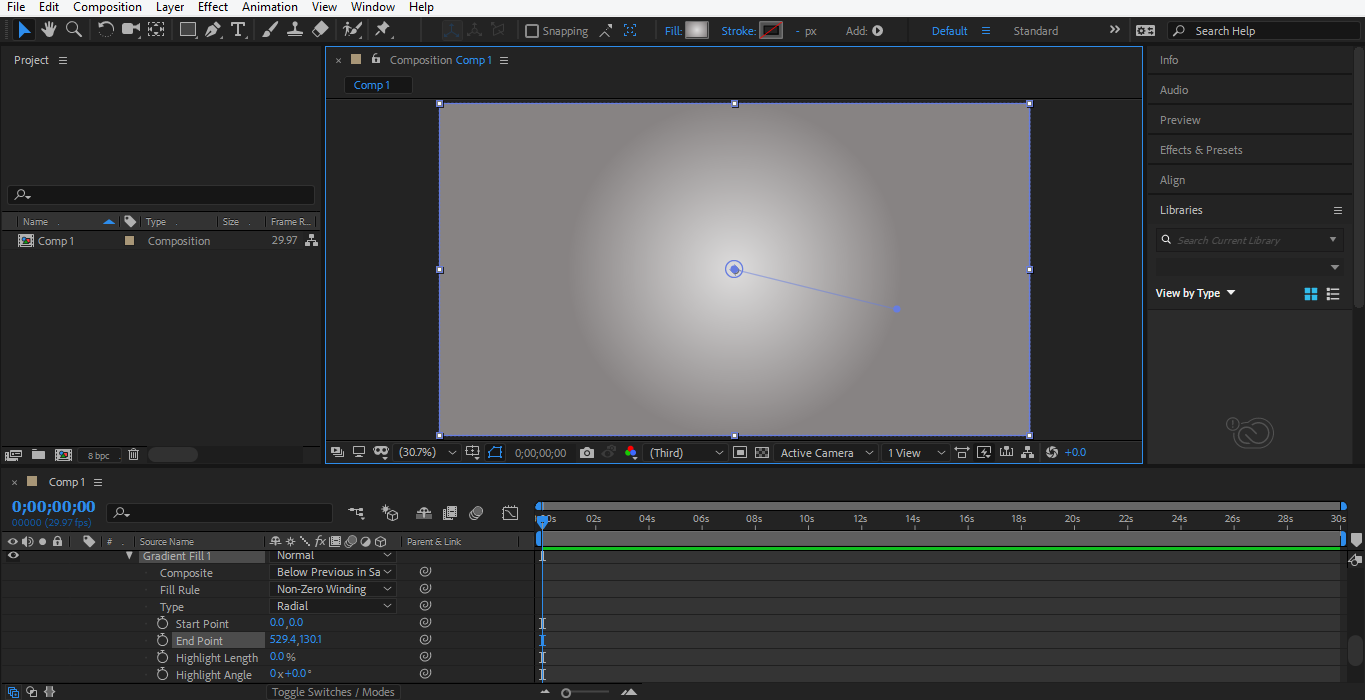
Step 11: Now, I will increase the size of the gradient by dragging the gradient arrow in an Outward Direction.
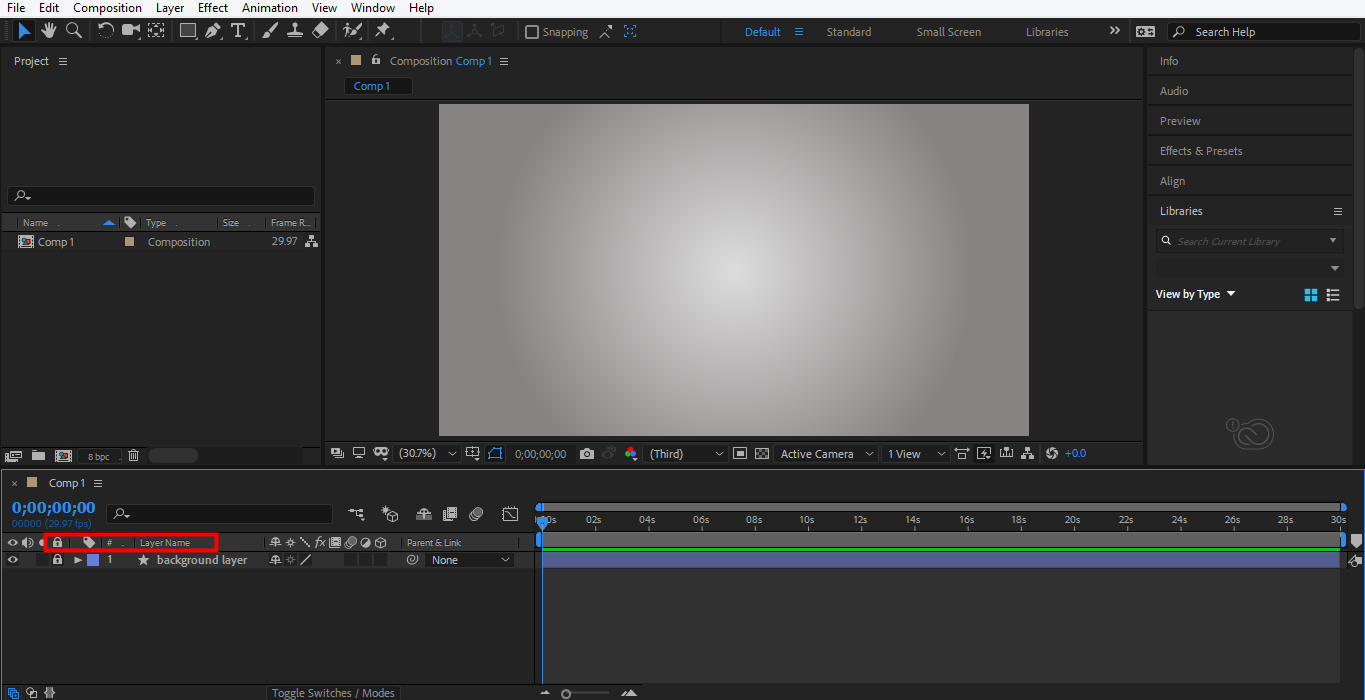
Step 12: I will change the name of the color for my better understanding. For changing the name, double click on the layer. I will name it as the Background layer.
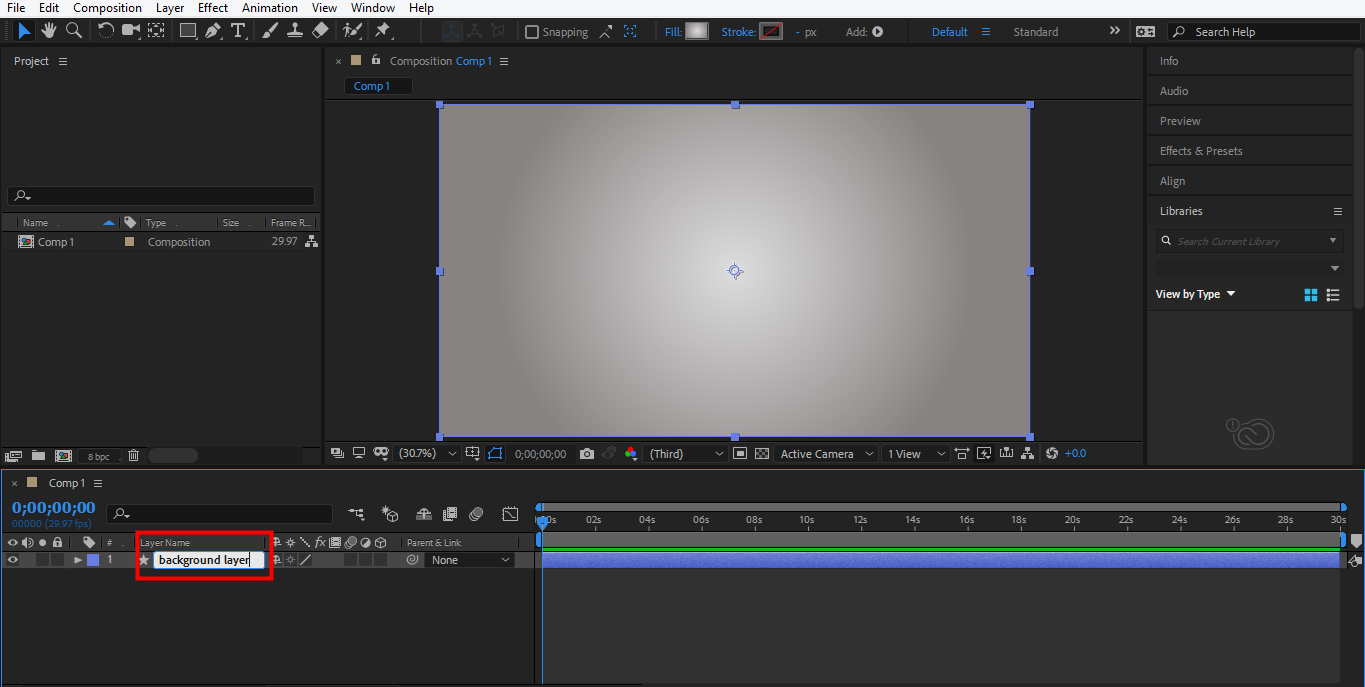
Step 13: I will lock this layer so that it will not create any problems in my next work. For locking, click on the Lock icon of this layer.
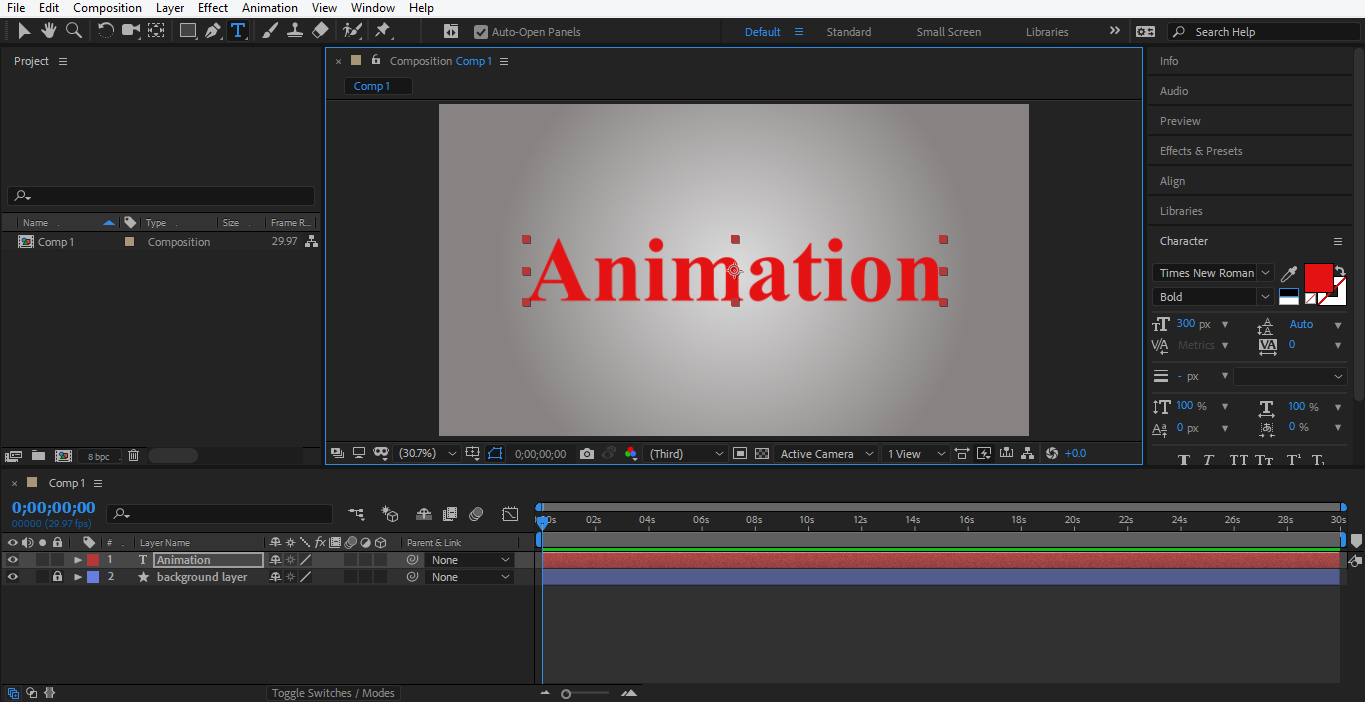
Step 14: I will type a text now. Take the text command by click on it from the toolbar.

Step 15: I will Type ‘Animation’ as text and make it in the center by pressing Ctrl+Alt+Home and then Ctrl+Home.
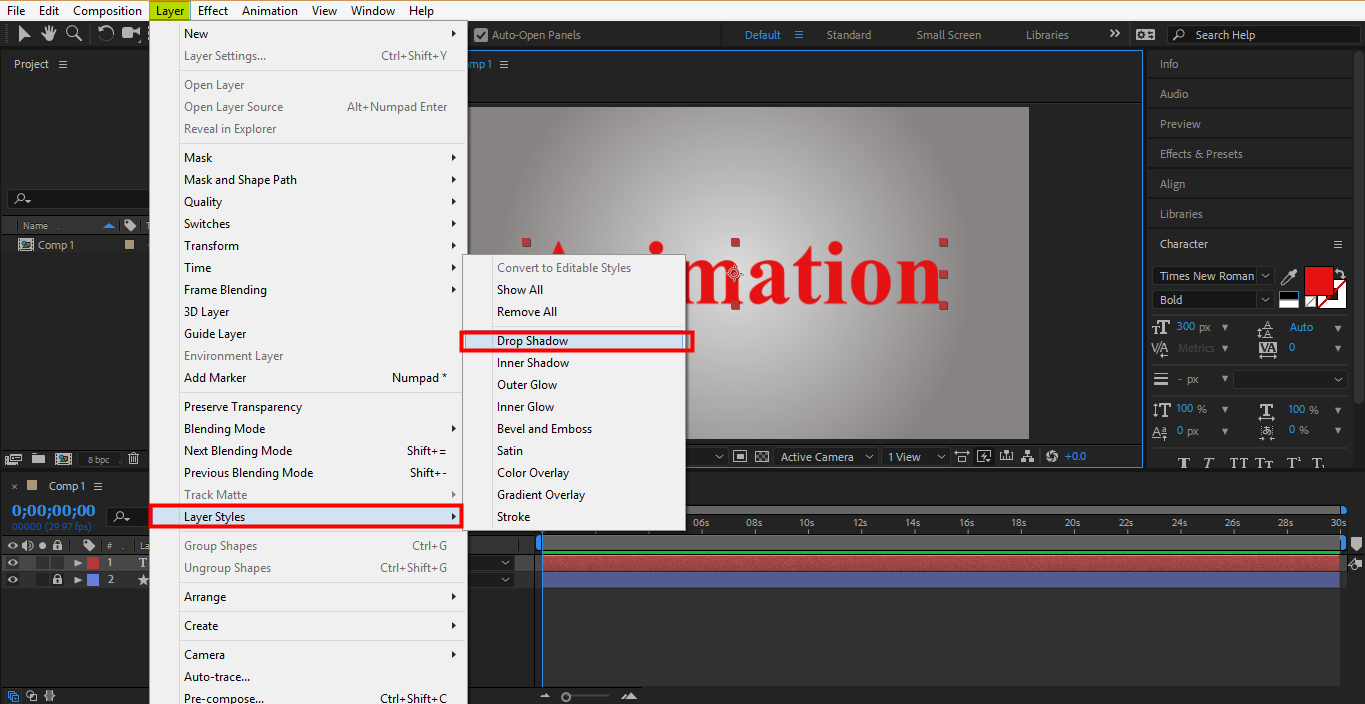
Step 16: Now go to the Layer option on the top left corner, select Layer style, and choose the drop shadow option. Forgiving a Shadow Effect in our text.
Step 17: I will hide my text layer by clicking on the Hide icon and clicking on the lock icon to lock it. I am doing this for my next step.
![]()
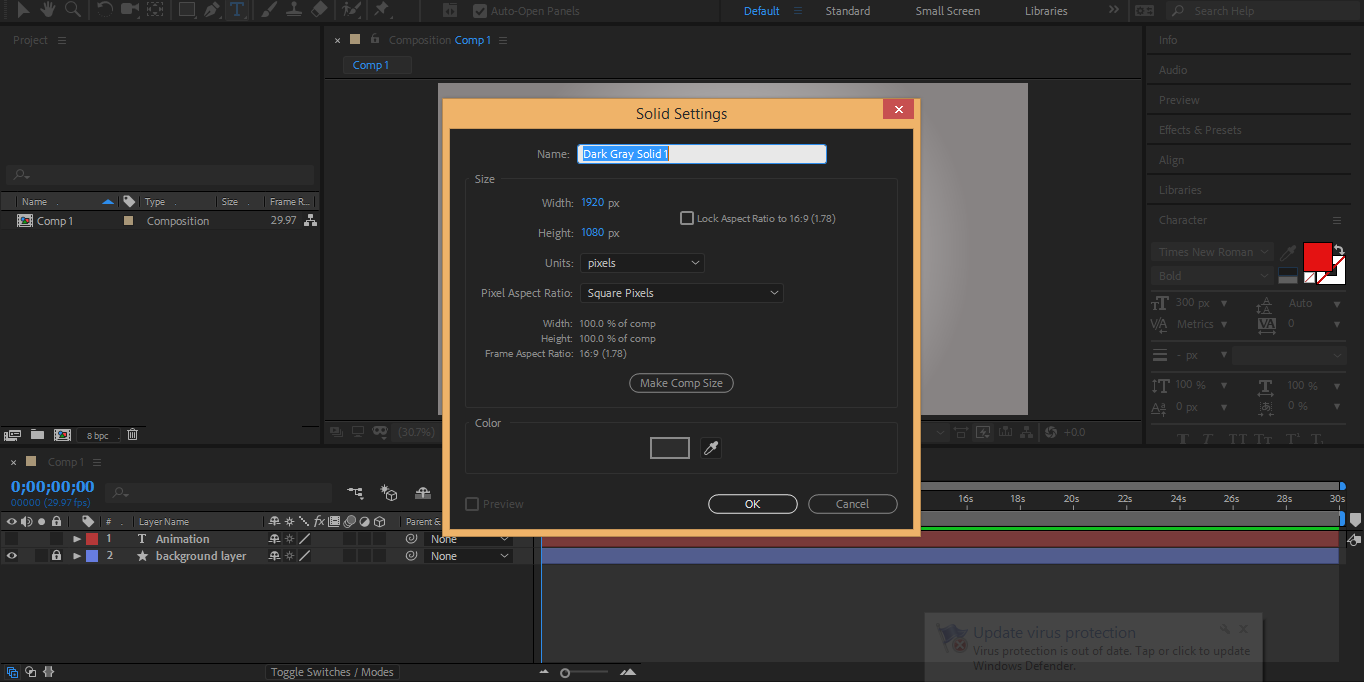
Step 18: Now, I will create one new layer. For the new layer, right-click from the mouse and go to new, choose solid.
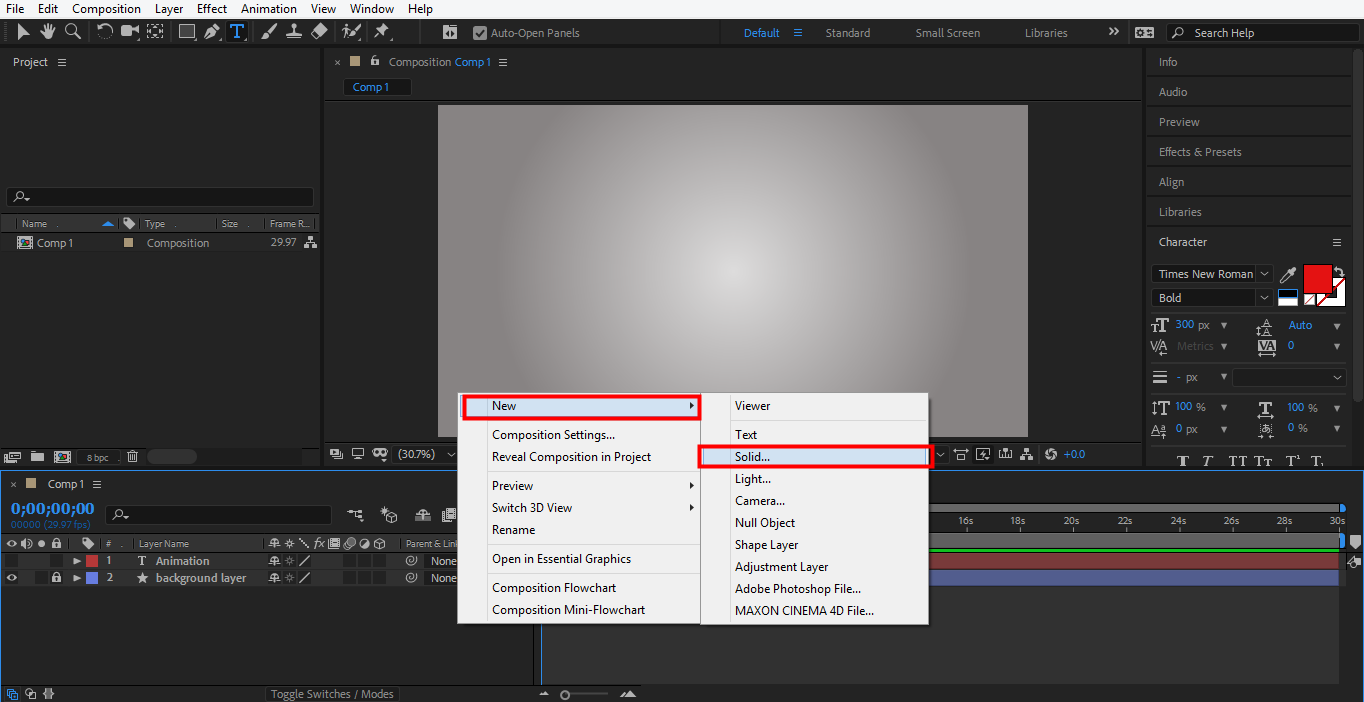
Step 19: A dialog box will open named as Solid setting. I will set the Black color for this layer from there and click on the OK tab.
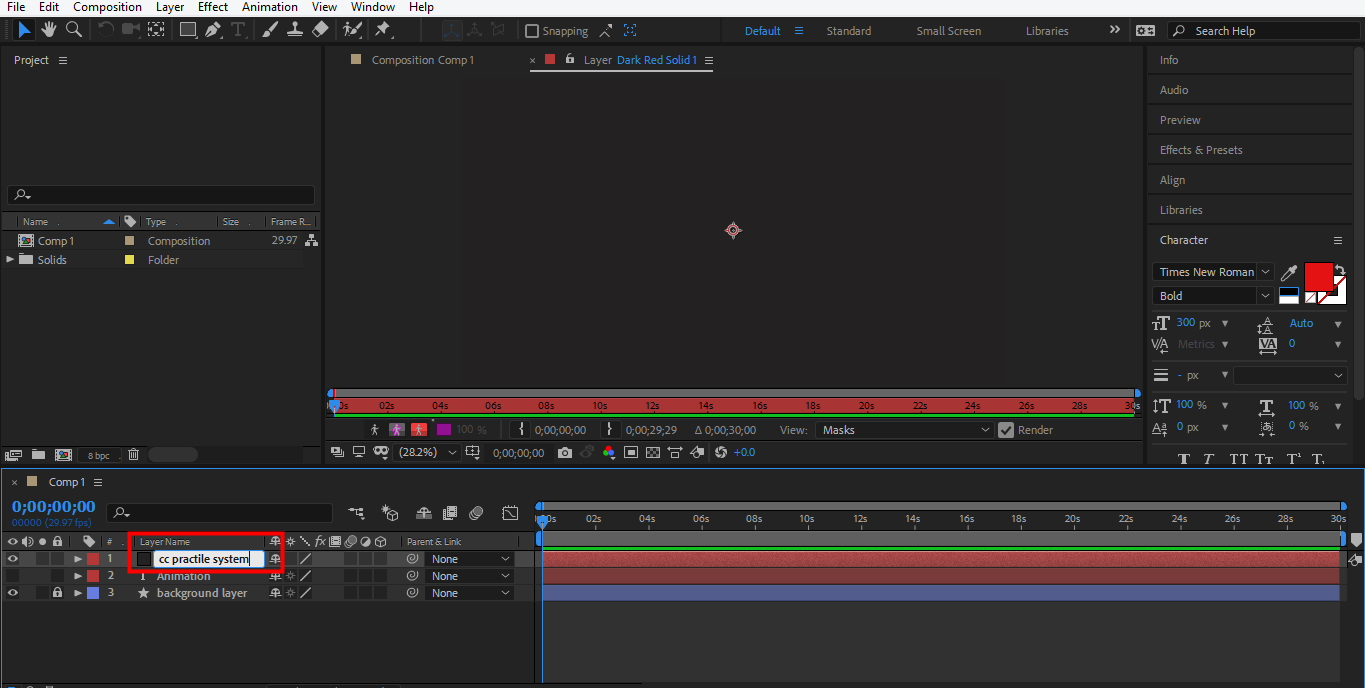
Step 20: I will name it as a cc particle system and select this layer by clicking on it.
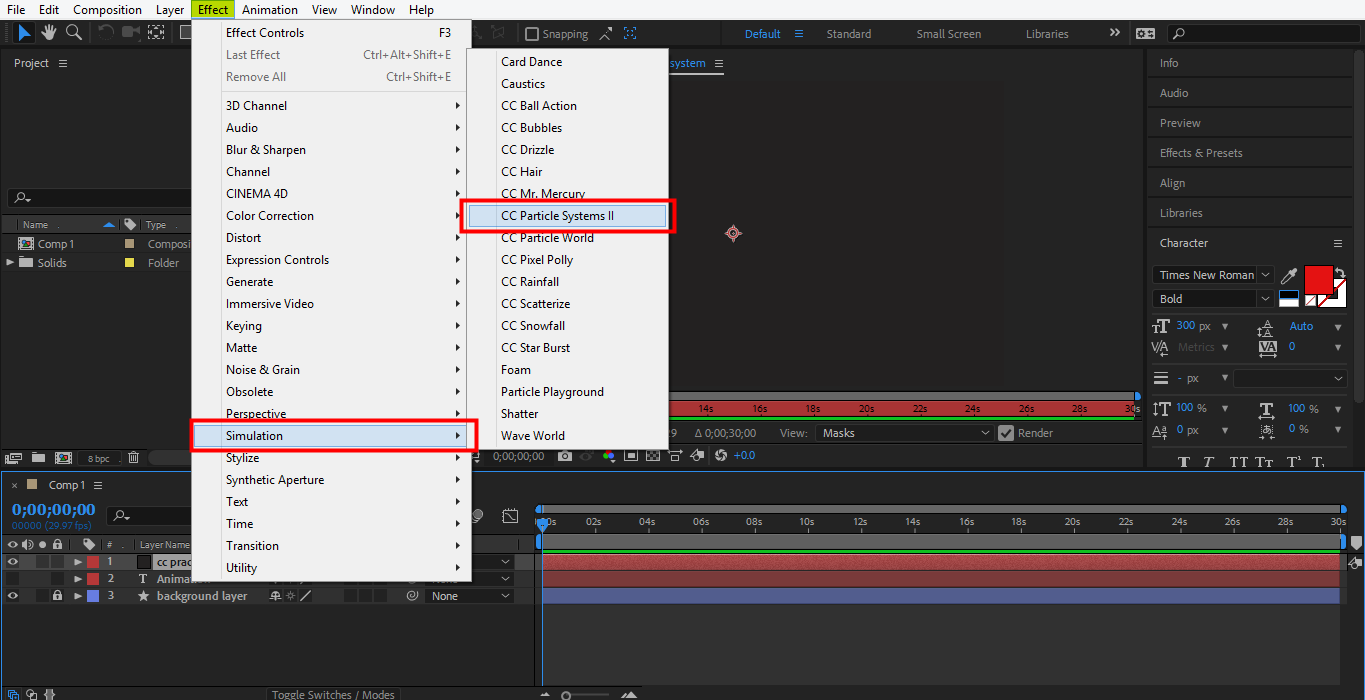
Step 21: Now go to the effect option. Go to Simulation and choose the CC Particle system from here.
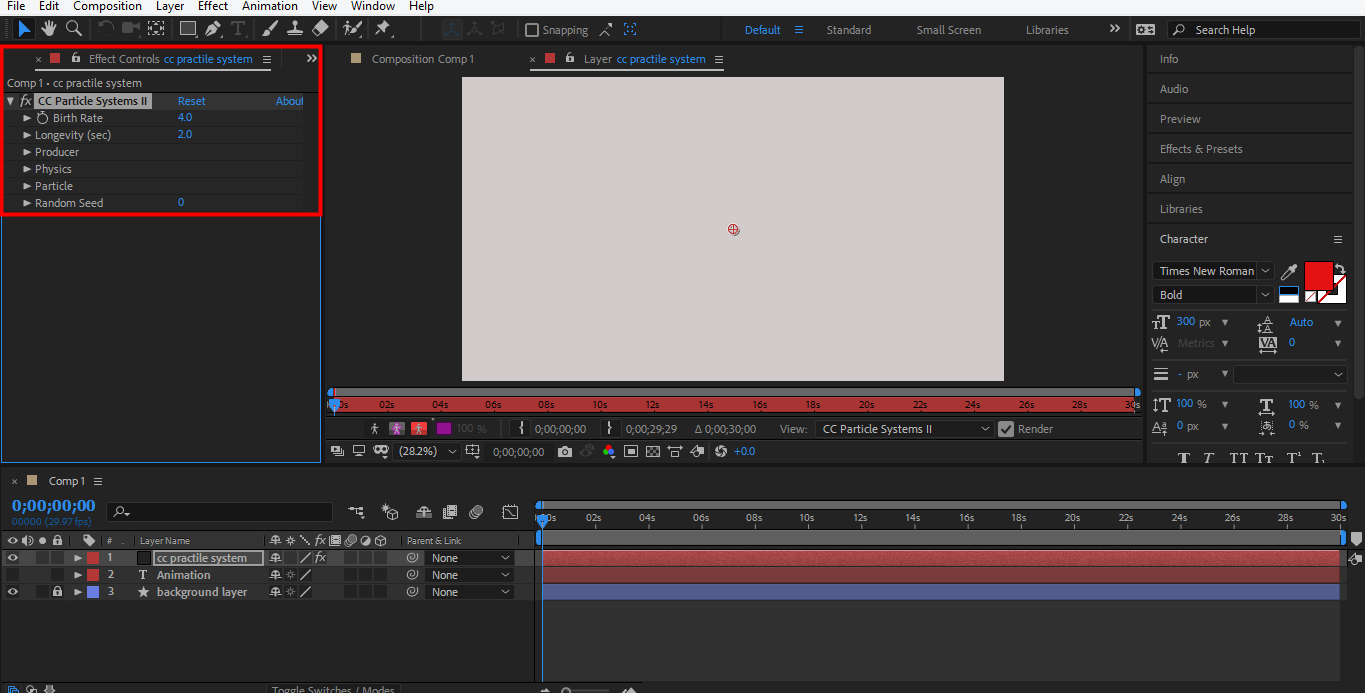
Step 22: Now, I will do some settings in the CC Particle system option, which is present in the left corner of the work area.
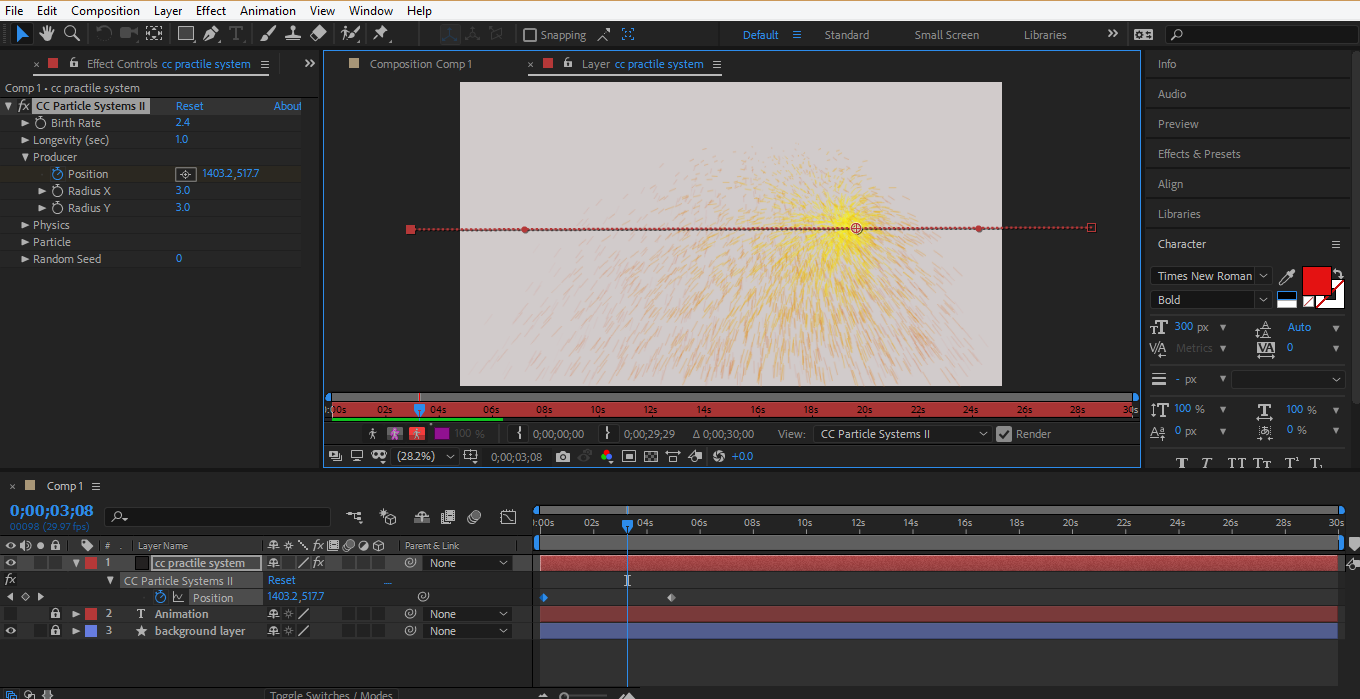
Step 23: Click on the producer and select position.
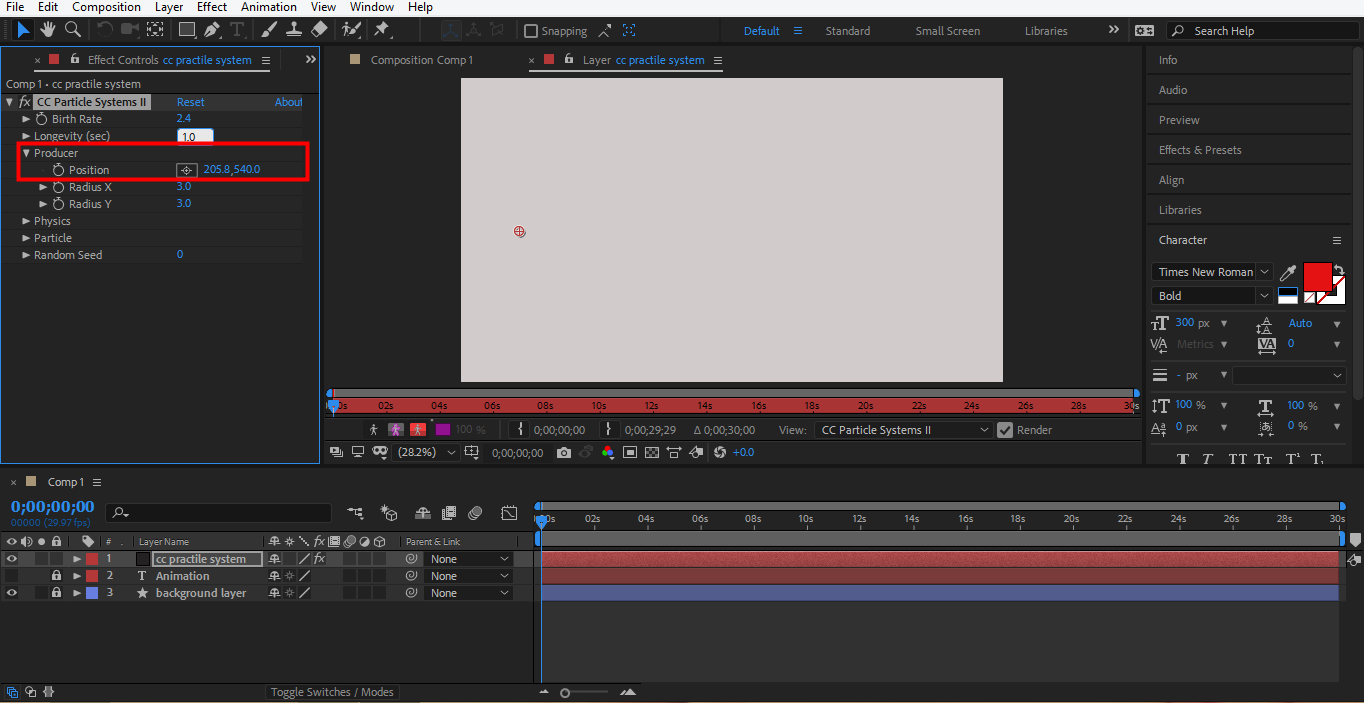
Step 24: For setting position data from here. We can drag data from the data area or drag this pointer by holding it with a mouse click.
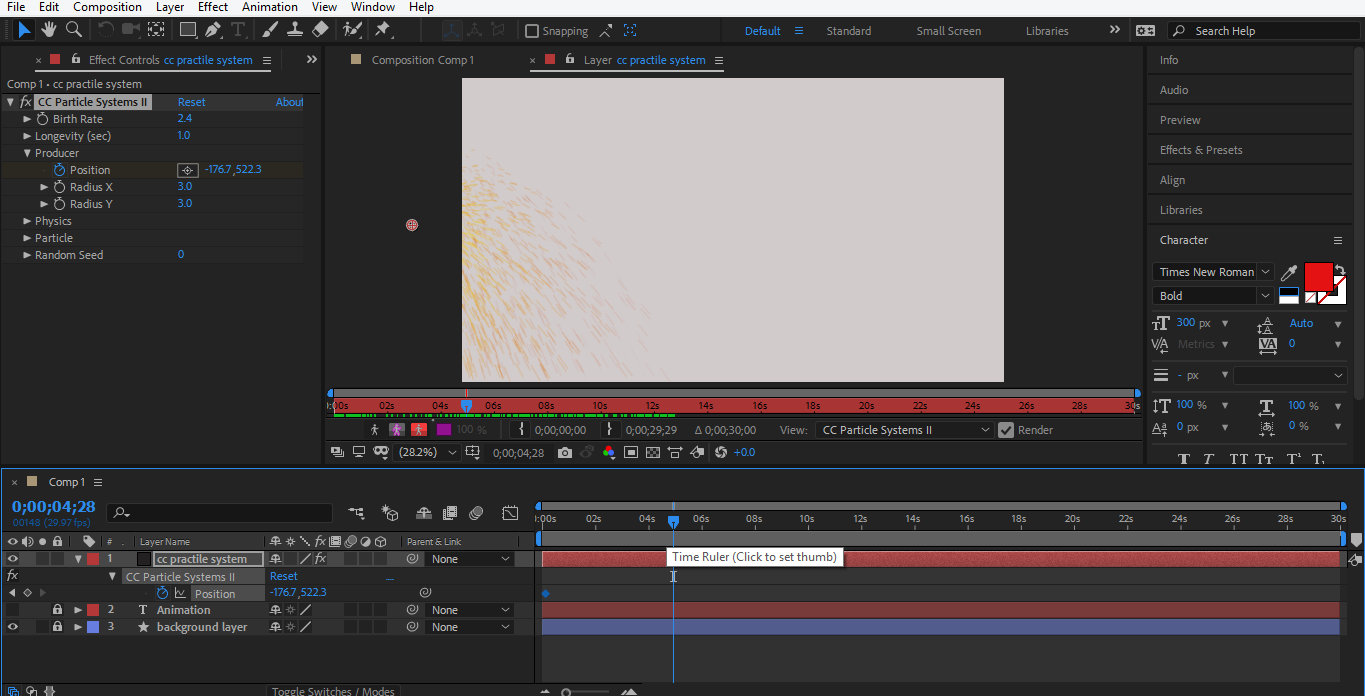
Step 25: I will set this initial point/time. Click on the layer and press U from the keyboard. A keyframe will be generated. Drag this keyframe to 04 sec.
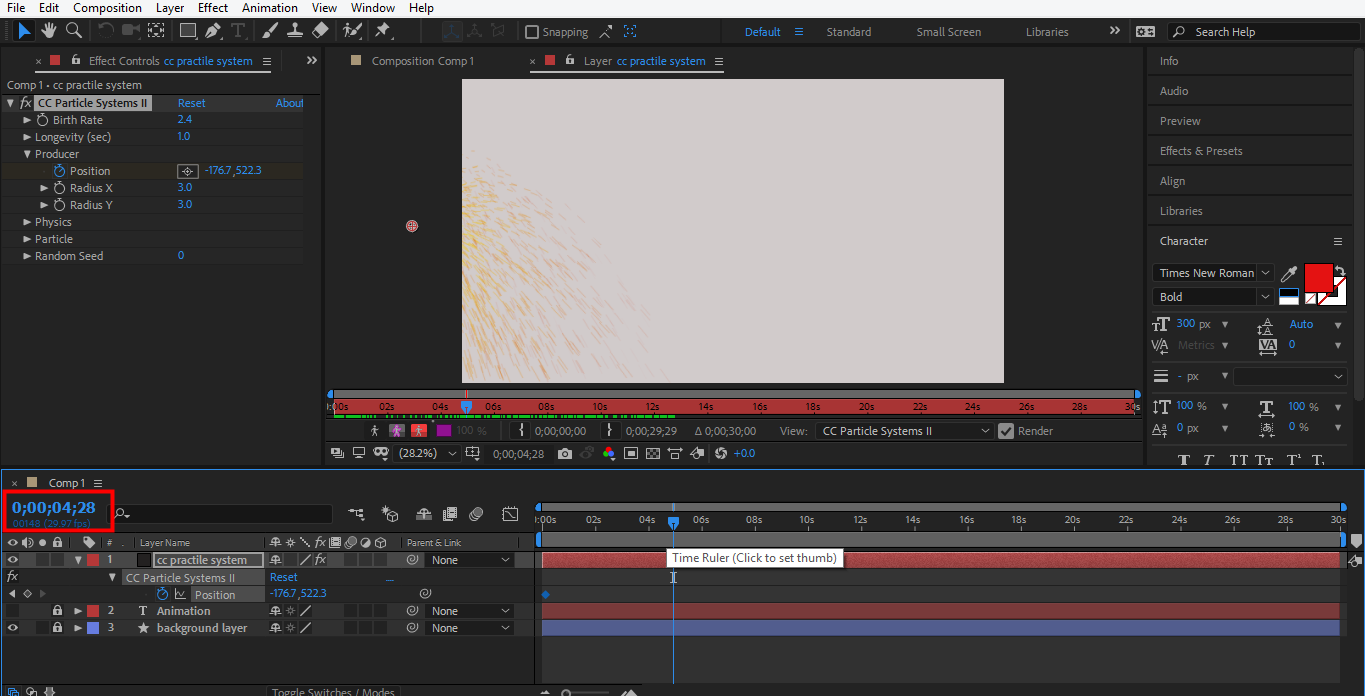
Step 26: And end here by dragging the pointer.
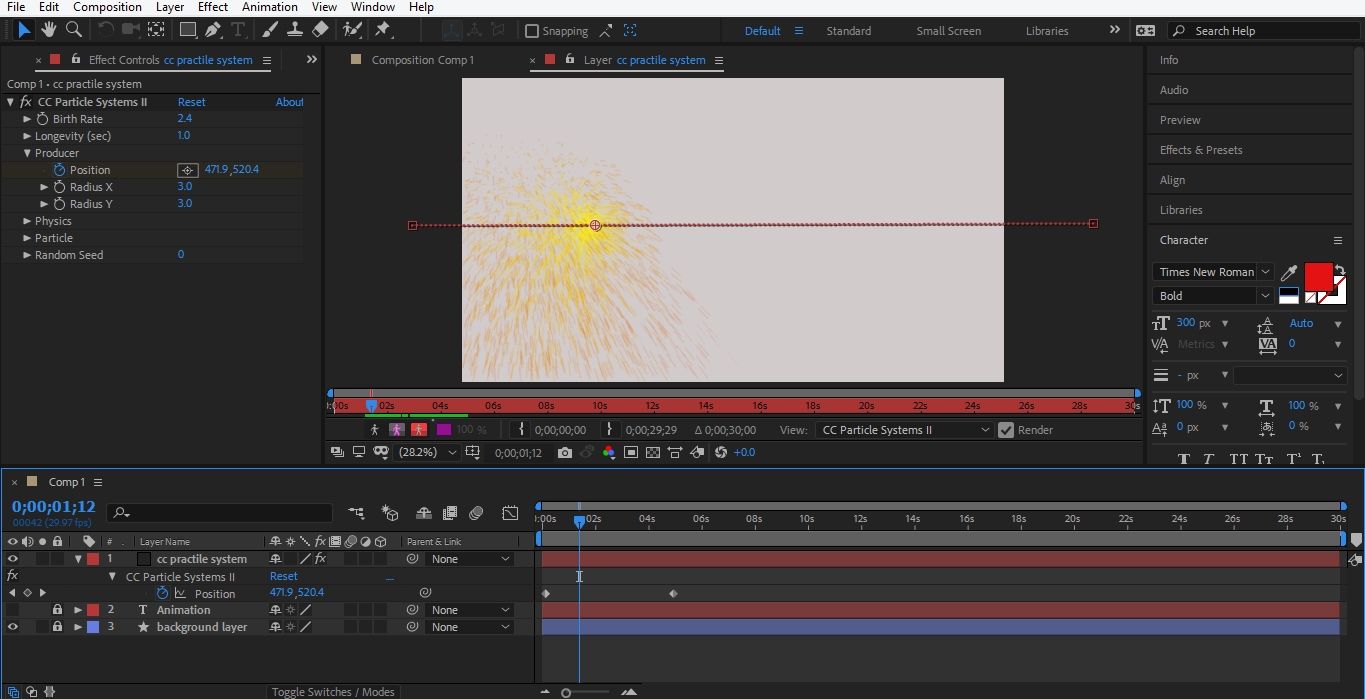
Step 27: Now drag the keyframe from the keyframe area to see the effect. It will move to the initial position to the next position.
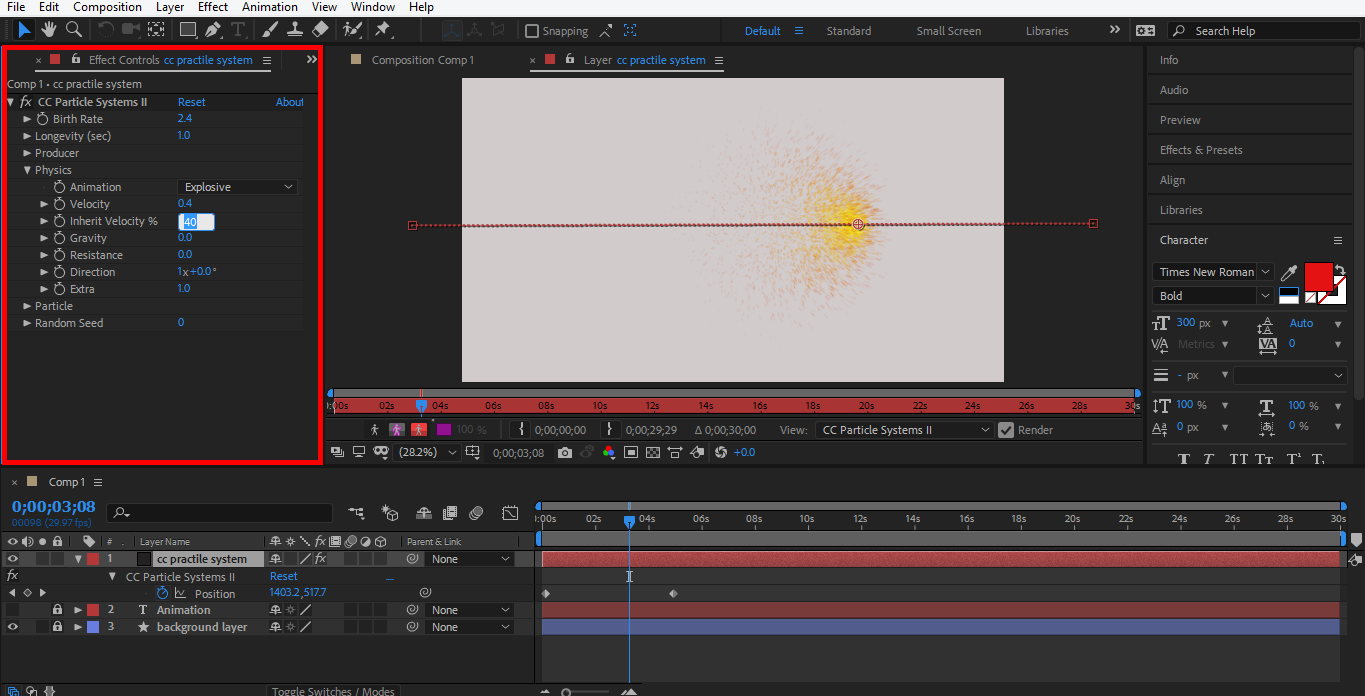
Step 28: We can make some changes for making it effective. Click on physics. We will change velocity to 0.4, Inherit Velocity % to 40, gravity to 0.
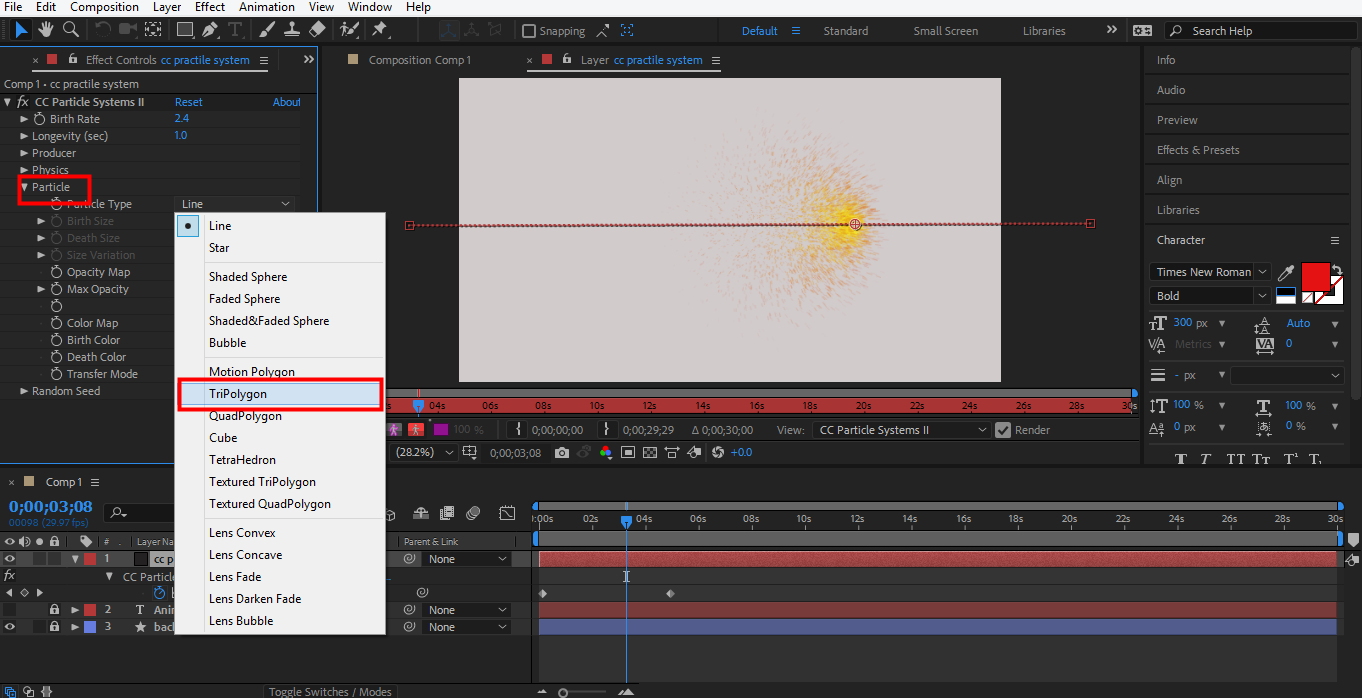
Step 29: Now click on the Particle tab to give it shape. Choose Tripolygon from the particle type option. Now you can choose any type of shape from here.
Step 30: This is a Tripolygon shape.
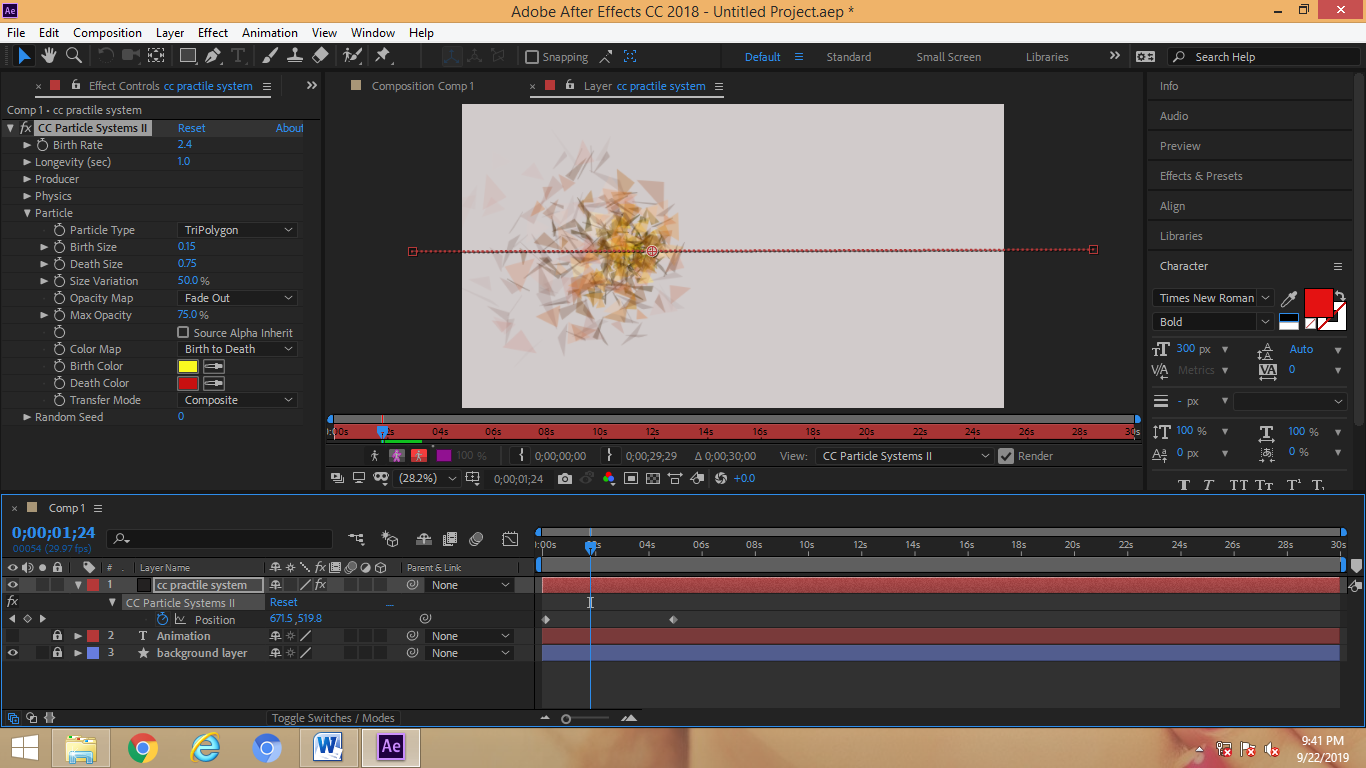
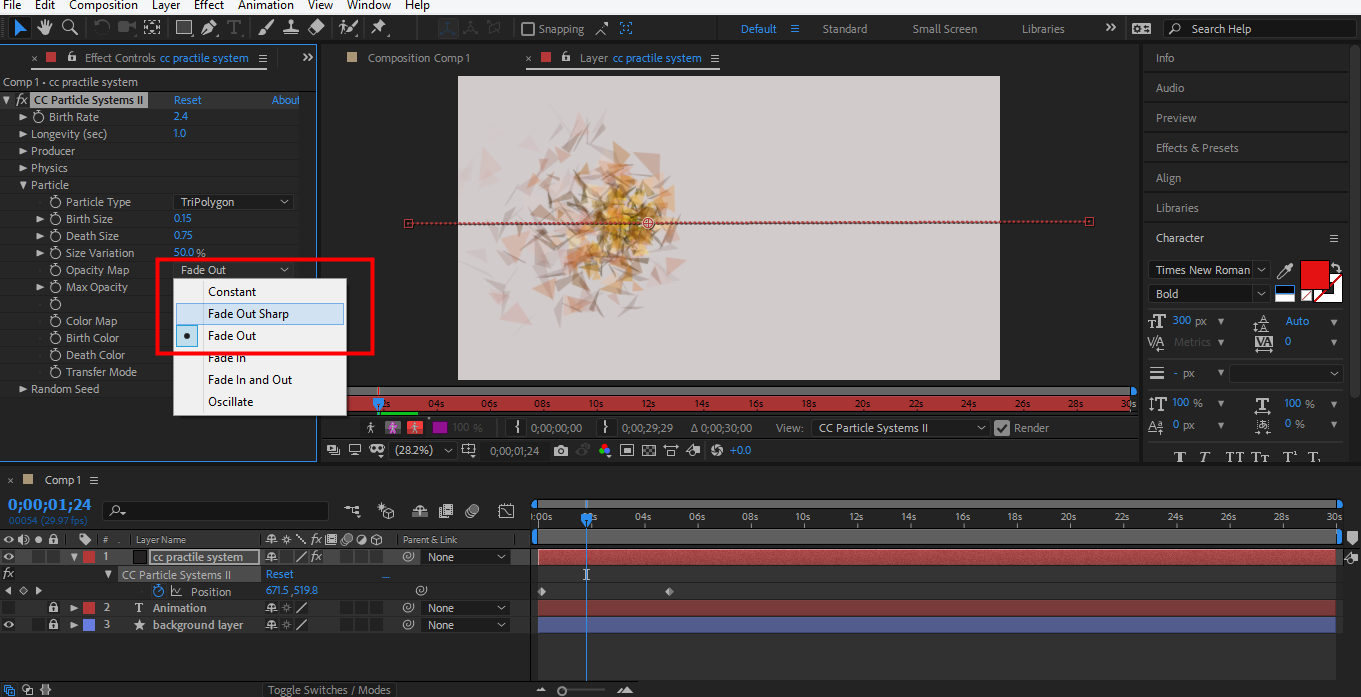
Step 31: Now go to the opacity map and choose to Fade Out Sharp from here.
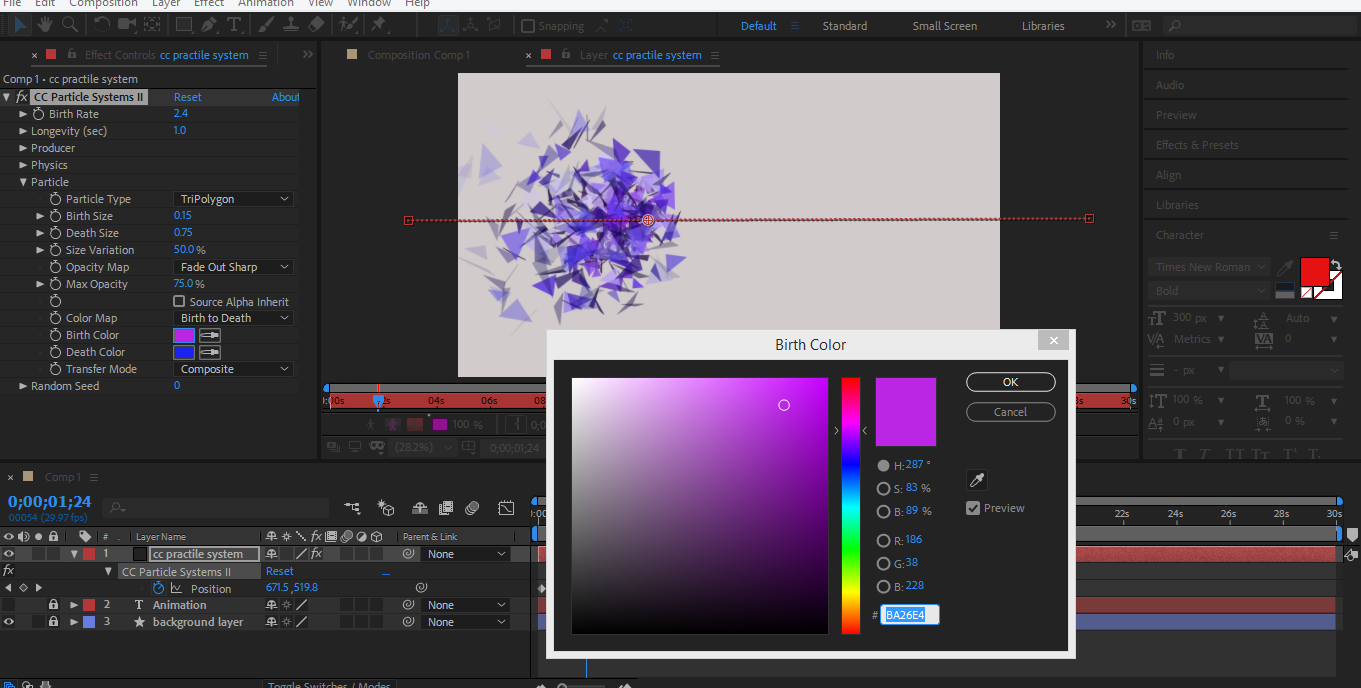
Step 32: We will change the color of tirpolygon from here by Birth color and Death color options.
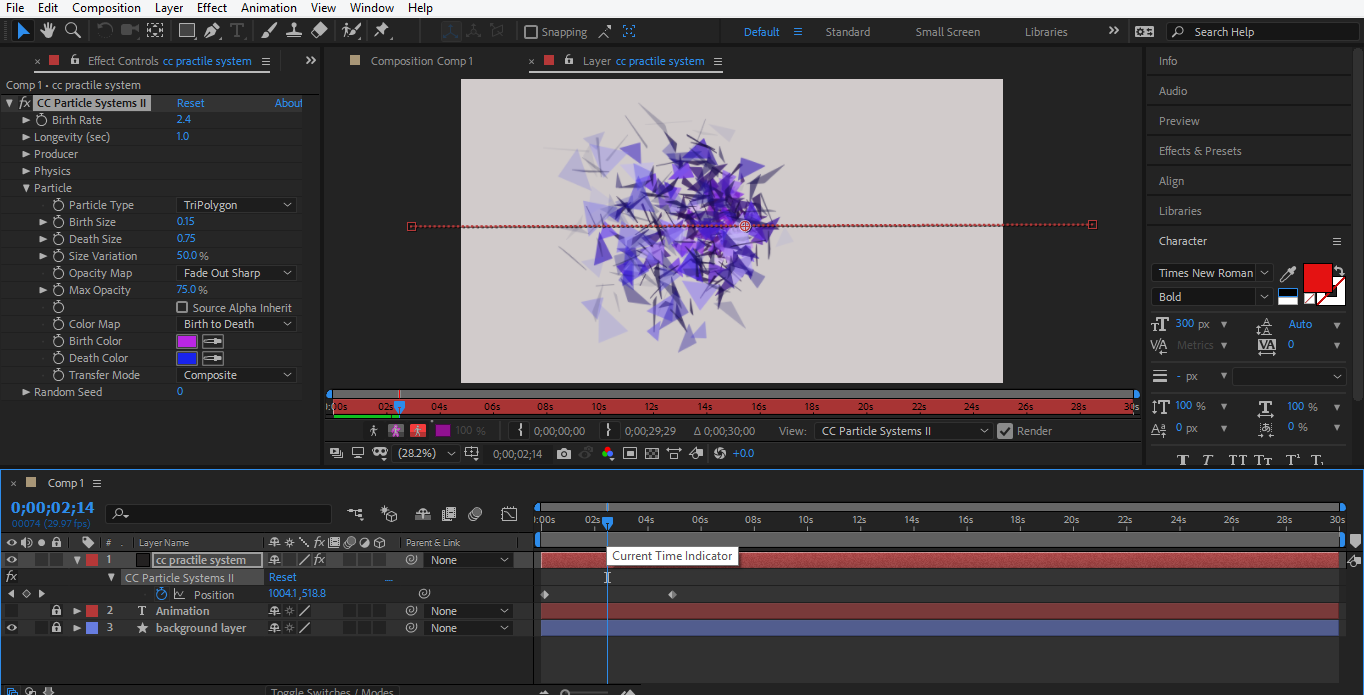
Step 33: This is our final animated object with the motion effect of animation.
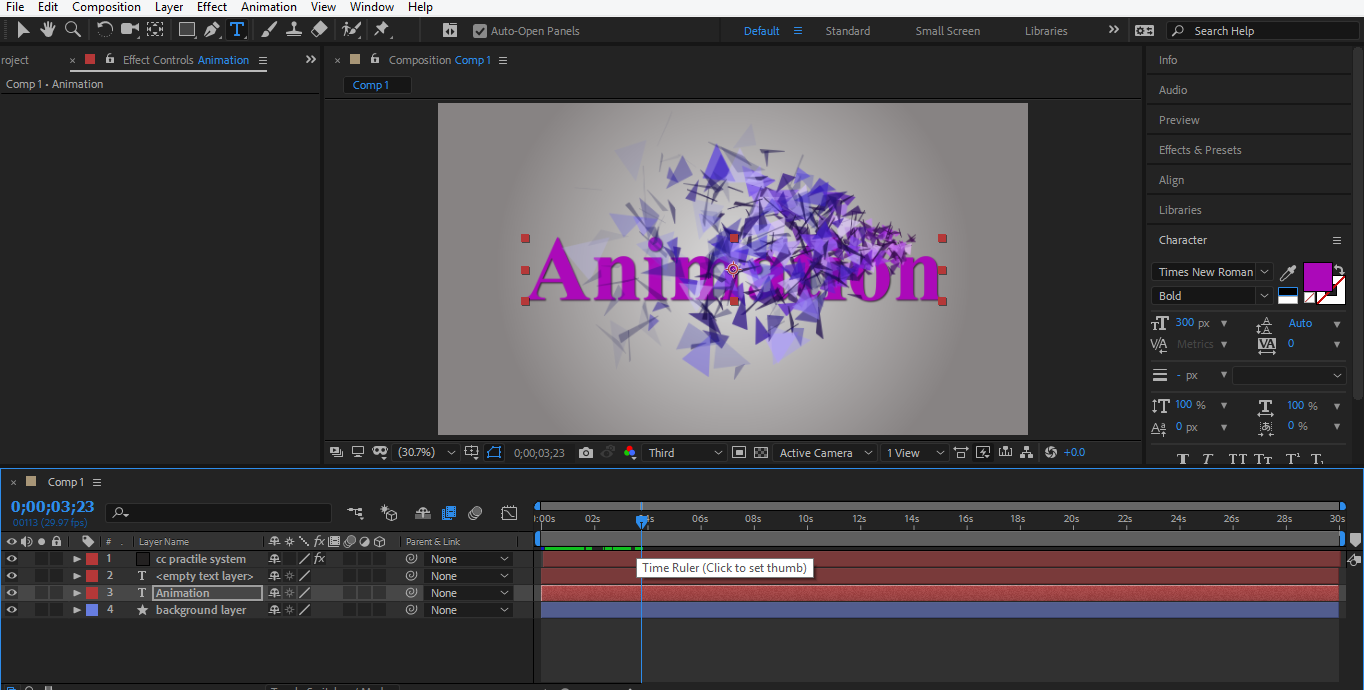
Step 34: Now, unhide the text layer by clicking on this layer’s eye icon and playing the animation from the keyframe area. You can see the effect of animation on the text.
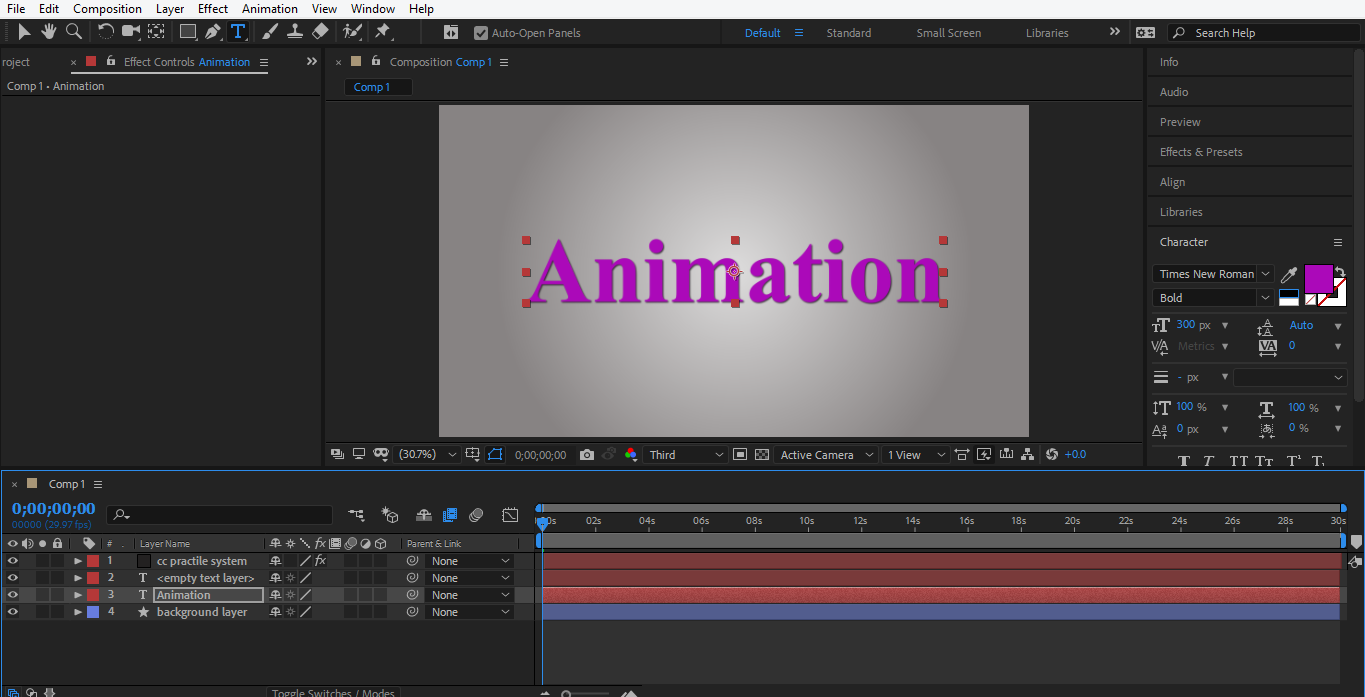
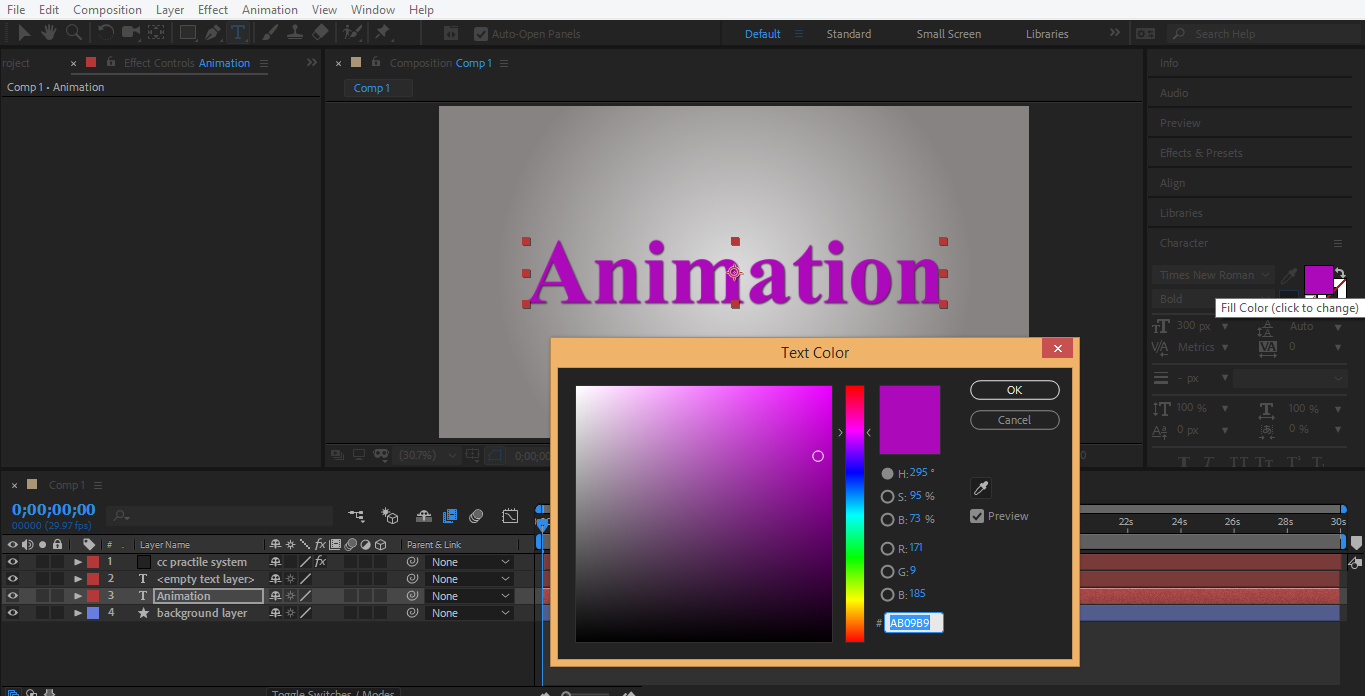
Step 35: I will change the text color according to my animation color. I will apply purple color to my text. You can make a change in text style color shape according to you.
Step 36: This is the final animation of my model.
Conclusion – Animation in After Effects
In this way, you can easily animate your model for any purpose. After having command in animation, you will become more efficient in creating an effective and interesting view of your project. Moreover, animation in your project attracts the viewer and gives them a sense of your project in the real world.
Recommended Articles
This has been a guide to Animation in After Effects. Here we discuss the introduction and steps for Animating our Object in Adobe After Effects Software. You can also go through our given articles to learn more –
