
Introduction to Affinity Photo Remove Background
Affinity Photo Remove Background can understand as removing Background from any image as per our requirement with the help of features available in this software. We can not only remove the background of any photo or image but also place different backgrounds for providing a new look to our edited photos. Today I will tell you how you can remove the background of your selected photo in just a few steps and get the best result from it. After removing the Background you just have to go through a few more steps for placing another background to that edited photo. So let us have a look at these steps in a very interesting manner.
Overview of Affinity Photo Remove Background
Before we start our discussion on the steps of removing the background of our image I would like to give you an overview of Affinity photo remove background.
Many times during working on image or photos manipulation we need to use a particular object with other images or want to remove the background of any image to replace it with other so we have to go through the process of background removing feature of this software and it is so easy to do through some adjustment.
How to remove affinity photo background?
Now let us start our discussion about how we can remove the background of any image in an affinity photo.
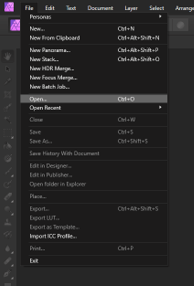
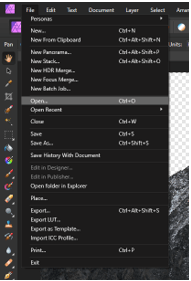
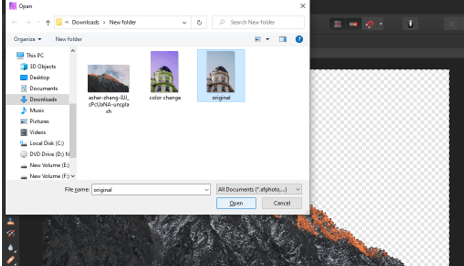
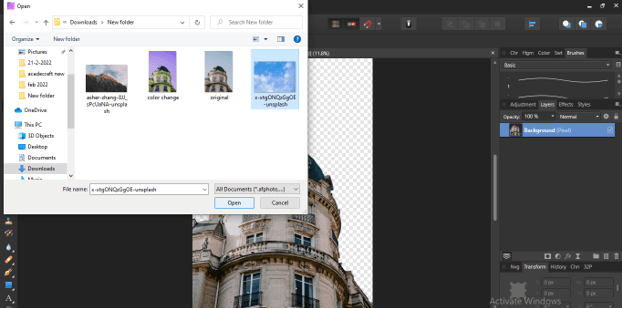
For that, I will take an image so go to the File menu of the menu bar and choose the Open option from the drop-down list or you can press Ctrl + O as its shortcut key.
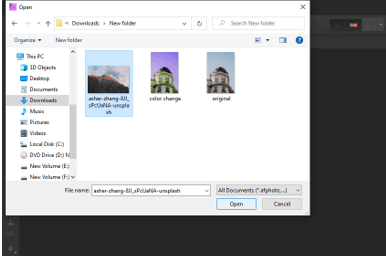
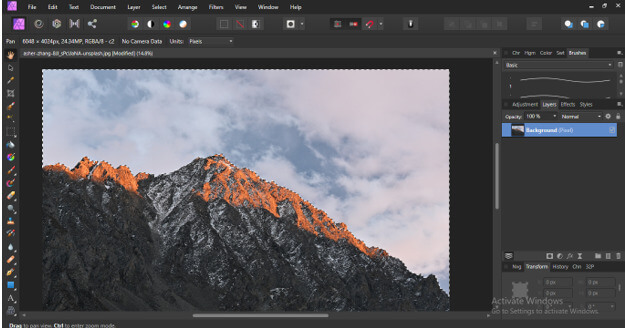
Once you click on the Open option a dialog box will be open to choosing your desired photo. I will choose this image which I have downloaded from the internet. You can choose your own one by going to its saved location.
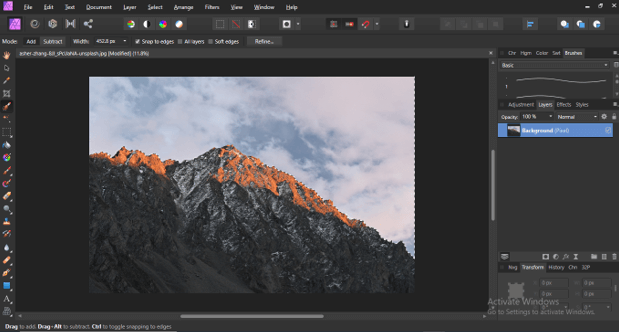
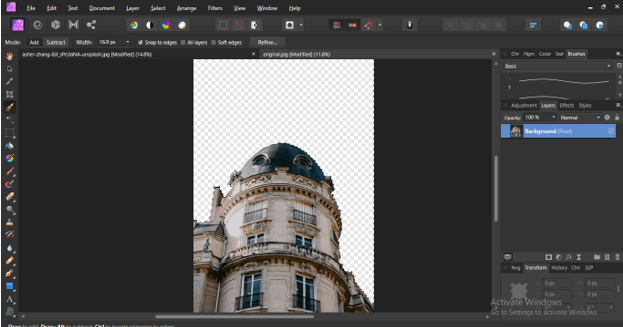
Our chosen image will open like this.

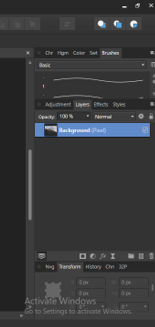
Go to the layer panel of this software which is the right side of the working window and click on the lock icon of this layer to unlock it so that we can make changes in it as per our requirement.
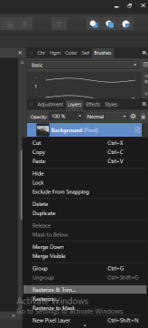
Now make right-click on this layer. Once you make right-click a drop-down list will be open so click on the ‘Rasterize & Trim’ option of this list to make this image editable.
Now go to the tool panel and click on the ‘Selection Brush Tool’ icon to select this tool.

With the selection brush tool start making selections around the background. You just have to drag the mouse cursor around the selection area slowly for better selection. You can increase and decrease brush size by square brackets of a keyboard according to the area which you want to select which means if the selection area is small then decrease the size of the brush or do vice versa.
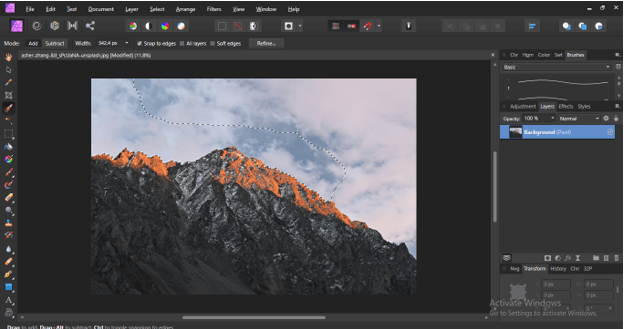
After making the section you can see there are dotted lines around our selected area which show our current selection but there is some area that is not properly selected. We can fix it too.
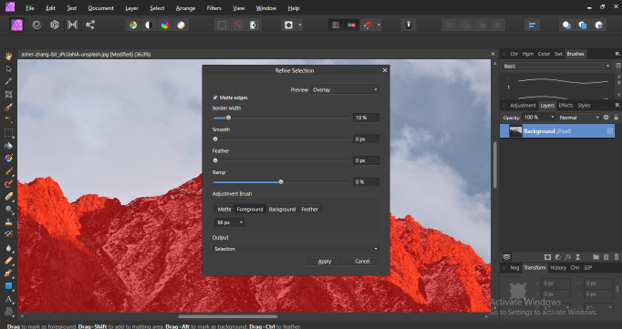
So for refining, any selection go to the top of the working window and at the Properties bar, you will have the ‘Refine’ button so click on it.
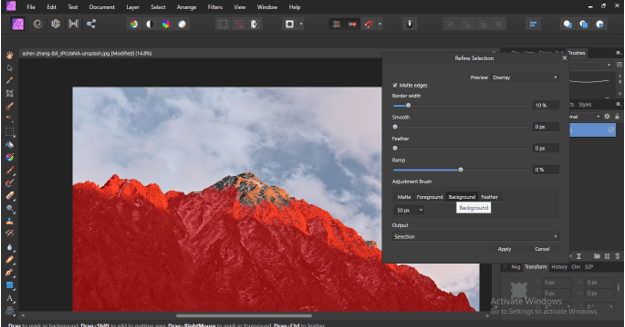
Once you click on it a Refine selection dialog box will open like this and the unselected area will cover with the red shades area automatically for showing you the unselected area properly.
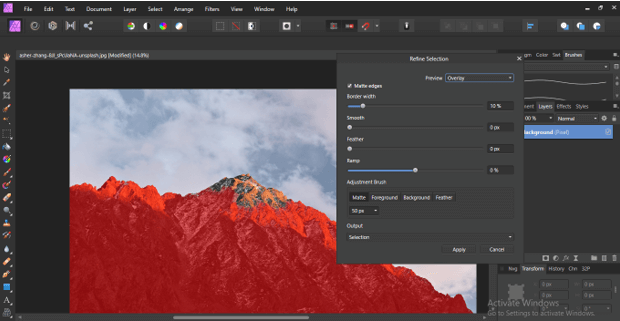
Now select the Background button in Refine Selection dialog box because we want to refine unselected area.
Now refine the selected red shades area like this. You need not select the whole left area just drag mouse cursor around it and the software will automatically understand your selection and make the perfect selection for you.
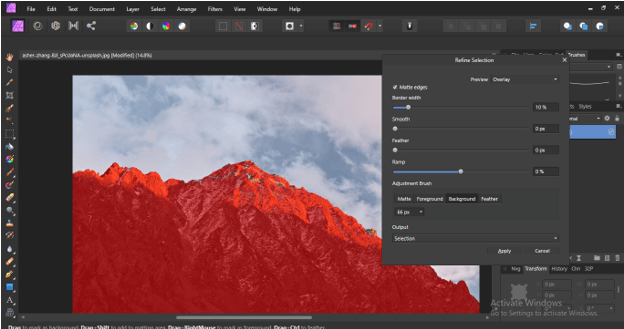
You can see there may be some place those are selected accidentally during refining selection. We can also fix it.
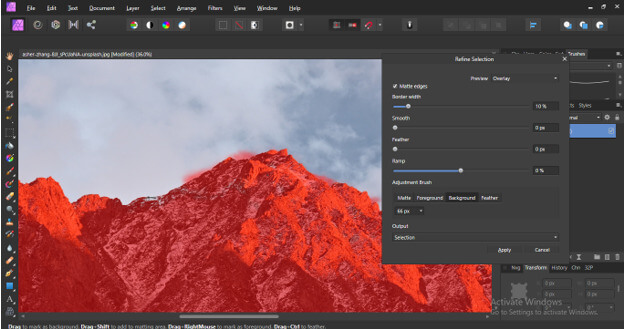
This time select the Foreground button in Refine Selection dialog box by clicking on it.

You can clean the unwanted red areas from the selected background.
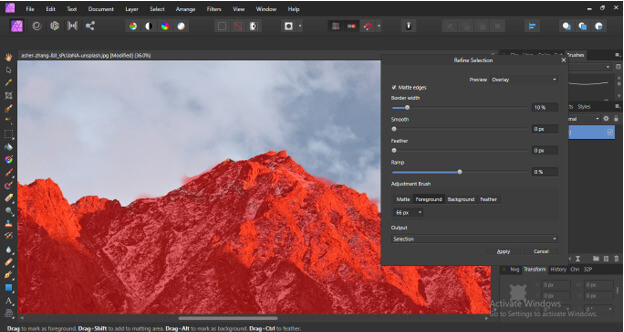
Once you satisfy with your selection click on Apply button of this dialog box to apply your changes on selection.
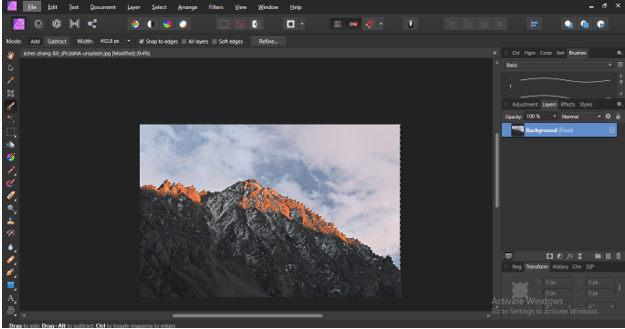
You can see it showing us refined selection now.
Press the delete button of key board to remove the selected area.
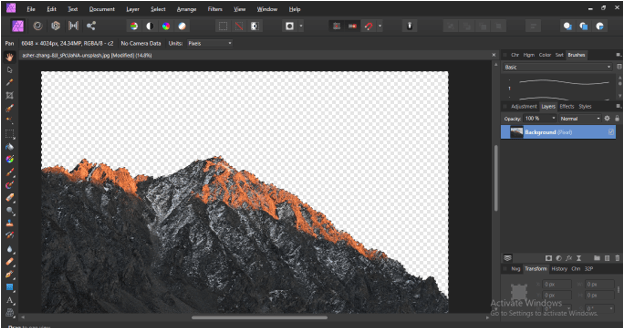
This way you can remove the background of any image.
Affinity Photo Remove and Change background
We can not only remove background but also change the background of any image so now let us discuss how we can place other images or objects in place of the removed background.
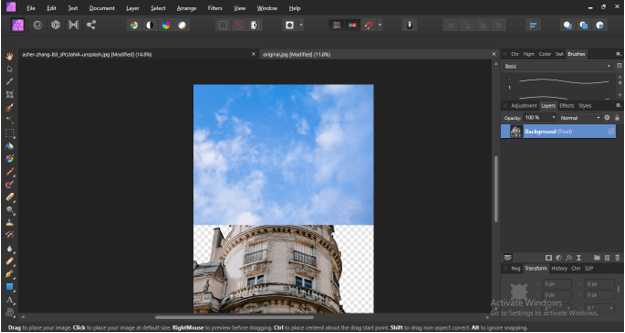
For that, I will open new photo here in the same way ( by pressing the Ctrl + O button on the keyboard).
This time I will choose this image. You can go with your own.
Repeat the same process for removing background of this image.
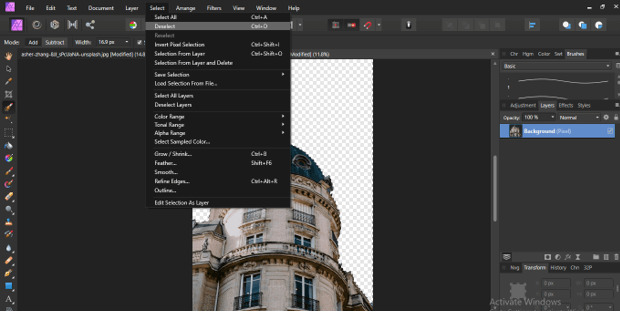
After removal of background go to Select menu of menu bar or you can press Ctrl + D button of the keyboard as its shortcut key.
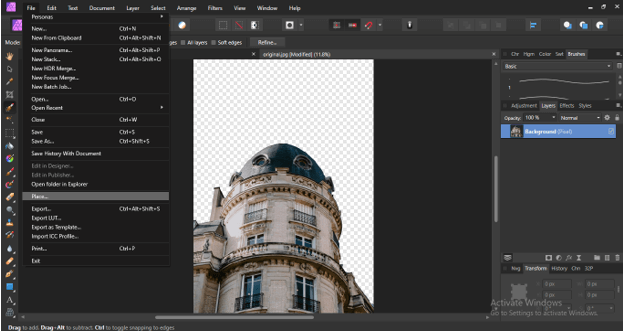
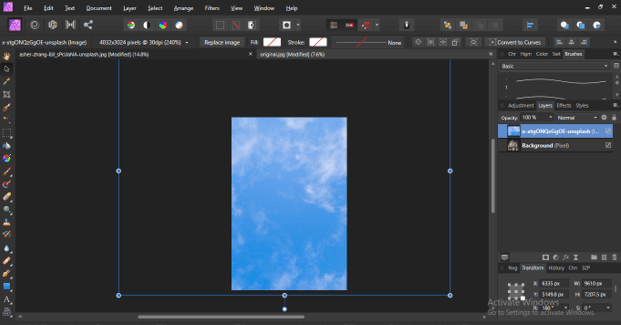
Now go to File menu again to place another image which you want to use here as background of this image. Here in the dropdown list of the File menu click on the Place option.
I will choose this sky image from opened dialog box. You can use any image as per your choice.
Now make a click on the canvas area to drop this imported image here.
Now hold the Ctrl button and scroll the mouse wheel to resize this image. I will resize this image in this way so that it can cover the whole canvas.
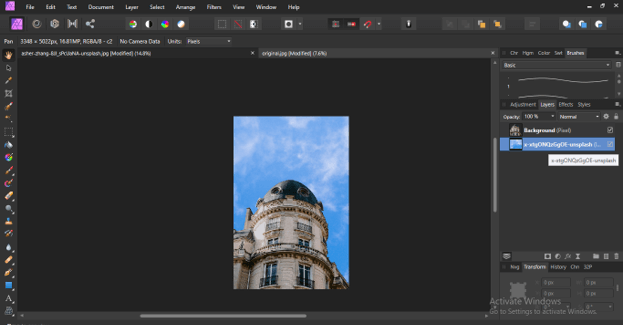
Now go to the Layers panel and drop this sky layer below main layer by holding it with the mouse cursor and you can see this image has different look with different background and the background image is looking like part of this image.
Conclusion
Now after going through all important aspects of this topic you must have good understanding of how you can remove the background of any image and place another image as the background of edited image. I will suggest you try this with different types of images as well as typical backgrounds for having a good command of this technique of this software and you will definitely get benefit from it.
Recommended Articles
This is a guide to Affinity Photo Remove Background. Here we discuss the Introduction, overviews, How to remove affinity photo background, examples. You may also look at the following articles to learn more-
