Introduction to Zbrush Zmodeler
Zbrush Zmodeler is a type of brush tool that is in the set of brushes preset of this software, and it allows as to create a different types of shapes by editing polygons of the poly mesh of any model shape. For creating any shapes, it uses its number of polygon editing as well as modeling functions. This brush helps us do our modeling work in a very quick and easy way, so today, we will discuss all important aspects of this brush. You can use it on a pre-designed model or can start modeling with this brush. So let us start our discussion.
Zbrush Zmodeler Actions and Targets
As we know, Zmodeler is a brush preset of this software and works for creating a wide variety of modeling shapes by using its vast range of array functions. It is divided into two sections for performing its assigned task or has two elements for performing its task. These elements are Actions and Targets.
The Actions can be understood as functions used for creating shapes of selected polygons, single polygon, group of polygons, and so on. Here we have a number of functions in this brush, and some of them are Extrude, Bevel, Delete, Bridge, Split, and many more.
The Targets is the section or part or point of the model on which we apply functions of ZModeler, and it includes individual edge, point or polygon of selected Subtool model or group of polygons, borders, edge loops, and many more things are there.
Now, after having a brief explanation about Zmodeler, let you take us through the process that uses by this brush for performing its particular functions for getting our desired shape.
How to Use Zbrush Zmodeler?
You can use this brush the same as other brushes of Zbrush, but there are some options and features about which you have to knowledge for using it properly. So let us have a look at them.
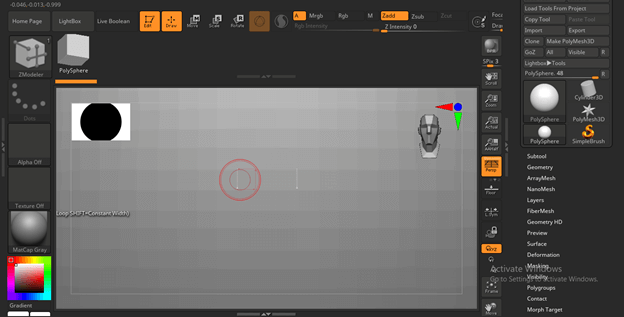
For explaining about this brush, I will take a preset model from the list of preset of Zbrush. For this, go to the LightBox button on the second top bar of the user screen of this software and click on it. From the list, I will choose this sphere shape model.

If I zoom it, then you can see there are a number of polygons in the poly mesh with which this sphere is made.
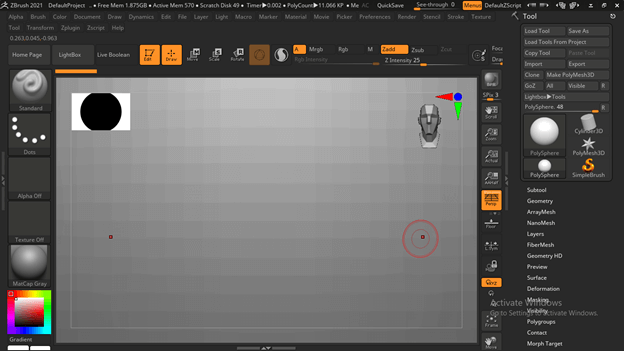
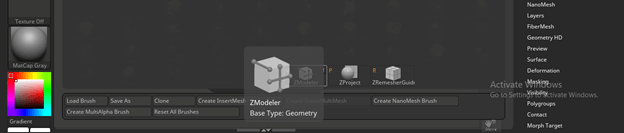
Now go to the Brushes button, which is at the left side of the user screen of this software, and click on it. Once we click on it, we have a number of brushes in this panel, and for having your desired brush, just press the first letter of the name of that brush. For example, I want to have Zmodeler so that I will press Z, and here are the brushes that start with the letter Z.
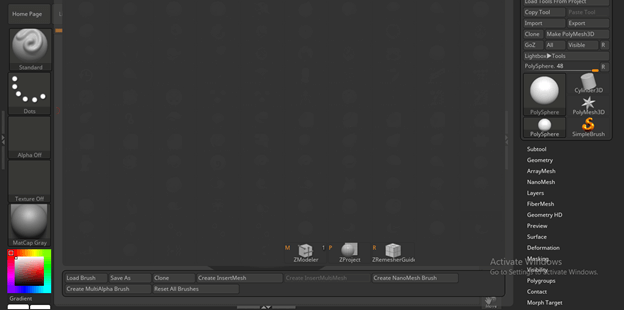
Make a click on it for selecting it.
Now with the active cursor of this brush, navigate on the surface of the model. For example, if the cursor is on the polygon, then it will show you the polygon area.
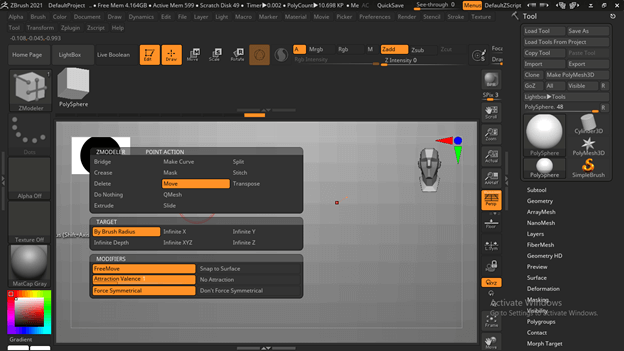
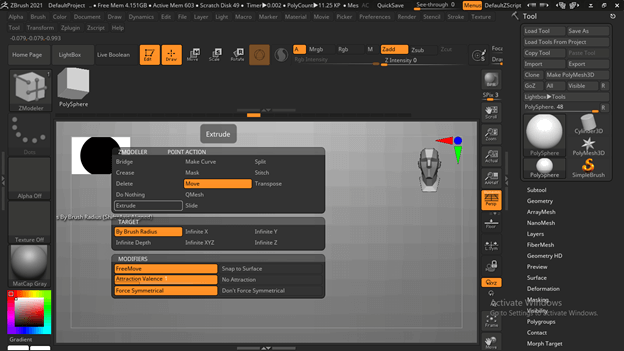
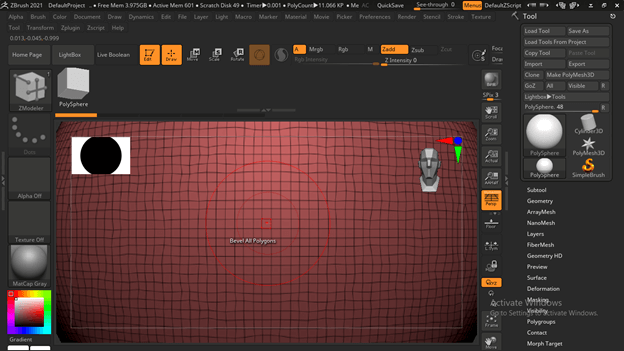
And by pressing the Spacebar of the keyboard, we can have all the Actions of Zmodeler that can apply to the polygon of a poly mesh of the selected model.
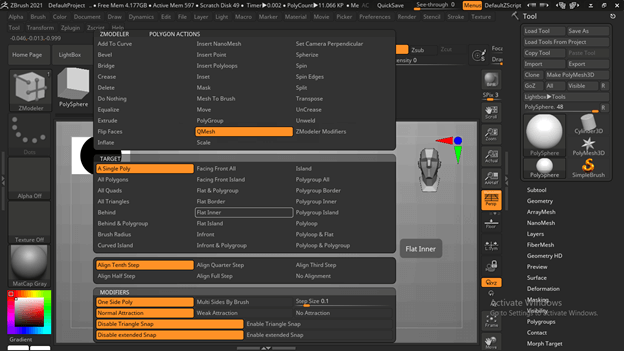
At the top of this popup dialog box, we have a number of Actions functions according to the chosen target, such as Bevel, Bridge, Crease, etc., which you can choose as per your choice.
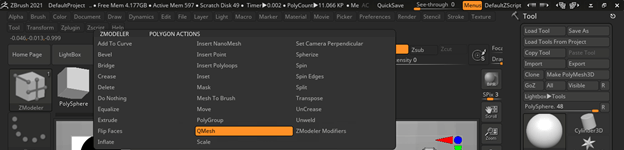
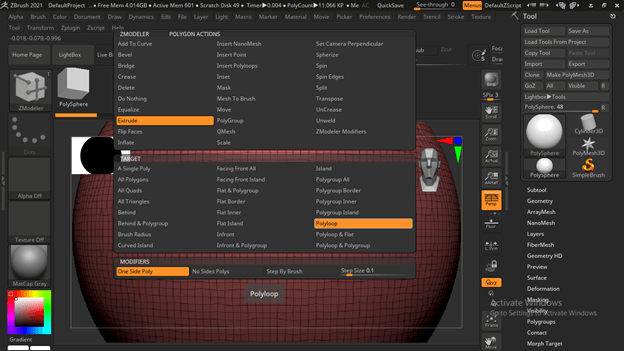
The next section of this dialog box is Target, in which we can choose the target of our model on which we want to apply the selected action function. For example, if I want to apply the Bevel function on Single poly, then I will choose the ‘A Single Poly’ option in the Target list.

If you place the mouse cursor on the vertex or corner point of the polygon.
And press the spacebar again, then it will show you all the parameters related to points of the polygon.
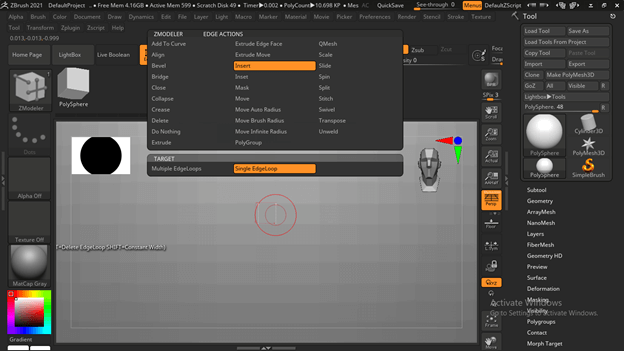
Same as if the cursor is on the edge of the polygon.
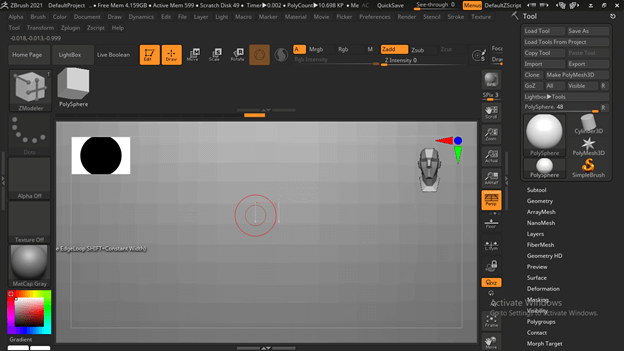
And we press the spacebar again, and it will show us parameters for Edges.
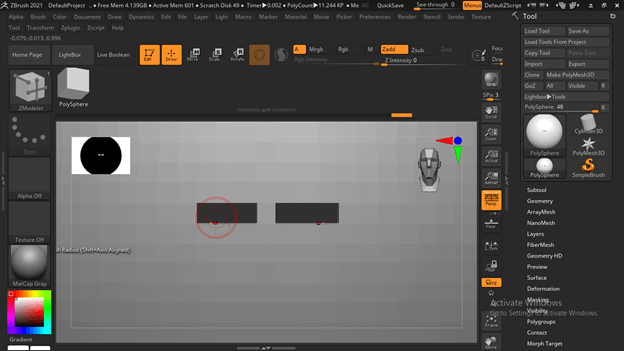
Now let me tell you how you can use these functions and parameters of Zmodeler. First, I will place the mouse cursor on the polygon and press the spacebar. Then, in the Action section, I will choose Delete action, and in the Target section, I will choose ‘A Single poly.’ Now let us see what will happen.
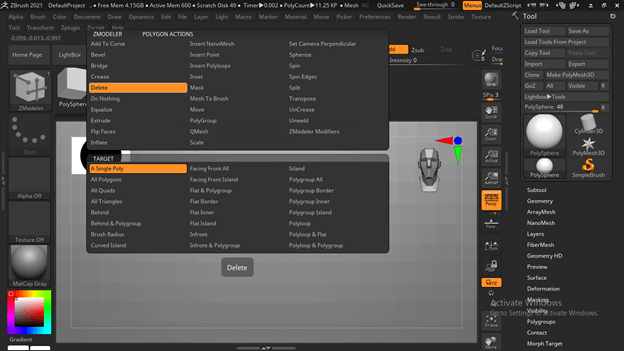
When we click on the polygon, then it will delete clicked polygon. So you can delete more than one polygon to create any structure.
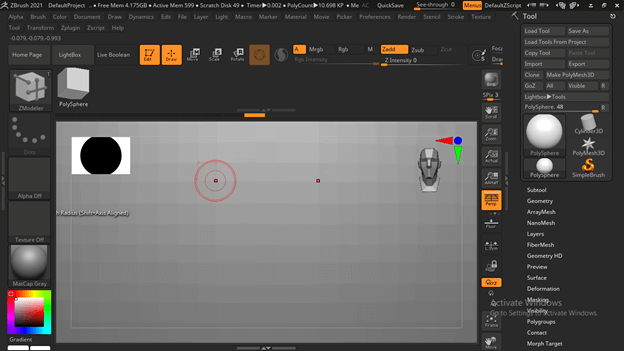
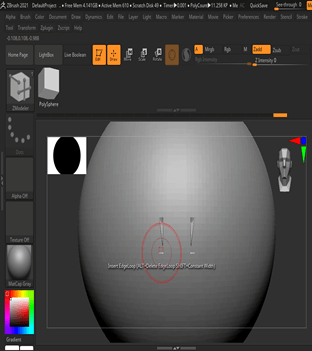
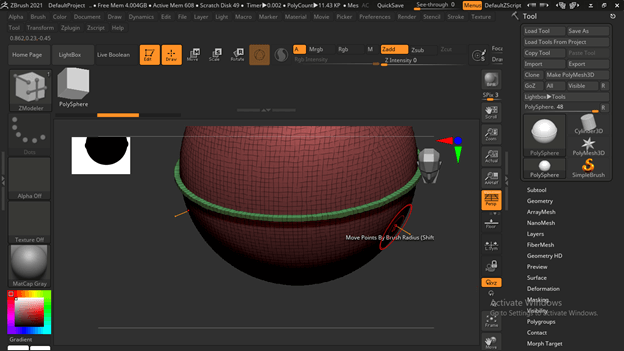
Now I will select one point and choose Extrude Action for the point, and in Target, I will go with the ‘By Brush Radius’ option.
And you can drag the mouse cursor to extrude these points. It is extruding two-point because we are in symmetry mode.
If you want to see the polymesh fire frame in your model, then you can change it into mesh frame mode by enabling the Poly F button of the Transform menu of the menu bar.
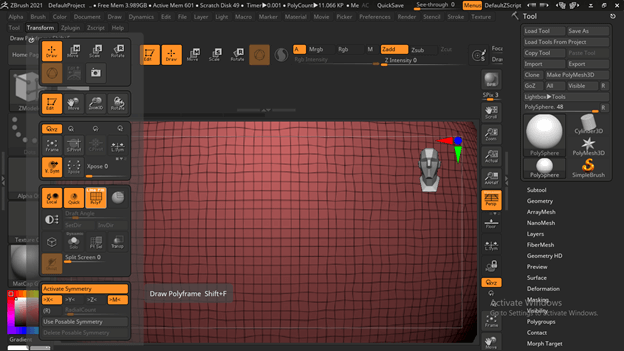
You can see the mouse cursor of this brush showing us active action and active target. So you can find which action and target selected on the mouse cursor of this Zmodeler.
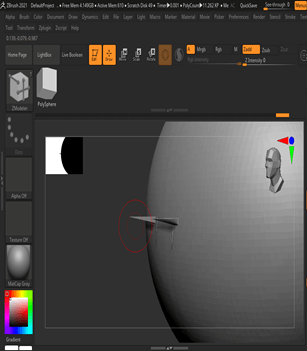
Now I will show you one more action that works on the polyloop, and for that, I will choose to Extrude action in the Actions section and choose Polyloop in the Target section.
Now make a click on any polygon and hold the click; it will automatically select the whole loop of that comes in the direction of your select polygon.
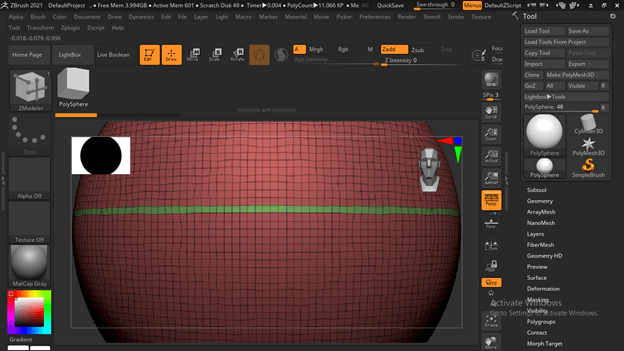
Now you can drag the mouse cursor for extruding that selected polygons like this.
You can do it in other direction too, by the same way.

Conclusion
So this way, you can work with a Zmodeler brush of Zbrush, and I am sure you find it the most helpful tool of Zbrush for creating modeling shapes and their parts in a very quick as well as easy way. I must suggest you try other actions function of this brush on different targets so that you will have more and more command on it.
Recommended Articles
This is a guide to Zbrush Zmodeler. Here we discuss the process that uses by this brush for performing its particular functions for getting our desired shape. You may also have a look at the following articles to learn more –
