Updated September 14, 2023

Introduction to Zbrush Polygroups
Zbrush Polygroups can be understood as creating groups of polygons on the created 3D model to select these groups separately for doing a different type of work while creating 3D models in Zbrush. These polygons groups are separated from each other with different colors assigned to them during creating polygroups. We can enable polygroups sections of any model by enabling the PolygFrame option of this software. Moreover, to do our work smoothly, we can hide or unhide our desired section of polygroups by just using some shortcut combination keys. Here in this article, I am going to tell you a different aspect of polygroups, so let us start our discussion.
Zbrush Polygroups Working
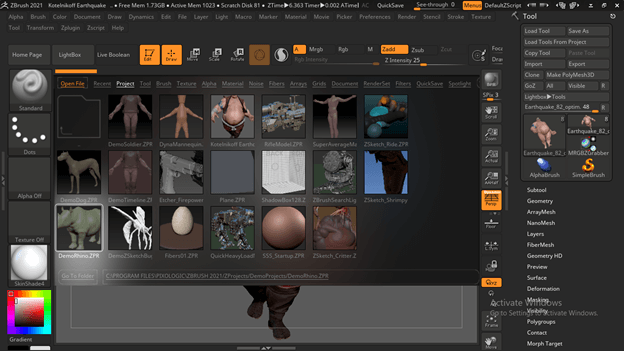
Before discussing how polygroups work, I would like to tell you what are polygroups and how you can recognize them in your model. Let us go to Light Box and take the model for understanding about it. I will choose this Earthquake model.

And you can enable the polygons frame of your model by clicking on the PolyF button of the Transform menu of the menu bar, or you can press the Shift + F button of the keyboard.
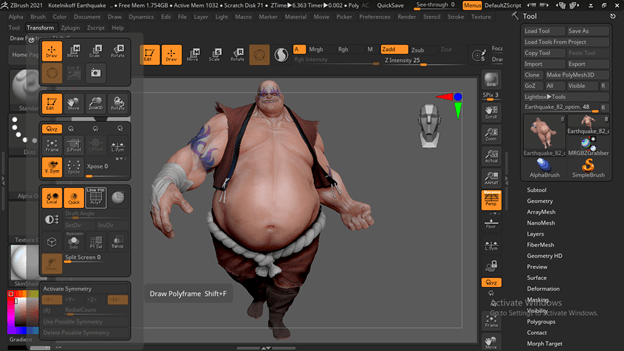
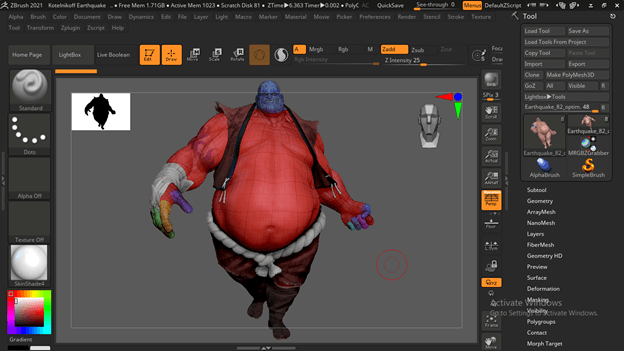
And you can see there are different colors on this model, and these colored sections are called as polygroup, which we can use for a different type of work.
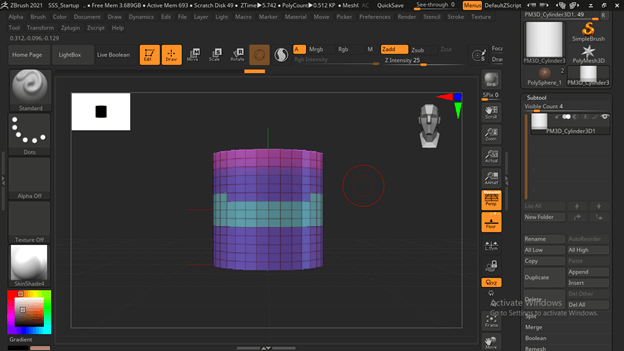
Now let us discuss how polygroups work. For this purpose, I will take a cylinder shape and enabled polyframe of it.
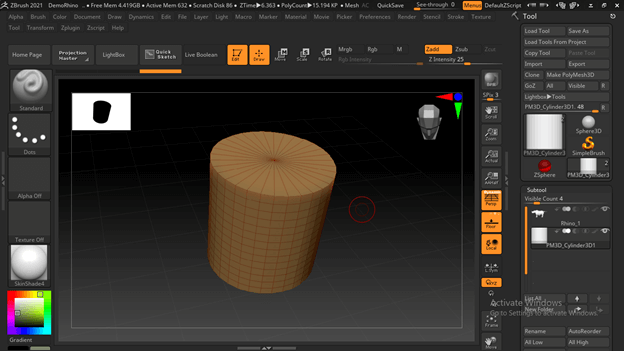
I have divided it into some polygroups sections. I will discuss how you can create polygroups later in this article.
Now let us take the Zmodeler brush from the Brushes panel, and with this brush, I will place the mouse cursor on the edge of the upper polygroup, make a right-click, and choose Bevel action, then Edge Loop complete option in the Target section.
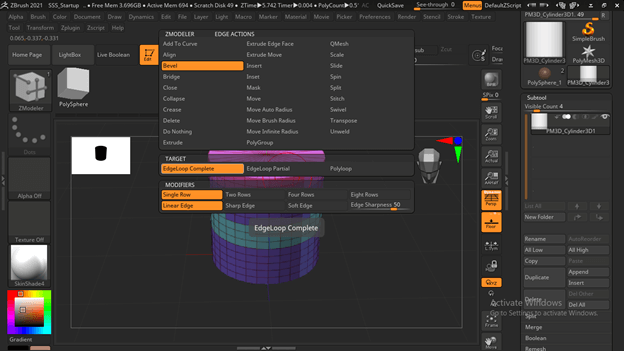
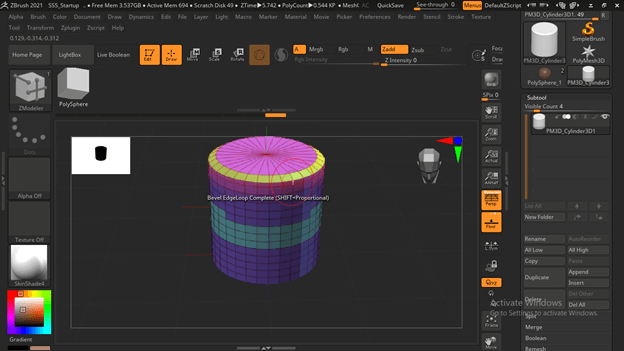
And once I move edges in an inward direction, it will bevel entire edges like this.
Same as an edge, we can work on polygons shapes group. I will select Extrude action, and in the Target section, I will choose Polyloop.
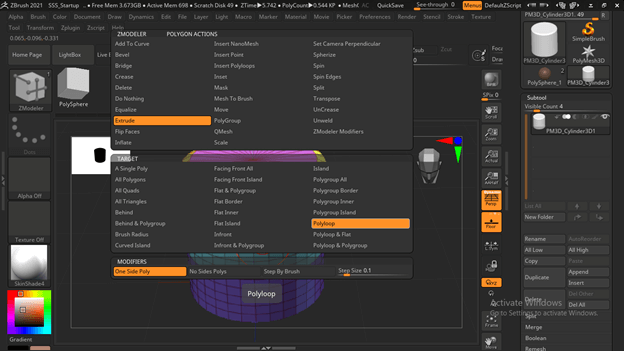
And when I extrude one polygon, it will extrude all groups like this.

There is much more thing which we can do with polygroups. I just given you an example for its basic working. Now let us move to other section of this article which is how we can create polygroups.
How to Create Polygroups?
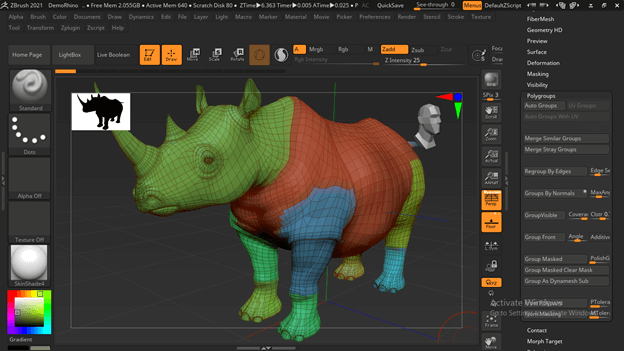
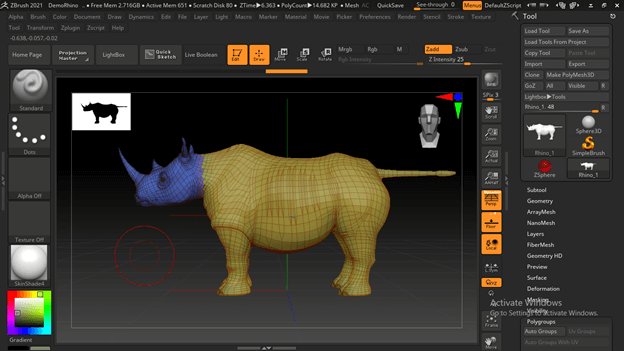
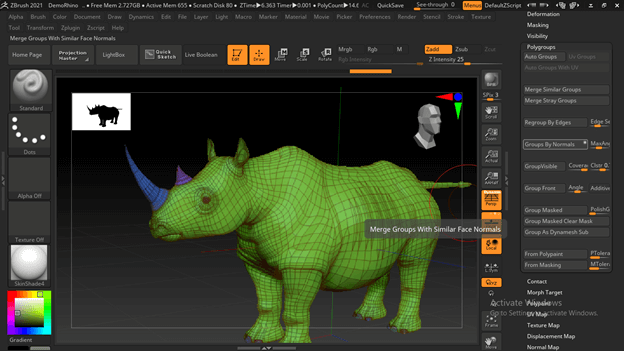
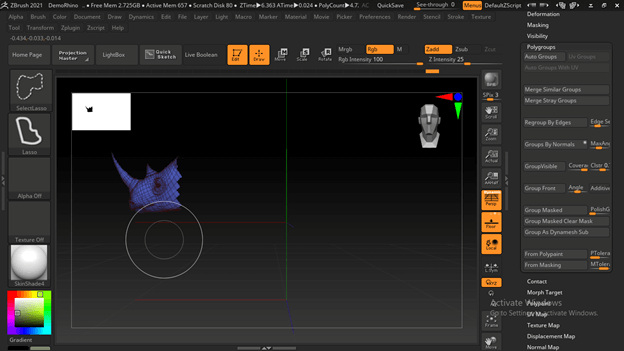
In this section, you will get all idea about creating polygroups as per you own choice. Now for this purpose, let us have a model from Lightbox, and I will take this Rhino model. Then, you can try this on your own model.
You can see it have already polygroups sections.
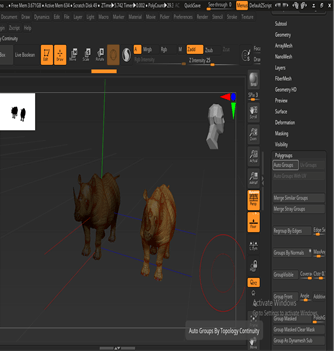
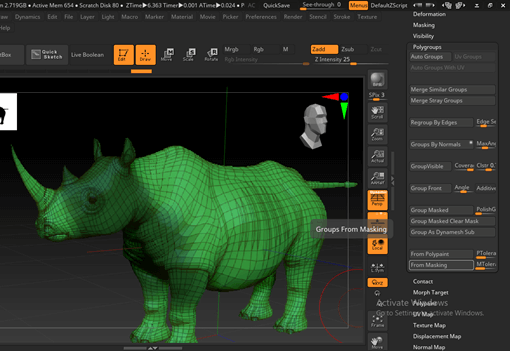
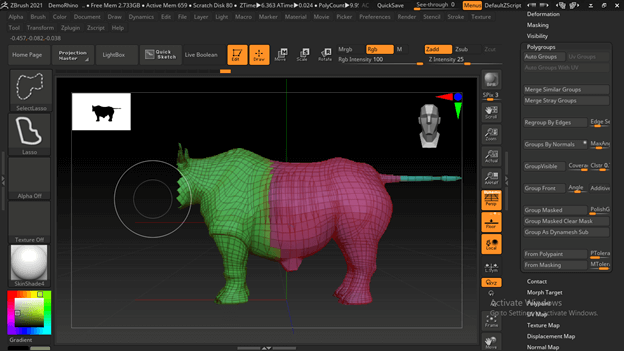
I will convert it into one polygroup to explain you how you can create different sections of polygroups. So go to Polygroups sections of the Tool bar panel, which is at the right side of the working screen, and click on Groups from Polypaint.
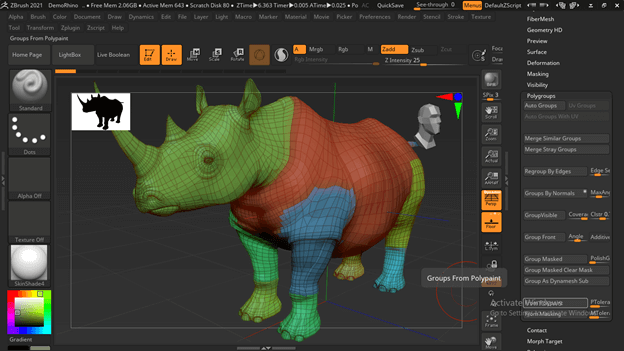
Now it is one polygroups.
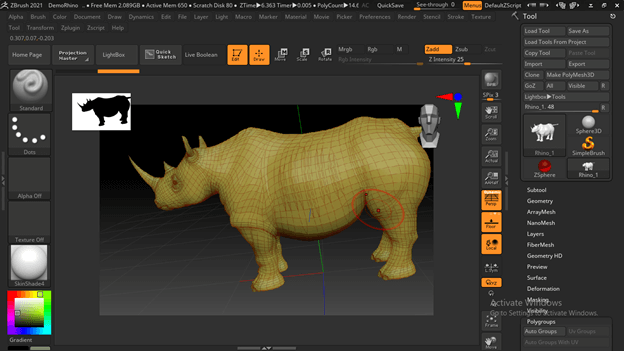
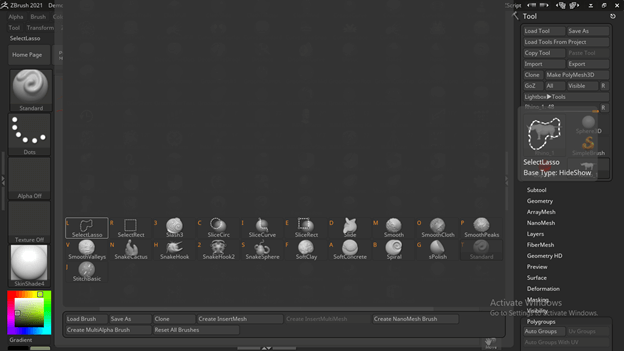
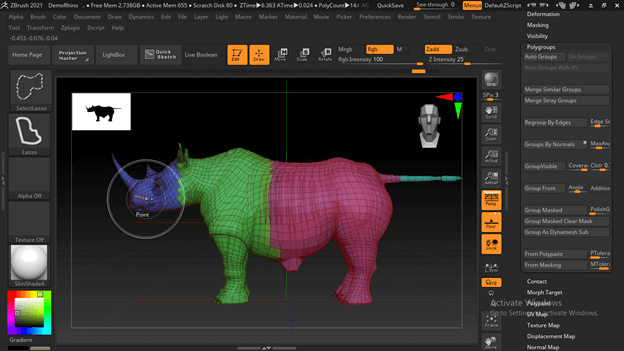
There are few methods to create polygroups; for the first method, take Select Brush from the Brushes panel. After that, you can take any selection brush According to what type of section you are going to select on your model. For this time, I will select this Select Lasso brush.
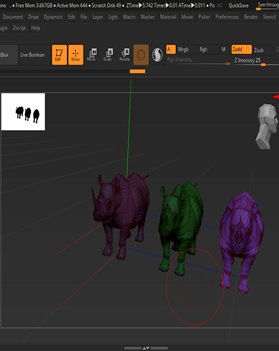
Now I will drag the mouse cursor by holding the Ctrl + Shift button of a keyboard for making selection around the head of this rhino.
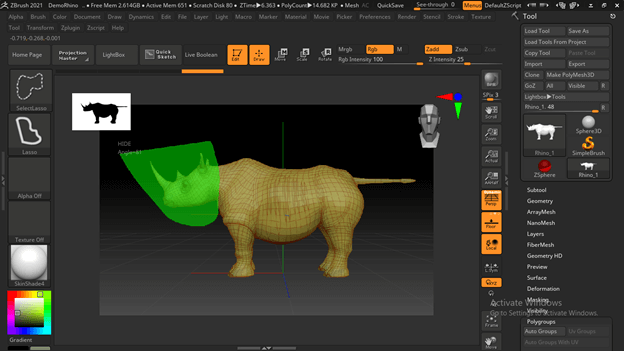
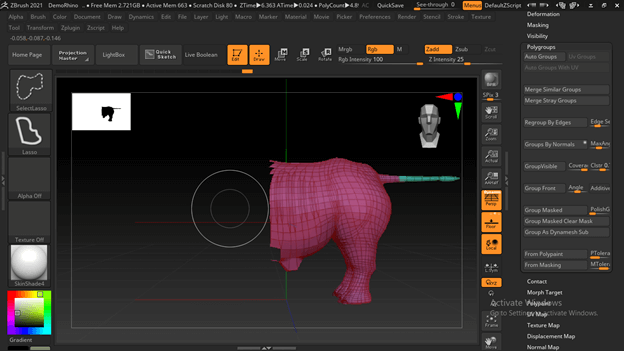
Once you make a selection, it will show you only the selected section and for making it a separate polygroup, just press Ctrl + W as its shortcut key. Once you convert it into a separate polygroup, its color will change into something different from the color of the whole model.
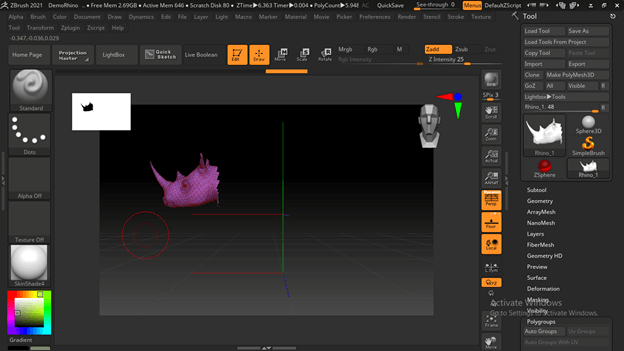
Now you can see there are two polygroups with different colors. Hold the Ctrl + Shift button of the keyboard, then click anywhere on the floor area to unhide other parts of the model.

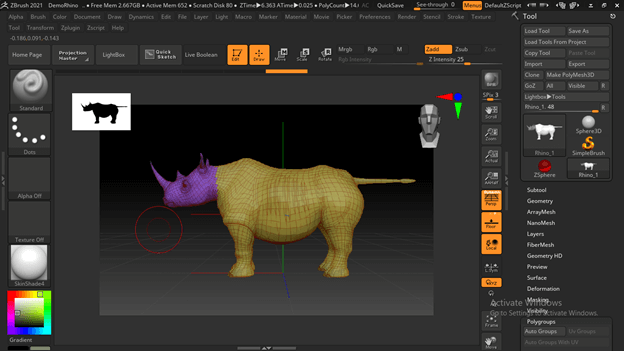
You can make a selection with a Mask brush, so hold the Ctrl button of the keyboard for converting the mouse cursor into a Mask brush and make a selection.
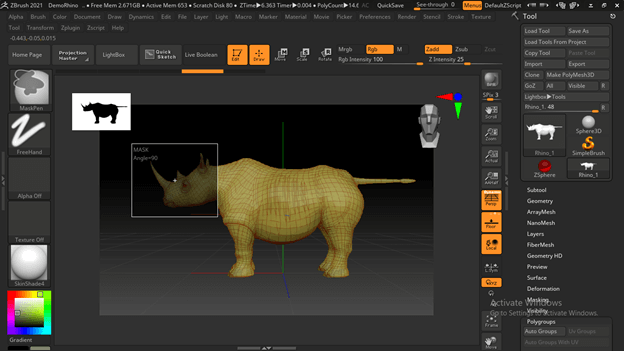
Then you can follow the same procedure.
The color of created polygroup is randomly picked by the software. You can undo polygroup creation and again press Ctrl + W for making polygroup, and you will have different color each time.
Assign Polygroup
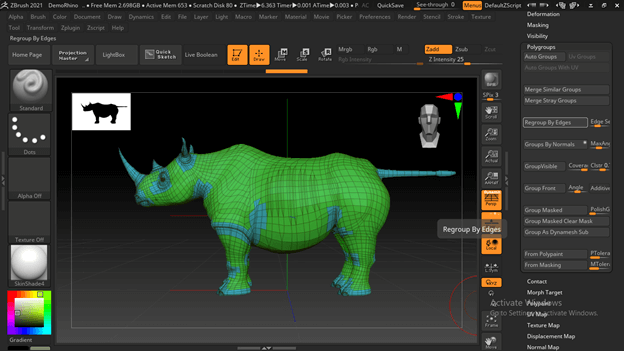
We can use the different options of the Polygroups section of the Tool bar for assigning polygroups in different manners. For example, if we press the Auto Groups option, it will automatically assign different colors to objects of the group.
You can go with other parameters of the Polygroup section for assigning polygroup in different manners. For example, you can create polygroups by edges.
Use the ‘Groups by Normals’ option for assigning polygroups on the basis of angle. You can vary the value of angle for having different results.
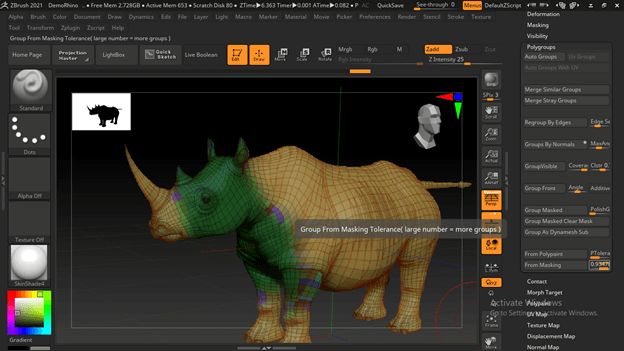
You can also mask where you want to have a separate polygroup and then click on the From Masking option of the Polygroups section panel.
And it will assign polygroups according to the chosen value of this option. So you make changes in values to see the variation.
Hidden Polygroups
For working in a smooth way, most of the time, we need to hide other polygroups rather than we are working. So we can do this very easily.
Just hold the Ctrl + Shift button of the keyboard and make click on polygroup that you want to see.
And once you make a click, other polygroups will hide automatically.
If you want to invert the hide, begin holding the keyboard’s Ctrl + Shift key; click on the visible polygroup, and it will hide, and other polygroups will become visible.
Holding Ctrl + Shift key makes you click anywhere on the floor area to see your entire model.

You can hide more than one polygroup at a time; just make click on polygroups one by one by holding Ctrl + Shift keys.
Conclusion – Zbrush Polygroups
Now I am sure you have good knowledge about Polygroups of Zbrush, and you also have a good understanding about how you can work with it for doing a different type of difficult task in a very easy way. So I will suggest you start working with it by using shortcuts to have good command on it.
Recommended Articles
This is a guide to Zbrush Polygroups. Here we discuss how you can work with it for doing a different type of difficult task in a very easy way. You may also have a look at the following articles to learn more –
