Updated September 14, 2023
Introduction to ZBrush Pixologic
Zbrush Pixologic is a sculpting tool that works on a digital platform and combines 3D as well 2.5D modeling with different textures and painting as well. It is based on proprietary pixol technology that stores color, material, lighting, orientation, and depth information for the particular points used for making objects on the floor area of this software. In addition, it offers several types of brushes for making the structure of the model in different ways. Here in this article, I will tell you how you can use different software features to learn about Zbrush Pixologic.
How to use ZBrush Pixologic?
To use Zbrush Pixologic, we first have to understand about the user interface of this software which is very user-friendly. So let us start our discussion.
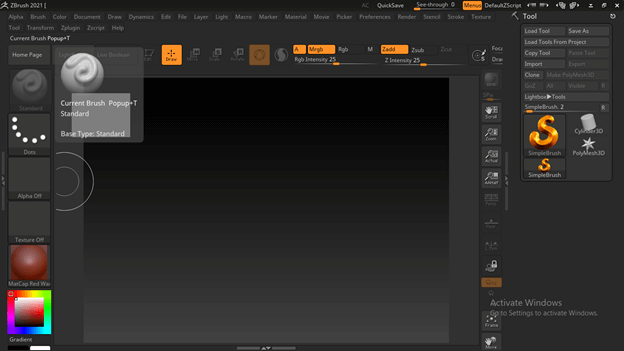
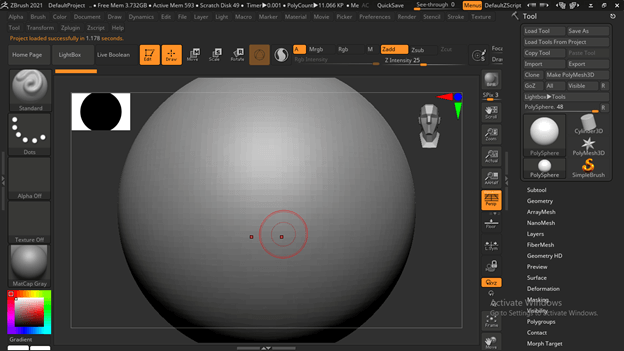
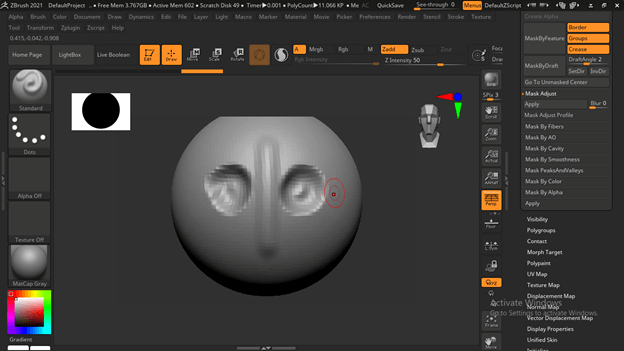
This is the user interface of this software, and at the top of this user interface, we have a menu bar of different menus such as Alpha, Brush, Color, and so on.
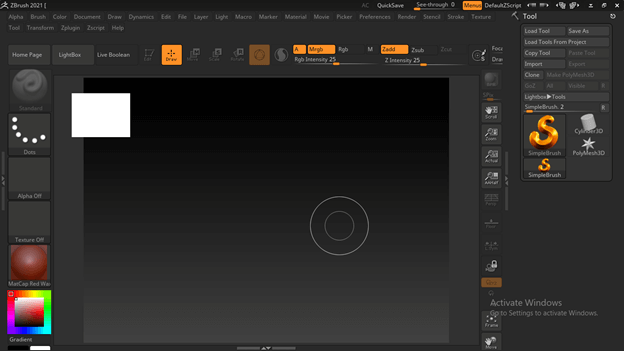
Below this, we have different tabs such as LightBox, Live Boolean, Edit, Draw, and so on, which we frequently use during working in this software.
On the right side of the working screen, we have a toolbar section in which we have different tabs for different purposes.
At the left side, we can find frequently used tools and features such as brushes panel.
Let me give you an overview of how you can use this software, although it needs practice to learn about this software.
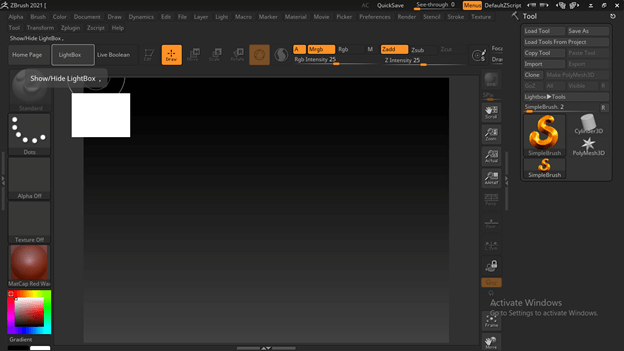
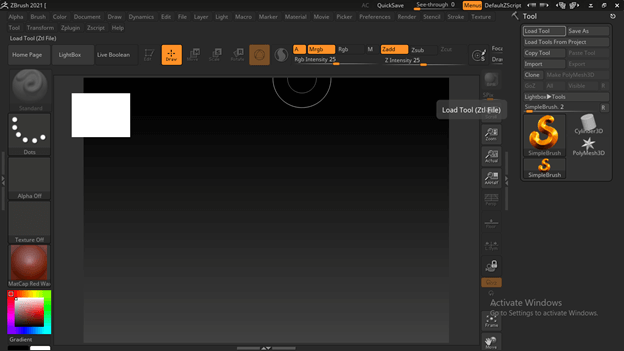
In the LightBox panel, you will find a number of presets of different features of this software. In the Project tab, we can find dummy objects which we can manipulate according to our requirements.
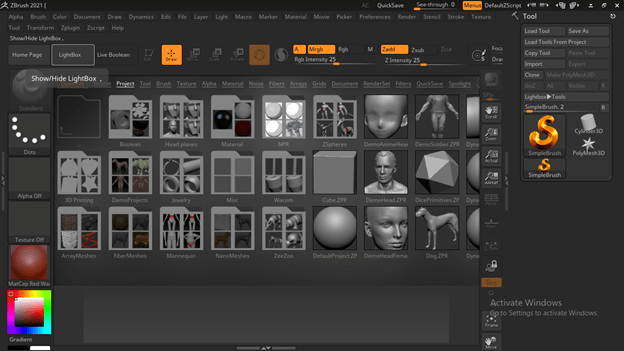
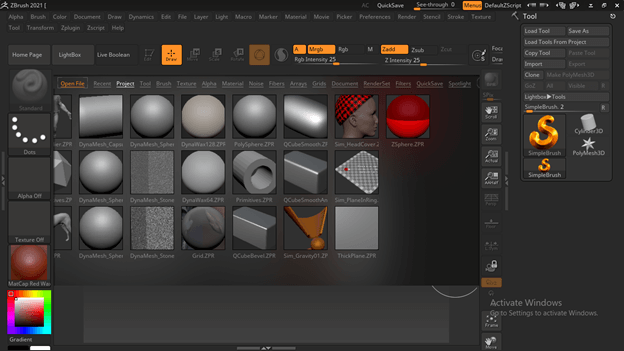
You can slide this Project panel dialog box to see other presets or your downloaded one.
You can choose any of the models from the list to start working with any project, and for choosing anyone, make double click on that.
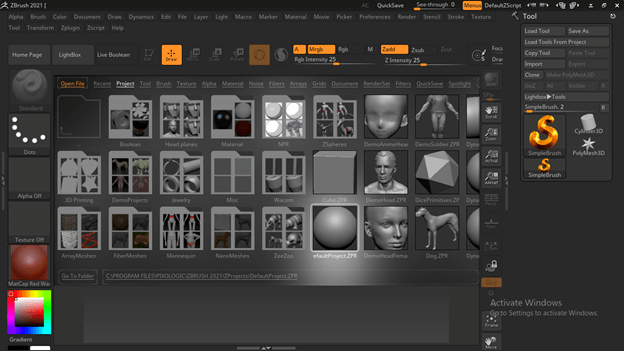
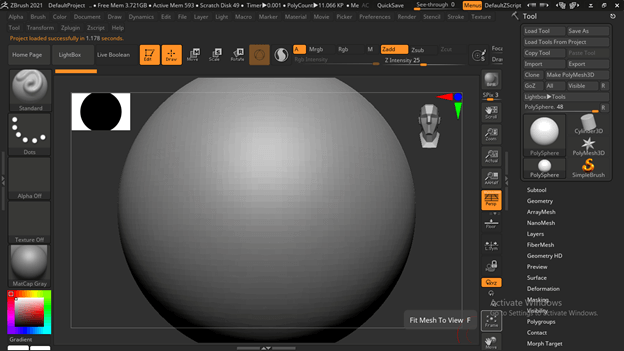
And it will come on the working window of this software like this.
You can click on the ‘Fit Mesh to view’ button for fitting this modeling into the frame area.
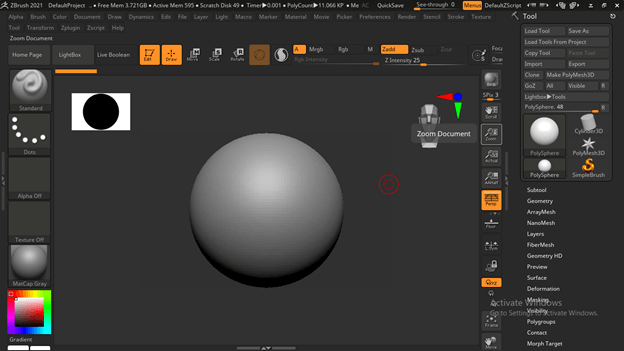
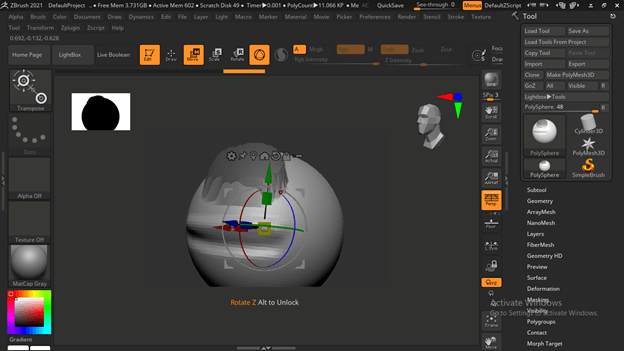
Here we have some adjusting tools with which we can move, rotate or zoom in or out the floor on which the model it is. So if you want to rotate the floor or plan, just click outside anywhere on the plan area and move the mouse cursor to rotate the object.
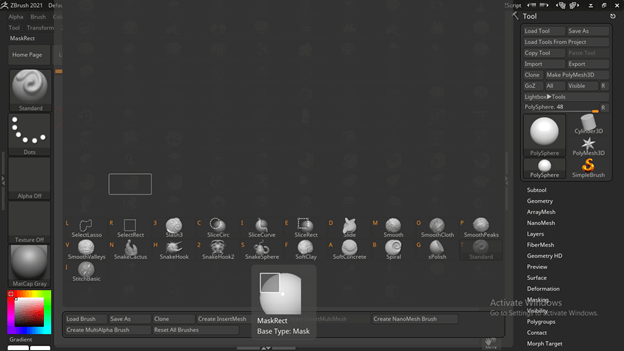
At the left side, we have a Brushes panel button; once we click on it, it will show us all available brush preset list.
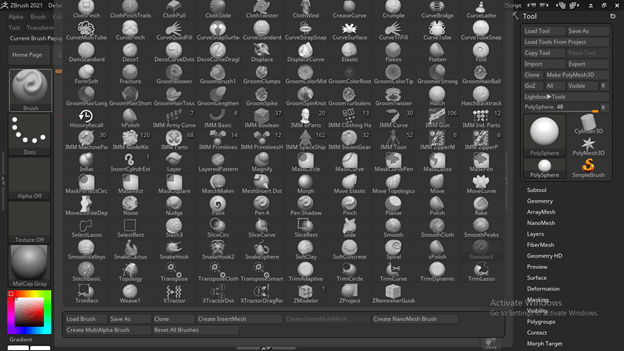
And if you want to use any brush preset, just type the first letter of the name of that brush, and you will have all the brushes that start with your typed letter.
Now I will tell you about some of the basics of using brushes and other basic parameters that are involved in our work during working on any project.
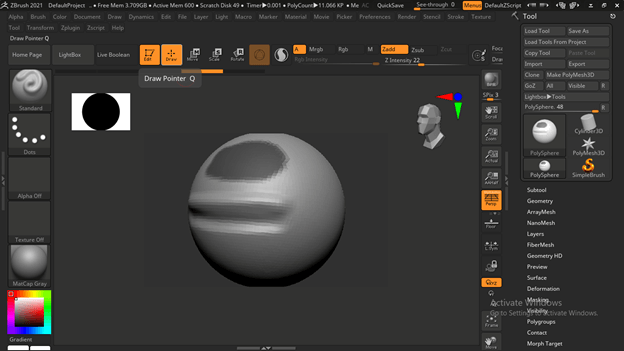
With a standard brush, when we hold the mouse, click and drag on the surface of the default model, then it will draw an embossed area like this. You can notice it is doing the same thing on both sides because we are in symmetry mode, which means whatever you draw will draw in the same on both sides of the object’s surface.

If you want to come out of the symmetry mode, just press the X button on the keyboard.
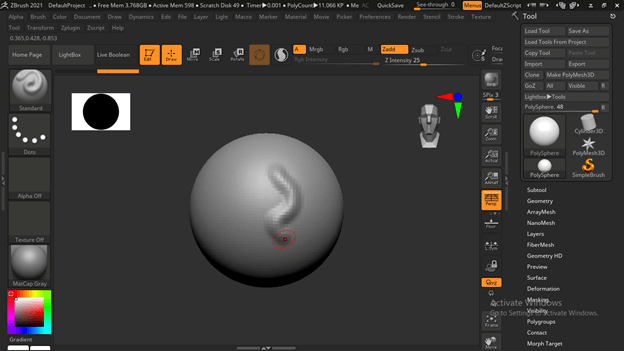
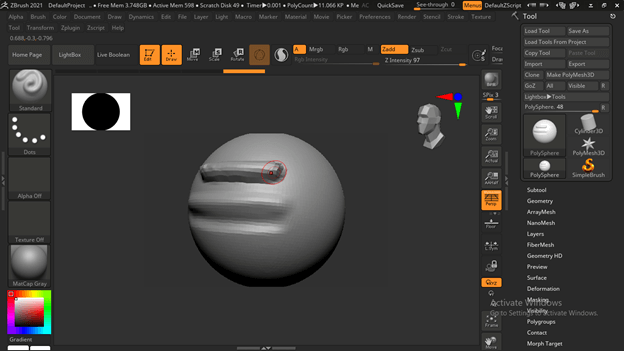
You can see the color of the mouse cursor is red, and with this mouse cursor, it will draw an embossed area on our desired surface.
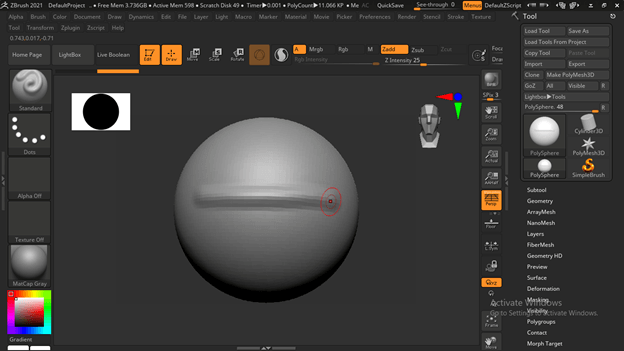
But with the same red cursor, if we hold the Alt button of the keyboard, there will be a little minus sign with the cursor, and now when we drag on the surface, it will draw an engraved area like this. So you can switch between these by holding or releasing the Alt button of the keyboard.
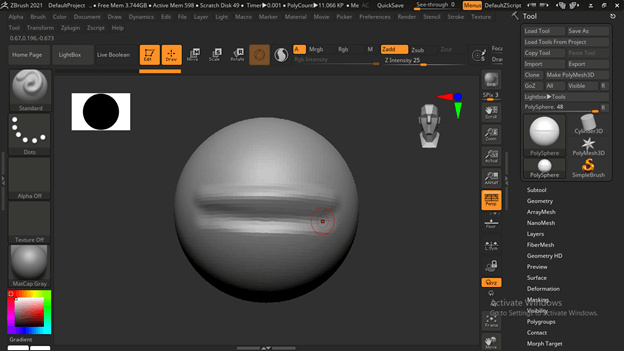
At the top, we have the Intensity parameter for the brush. Let us see what will happen if we will increase or decrease its value.
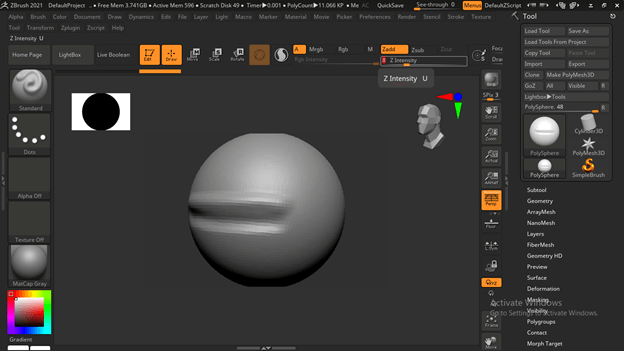
If I increase its value, you can see it will emboss a very intense surface area like this so that you can make variation in brush intensity according to your need.
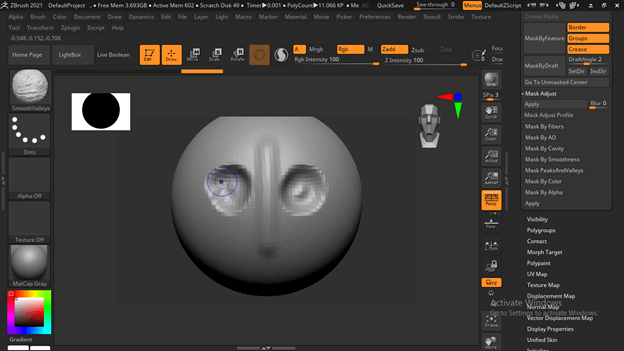
Now, if you hold the Ctrl button of the keyboard, then the mouse cursor will turn into a Mask brush, and you can draw an area that have a mask on it. This mask area can understand as darken area on the surface.
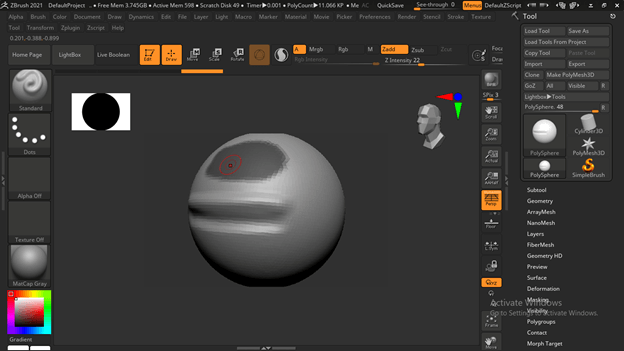
The purpose of masking is that to lock that area for different use. Let me show you this by an example. Here at the top of the user screen, we have a Move tool so that I will click on it, or you can press W as its shortcut key.
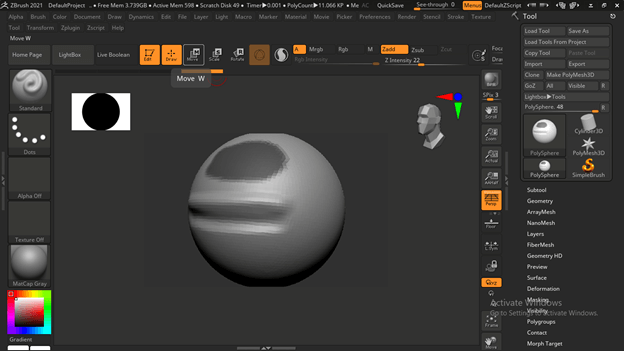
Now with this tool, you can move this object in X, Y, or Z plan. However, when I move this object, the masked area is not moving, which means it is locked.
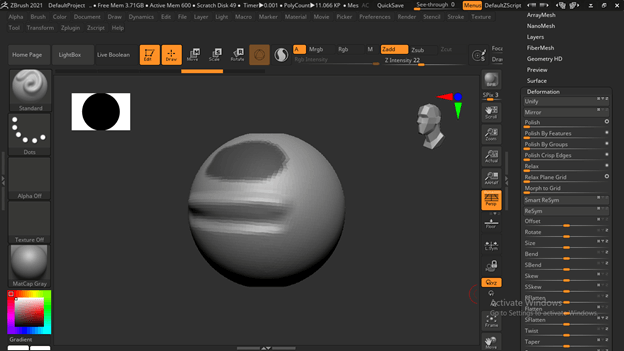
You can have other adjustable parameters of your object at the right side in the Tool panel section.
Here we have the Deformation tab, and once we click on it, all the adjustable parameters related to the current object will be open.
And when we make changes in any of the parameters, you can see the live result of that on your object.
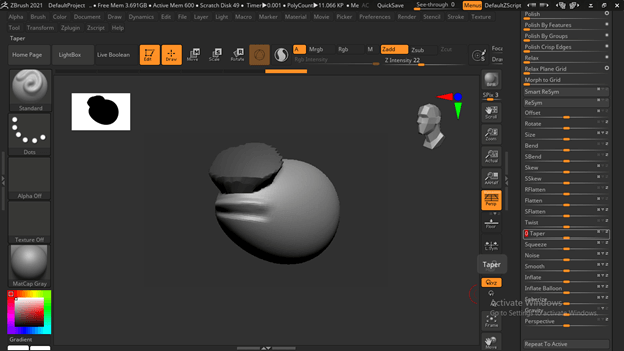
I have made this engraved area on this object, but you can see it is very rough.
For making any area smooth hold, the shift button of the keyboard and mouse cursor will turn into a Blue color that means it is in smoothing brush mode.
So when you use it on your desired surface, it will smooth out that surface.

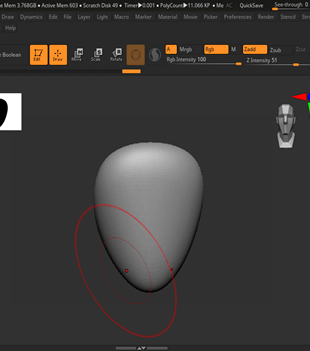
You can use a move brush for changing the shape of the model like this.

Conclusion
Here in this article, I have given you an overview of how you can start using Zbrush Pixologic to start learning Sculpture. There are many more features and parameters in this software about which you must have knowledge for using Zbrush Pixologic properly. You can start your practice on this software easily and learn about it more and more.
Recommended Articles
This is a guide to Zbrush Pixologic. Here we discuss how you can start using Zbrush Pixologic for start learning the creation of Sculpture. You may also have a look at the following articles to learn more –
