Introduction to ZBrush key shot
ZBrush Keyshot is a plugin that allows us to paint, light, and view our models in real-time and make changes for better output. There are many more things that we can manipulate in our model for getting our desired result, such as light which plays a major role in the rendering process, and we can have good commanding features of light management in Keyshot. With these features, we can create good lighting effects for our model. You can import your model from Zbrush to the keyshot plugin directly or import the saved file of Zbrush into Keyshot by going through the File menu.
Keyshot ZBrush
Now let me tell you how you can work with both software to have good collaboration between them. There are several features of keyshot, but I will tell you about lighting features to give you a basic overview of this plugin. So let us get started.
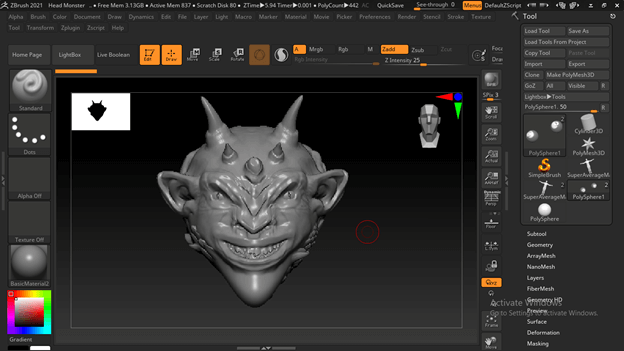
I have downloaded this monster shark whale model from the website named 3dexport.com to explain this topic. You can use your model for this purpose.
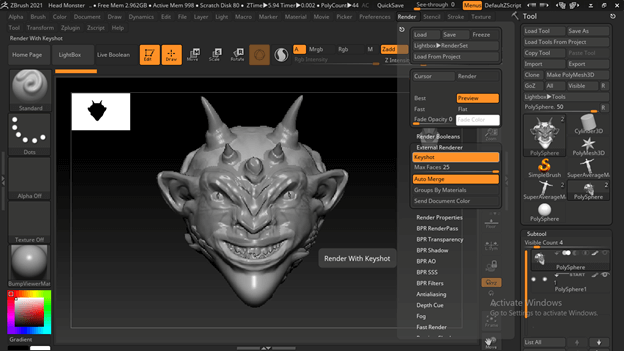
After making your desired settings in your model, go to the Render menu of the menu bar and click on it. I have changed the material of some areas of this model to BumpViewer material which I have chosen from the list of materials of this software. Then, in the Render’s panel, click on the External Renderer option.

And choose Keyshot as an external render plugin for this model.
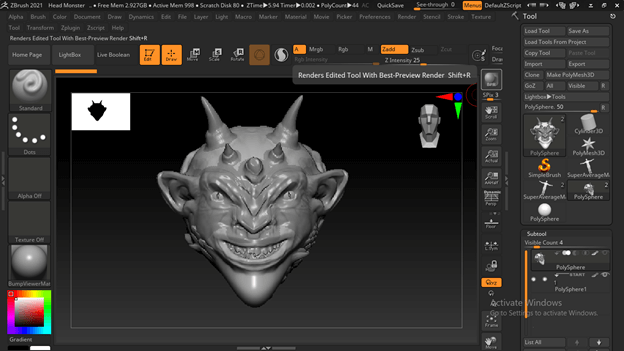
Now click on the BPR render button of Zbrush, which you can find on the right side of the user screen of this software. It will automatically open your current model into Keyshot.
This is the user interface of the Keyshot plugin. You can see the facing of this model is not in the front direction.
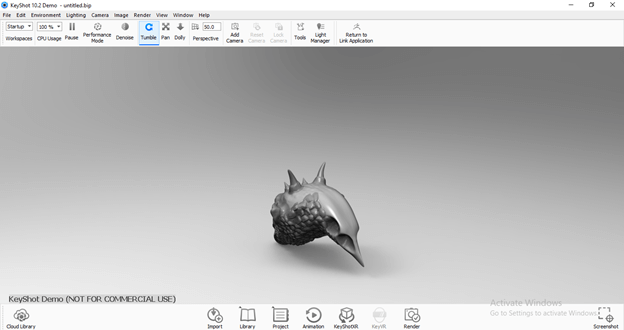
So for that, you can simply click on the working space of this software and hold the click, then move the mouse cursor for rotating it in the front direction.

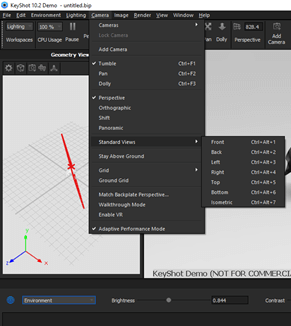
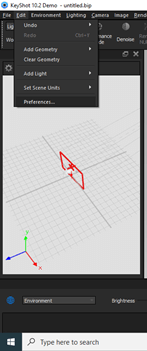
There is a menu bar at the top of the user screen of Keyshot, and we have several menus in it such as File, Edit, Environment, and so on. The camera is one of the menus of this menu bar. If you click on it, you will have some options in the scroll-down list of it. For example, there is one option, the Standard view in the list, and by its sub-options, we can change the view of our model.
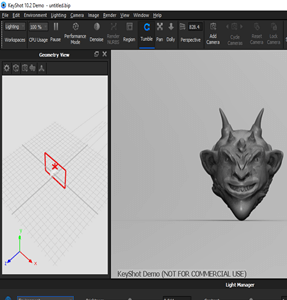
Let me tell you some of the basic tools so that you can navigate your model very easily throughout the workspace of this software. This is the Tumble Camera button, and by enabling this, you can rotate your model on the working space.

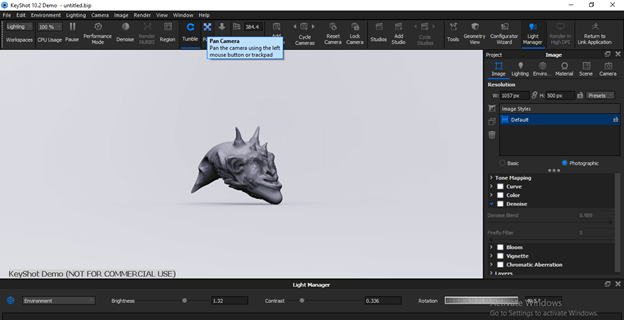
This software’s next important navigation tool is Pan; by enabling it, you can move your model on the workspace by moving the mouse cursor in the up and down direction or left and right direction.
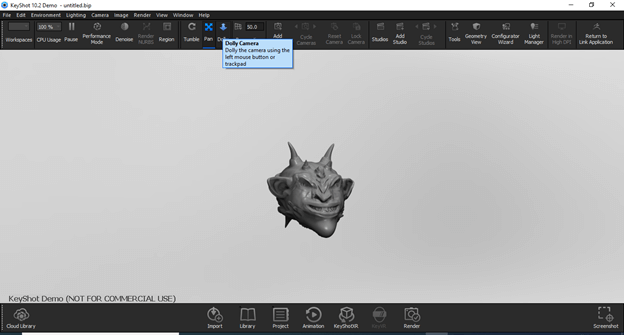
Now next is the Dolly Camera tool, and by enabling it, we can zoom in or zoom out our model to see the closer or wider view of it.
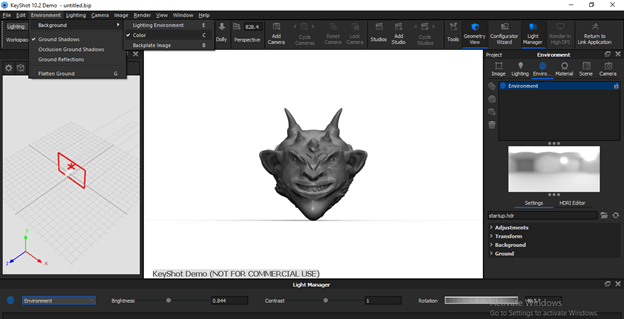
From the drop-down list of the Environment menu, we can change the color or configuration of the background as per our choice.
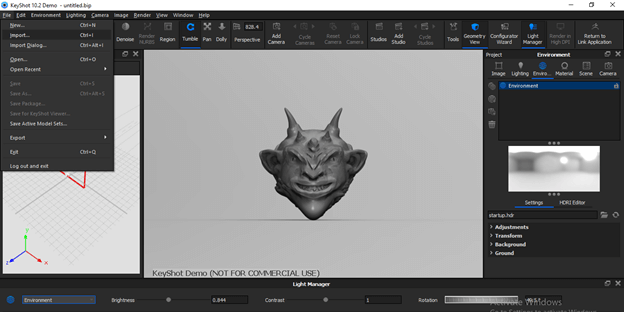
If you want to import any model file from this plugin software itself, then for that go to the File menu of the menu bar and click on it. From its drop-down list, you can import your desired model here; click on the Import option or press Ctrl + I as its shortcut key.
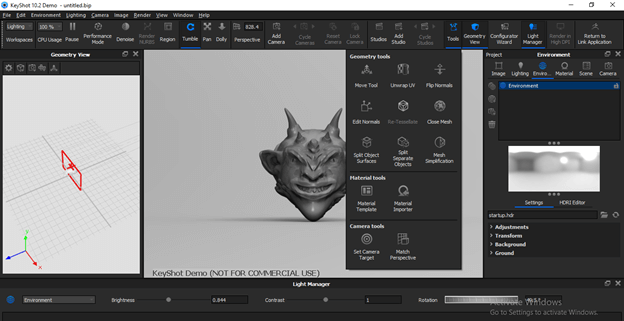
If you are looking for tools of keyshot, you can go to the Tool Menu of the same menu bar and click on it. In the drop-down list of this panel, you can find the number of tools used for different purposes, but the working methodology is almost the same as Zbrush tools.
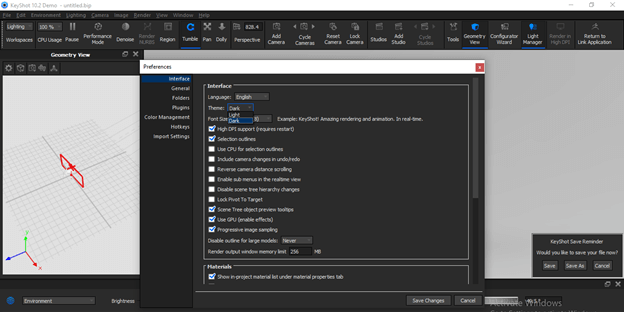
There are two types of themes in this software that you can change according to your suitability from the Preference option of the Edit menu.
To change it, you can go to the Theme option of Interface.
There are many things about which you will know start practicing on it. But, first, let me show the basic working style of this software by the parameters of light.
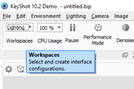
Go to the Workspace section on the left side of the user screen and click on the drop-down arrow button of the above tab.
And I will choose the Lighting workspace from the list to explain to you about lighting.
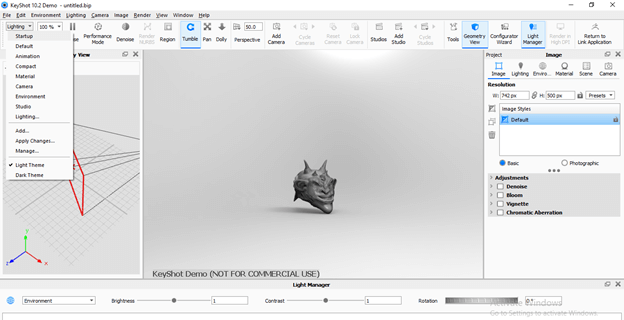
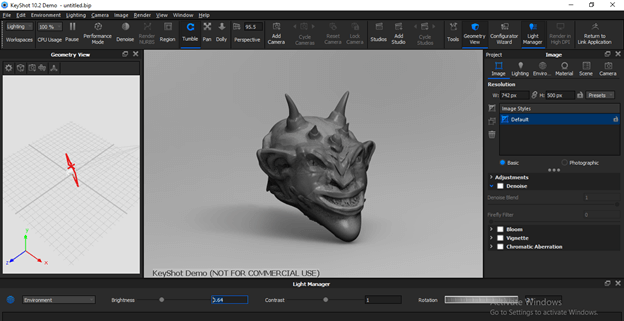
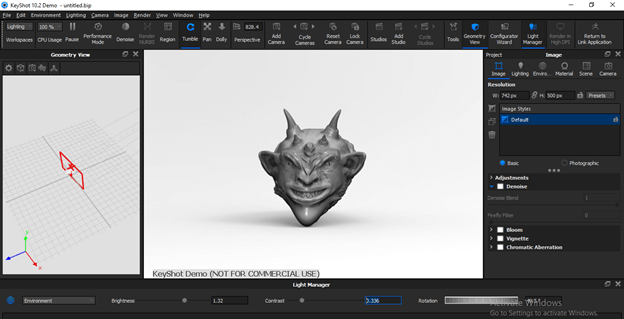
You can see there is a camera angle in the Geometry view section on the left side of the user screen, and at the center, we have our model on which light is coming from the source. On the right side, we have parameter settings. You can move or rotate your model to settings it in your desired position.
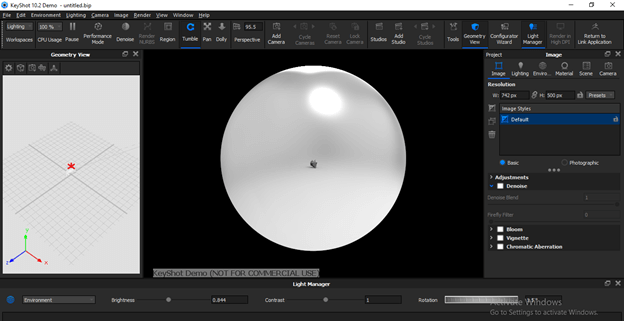
After that, you can change the rotation of light for proper light management. For example, if I zoom out, you can see two light sources dropping light rays on your model.
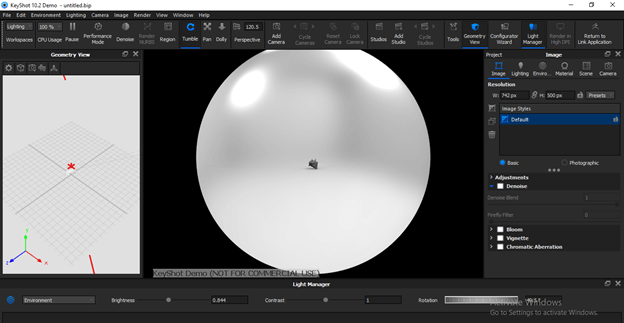
And we can change their rotation angle from the Rotation option of the Environment panel. You can find this panel at the bottom section of the user screen of keyshot.
If you want, you can change the Brightness of the dropping light by changing the value of the Brightness option of the Environment panel.
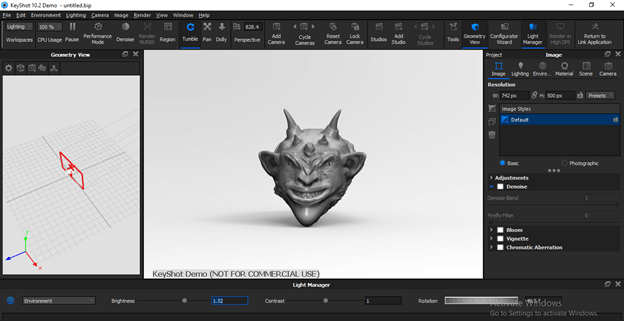
Same as Brightness, we can also change the value of Contrast by changing the value of the Contrast option of the same Environment panel.
There is much more thing about keyshot, and you need to explore it by practicing on it. I just told you one of the basic features so that you can have a basic idea of the working methodology of this software.
Conclusion – ZBrush keyshot
ZBrush Keyshot will no more an unknown plugin for you after going through this article, and I am sure you are going to start using it for a different color, light, and visual manipulation of your drawn model of ZBrush. So you can start working on your saved model of ZBrush in keyshot without directly exporting it from ZBrush.
Recommended Articles
This is a guide to ZBrush keyshot. Here we discuss how to work with both software to have good collaboration between them and several features. You may also have a look at the following articles to learn more –
