VBA AutoFill in Excel
Sometimes in excel when we work on similar kind of data set which keeps on repeating, excel itself suggests sequential values as AutoFill. This is quite easy to implement and use. As mostly we get a sequence of autofill in the form of Numbers, Weekdays, Months or any number series. If we create autofill or not but excel sometimes create the Autofill to accompany in completing the task quickly.
How to Use VBA AutoFill Function in Excel?
We will learn how to use a VBA Autofill function with few examples in excel.
Example #1 – VBA AutoFill
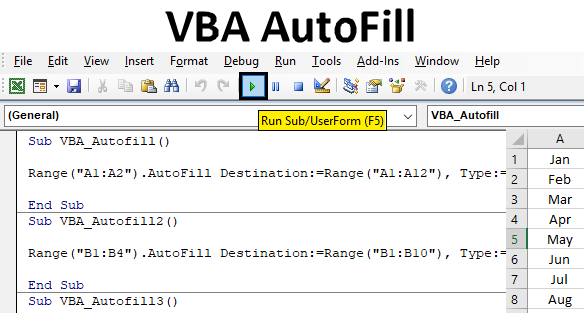
Let’s see an example where we will autofill months names in a proper sequence. In column A we have name of 2 months Jan and Fed in short. And we will write a code which will fill rest of the months automatically till Dec.
Follow the below steps to use VBA AutoFill function in Excel:
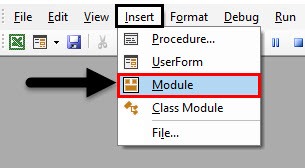
Step 1: For this, we need a module. Go to Insert menu and select the module as shown below.
Step 2: After we get a module, in that write subcategory of VBA Autofill or in any other name of your choice as shown below.
Code:
Sub VBA_Autofill()

End Sub
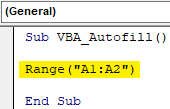
Step 3: Select the range of the cells which we need to drag or extent for autofill. We have cell A1 and A2.
Code:
Sub VBA_Autofill()

Range ("A1:A2")

End Sub
Step 4: Now select the function we need to perform which is “Autofill”, allowing the Destination to get selected as shown below.
Code:
Sub VBA_Autofill()

Range("A1:A2").AutoFill Destination:=

End Sub
Step 5: Now select the range where we will need to autofill the names of months till Dec. We can select any range but selecting the same range makes it easy to implement.
Code:
Sub VBA_Autofill()

Range("A1:A2").AutoFill Destination:=Range("A1:A12")

End Sub
Step 6: Now here comes the moment, when we will select the time of autofill we need. Select the Type as xlFillMonths as shown below.
Code:
Sub VBA_Autofill()

Range("A1:A2").AutoFill Destination:=Range("A1:A12"), Type:=xlFillMonths

End Sub
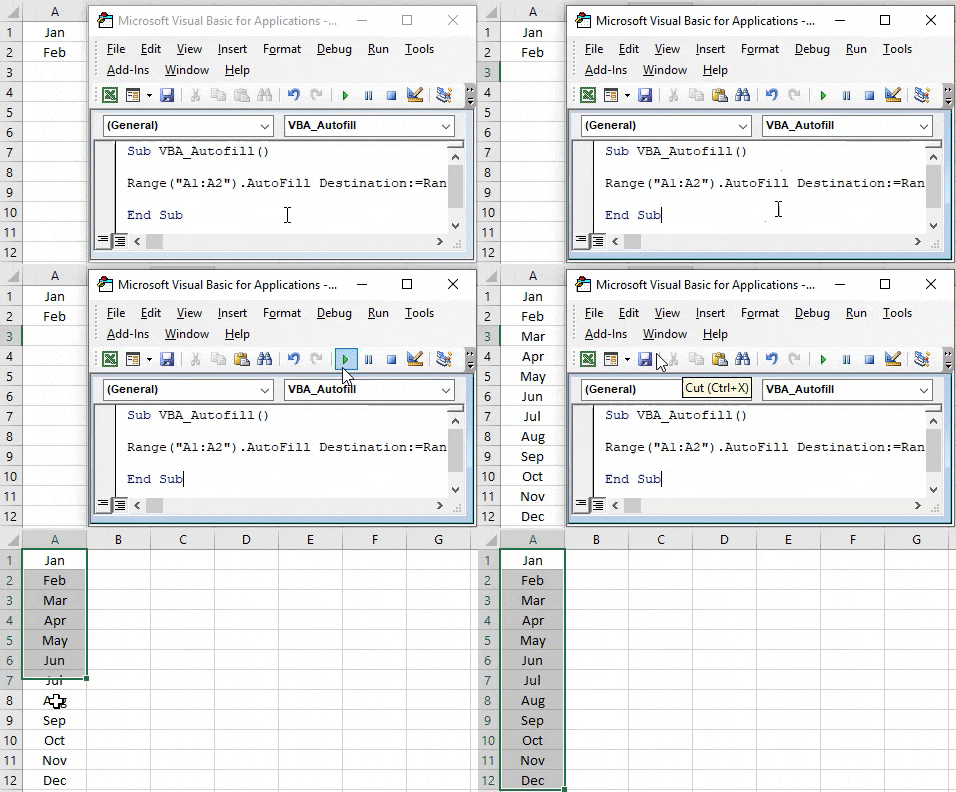
Step 7: Once done, compile the code and run it by clicking on the Play button which is located below the menu bar in VBA or Press F5. And we will see, in a moment list of months from Jan to Dec will get automatically filled from cell A3 to A12.
Example #2 – VBA AutoFill
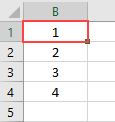
In this example we will see, how to Autofill numbers. We have column B with some numbers from 1 to 4 as shown below. Now we will Autofill the numbers till 10 automatically.
Step 1: For this we need a module where will implement the code for AutoFill the numbers. Open a module and create a sub category in the name of VBA AutoFill as shown below.
Code:
Sub VBA_Autofill2()

End Sub
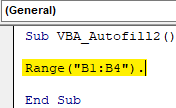
Step 2: Now select the range of the cells which are currently available which is from B1 to B4.
Code:
Sub VBA_Autofill2()

Range("B1:B4").

End Sub
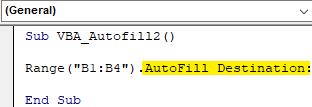
Step 3: Select the AutoFill function followed by the Destination command as shown below.
Code:
Sub VBA_Autofill2()

Range("B1:B4").AutoFill Destination:

End Sub
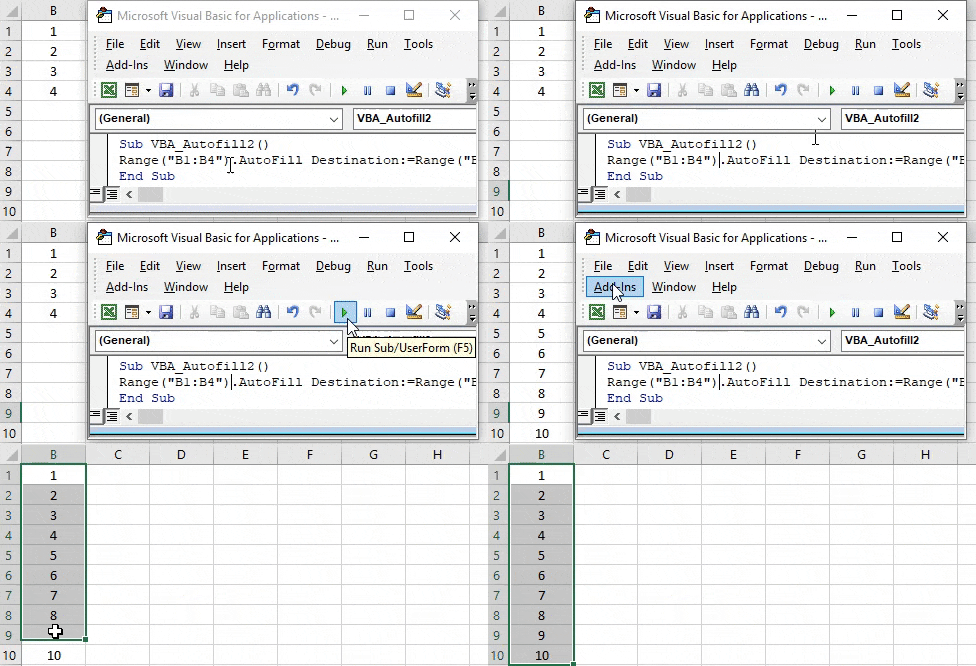
Step 4: Now select the range of the cells till we want to autofill the numbers. Here we are making it till number 10. So, select the range from cell B1 to B10.
Code:
Sub VBA_Autofill2()

Range("B1:B4").AutoFill Destination:=Range("B1:B10"),

End Sub
Step 5: Now for Auto filling numbers, we will select Type as xlFillDefault is meant only for number kind of things.
Code:
Sub VBA_Autofill2()

Range("B1:B4").AutoFill Destination:=Range("B1:B10"), Type:=xlFillDefault

End Sub
Step 6: Now compile the code and run to get the output. We will see numbers are auto filled from 1 to 10 as shown below.
Example #3 – VBA AutoFill
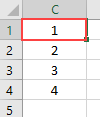
There is another way to autofill the content of any columns. This can be done for anything. Numbers, Text or any combination. We have considered the numbers here in Column C from 1 to 4 as shown below.
Step 1: Open a module, in that create the subcategory of VBA Autofill shown below.
Code:
Sub VBA_Autofill3()

End Sub
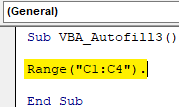
Step 2: As the same above examples, we will select the range of the cells which has the data and need to get Autofill.
Code:
Sub VBA_Autofill3()

Range("C1:C4").

End Sub
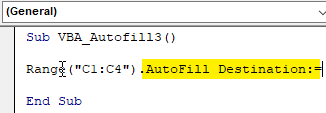
Step 3: In the same manner as shown in the above examples, select the Autofill function followed by Destination command.
Code:
Sub VBA_Autofill3()

Range("C1:C4").AutoFill Destination:=

End Sub
Step 4: Select the range of cells till where we need to autofill the cell contents. Here we are selecting the range of cell C1 to C12.
Code:
Sub VBA_Autofill3()

Range("C1:C4").AutoFill Destination:=Range("C1:C12"),

End Sub
Step 5: Now select the Type of autofill we want. Here we are selecting xlFillCopy which will Copy and Paste the data available in selected range cells to destination cells.
Code:
Sub VBA_Autofill3()

Range("C1:C4").AutoFill Destination:=Range("C1:C12"), Type:=xlFillCopy

End Sub
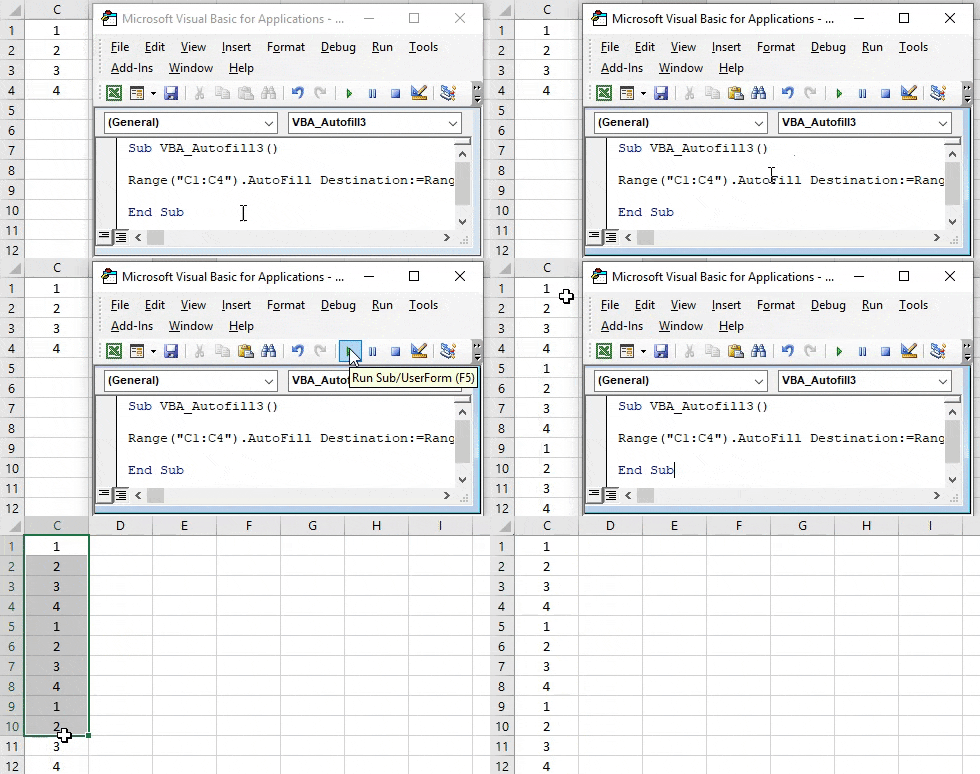
Step 6: At last, compile the code in one go, as it is a single line code and run. We will numbers from 1 to 4 are now copied to the cell till cell C12. And we can see all 4 numbers are copied twice.
Example #4 – VBA AutoFill
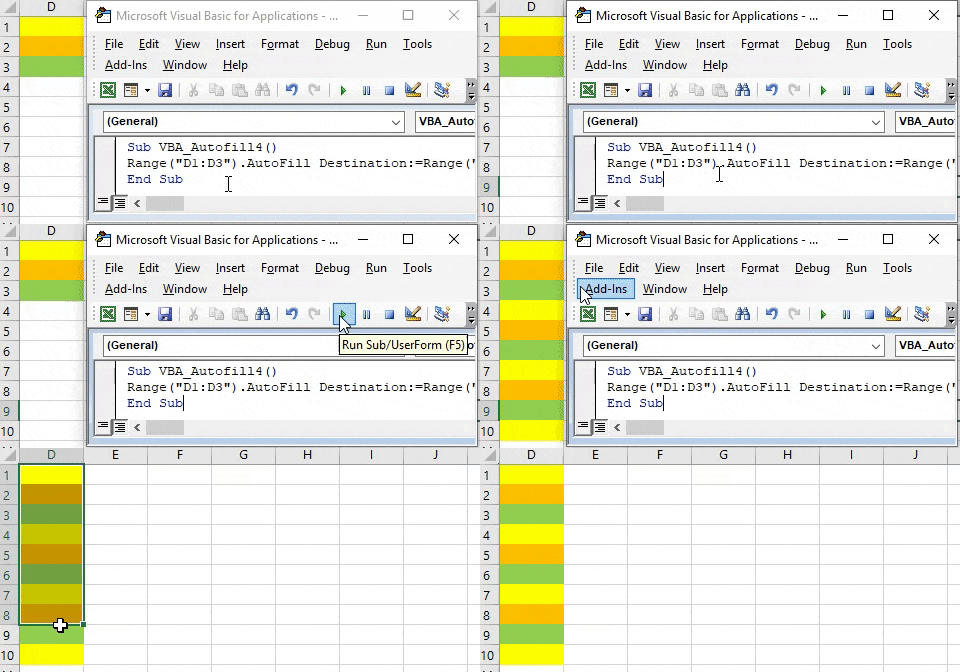
In this example we will see how to AutoFill format of cells to below destination cells. Format can be Bold, Italic or colored cells. Here we have columns D with some colored cells D1 to D3 as shown below.
Step 1: Open a new module and create a sub category of VBA AutoFill or in any other name. As we can see, here we have kept all the sub categories in numerical sequence.
Code:
Sub VBA_Autofill4()

End Sub
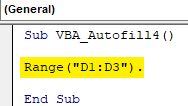
Step 2: Select a range of those cells which has a colored background. Here those cells range is D1 to D3.
Code:
Sub VBA_Autofill4()

Range("D1:D3").

End Sub
Step 3: Now select AutoFill function with command Destination as shown below.
Code:
Sub VBA_Autofill4()

Range("D1:D3").AutoFill Destination:=

End Sub
Step 4: Now select the Destination range of cells where we need to autofill the format cells. Here we are selecting D1 to D10.
Code:
Sub VBA_Autofill4()

Range("D1:D3").AutoFill Destination:=Range("D1:D10"),

End Sub
Step 5: At last select the Type which we need to autofill in destination cells as xlFillFormat.
Code:
Sub VBA_Autofill4()

Range("D1:D3").AutoFill Destination:=Range("D1:D10"), Type:=xlFillFormat

End Sub
Step 6: Finally we can compile the code and run it. We will the color which are in cells D1 to D3 are auto filled to the cell till D10.
Pros of VBA AutoFill
- It saves the time by automatically filling the content of the cells which need to be filled repeatedly.
- Sequential data can be automatically filled to save file.
Things to Remember
- Autofill can be used for formatting, copying, dragging for numbers and text.
- If possible then keep the proper sequence of code while writing multiple codes.
- It is always better to automate the data which we need to fill in same manner.
- New version of MS Excel has function where if we enter one data set one time then next time we just need to fill 2-3 cells and it will automatically suggest to fill the entire range.
Recommended Articles
This is a guide to VBA Autofill. Here we discuss how to use Excel VBA Autofill Function along with practical examples and downloadable excel template. You can also go through our other suggested articles –

