Updated April 1, 2023
Introduction to Tkinter Pack
To design any GUI applications in Python, we have a Tkinter package. So in this GUI application, there are different widgets to be placed or organize. This organization of widgets is done by layout managers or geometry managers. In Python, Tkinter provides three different geometry managers like grid, pack, and place managers. In this article, we are going to discuss the pack manager or method in Tkinter for organizing widgets. The pack manager puts the widgets in horizontal and vertical boxes or blocks in the parent window or widget. This manager is used to handle the widgets when the widgets need to be inside the frames or to place widgets on top of each other or widgets side by side.
Working of Pack Manager with Examples
Tkinter provides a geometry manager pack which is limited in use than the grid manager, but the pack manager is to organize the widgets in boxes or blocks before placing these widgets in the root or master window or widget. We have to note that before using this manager it is compulsory to import the Tkinter package.
Syntax:
widget.pack(options)
Options: Pack managers have a few options they are:
1. Fill
This option is used when the widgets are needed to fill the same as the size of the parent widget or by default it takes some minimum space to fill. It also has attributes like “none” which default, X to fill horizontally, Y to fill vertically, or X and Y both horizontally and vertically.
Example:
import tkinter as tk
root = tk.Tk()
root.geometry("600x400")
box_1 = tk.Label(root, text="Horizontally filled", bg="green")
box_1.pack(fill="x")
box_2 = tk.Label(root, text="Vertically filled", bg="blue")
box_2.pack(fill="y")
box_3 = tk.Label(root, text="Using both Horizontally and Vertically", bg="red")
box_3.pack(fill= "both")
root.mainloop()
Output:
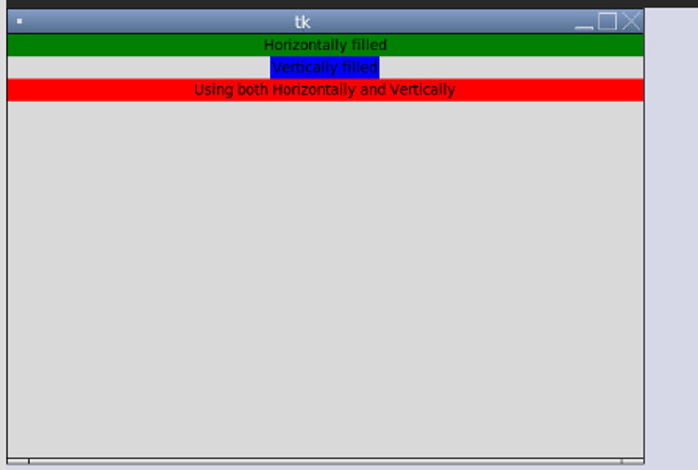
In the above code, we are demonstrating the use of fill option with all the attributes, to fill the box horizontally it is declared as “x” and is green in color. To fill vertically it has been declared as “y” and is blue in color consumes all vertical space in that row, and lastly, the fill option is declared as “both” which is red in color so we can see the block growing horizontally. The output can be seen in how it will be displayed.
2. Expand
This is used for allocating space to the given widget with two attributes YES or No and TRUE or FALSE. If the attribute is YES or TRUE then the widgets expand to fill any space except the space used by the parent widget. In the above option in fill is used to determine how much of the space allocated a widget consumes, whereas expand allocates more space to a given widget only
Example:
import tkinter as tk
root = tk.Tk()
root.geometry("500x500")
box_1 = tk.Label(root, text="expand is true", bg="green")
box_1.pack(expand=True)
box_2 = tk.Label(root, text="expand is False", bg="red")
box_2.pack(fill="x",expand=False)
root.mainloop()
Output:
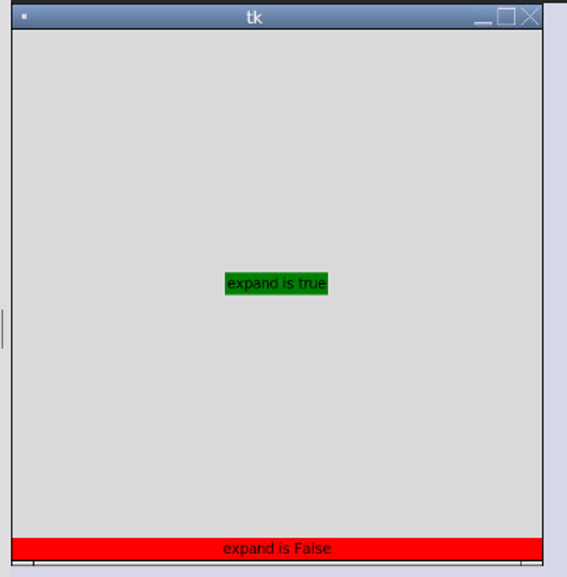
In the above code, this is to demonstrate an expand option with the attributes True or False. In the code, it can be seen that the box with green in color is used to expand and is set to true, therefore, it is expanded only how much the widget is, and if expand option is false, then it will be filled horizontally as fill option attribute is “x” and is not expanded.
3. Side
This option is used when we want to place the widgets on which side of the parent widget. It has attributes like TOP or BOTTOM, LEFT or RIGHT. By default, this option takes the TOP attribute.
Example:
import tkinter as tk
root = tk.Tk()
root.geometry("500x500")
box_1 = tk.Label(root, text="placed at left", bg="green")
box_1.pack(side="left", expand=True, fill="both")
box_2 = tk.Label(root, text="placed at right", bg="red")
box_2.pack(side="right", expand=True, fill="both")
box_3 = tk.Label(root, text="placed on top", bg="blue")
box_3.pack(side="top", expand=True, fill="both")
box_4 = tk.Label(root, text="Placed at bottom", bg="yellow")
box_4.pack(side="bottom", expand=True, fill="both")
root.mainloop()
Output:
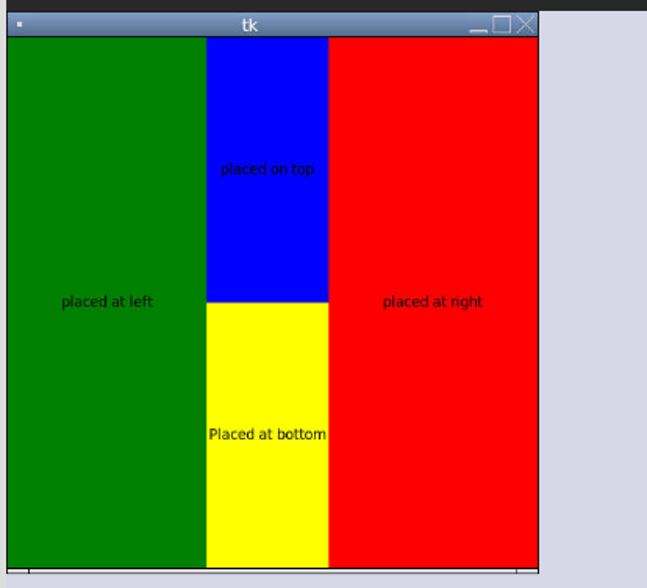
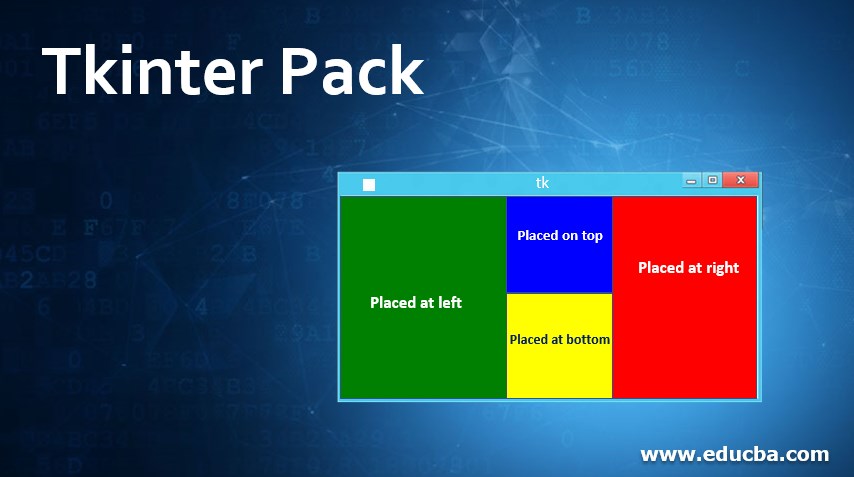
The above example, it demonstrates the side option along with its attributes LEFT, RIGHT, TOP, and BOTTOM. So in the above code, you can see the green box is placed or packed on the left-hand side of the parent widget, the red box is placed on the right side, the blue box is placed on the top, and the yellow box is placed at the bottom of the parent widget as we can see in the output above.
In most cases users while designing GUI applications use a grid geometry manager than a pack manager, because the grid puts the widgets within the grid whereas the pack lays widgets out along the sides of the blocks or boxes. To note pack is mostly used when there are some very complex layouts are need to be created but it is really difficult to understand it completely so many of the users prefer the grid manager. One important thing is that we cannot create an app using both grids and pack within one parent no matter the app will work but it gets into an infinite loop as each manager tries to lay the widgets like one will change or adjust the size and other manger notices it and resize it so this creates confusion. Hence grid geometry manager is more flexible than the package manager.
Conclusion
In this article, we saw how to create a GUI application using the Tkinter package in Python. Tkinter provides three different geometry managers like a grid, pack, and place. In this, we have discussed the pack() manager. Pack() geometry manager is used to allocating or organize the widgets in blocks either horizontally or vertically. This manager provides three different options that are filled, expanded, and side by side. All these options are explained with examples and their attributes in the above article.
Recommended Articles
This is a guide to Tkinter Pack. Here we discuss the introduction and working of pack manager along with different examples and its code implementation. You may also look at the following articles to learn more –
