Updated July 3, 2023
Introduction
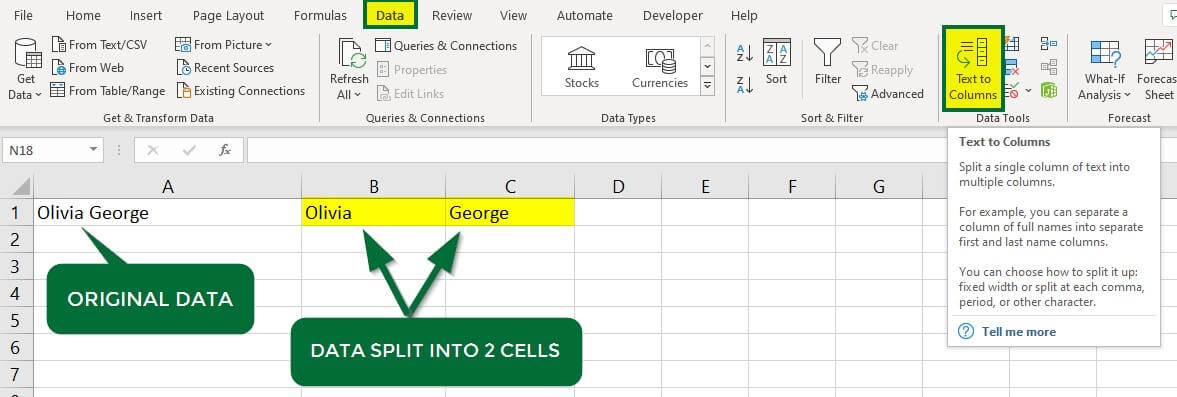
Text To Column option in Excel is available in the Data menu tab under the Data Tools section, which is used for separating text available in a cell or column to the columns by splitting them with different criteria.
Text to columns in Excel is used to split the contents of a cell into two or more columns using the fixed-width or delimiter method.
For instance, if you have a list of fruits and their prices written together in a single cell like “Banana ($0.85), Orange ($1.50), Apple ($1.75)“, then you can use the “Text to Columns” tool to split this data into separate columns for each fruit and its price.
Where is Text to Columns in Excel?
The “Text to Columns” option is present in the “Data tools” of the “Data” tab”.

There are two options for separation in Text to Column in Excel:
You can use delimiter or fixed-width options depending on the data and how you want to split the text.
|
Options |
Description | Example |
Pros |
| Delimited | Splits text based on a specific character, such as commas, tabs, spaces, semicolons, hyphens, etc. | If you have a cell with “Olivia Alex,456 Main Street, Austin, USA”, you can split it into name, address, and location. | This method is quick and easy to use. |
| Fixed Width | Splits text based on a specific character count, dividing the values into specific columns. | If you have a 9-lettered name and want to split it at the 6th character. | This method is useful when dividing text with a specific character count. |
How to Use Text to Columns in Excel?
Text to Columns in Excel is simple and easy to use. With some examples, let’s understand how to convert Text to Columns in Excel.
Example #1 Delimited Option
Purpose: Split the given names into First Name and Last Name.
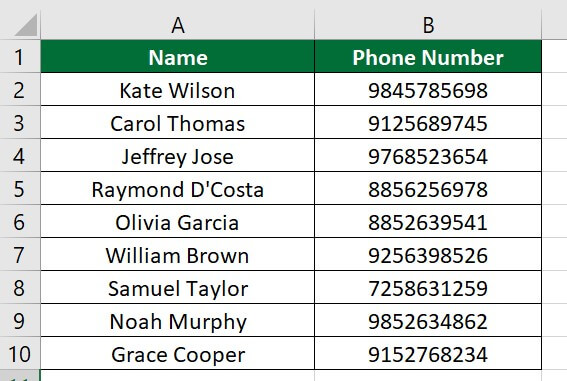
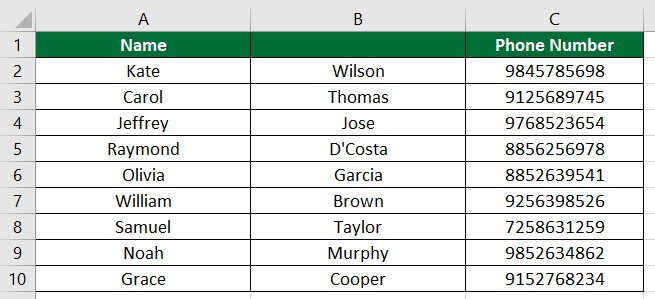
Consider the data below, which contains a few individuals’ phone numbers. Here, First Names and Last Names are present in a single column. We want to split each name into First and Last Names using the delimited option.
Follow the below steps to accomplish this task.
Solution:
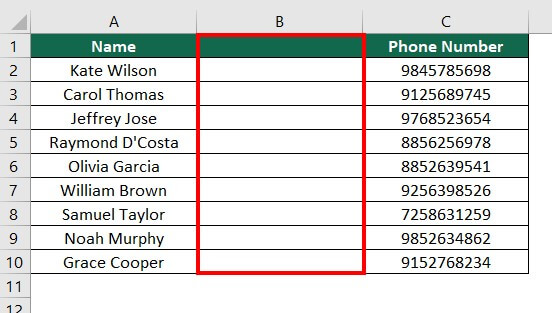
Step 1: Insert a column between columns A & B. To insert another column, right-click on column B, click insert, or use the shortcut “Ctrl +”.
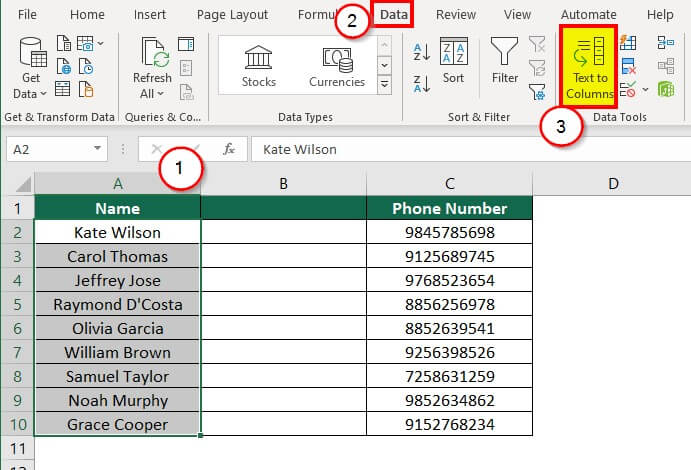
Step 2: Select the data set of column A. Go to the “Data” Tab and click on the “Text to Column” option in the “Data Tools” section, as shown below.
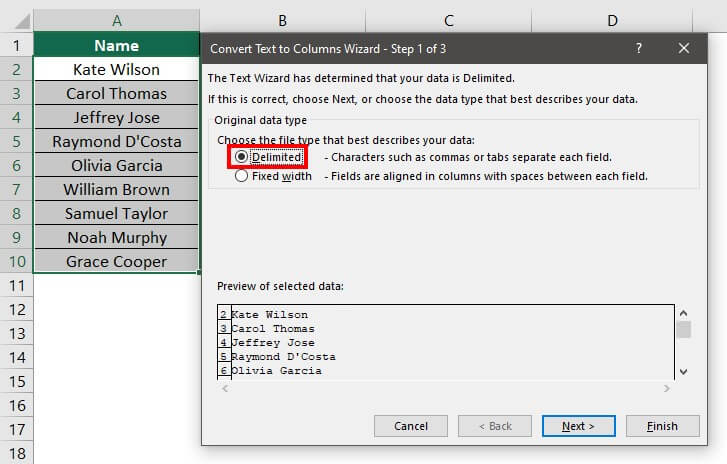
A “Convert Text to Column Wizard” dialog box will appear. The Wizard has three steps.
Step 3: Select the “Delimited” option from the Original Data Type. Click on “Next,” as shown below.
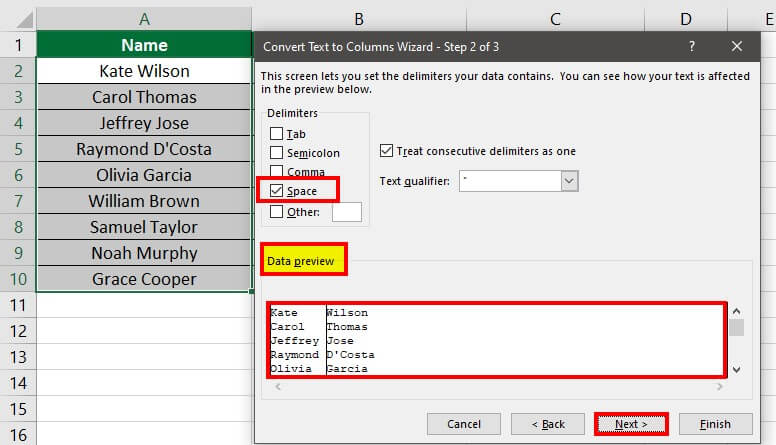
Step 4: Select “Space” from the delimiters.
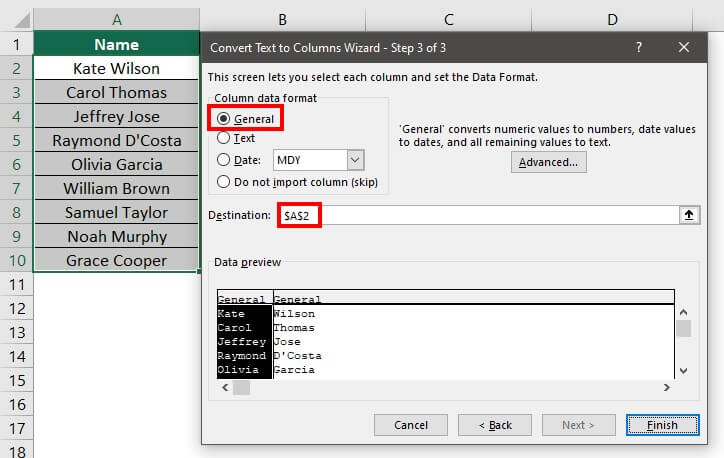
Step 5: Select “General” in the “Column data format” section. Select the destination cell and then click on “Finish”.
The result is displayed below. Here, the first name appears in column A, and the last name appears in column B.
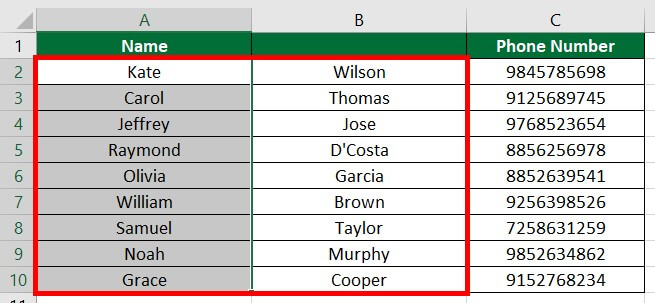
Step 6: Make the column name more specific, as shown below.
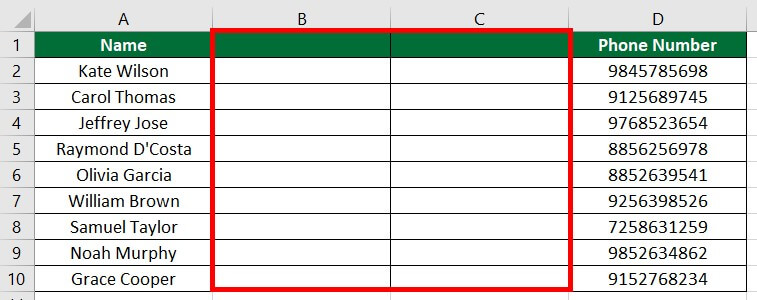
Let’s take another scenario where you want to keep the original data intact and want to display First Name in Column B and Last Name in Column C.
Follow the below steps:
Step 1: Insert two columns after column A.
Step 2: Follow steps 2 to steps 4 from the above example.
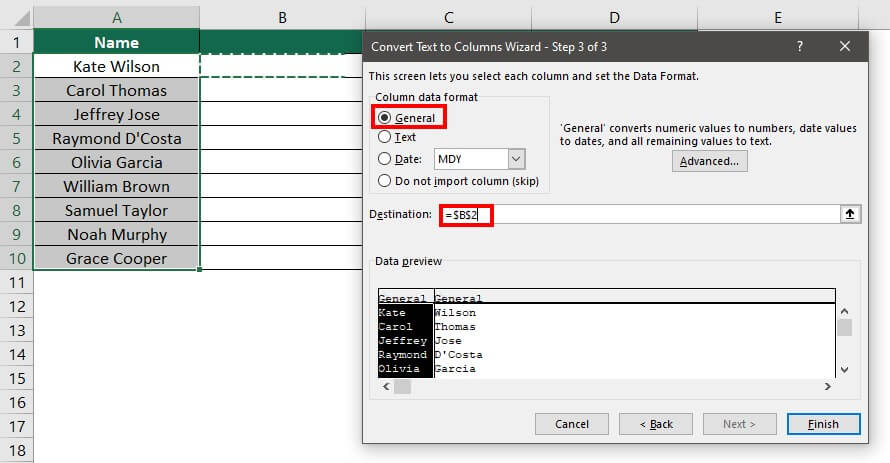
Step 3: In Step 3 of the Wizard, select the “General” and “Destination” cells where we want to display the result, as shown below. We want our result to appear in Column B, so click on Cell B2, and the wizard will automatically take the destination.
Step 4: Click on “Finish”.
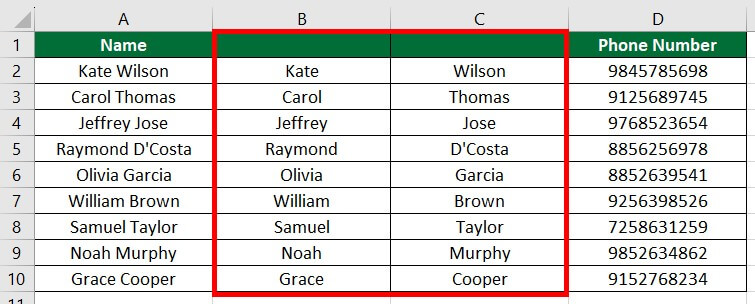
The result is displayed below. Here, the original data of column A is intact, the first name appears in Column B, and the last name appears in Column C.
Example #2 Fixed-width Method
Purpose: Split date and time.
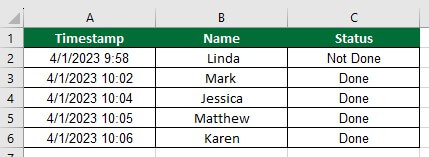
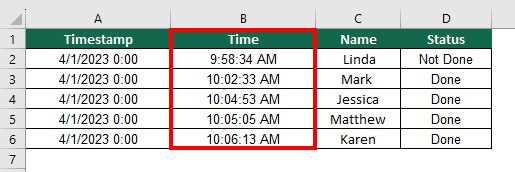
The below data set contains details of the students who filled out a Google form. Column A includes data in date and time format, like 4/1/2023 at 9:58:34 AM. Here, we want to separate the date and time into columns, i.e. 4/1/2023 in one column and 9:58:34 AM in another.
Solution:
Following are the steps for separating date and time using the fixed-width method.
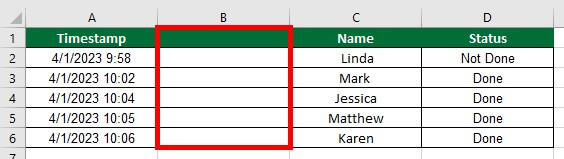
Step 1: Insert a column between Column A & Column B.
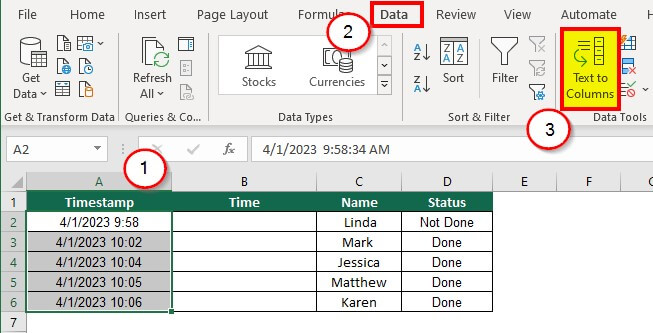
Step 2: Select the data set of column A and Go to the “Data” tab. Click “Text to Column” under the “Data Tools” Tab.
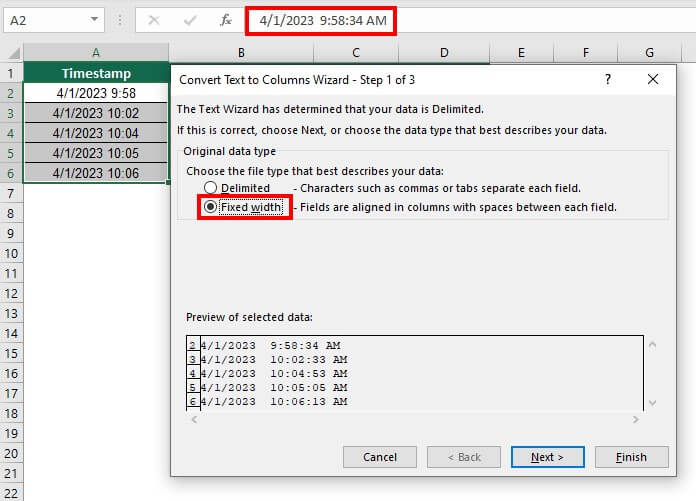
A dialog box will appear after clicking on Text to Columns.
Step 3: Select “Fixed width” and click “Next”, as shown below.
Step 4: Create a break line in the desired position. Here, we have created a line between date and time.
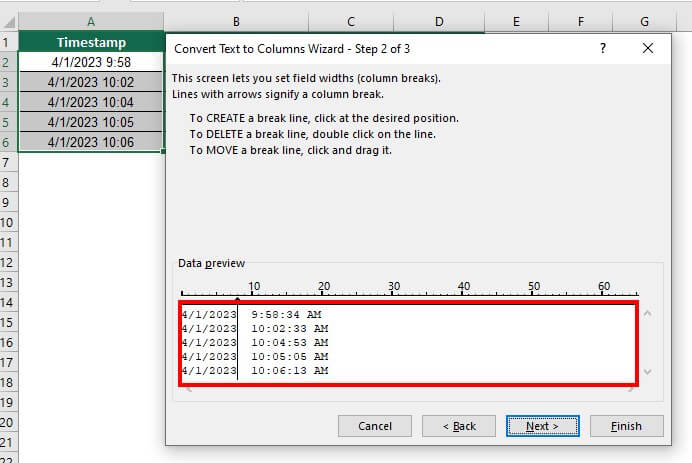
Step 5: Click on “Next”.
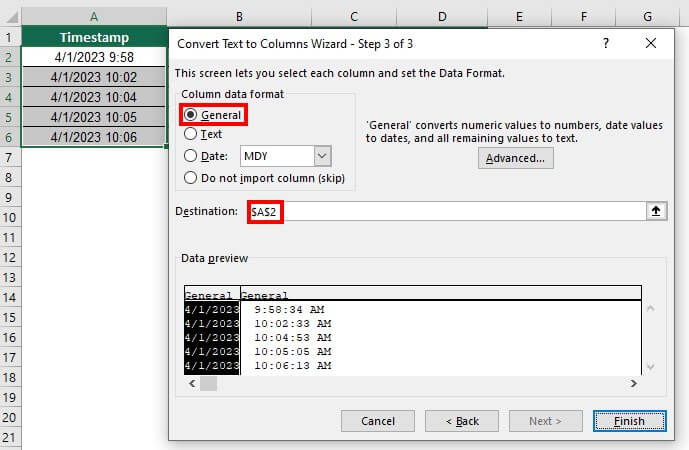
Step 6: Select the “General” and “Destination” cells, as shown below.
Step 7: Click on “Finish”.
The result is displayed below. Here, the time is separated from the date.
Example #3 Delimited Option
Purpose: Convert Single Column Data into Multiple Columns by Space and Hyphen.
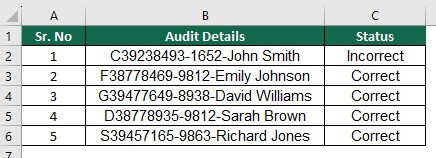
Consider the below example. Column B contains audit details along with the employee’s name and ID. Here, all data is in one single column. We want to display the employees’ IDs, first names, and last names in three columns. A hyphen and space separate the data in Column B, so we will use the delimited option to split it.
Solution:
Step 1: Insert three columns between column B and Column C
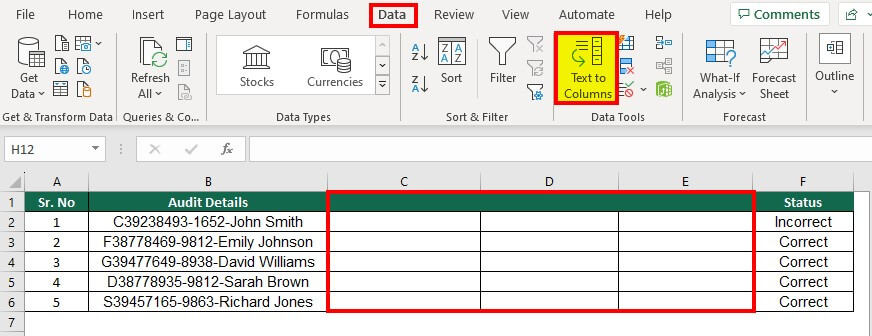
Step 2: Select the data of column B and click on “Text to Columns” under the Data tab.
A “Convert Text to Columns Wizard” dialog box will open.
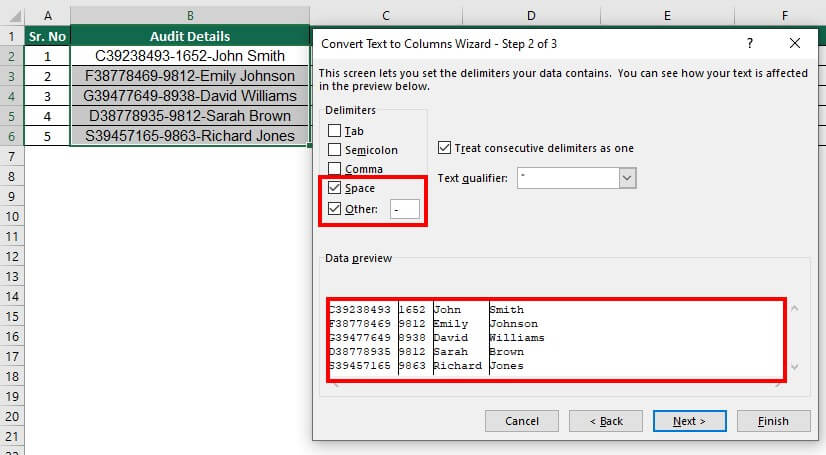
Step 3: Select “Delimited” from the “Original data type”, as shown below.

Step 4: Select “Space” from the delimiters. Also, select “Other” and enter a hyphen (-) in the box right to the other option. The data preview section will display how the data will look.
Step 5: Click on Next.
Step 6: Select “General” from the “Column data format” and the “Destination” cell.
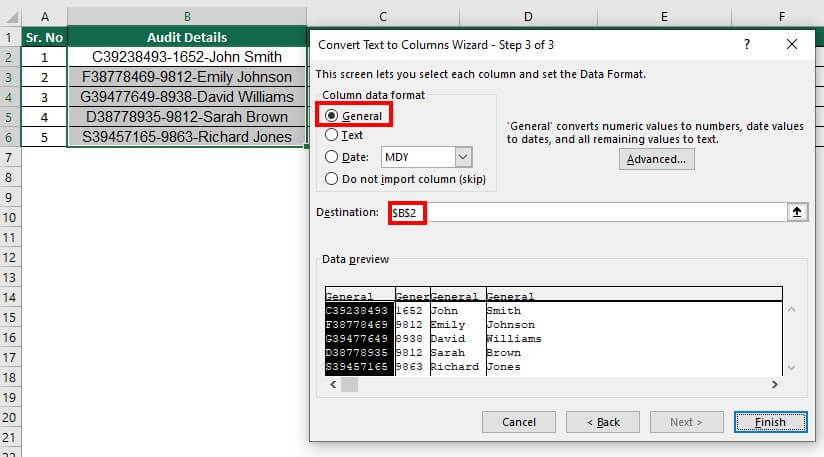
Step 7: Click on Finish.
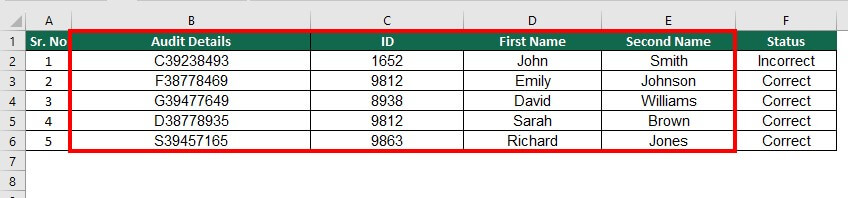
The result is displayed below. Here, the original data of column B is split into three columns, and we have named it ID, first name, and second name, respectively.
Things to Remember
- The keyboard shortcut to access Text to Columns in Excel is Alt + A + E.
- Use the delimited method when the text strings contain commas, spaces, semicolons, and other special characters.
- Identify the correct delimiter while using the delimited feature. For instance, in “Karen, Wilson”, the delimiter is a comma (,).
- Use the fixed-width method to separate text using character count.
- A Data Preview window is at the bottom of the Text to Columns wizard dialog box. After choosing the format options, the data preview will display how your data will look.
- Always insert columns equal to the number of data you want to separate.
- In fixed width, create an arrow in the desired position to split the data.
- The final result of the Text to Columns in Excel is static. You must repeat the process to get updated results if there are any changes in the original data.
- Select the proper destination cell where you want the result. Otherwise, it can lead to overwriting of data in the existing column.
- If you want the original data, make a copy or select another destination cell.
Assignment for You: 2-Minute Challenge!
You have got 2 minutes to put your skills to the test and see if you can solve this problem on your own. Don’t worry. You’ve got this! You are already familiar with all the steps, so let’s see how quickly you can complete this assignment.
To complete the assignment, please download this template.
In the template, we have provided a list of usernames, followers, and engagement rates for an influencer campaign. Your task is to separate this information into different columns using the “Text to Columns” tool in 2 minutes.
If you would like more assignments like this, feel free to let us know in the comments.🙂
Recommended Articles
This article has been a guide to Text to Columns in Excel. Here we discuss its uses and how to convert Text to Columns in Excel with some examples and downloadable Excel templates. You may also look at these useful functions in Excel –
