Updated August 11, 2023
Excel Spelling Check (Table of Contents)
How to Check Spelling in Excel?
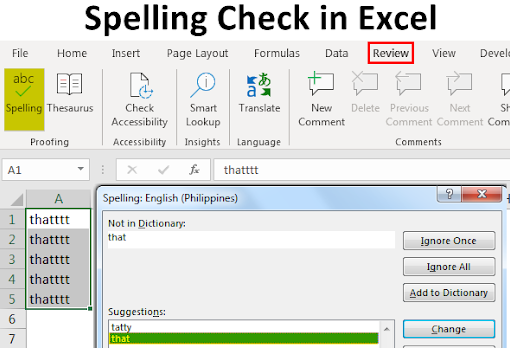
In Excel, we often encounter cases where we have mistyped a word, but still, excel does not give any error. This is because Excel is more inclined to work with numbers than text. So this is important that we do a manual spelling check in Excel to make sure that our data is grammatically correct. Spell check is the built-in function available in Excel and can be easily used by the keyboard shortcut, which is the F7 key. In Excel, automatically highlighting the wrongly typed word is not enabled; hence, we need to check for any error using the spell check option manually.
Options to Check Spelling in Excel
Let’s look at a few examples and the default options to check spelling in Excel.
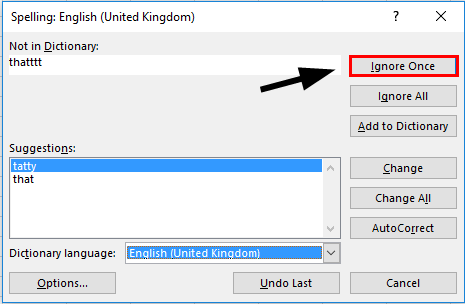
#1 – Ignore Once
If the word seems incorrect to Excel but is correct, then we can ignore the error. To run this function, press the F7 key.
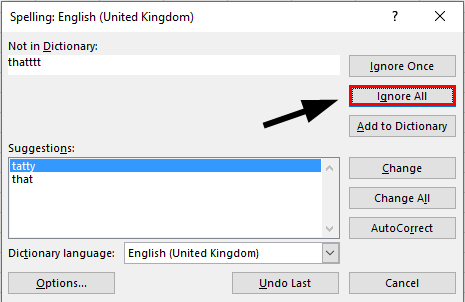
#2 – Ignore All Misspelled Word
If there is more than one occurrence of the misspelled word and we want all such occurrences of the misspelled word to be ignored, we can choose to ignore all.
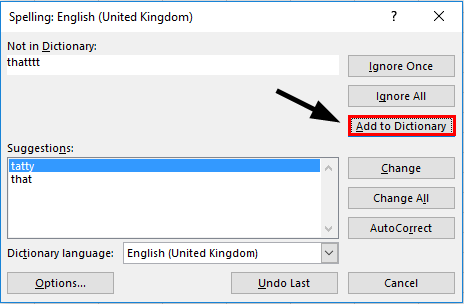
#3 – Add to Dictionary
Adding a custom word to Excel’s dictionary lets it recognize the word when entered again.
#4 – Change the Misspelled Word
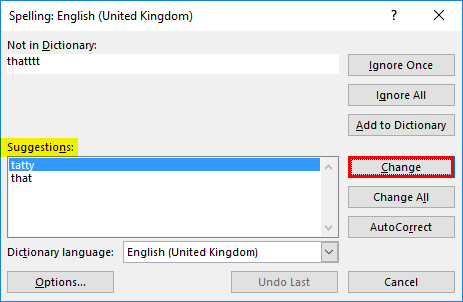
If we want to change the word with the suggestions offered by Excel, we need to select the correct word and the option of “Change”.

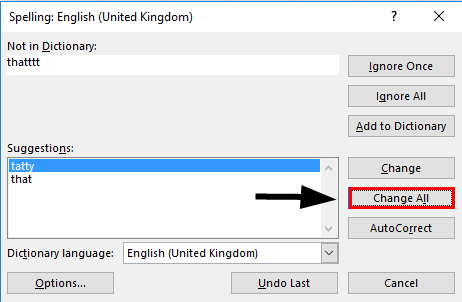
#5 – Change All
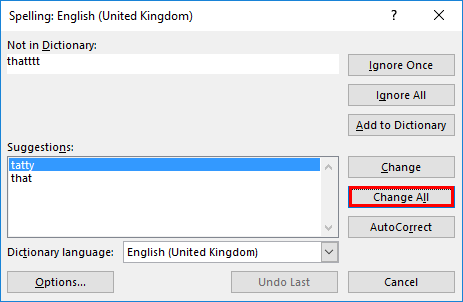
We can choose not to review the errors individually; we can select the option of “change all”, and all the errors will be automatically corrected. This function should be used with caution.
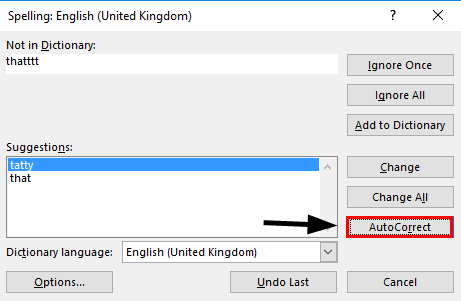
#6 – AutoCorrect
This function will automatically change the wrongly typed word to the correct one if this function is selected. We do not need to do a spell check next time.
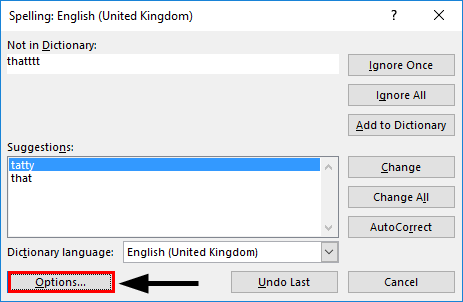
#7 – Options
If we are using a language that is different from “English (US)”, then we need to use the function “option” and change the dictionary to other languages as default.
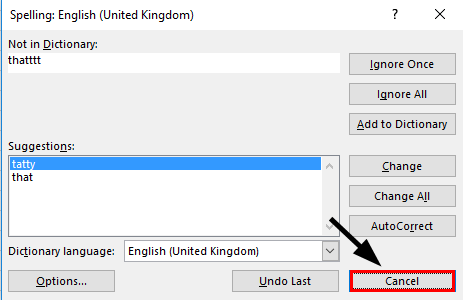
#8 – Cancel
We can at any time choose to cancel the pending errors.
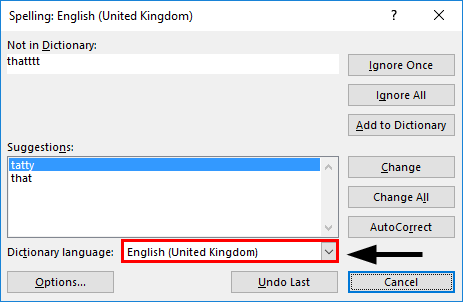
#9 – Dictionary Language
From this option, we can change the dictionary that should be referred to do a spelling check.
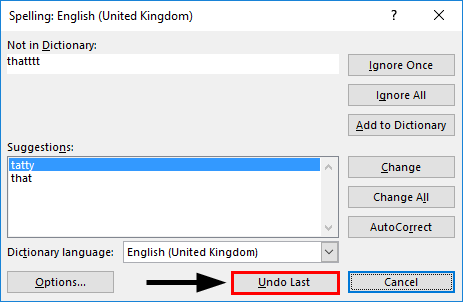
#10 – Undo Last
If we observed later that the last word that we have just corrected was a correct word in the first place, then we can choose Undo, the last option.
Explanation
- The spelling check option works horizontally, meaning it will look from left to right and continue until the check is complete. If we have errors horizontally, it will first check A1, B1, and C1….. And not vertically. So we should first select the data.
- Spelling check works by referring to the dictionary and searching the typed words from that dictionary. This is the same as a function of using Vlookup; if the data is present, then it’s ok else; we will get an error. The same is with the spell check; if the word is not found in the dictionary, then the spell check will return an error and offer a matching word that can use.
- When using a spelling check, excel goes inside the cell value and treats that value as a text and a sequence of typed alphabets as a single word, separated with space. If the typed text is in all Upper cases, then this word will not come under the spell-check error.
How to Use Spelling Check Option in Excel?
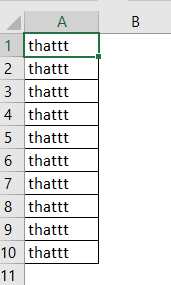
The first step will be choosing the data we want to check. This saves us time if we need to check some of the data.
Step #1 – Choose the Data.
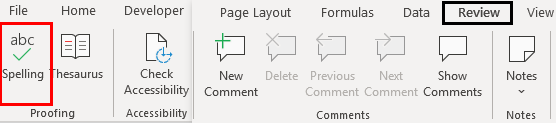
Step #2 – Select the Review tab and choose the option “Spelling”
Step #3 –If we do not want to go through these options, we can choose to use the keyboard shortcut, which is F7.
Step #4 – From the window, we can see which word has been typed incorrectly. Excel identifies words as errors and categorizes them under the “Not in Dictionary” option. Make it active only
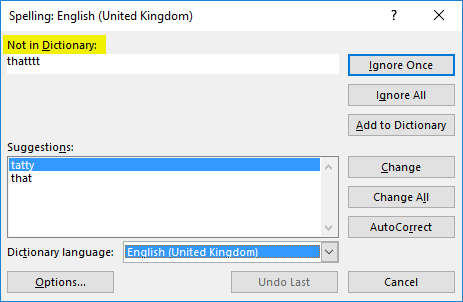
Step #5 – Now, we can also see which word matches best instead of a misspelled word under the option of “Suggestions”. After checking the suggestions, we can choose to change the misspelled word with the correct word by selecting the option of “Change”.
We can also choose to change all occurrences at once using the “Change all” option.
Step #6 – We can now choose to skip reviewing the errors one by one and hence select the option of “Change All”.
Step #7 -By this time, our Text will be free from any grammatical and spelling mistakes.
Things to Remember
- This should be remembered that if a text is typed incomplete upper case, then this word will be skipped from checking and will not appear in the spelling check.
- Any text that ends or starts with a numerical value is also excludes from checking. This means that a text such as “Text 123” or “123 Text” will be skipped in spell check.
- If we have the same error multiple times and have chosen to ignore all errors, we will not get that error again for the review.
- A word that is previously marked for “Autocorrect” will be changed to a correct word next time it has been entered. If we intentionally want that wrong word, we must remove it from the autocorrect option first.
- Any web address is also not spotted as an error. This is because the web link is treated as custom text and not as a combination of words from the dictionary.
- If we have entered an address that Is the folder address, this is also not spotted as an error.
- If we add a misspelled word to the dictionary, this will not again come under the spell check error screen.
Recommended Articles
This is a guide to Spelling Check-in Excel. Here we discuss the different options for spelling checks and how to use these options in Excel, along with practical examples. You can also go through our other suggested articles –
