Introduction to SketchUp Rendering
SketchUp Rendering is a process through which we can represent or see a photorealistic view of our designed 3D model. By rendering, we can understand how our model will look with applied material in the real world with all the material aspects (environment, sun light, etc. )around it. There is a number of rendering plugins through which we can do realistic rendering for our model, and V-ray is one of the effective plugins in this case. With V-ray, we get high quality of rendering and use its material to improve the material’s quality that we have applied to our model. So you have to go through some settings for getting the best result in rendering. So let find those settings and the process of rendering.
How to perform rendering in SketchUp?
We can perform rendering by making some adjustments to the parameters of the V-ray plugin. Of course, there are many more things in V-ray which you have to learn gradually but let me tell you what are those parameters and settings on which you have a good command for having the best rendering effect. Before we start, let us make a simple model that we will use in the rendering process. Then, you can apply the below-discussed rendering settings on your own model.
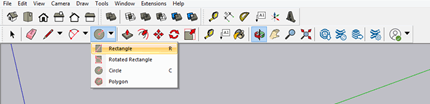
I will first take the Rectangle tool from the tool panel, which is at the top of the working screen, or press R as its shortcut key.
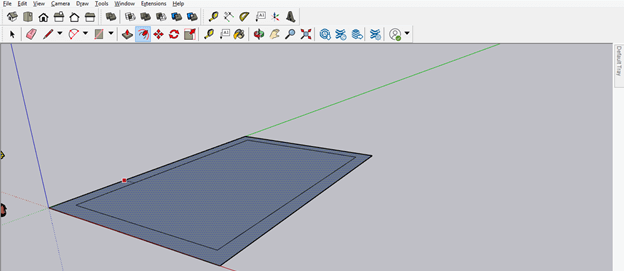
Now i will make a rectangle like this and then offset it at some distance with the help of the Offset tool. I am not taking any specific dimensions for creating this model.
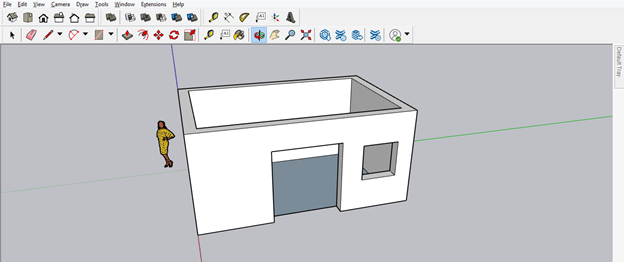
Now, with the Push/Pull tool, i will add some height to it by extruding the boundaries of this rectangle.

Now i will make a door and window gapping area in this simple house like a model.
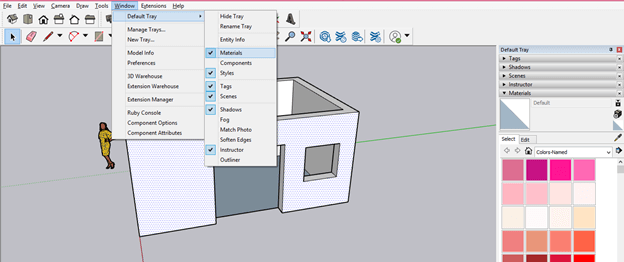
Now let us apply any material to this wall, and for applying it go to the Material panel of the Default tray and click on the drop-down arrow key of it. You will find it on the right side of the working screen.
If there is no Material Panel, you can have it by going Window menu of the menu bar and going to the Default Tray option of the drop-down list of it; then, in the new drop-down list of this, you will find the Materials option.
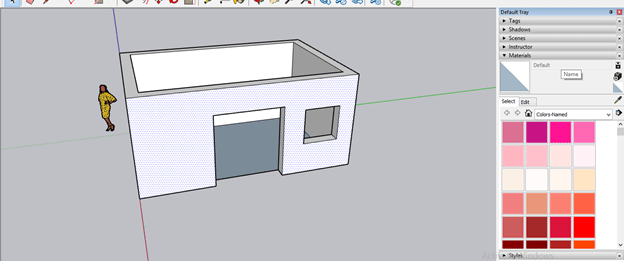
I will apply tile material to the wall of this house model.

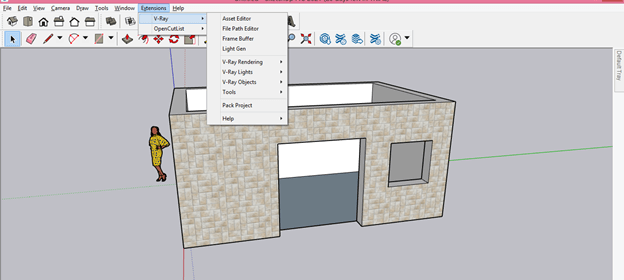
Now let us move to the V-ray plugin, and you will find V-ray plugins in the Extensions menu, and in the drop-down list of it, we will have a V-ray option. You can see this option here in the list if you have installed it.
Or go to the View menu and click on the Toolbar option of scroll down list.

And in the dialog box of Toolbars, we have different panels option of V-ray which you can enable by as per your choice by clicking on the check box of them.
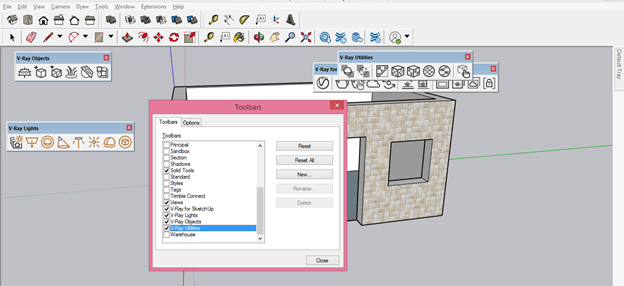
Now i will place these panels at the toolbar area like this because they are moveable.

If you want to render your model directly without making any settings by the Asset Editor option of the V-ray panel, you can just click on this render button to see the render’s output result.

There is one more button here in this panel: Render Interactive, which means with this rendering button, you can see live changes (that you make in your model) in your render dialog box during the rendering process of your model.

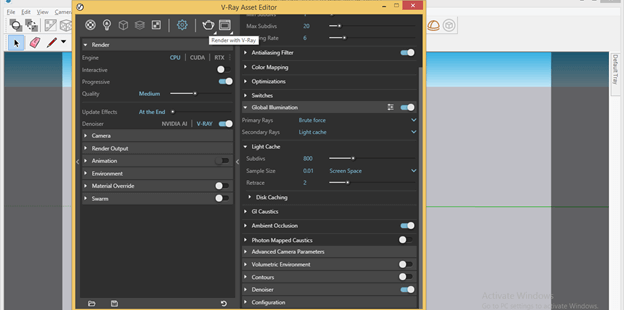
I will first tell you some settings for getting the best output result in the render. So for that, click on the Asset Editor button of the V-ray panel.

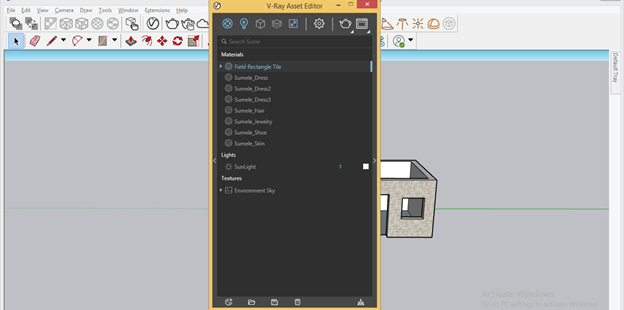
And once you click on it, the Asset Editor dialog box will be open. It will show you a list of all applied material here in the Materials option. So, for example, it will right now show the material of the wall of the house and materials of dummy characters cutout.
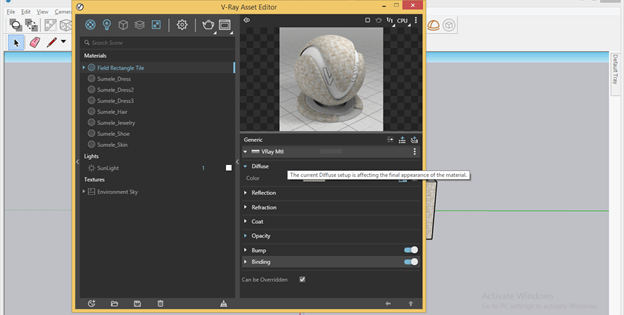
Now click on the side arrow button for opening the materials editor parameter box. Here in this box, you can create high quality of material for your model by making some settings in its parameter.
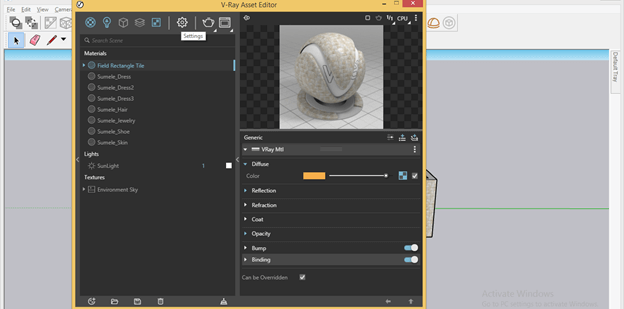
So apply good quality of material on your model, then click on the Settings button of this dialog box.
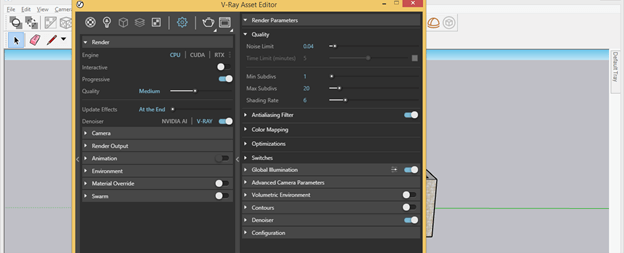
Once you click on this button, you will have these settings in it. First, click on the drop-down arrow key of the Render option of this box, and then you have to select CPU in the Engine option.
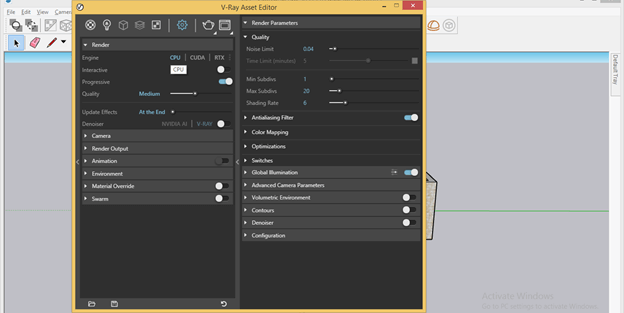
Then enable V-ray (option of Denoiser) by sliding its slider button in the On side direction.
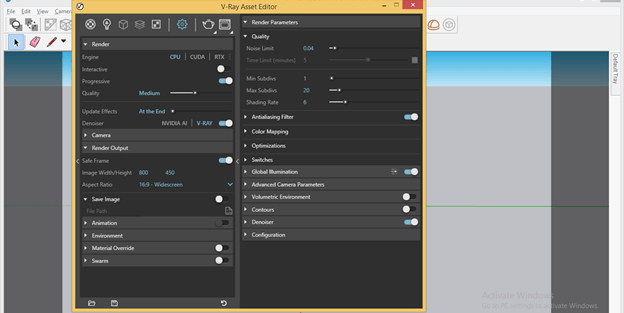
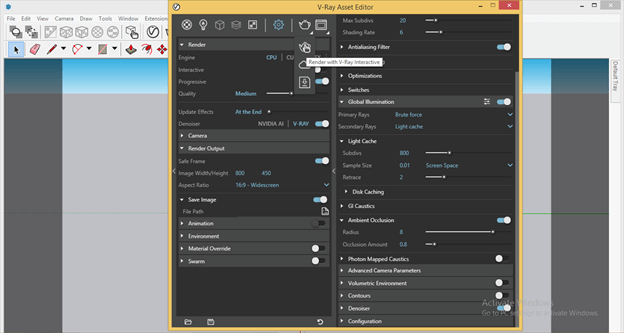
Now click on the drop-down arrow key of the Render Output option and enable the Safe Frame option.
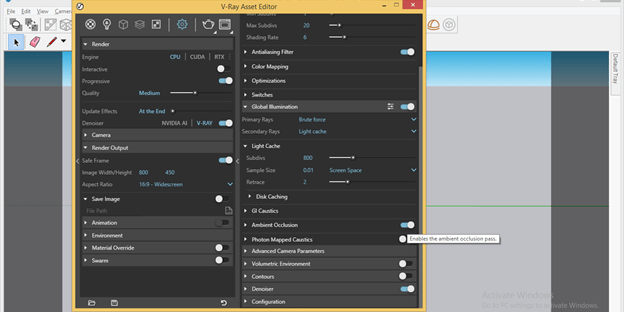
Come to the Global Illumination option and click on its button for enabling advanced settings of it.

In its advanced settings, you will find the Ambient Occlusion option so enables this too. In addition, it will maintain whiteness and darkness (highlight) during rendering for proving more clarity to the model.
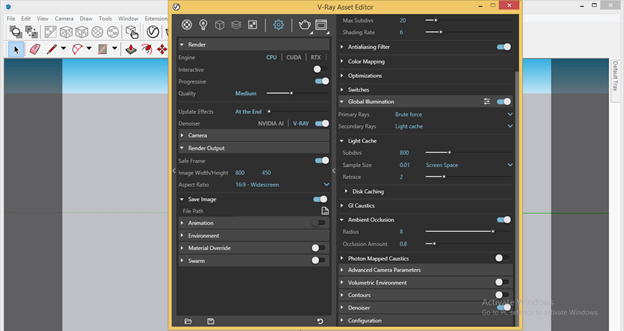
You can play with parameters of Ambient Occlusion for having variation in output. I will leave them as it is.
Now after making all the settings for better render output, click on Render with the V-ray button of this Asset Editor dialog box.
You can also have live render here by clicking on Render with V-ray Interactive button.
One more option is Render with Chaos Cloud, which means it will render your model on Cloud so that you can connect your model render online with others.
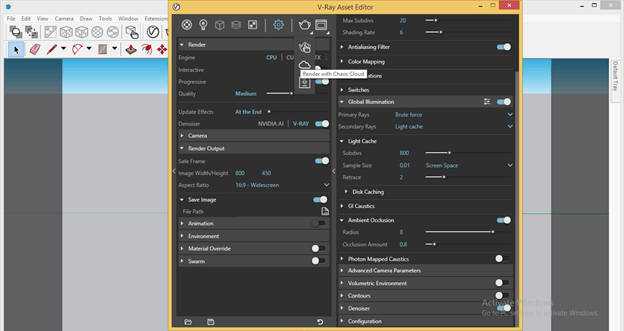
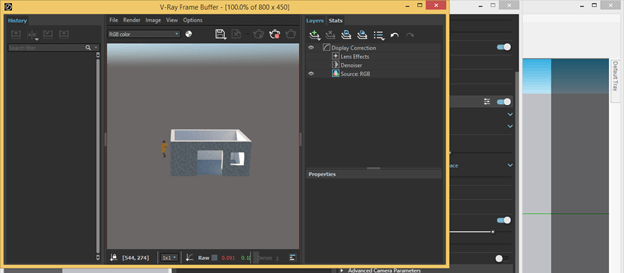
And I will now click on Render with the V-ray button; then, I will get this Render output dialog box with the name V-Ray Frame Buffer. Of course, the output will depend on a number of factors such as quality of applied material, the capacity of your computer system, settings of V-ray panel and so on.
Conclusion
Now you can understand rendering in SketchUp very well and adjust parameters of V-ray plugins for getting the best output result of the rendering process of your model. I told you just one plugin for rendering in SketchUp, but you can try other plugins for the rendering process to analyze their output quality.
Recommended Articles
This is a guide to SketchUp rendering. Here we discuss How to perform rendering in SketchUp step by step in detail to understand easily. You may also have a look at the following articles to learn more –
