Introduction to SketchUp 3D Models
SketchUp 3D models can be understood as creating the 3D structures of 2D drawings by using different types of 3D tools of this software. For creating a 3D model we can use a 2D drawing layout and use that just as a guide of structure. There is a number of things that you have to keep in mind during creating 3D models of different 2D drawings. We can create a 3D model of several elements or components of the different engineering fields and other related industries. The 3D tool which plays a major role in 3D modeling is the Push/Pull tool of this software. So let us discuss how does it work.
How to Create and use 3d Model in SketchUp?
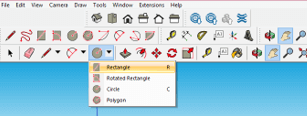
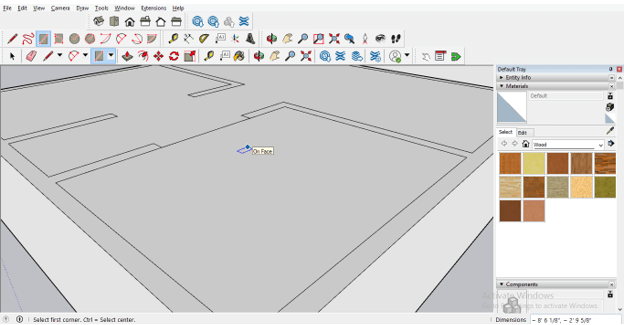
For creating 3d model you need a 2D drawing of your design or have proper dimensions of the structure of which you want to make a 3D model. I will tell you it without 2D drawing and by just following the dimensions of the 3D model. I am going to create a model of the house. So for that first take the Rectangle tool from the tool panel or press the R button of the keyboard as its shortcut key.
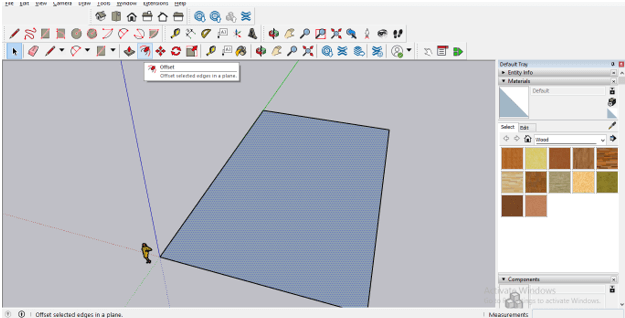
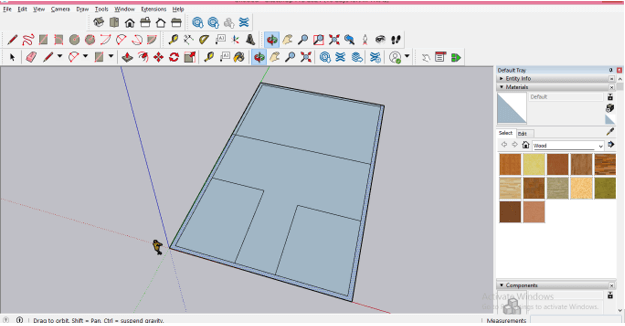
Now draw a layout area on which my house model will be made. I am creating it free-hand dimensions. You can enter specific values of your drawing area here.

Now, this is the layout plan. I will select it with the help of the Select tool and then take the Offset tool from the tool panel.
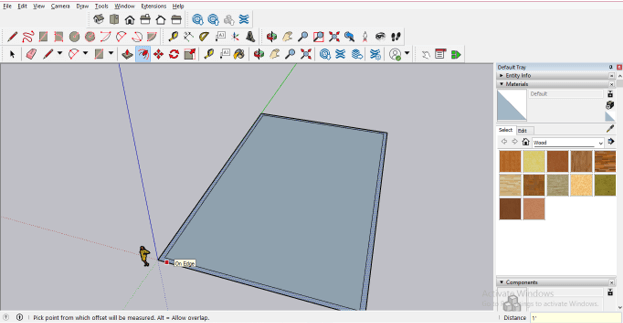
I will offset it a 1’ (feet). For entering this value I will type 1’ in the Distance box (it is at the bottom of the working window). This offset distance will make the thickness of the wall of this house.
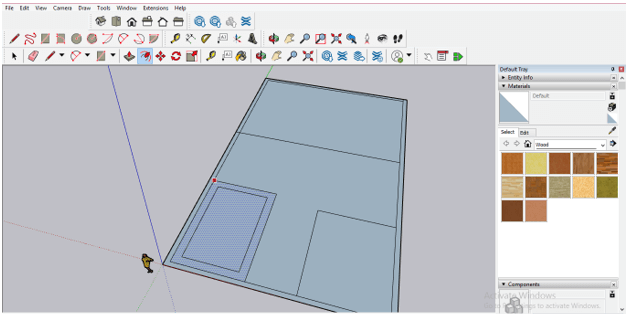
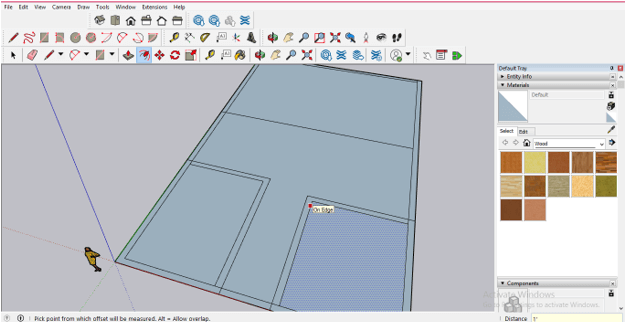
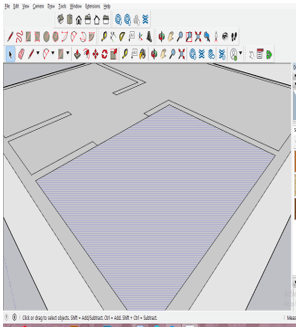
Now let us divide this layout into some sections and you can consider those sections as a room of this house model. So again take the rectangle tool and draw a rectangle from this side of 12’ x 10’. Type this value into the Dimensions box and hit Enter button on the keyboard.

Same as the first section I will draw these two sections more with different dimensions.
Now same as we offset the layout rectangle for wall thickness we will offset the rectangle of each section. You can offset wall thickness inside of this rectangle.
Or outside of this rectangle as per the requirement of your 3D model.
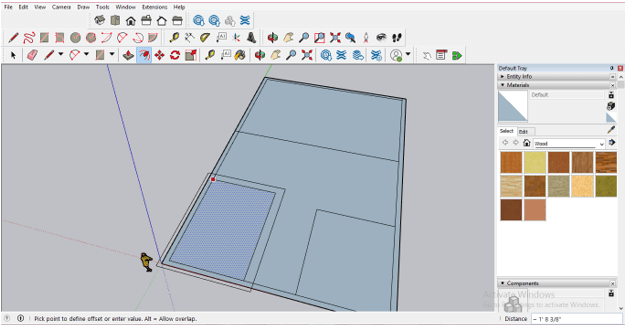
Generally wall thickness of all sections of a house is the same so I will offset this rectangle at the same thickness as the layout wall. For offsetting it select this rectangle with the Select tool and then take the Offset tool from the tool panel. You can use F as the shortcut key of the Offset tool.
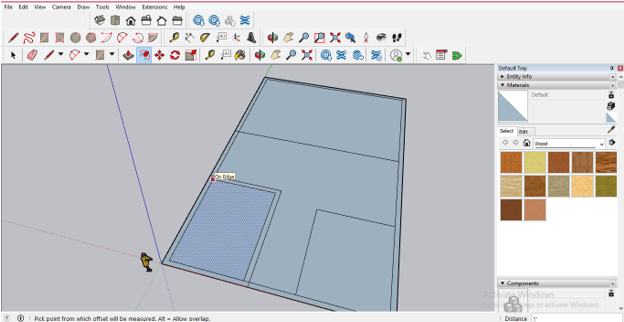
Now select the next rectangular section and switch to the offset tool then make double click on it. Once you make a double click it will offset this rectangle on the previously used dimension.
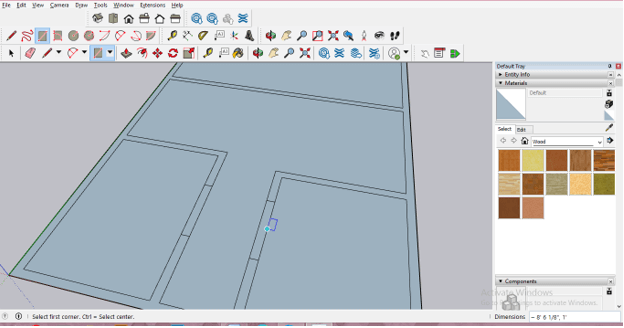
After doing this for all sections, take Erase tool from the tool panel or press the E button of the keyboard for its shortcut.
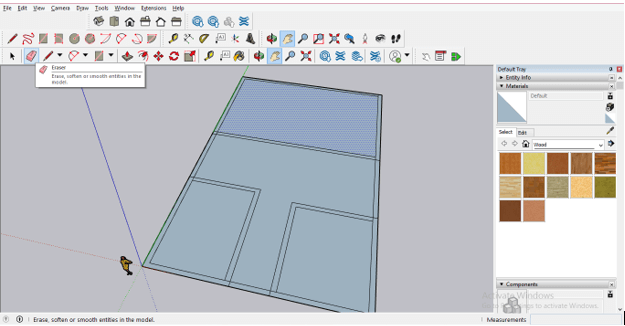
And erase all intersecting lines that are on the layout boundary wall.
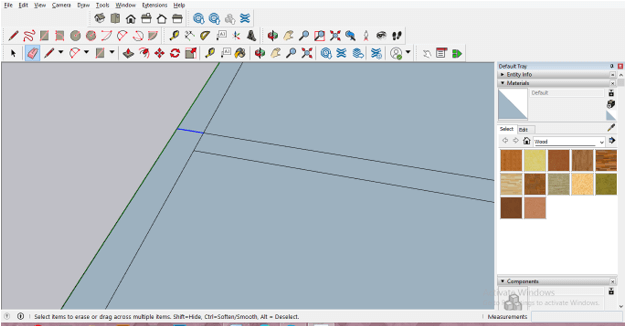
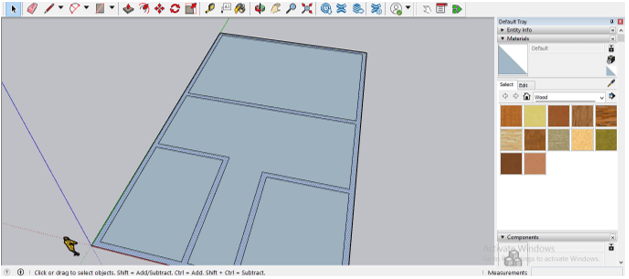
I am erasing all these intersecting lines because I want to make it one connecting wall. So after erasing you will get this type of wall layout. Due to connecting wall, you can provide height to this in just one use of the Push/Pull tool.
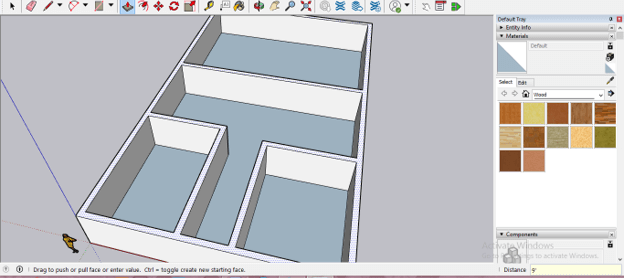
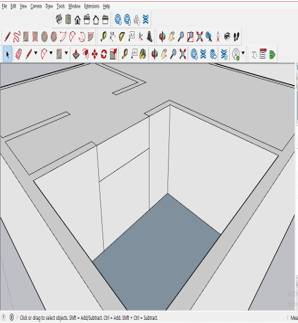
Now go to the tool panel and take the Push/Pull tool which is a 3D making tool. You can also press the P button as a shortcut key it.

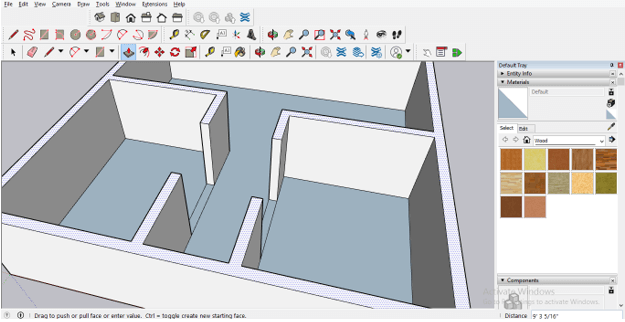
Now after selecting wall boundary with the select tool use the Push/Pull tool on it. If you drag the mouse cursor of this tool in the upward direction then it will give height to your selected area or if you drag the mouse cursor of Push/Pull tool in a downward direction then it will provide height in a negative direction. So I will drag the mouse cursor in an upward direction and enter the value of the height of this wall. I will enter 9’ as the height of this wall.
What if you want to create a door? Let us have look at it too. Back to our layout and draw a rectangle like this.
And this time when you pull it like this then there will be a section for the door.
But you know there should be a drop wall for creating proper door structure. So I will create a rectangle here like this.
And you can see one I release mouse button it will cover all the area like this.
And you have to delete unwanted covering by selecting them one by one like this.
And there will be door structure like this but I think this way for creating door area is a little bit lengthy.
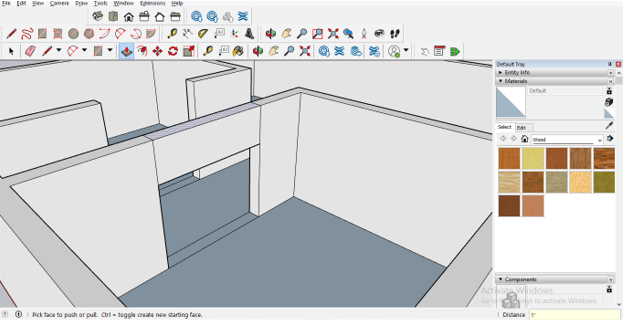
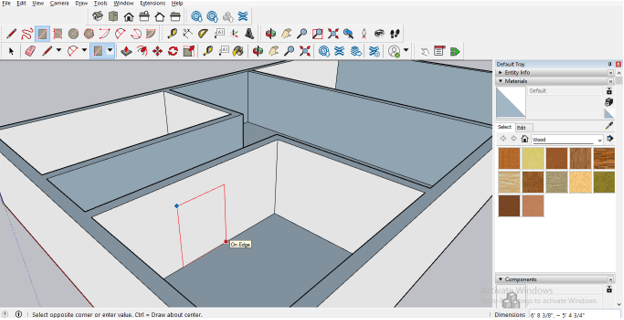
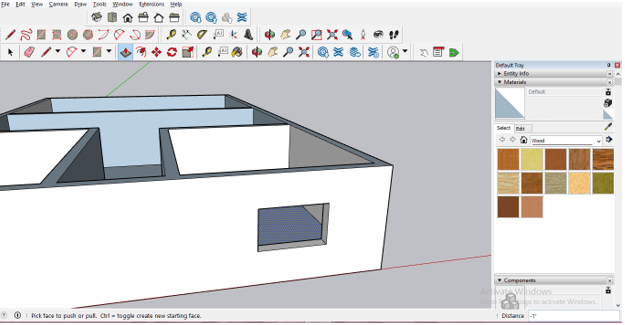
So there is another easy way through which you can create a door as well as a window in your model. Just take the rectangle tool again and draw a door with your desired dimension of the door.
Now take the Push/Pull tool and Push the rectangle in a backward direction so that it will subtract this rectangle from the main model.
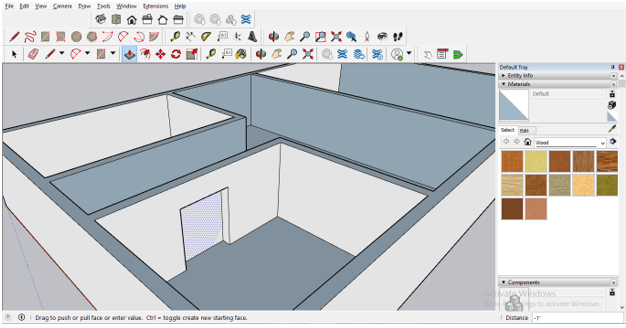
Or you can simply make double-click on this rectangle with Push/Pull tool and it will delete that area.
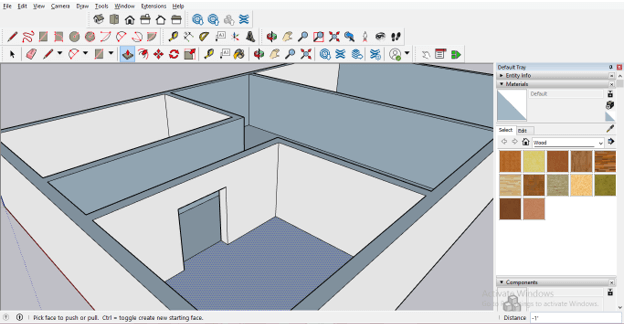
Same as the door you can also create a Window at your desired place on the wall. Create a rectangle of the same size as your window.
And subtract it as we did for creating the door.
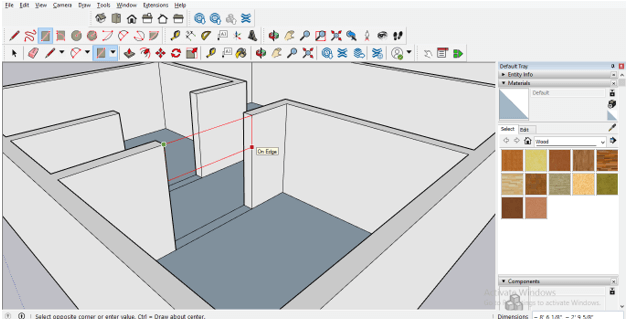
Now Take the Line tool from the tool panel.
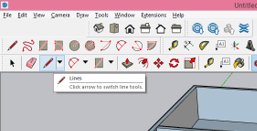
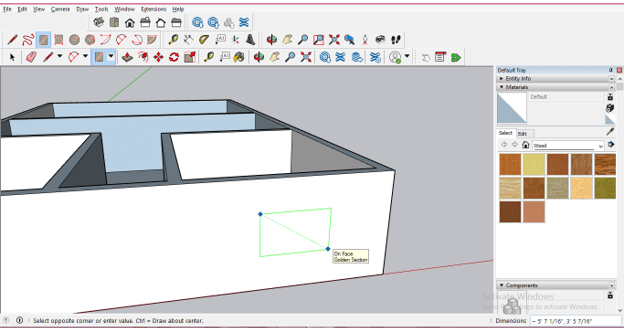
And draw a diagonal line like this to make the roof of this house. You can cover each section one by one by drawing a diagonal lines on them separately.
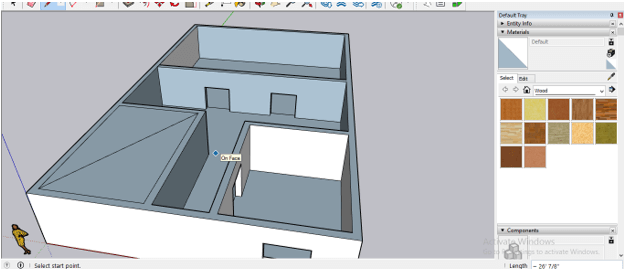
Or cover the whole model by drawing one diagonal line from one corner to other corners of a model like this.
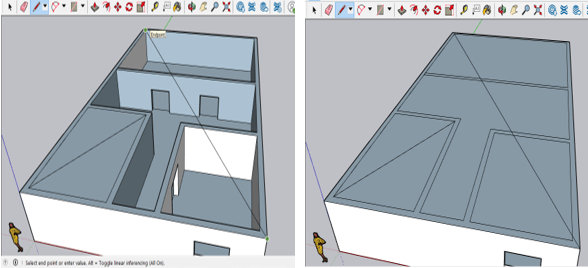
This way you can create a 3D model by using different tools of this software.
Conclusion
These were basic information about how you can start creating a 3D model in SketchUp from a very basic level. If you understand all the steps properly which I told you here for creating a 3D model then you can easily have a handful of skills for creating a 3D model in this software. I will also suggest you try it on your 2D drawing so that you can learn it deeply.
Recommended Articles
This is a guide to SketchUp 3D Models. Here we discuss the Introduction, How to create and use 3d model in SketchUp?. You may also have a look at the following articles to learn more –
