
Introduction to SketchUp Change Dimensions
SketchUp Change Dimensions can be understood as changing the dimensions of any drawn object at any moment of the creation of a 3D model. Changing dimensions for any drawn object is a little bit difficult in this software that means there are no specific tools or features through; you can change dimensions in just one click, but we can go through some steps and use some techniques for changing dimensions as per our requirement. You can also display dimensions of any object for seeing live changes in dimensions so that it will be easy to recognizing what dimensions are changing. So let me tell you what are techniques through which you can do this.
How to Change Dimensions in SketchUp?
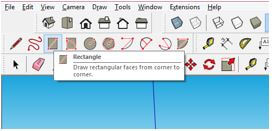
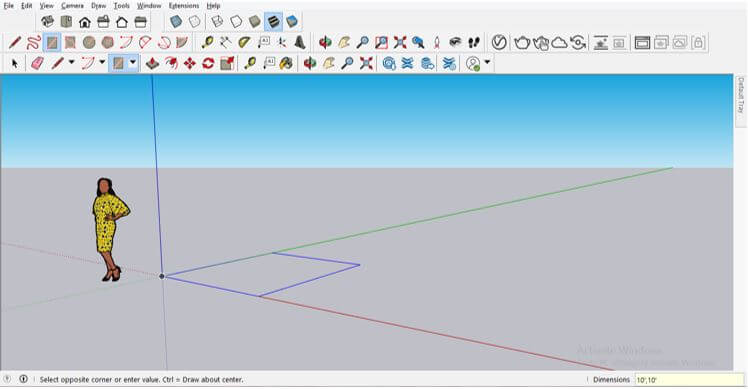
For understanding how to change dimensions in this software, let us draw an object in it. So for that, I will take the Rectangle tool.
And draw a rectangle of 10’ x 10’ by entering a value of 10’, 10 in the Dimensions box of this software.
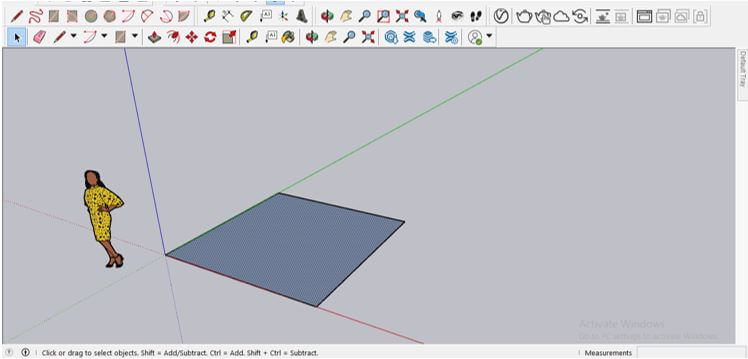
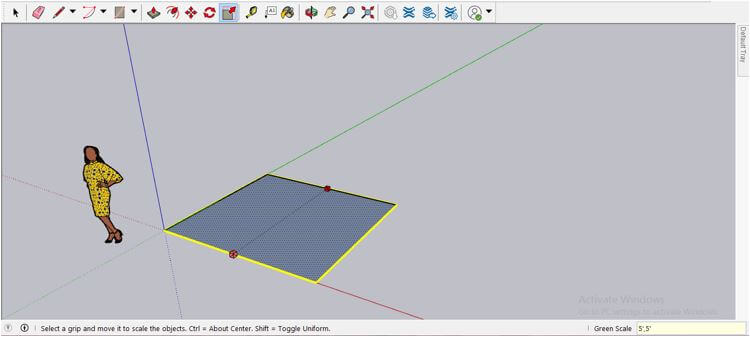
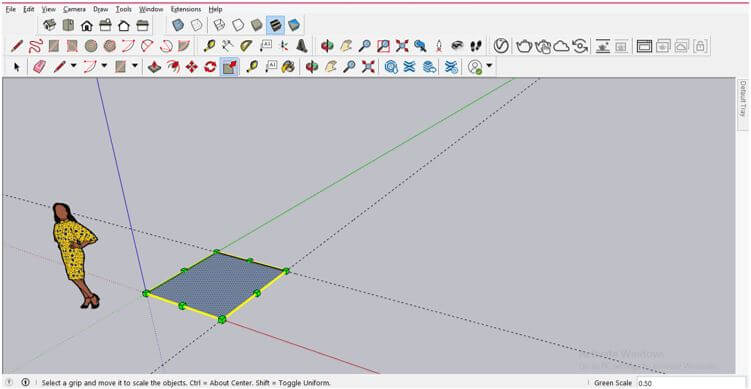
Now I want to change this rectangle into 5’ x 5,’ but you can see I can’t do this right now even I have selected this object.
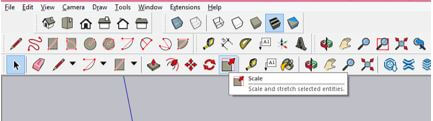
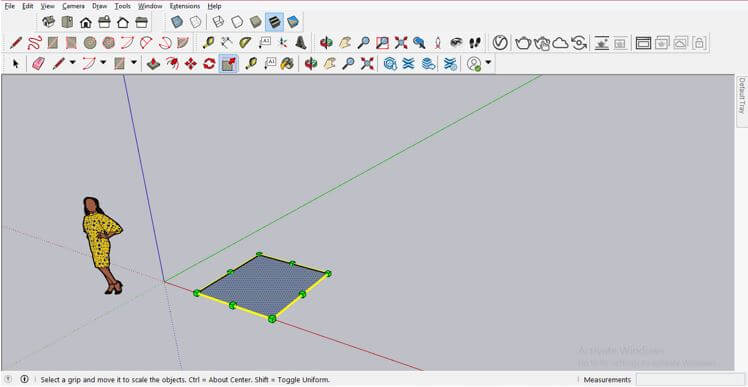
Now let us do another thing for changing its dimensions. I will first take the Scale tool.
Now I will first click on any edge of this rectangle and drag it in any direction; then, I will enter the value according to which I want to change its dimension, such as I will enter 5’,5 in the Dimensions box then hit enter button of the keyboard.
And you can see it will change like this.
This was the first way through which you can change the dimension of any object. Now let me tell you another way through which you can do this. For this method, you have to take Tape Measure Tool first.

Then click on the edge of this rectangle and drag in the direction in which you want to change dimension, then enter the value of the changed dimension such as I will enter 5’ and hit enter button of the keyboard.
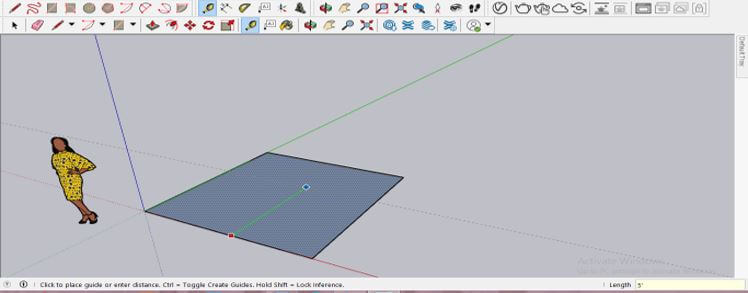
Once you enter your desired value, this tool will place a guideline at an entered value like this.
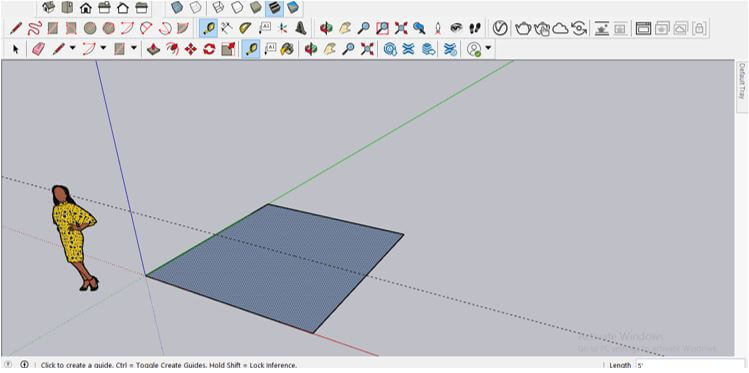
I will do the same for other dimensions.

And now use the scale tool and drag the outer edge in the inner direction because the changed dimension which I have mentioned here is inside this rectangle that is 5’ x 5’.So when you drag the edge near to the guideline, it will automatically snap to it.

I will repeat the same for the other side, and then we can get our desired dimensions.
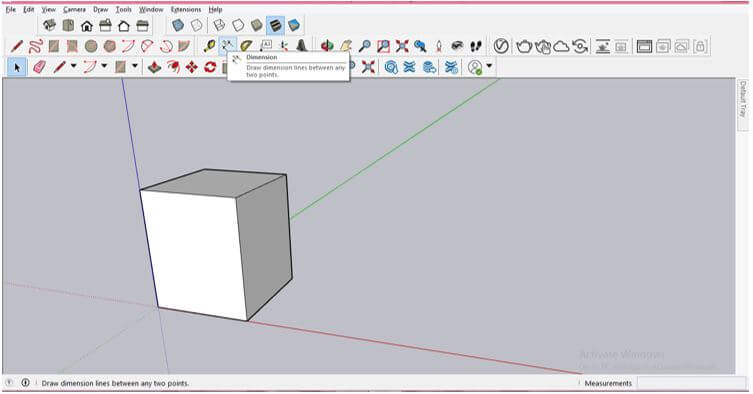
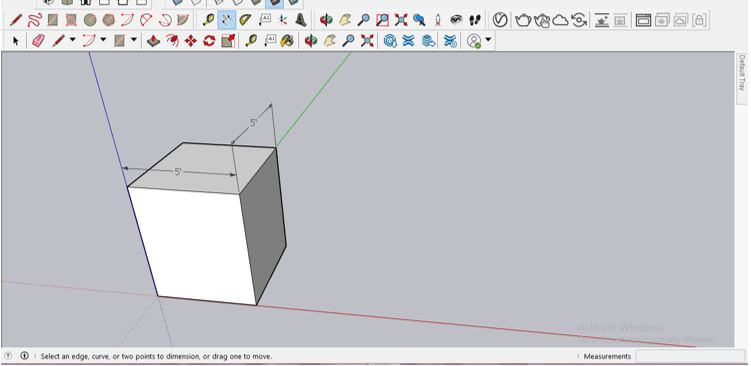
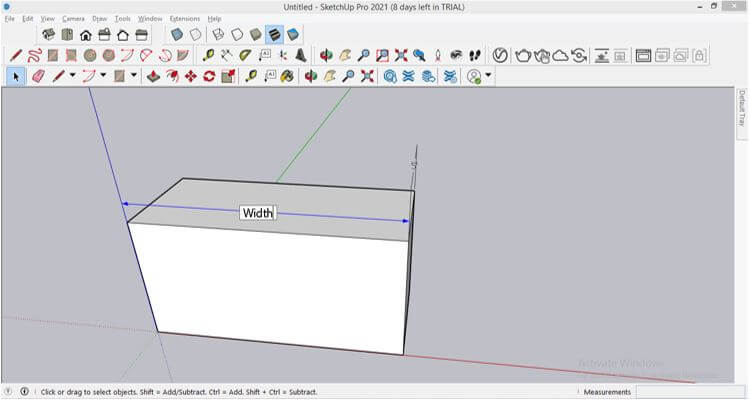
I will now add some height to this rectangle with the help of the Push/Pull tool like this and then take the Dimension tool from the tool panel.
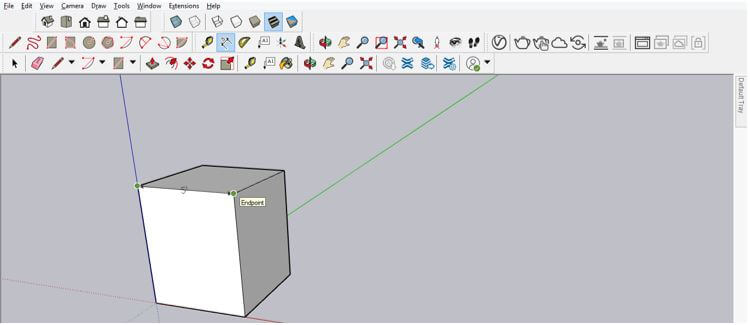
With this tool, we can display the dimension of any side and for that first, make a click on the first corner from where you want to start a measurement and then click on the second corner of this rectangle at which you want to end the measurement.
Then drag it in the upper direction so that it can be properly visible to us.
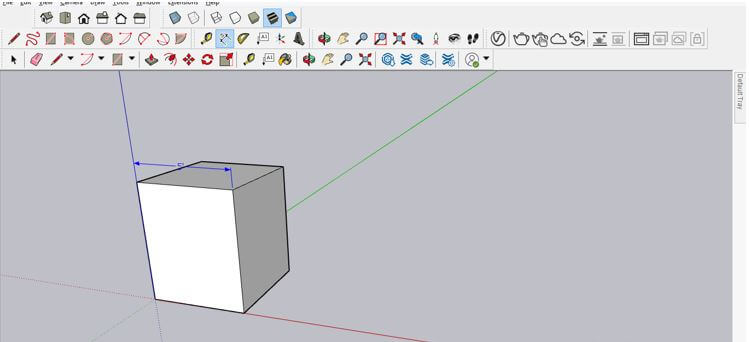
You can do the same for another side.
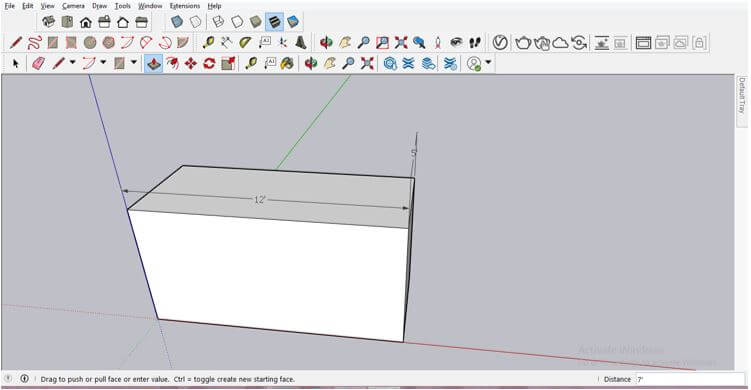
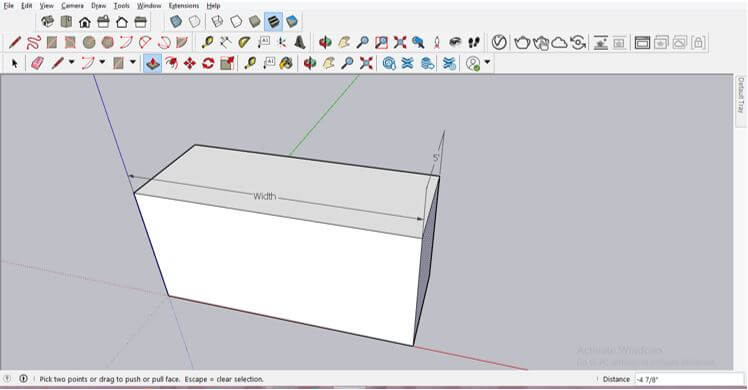
When you make any type of change in the displayed dimension side, it will atomically update on that written text of dimension. For example, I will select the side face of this 3d shape and extrude it in the same direction with the help of the Push/Pull tool. You will notice that the dimension of this side also changes with extruding this side. So you change dimensions in this way also.
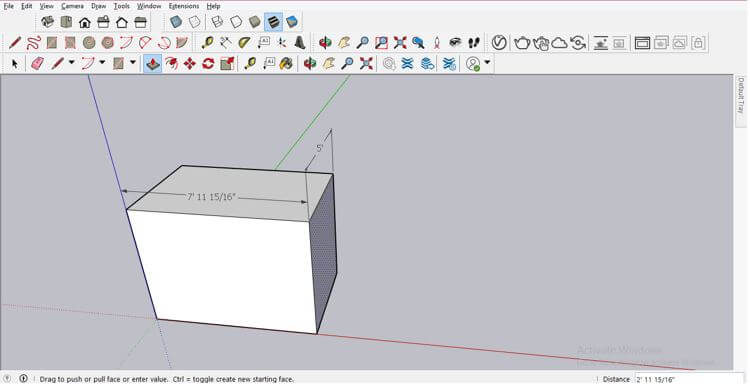
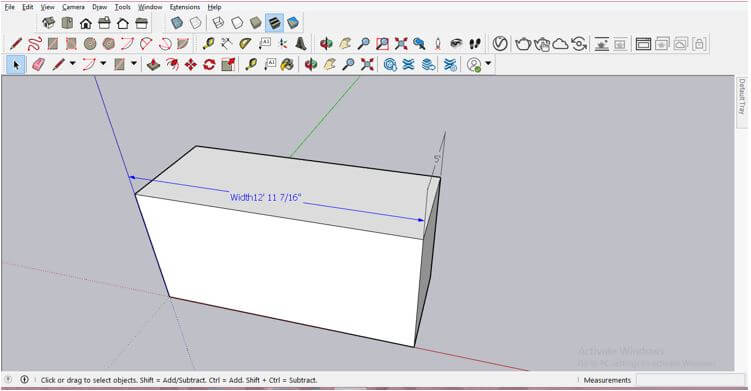
If you want to add an exact value, then just enter that value in the Dimensions box and hit the enter button on the keyboard.
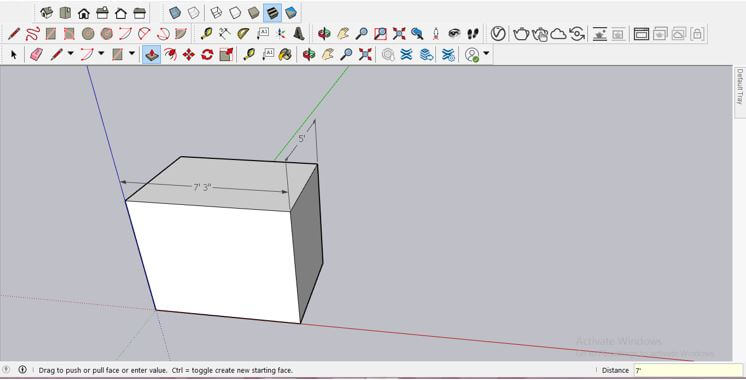
For example, is want this side as 12’, then I will enter 7’ in the Measurement box, and as I hit enter, it will add in 5’, and the total width of this side will be 12’, which will automatically update in displayed dimension.
You can also add any text in the displayed dimension as per your suitability. Such as I want to add text Width to this dimension, so I will make double-click on the text of the displayed dimension and type my text.
And it will update like this.
But I want to display dimension too with this text so that I can easily change the dimension at any point of my work, and for that, just type your text and type <> special character from the keyboard, then hit enter button of the keyboard.
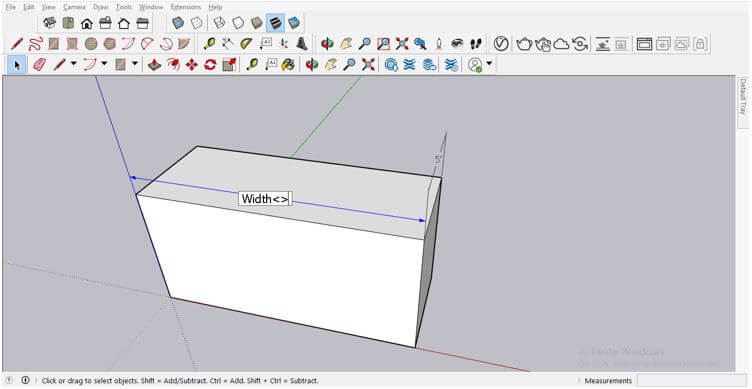
Once you hit enter, the dimension will also display with your text.
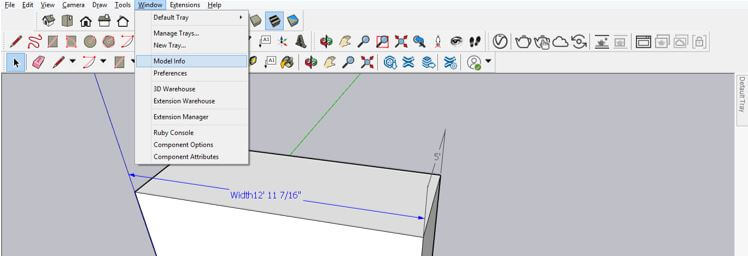
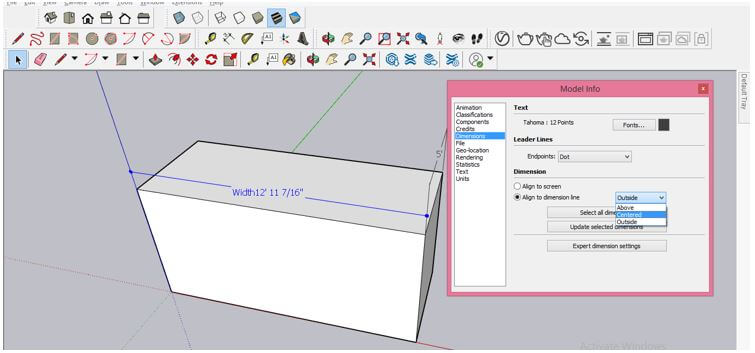
You can also change the style of displayed dimension, which will help you during making changes in dimension, so for that, go to the Window menu of the menu bar, which is at the top of the working screen and click on it. Here choose the Model Info option from the list.
A Model Info dialog box will be open, and here in this box, you will find the Dimensions option in the list of it. So click on it.
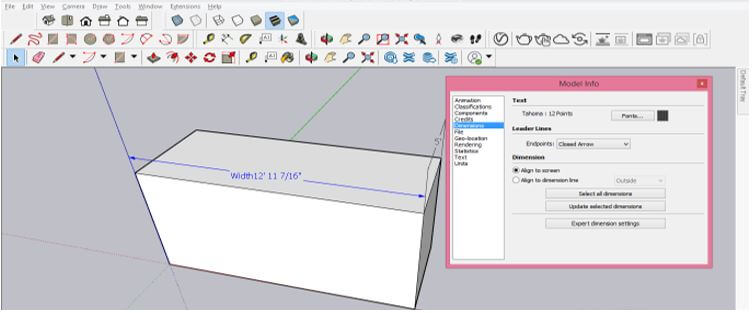
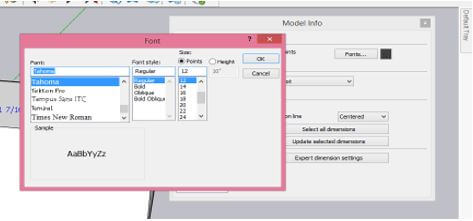
By clicking on the Fonts tab of this option, you can change font style and font size so that it can be properly visible to you during making any changes in it.
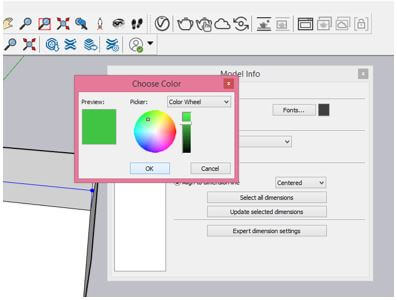
If you click on the Color box, which is next to the Fonts tab, then you can choose a color for the displayed text from this color box, and it will help you to differentiate dimensions from your 3d model if there is the same color of the material in your model.
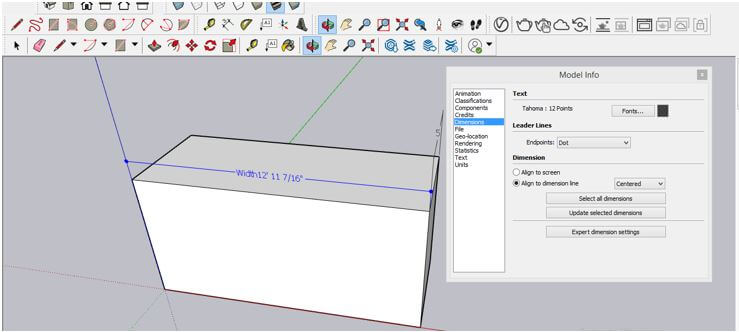
You can also change the display type of dimension; for example, if I choose the Centered option from here and click on the click ‘Updated selected dimensions’ button.
Then I will come into the center of dimensions lines like this.
So this way, you can make changes in the dimension of the object in this software.
Conclusion
After having a good discussion on this topic, you can understand rather it is difficult to change dimensions in one click or by using one tool in this software, but we can do it in a very smooth way by doing some arrangements and using some tools as well as features of this software.
Recommended Articles
This is a guide to the SketchUp Change Dimensions. Here we discuss the techniques through which we can Change Dimensions in SketchUp. You may also look at the following articles to learn more –
