
Introduction to SketchUp background
Creating SketchUp Background is one of the important steps during finalizing of our 3D model in this software that means for creating real-world impact and providing a natural look to our 3D structure in this software we create a background of it and background may be any color or any image which can create good visualization for our 3D model. You can do lots of parametrical settings for getting a different type of background. There are few ways to create a background in SketchUp and use them to prepare an effective presentation of your designed 3D model. So let us find out the way through which we can do this.
How to create and use Background in SketchUp?
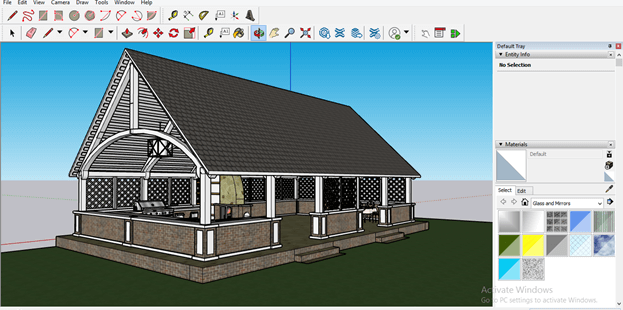
I have downloaded this wonderful 3D model from the 3D Warehouse of SketchUp for explaining how you can create a background for this model. You can take your own designed model for this purpose.
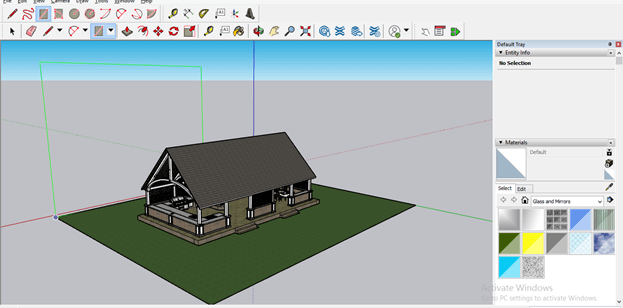
There are few ways through which you can create a background for your model. So in the first method of it, I will create a rectangle with the help of the Rectangle tool of the tool panel behind this model.
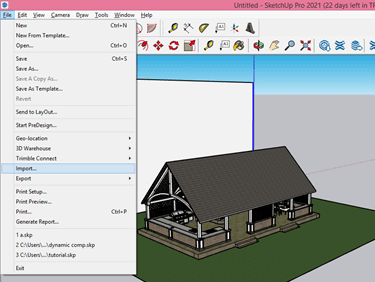
Now go to the File menu of the menu bar and click on it, then choose the Import option of the drop-down list.
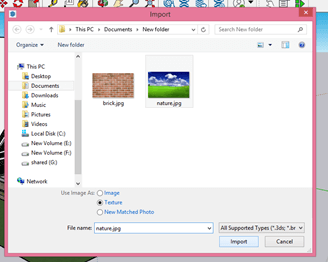
Now navigate for your desired background file in the opened dialog box. The file should be in image file format so that we can import it as texture in Sketchup. I will choose this file and enable the Texture option’s radio button, then click on the Import button.
Now you can place it on this rectangle, and for placing, just chose a corner of the rectangle and drag it, then make a click to fill it.
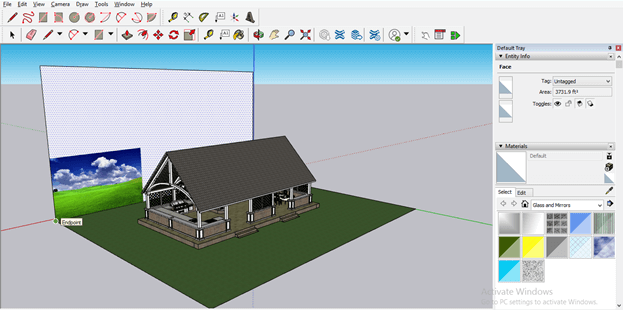
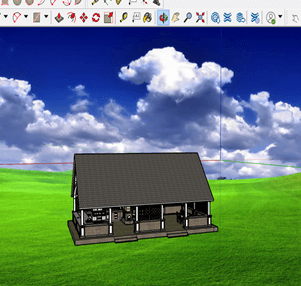
It will fill like this.
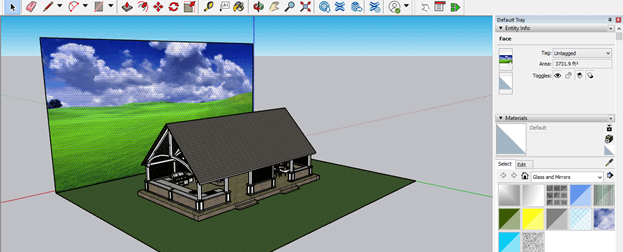
Now you can see there is a background behind your model.
But with this method, there is one problem that if you change the view, then this background will not cover all viewpoints. It is suitable for only one viewpoint.
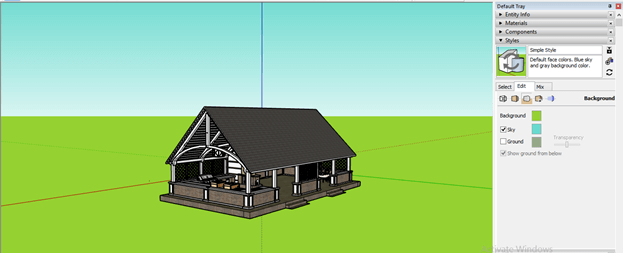
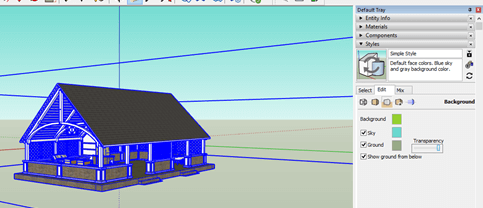
Now let us discuss another way to do this and for this method, click on the Style bar of Default Tray, which is on the right side of the working window.
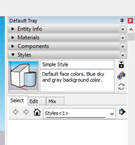
Here in the Select tab of this bar, you can find several default background settings.
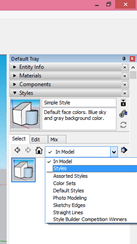
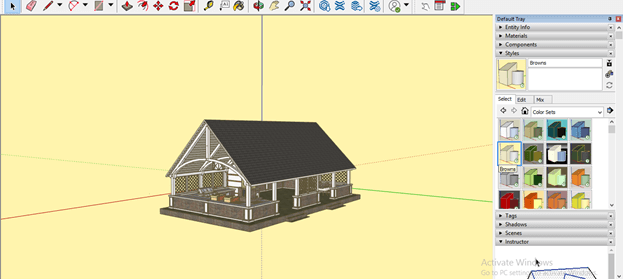
Such as you can change color like this if you chose Color sets options from the drop-down list of In Model option of the Select tab.
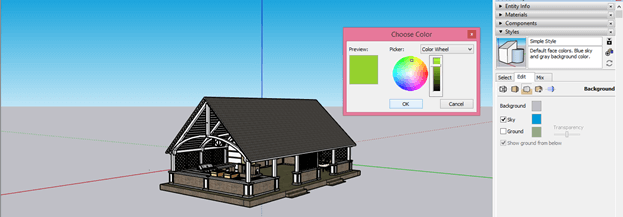
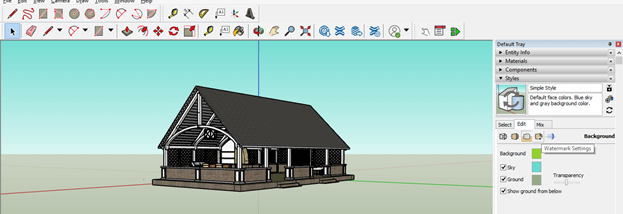
Now let us move to the custom background option that means you can use any image as a background, and for that, click on the Background Settings icon of the Edit tab of the Style bar.

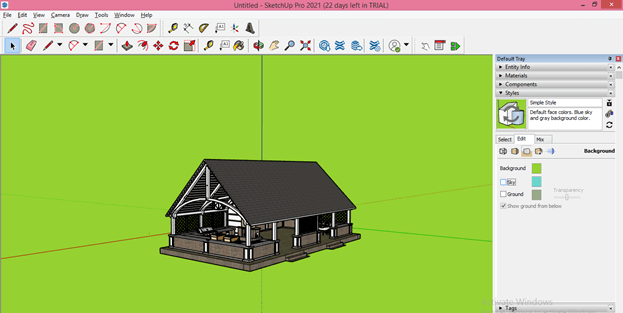
Here you can change the color of the background to your desired color by clicking on the color square box of the Background option. Once you click on this box, a Choose color dialog box will be open, choose your desired color from the color wheel and click on the Ok button.
And it will change like this.

You can change the color of the sky in the same way from the Sky option.
You can disable Sky or ground color also by unchecking their check box.
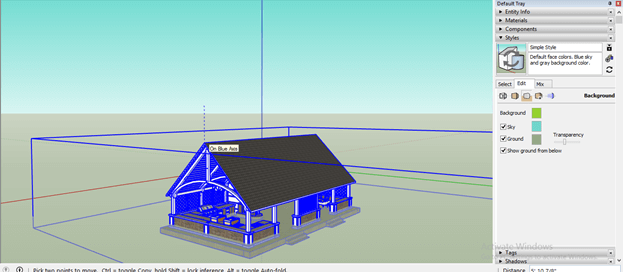
Let me move this model below to the ground, and you can see there is a little bit visible of this model to you.
And you can manage this visibility according to your requirement by changing the value of the Transparency for Transparency option of the Style panel. If you slide the slider in the left direction, then it will become less visible.
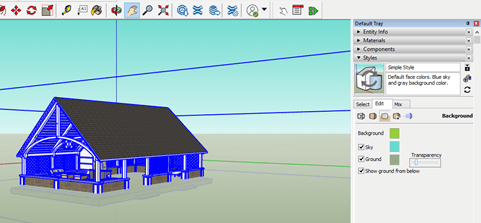
And opposite to it, if you move in the right direction, then it will become totally visible.
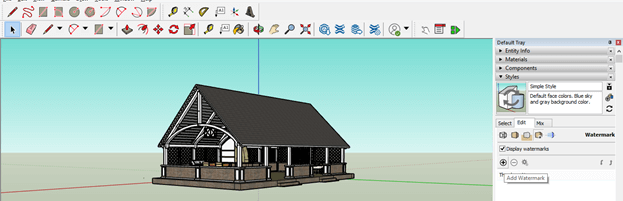
Now let me tell you how you can add any custom background in another way to your model. For this purpose, click on the Watermark Settings icon of the Edit tab.
Now click on Add Watermark button.
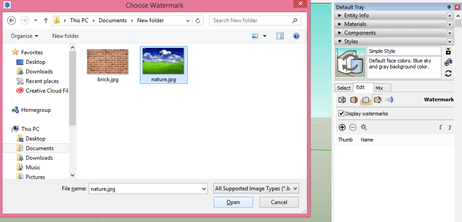
And a dialog box will be open for choosing your desired image. I will choose this image and click on the Open button of this dialog box. You can download any image from the internet which suits your model.
Now a Create Watermark dialog box will open, and it will ask you whether you want to Overlay this image or use it as the background image for your 3d model.
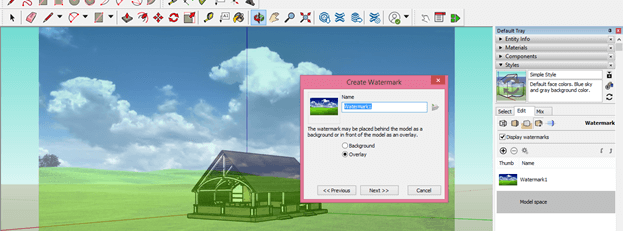
Click on the radio button of the Background option of this dialog box for using this image as the background for your model, and click on the Next button of this dialog box.
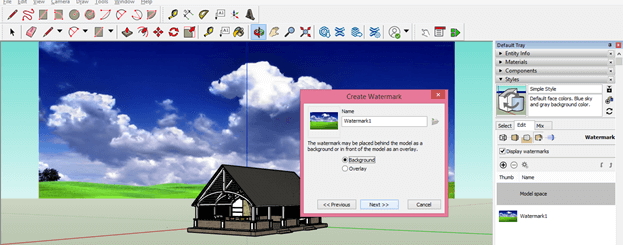
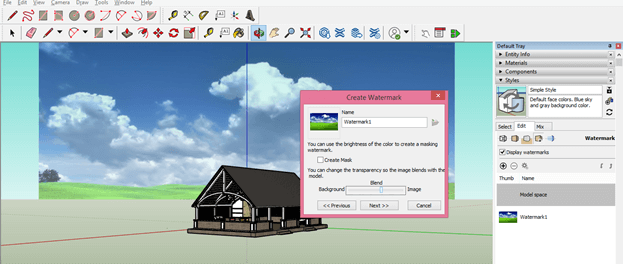
You can blend this image with background color by sliding the blend slider on this scale that means how this image will look with the background color. After the set, it clicks on the Next button again.
There are three ways through which you can display this image. If you chose the ‘Tiled across the screen’ option, it would divide it into several tiles.
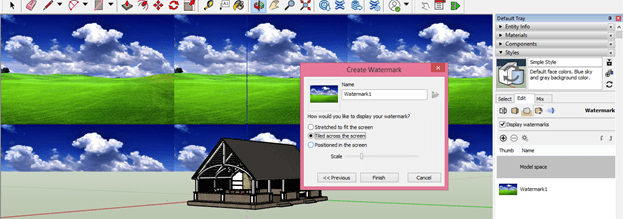
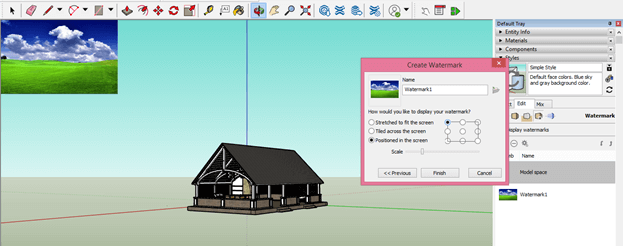
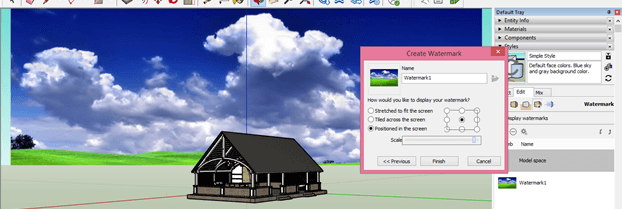
With the ‘Positioned in the screen’ option, you can position this image at the center or any corner point or mid-point of edges of the background rectangle. For example, if I click on the radio button of the center point of the shown rectangle shape of this dialog box, then it will place my image at the center.
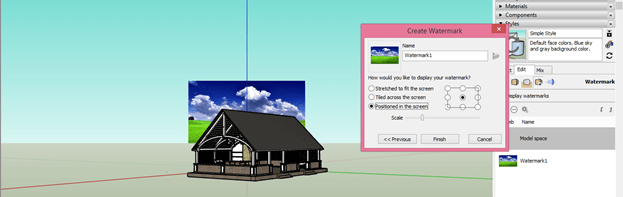
Or if I choose any corner point, then it will place it at the chosen corner like this.
After placing, you can scale it as per your requirement from this dialogue box’s scale slider.
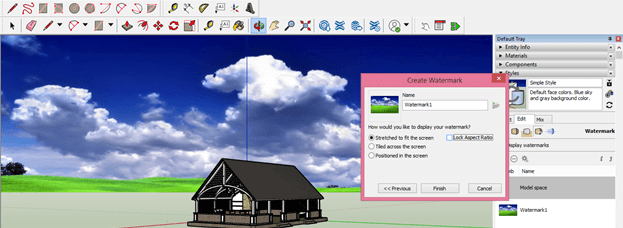
The first option is the ‘Stretched t to Fit the screen’ option, through which it will automatically stretch the image to fit it on the background of the model. You just have to disable the Lock Aspect ratio sub-option for this option. Once you have done your desired setting, then click on the Finish option of this dialog box.
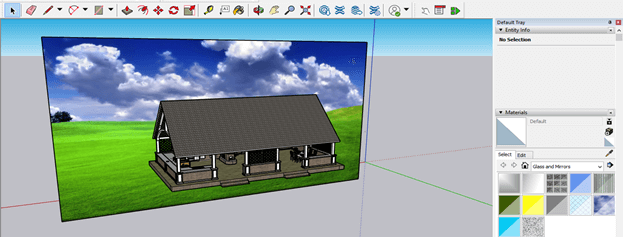
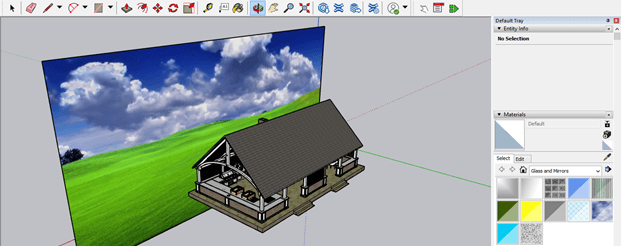
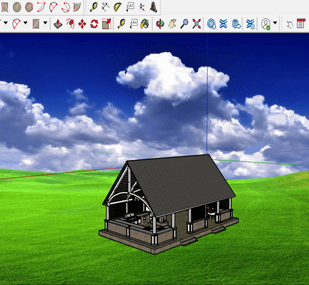
And you can see this background is properly set with your 3D model from different viewpoints.
Conclusion
Now you have good knowledge about how you can create and use the background for 3D models in SketchUp, and you can go with any method which we discussed above for this purpose. I will suggest you to try each way and make different adjustments in parameters for getting different types of results of the effective background of your 3D model.
Recommended Articles
This is a guide to SketchUp background. Here we discuss how you can create and use the background for 3D models in SketchUp. You may also have a look at the following articles to learn more –
