Updated June 8, 2023
Introduction to Maya Tools
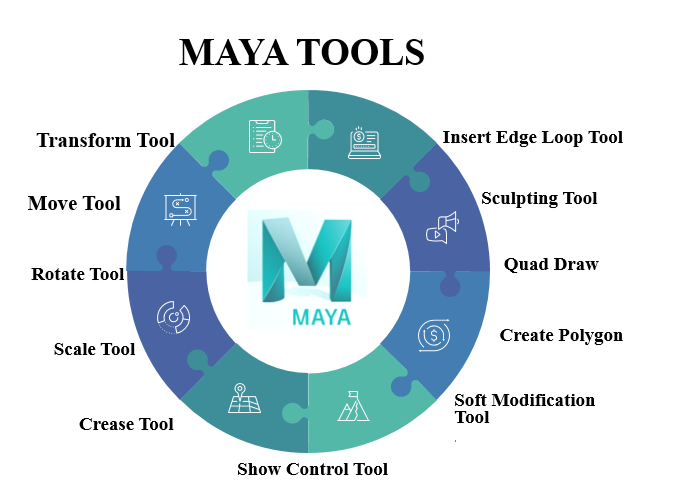
Autodesk is an industry-leading software for making complex 3D models. There are no restrictions or limitations to design anything once you master the tools of Maya. This article will discuss the important Maya tools used to create models quickly and effectively. Maya offers numerous ways to achieve a particular effect in modeling. People employ different tools based on their skills and comfort once they get used to the software. As a beginner, however, there are basic tools that you need to practice before advancing further. You can create unique 3d models with the help of just these basic tools.
Tools in Maya
Some tools in Maya are available to help you with your modeling needs.
1. Transform Tool
Transform is the first thing you need to know while using Maya. For changing the transform of an item, the tools available in the toolbox are select, move, rotate, and scale. You can utilize the transform tool while in the modes of — move, rotate, or scale. The hotkeys for them are w, e, and r, respectively. You can freely move or rotate the selected objects by clicking and dragging them. If you choose a particular handle, the action is limited to that axis alone. You can double-click the toolbox icons to access the above move, rotate, and scale tool options.
2. Move Tool
The move tool is located in the toolbox. To use it, first, choose an object you need to move. Upon selecting it, you will see a controller appeared with four handles. They are used to move the object along each axis and one to move along the planes. Also, the color changes to indicate that it is active when you select a handle. By default, the color will be yellow.
3. Rotate Tool
The rotate tool is used to rotate objects in all three axes. Select the rotate tool available in the toolbox and select the object you need to rotate. Now you will notice four rings color coordinated to XYZ axes. A virtual sphere is also displayed along with the rings. You will know the selected ring by the change in color. To perform constrained rotations, use X, Y, and Z rings. To rotate according to the view, use the outer ring. When you start rotating the object, the application rotates it based on its bounding box. You can use the snap option to rotate it in fixed increments. E.g., if you set the rotation degree to 15, you can easily rotate the objects in order of 30, 45, 60, and 90-degree positions for better symmetry. The snapping can only be used from the manipulator’s axis handle.
4. Scale Tool
Utilize the scale tool to alter the dimension of the items by scaling uniformly in each of the three measurements. You can likewise scale unevenly in one dimension at any given moment. Snap the scale tool symbol in the tool compartment and choose the item you need to scale. Maya shows a scale controller comprising four handles.
5. Insert Edge Loop Tool
The insert edge loop tool is one of the essential tools available in Maya for modeling. Using it, you can create a continuous subdivision (edge loop) in your mesh, thereby increasing its resolution.
6. Crease Tool
The crease tool is used to harden or smoothen the polygonal mesh by modifying it. It works by creasing the edges and vertices of a polygon mesh. However, it does not affect the resolution. You can go to the option from the mesh tools. There is also an easy shortcut key for the crease tool: Shift + right-click an object.
7. Sculpting Tool
As the name suggests, the sculpting tool allows you to sculpt digital surfaces in 3D, similar to clay sculpting. The process is similar but replaces the clay with the Polygon. There are multiple sculpting options available from the sculpting tool options available under the mesh tools.
8. Quad Draw
Helpful in creating topology meshes; users can model naturally. It offers a streamlined and straightforward workflow. While manually making clean meshes, you can retain the reference surface.
9. Create Polygon
You can use this option to create the Polygon if you need to generate individual polygons. You can create new polygons by inserting vertexes from the scene view.
9. Soft Modification Tool
This tool lets the user push and pull geometry. The standard setting, by default, has the maximum deformation amount at the center of the push/pull. The amount decreases away from the center. You can set the deformation level to create different effects based on your needs. You can use this tool in polygons, NURBS, arches, particles, or any component items.
10. Show Controller Tool
You can use this tool to modify the building history of a process or attribute qualities to an object. It is used to know about the input node of a created item. There will be multiple manipulators accessible at a time. It is an effective way to know the construction history of a particular object you need to work on.
Conclusion
This article has discussed the useful tools available in Maya to create objects and characters with the desired features. If you are a beginner in Maya, using each tool individually and knowing its features better is recommended. Depending on the nature of the work, the usage of tools varies. Pick the most relevant tool for creating the required effects and properties. You can also refer to online tutorials and resources for further information or help with any Maya tool.
Recommended Articles
This has been a guide to Maya Tools. Here we discuss the basic concept and the top tools of Maya needed for modeling. You can also go through our other suggested articles to learn more –

