Updated August 25, 2023

Introduction to Photoshop split toning
Split Tone is a type of effect through which you can look at your image by adjusting the complementary color of the Color wheel or Color scale. Split means dividing something into two parts, so here in Photoshop, we will use this effect to adjust Tint and shadow on our image. You will get your chosen color tone on the tint area of the image, and the complementary color of that chosen color tone will work on the shadow area of that image. We can split toning in Photoshop through many methods such as Camera Raw Filter, Curve adjustment, Solid layer adjustment, Gradient Map, and some other options. So let us discuss these methods.
How to get the Split Tone Effect in Photoshop?
In this article, we will understand this effect by using different methods of color toning through different examples. So let us start our discussion, but before starting, we must look at the working screen of this software to better understand this topic.
At the top of the user screen, we have a Menu bar with different menus such as File, Edit, Image, Layer, and other important menus. Below this menu bar, we have a Property bar of active tool or image for making different adjustments in their parameters during our work. Below this Property bar, we have three sections such on at the left side, we have the Tool panel, which has a different type of tools, at the center of this section, we have a Document window in which we can see our work, at the right side we have some important tabs such as a layer, color, swatches, and many more. We can adjust all these panels and sections as per our choice from the window menu of the Menu bar.

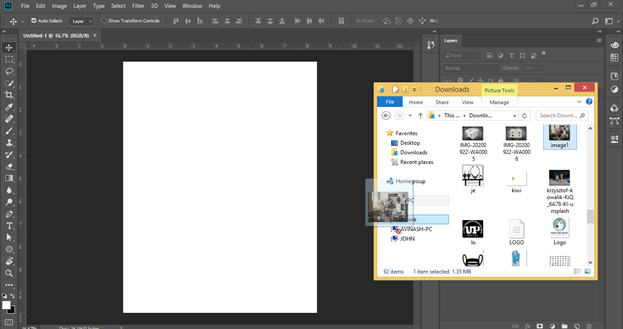
For learning about this topic, let us have an image in this software. For having an image, go to that folder where you have saved your image, then pick it from there and release it in the document area of this software. You can have your own image or take it from the internet for this learning.
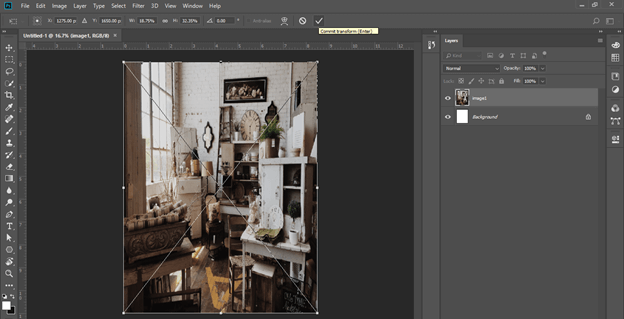
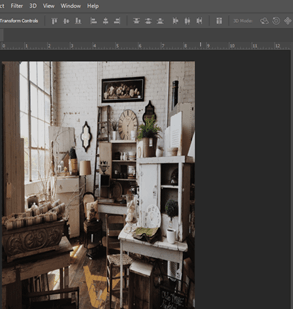
Adjust the size of the image as per your choice and make click on the Commit button on the property bar of this image or hit the Enter button.
Let us now discuss some methods one by one.
Split Toning by Using Camera Raw Filter Option
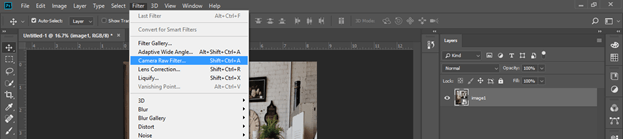
The first method is the Camera Raw Filter. For this method, go to the Filter menu of the Menu bar and choose the Camera Raw Filter option from the drop-down list.
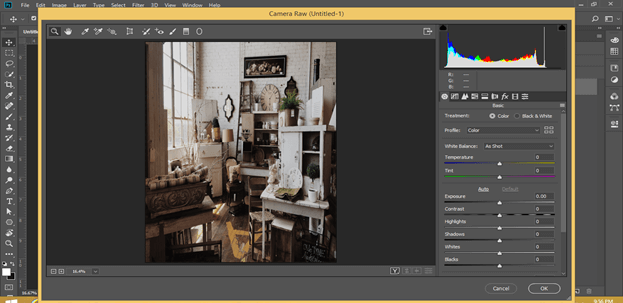
A popup window of the camera’s raw option will open.
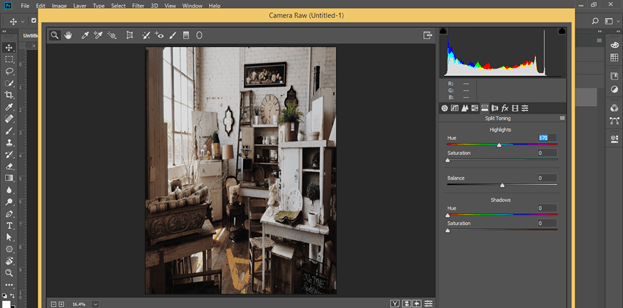
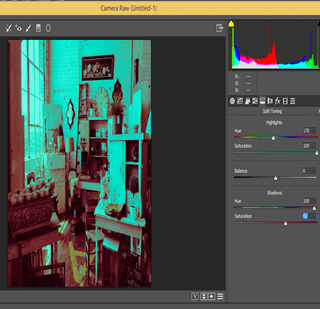
Click on the Split Tone button of this dialog box.

Here you will get the Hue and Saturation scale for Highlights and Shadow in Split Toning option. Take any color tone on the Hue scale as per your choice. I will enter 170 values for my desired color tone.
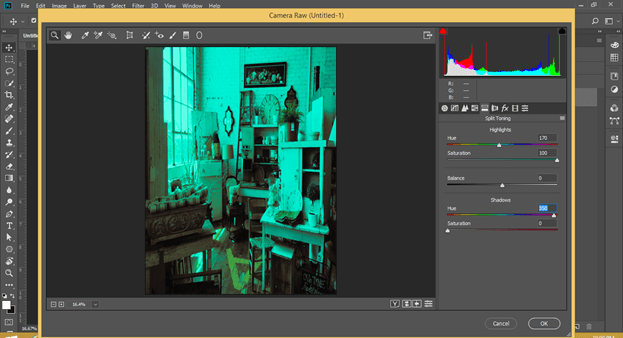
Now set the value of Saturation as 100, or you can take it according to you.

On the color wheel, the complementary color of any chosen color will lie on the 180 degrees opposite to it. So add 180 into the value of your chosen color that is 170. Now we will get a value of 350 for Hue of Shadow that means the complementary color of our chosen color will lie at 350 degrees on the color wheel.
Now adjust the saturation value of shadow as per your choice.
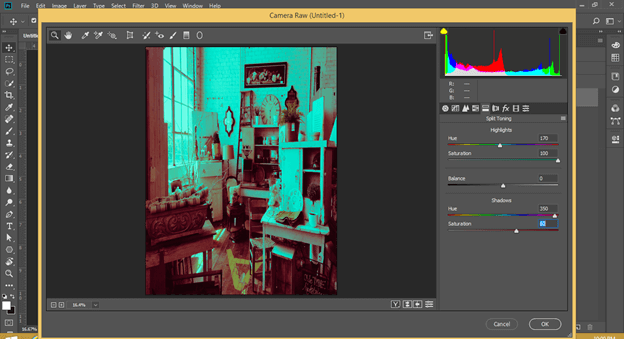
Now you can check the effect on your image after split toning. The shadow area of the image has the color tone of the shadow value of this option, and the tint area has the color tone of the Highlight color. You can find the difference between color tone on the image before split toning and after split tone here.
The next method is:
Split Toning by using Solid Color Adjustment Layer
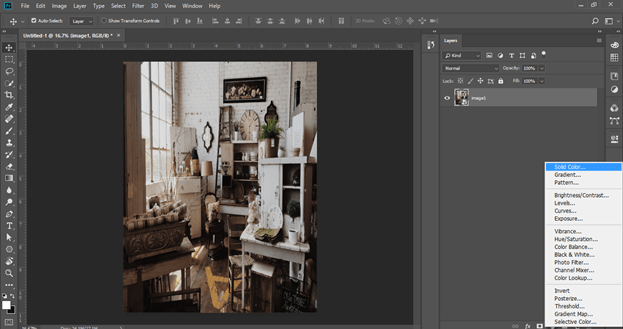
Now let us move to our second method, which is by using the Solid Color adjustment layer. Go to the bottom of the layer panel of this software and click on the Adjustment layer button. Choose the Solid color option from the list.
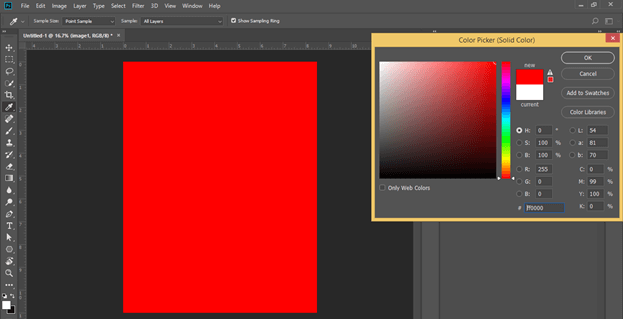
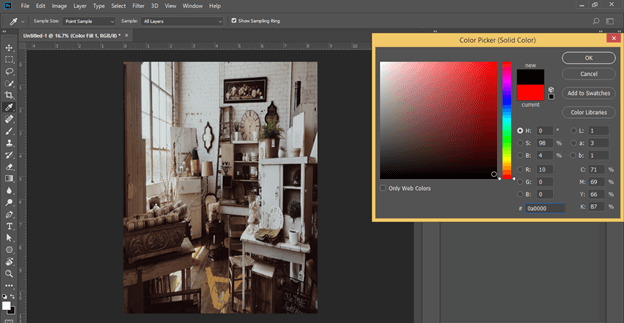
Now choose your desired color from the color scale as a solid color. Choose a brighter or darker tone of that color from the color scale. I will choose a lighter tone of this red color.
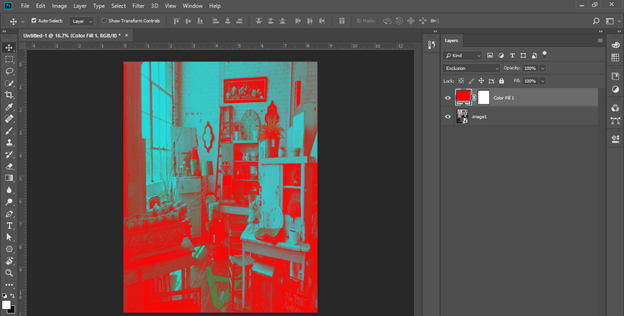
Now go to the blending mode option of this layer and choose the Exclusion option from the drop-down list of blending mode options.
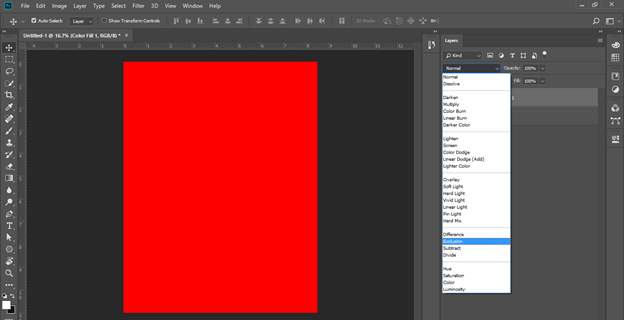
Now you will get this type of effect that converts the tint area of the image into Highlights and shadow area into the complementary color of your chosen color.
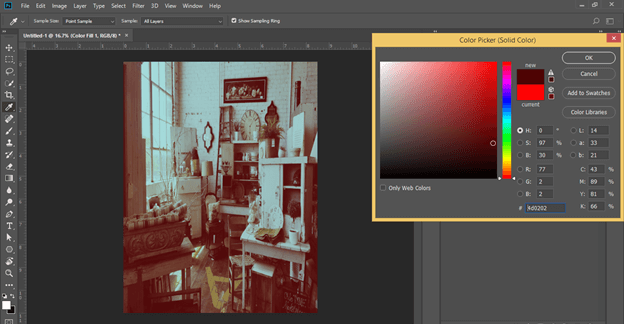
If you choose a darker tone of any color, you will see the effect.
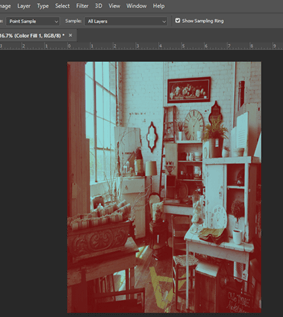
And when you go toward the lighter tone of the chosen color, you can see the effect by and by going closer to the lighter tone. So choose a little bit of a lighter tone than a darker tone for a better split tone effect.
Now you can compare both images.

The next method is:
Split Toning by using Gradient Map
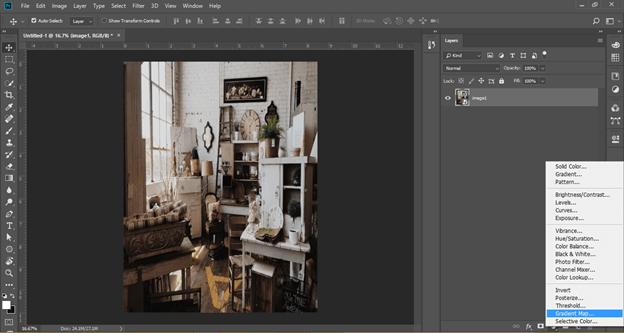
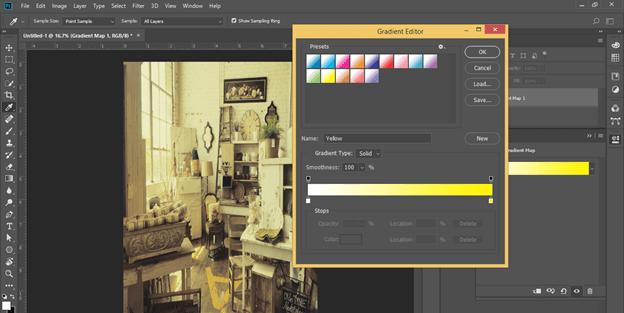
Now let us discuss the next method of split toning, which is by using Gradient Map. For this method, go to the bottom of the Layer panel of this software and click on the Adjustment Layer button. Choose the Gradient Map option from the list.
If you have less gradient Editor Presets in the gradient box, then you can choose more from this list.
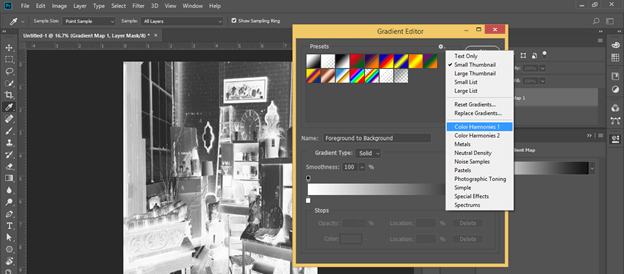
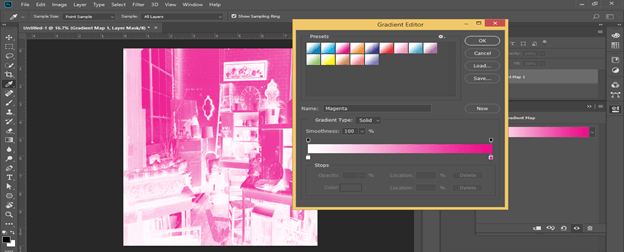
I choose the Simple option from the list. Now choose any color gradient from here. Here on the gradient scale, we have shadow color on the left side, and on the right side, we have highlights’ color.
Now go to the blending mode option and choose the Soft Light option from the list.

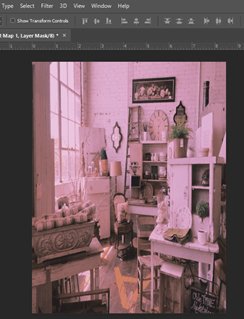
And you will get a beautiful split tone effect on your image like this.
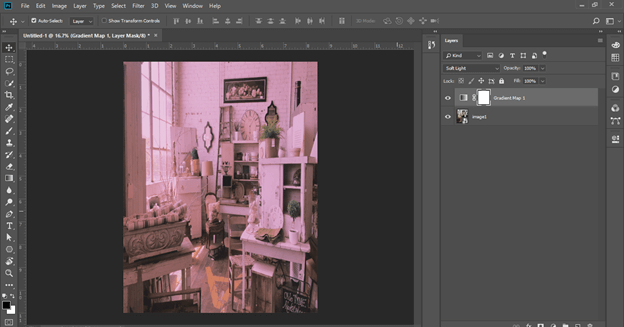
Compare both images.

You can change the color of the gradient at any time of your work.
In this way, you can use this effect in Photoshop.
Conclusion – Photoshop split toning
After this article, you can understand what the Split Tone effect is in Photoshop and how you can get this effect on any image to give it a different look. You can go with any of the methods which we have discussed above as per your choice.
Recommended Articles
This is a guide to Photoshop split toning. Here we discuss How to get the Split Tone Effect in Photoshop and how you can get this effect on any image for giving it a different look. You may also have a look at the following articles to learn more –
