Updated August 25, 2023
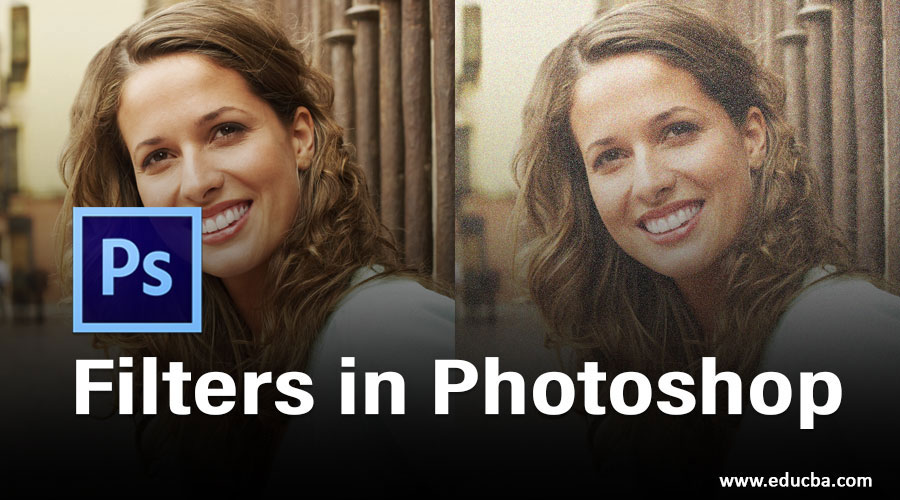
Introduction to Filters in Photoshop
Adobe Photoshop is a special type of editing software, which works with raster images. It is one of the media software developed by Adobe Inc. Presently, Adobe Systems maintain it, and they included it in the package of Creative Cloud app. We have many different types of editing tools in Photoshop software. Filters are one of them, which helps in making a special type of texture, patterns, and many other things without using any other editing tools. The filter has its own identity in this software. So here in this article, we will discuss the features and works of Filters in Adobe Photoshop Software.
Before starting our article, we should have good interaction with the interface of this software for better handling of this software. In this software, we have a Menu Bar, Property Bar of the active tool, Tool Panel, Color, and Layer section in its user interface.
How to Use Filters in Photoshop?
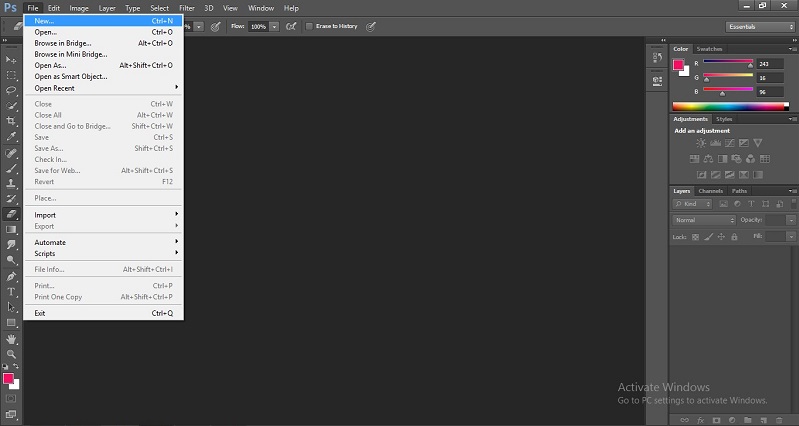
Step 1: First of all, take ‘New document’ as a background layer. For New documents, go to File Menu of Menu Bar. A dropdown list will be open; click on the ‘New’ option for ‘New document’.
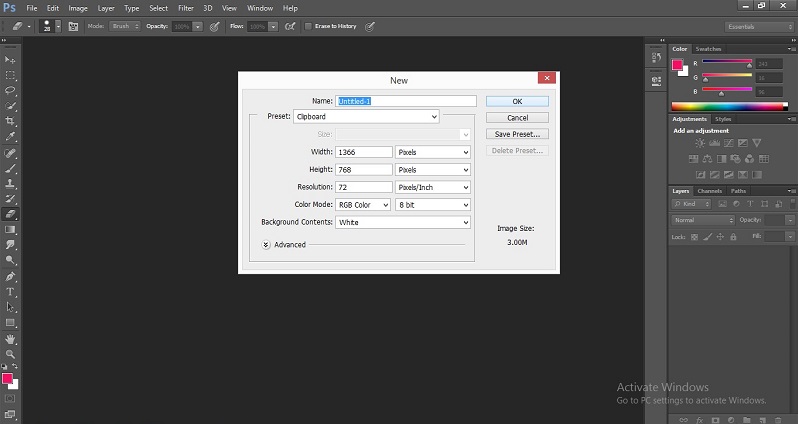
Step 2: A dialog box will be open. Change the setting of the document according to you and click on the OK button of this dialog box with the mouse button.
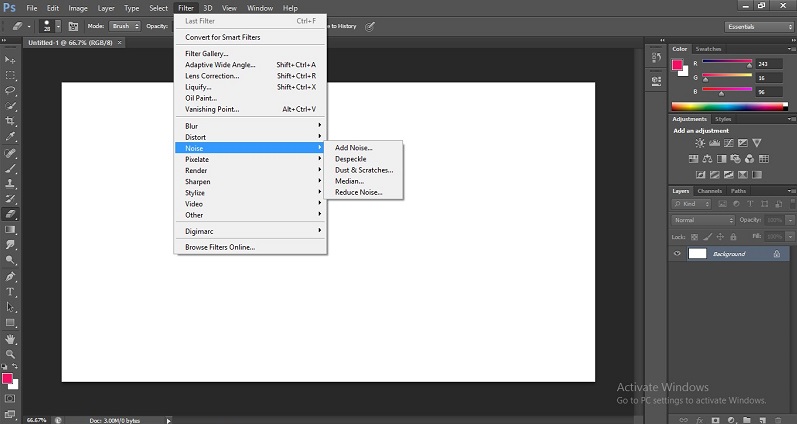
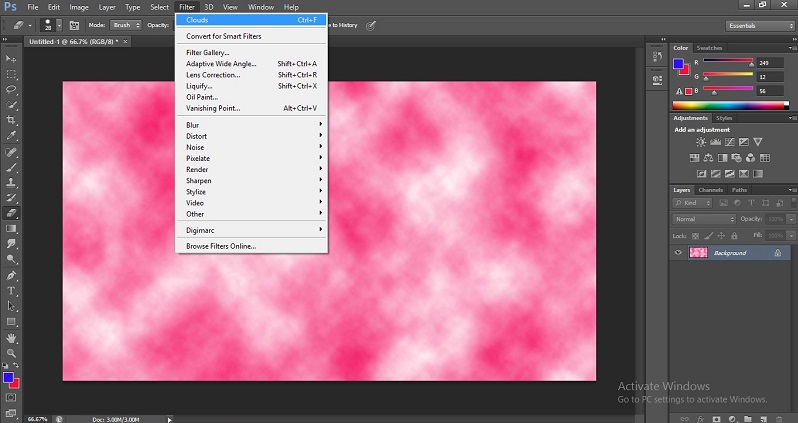
Step 3: Now, we will move to the ‘Filter’ option on the Menu Bar. Click on the Filter option to open a dropdown list. There are many types of Filters on this list. We will see some of them for a better understanding of the Filter Menu.
Step 4: First of all, we will see the Cloud filter.
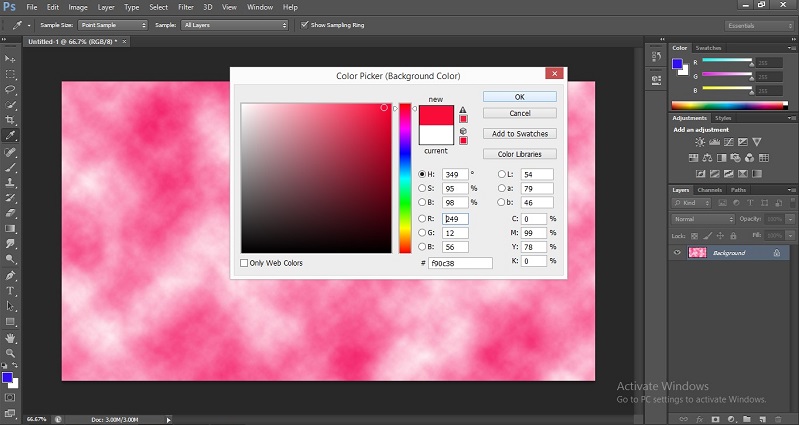
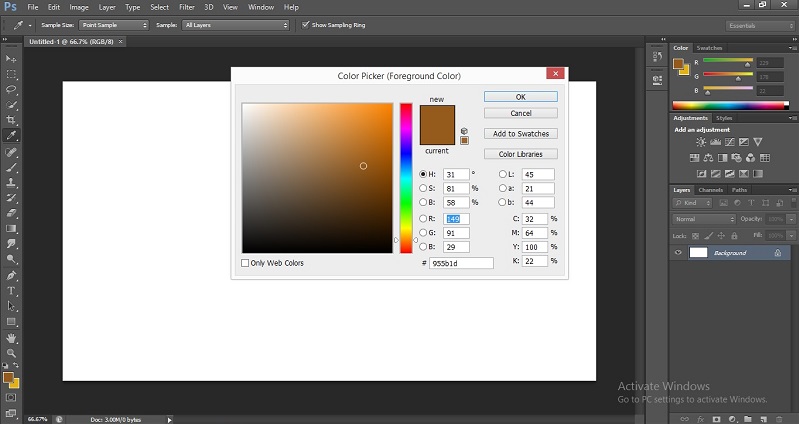
Step 5: In the Cloud filter, we use two colors, so click on the Color box, which is at the bottom end of the toolbar.
Step 6: Or click on the color box of the Color section.
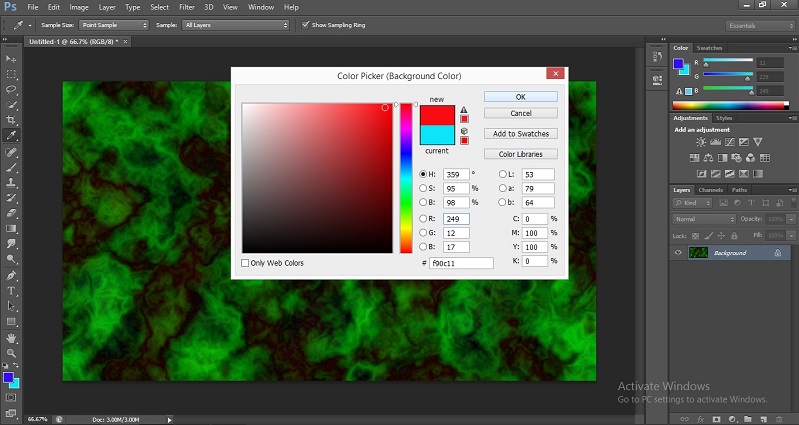
Step 7: A color panel box will be open; choose the first color from here. Select the next color box again. The dialog box will be open. Choose the second color from here.

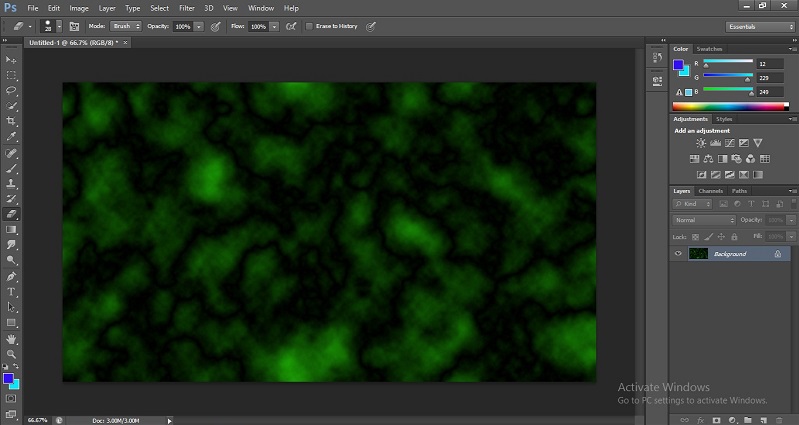
Step 8: Now click on Filter Menu and go to the Render option in the dropdown list and then select the Clouds option of the next dropdown list.

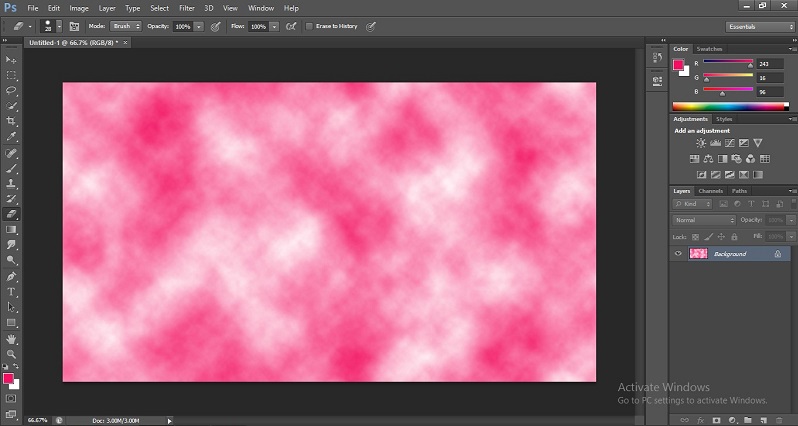
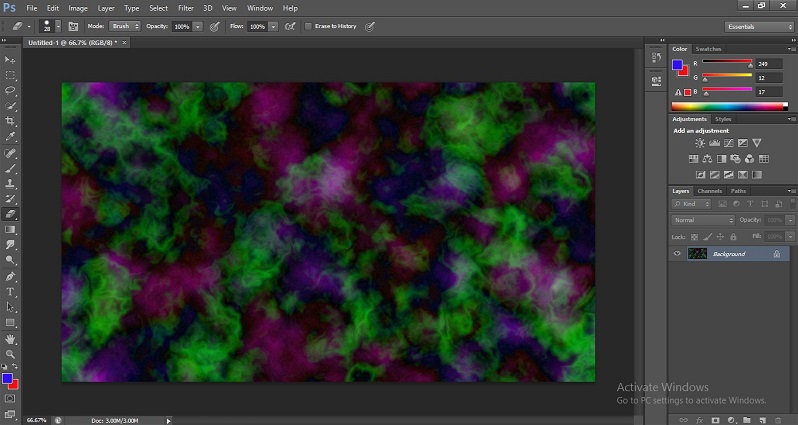
Step 9: Once you click on the Cloud option, it will create a texture like this.
Step 10: Go to the Filter menu again and click on the Clouds option at the top of the drop-down list. In this drop-down list, you can see the last used filter at the top of the list, Or you can press Ctrl+F keys on the keyboard to re-apply the last used command.
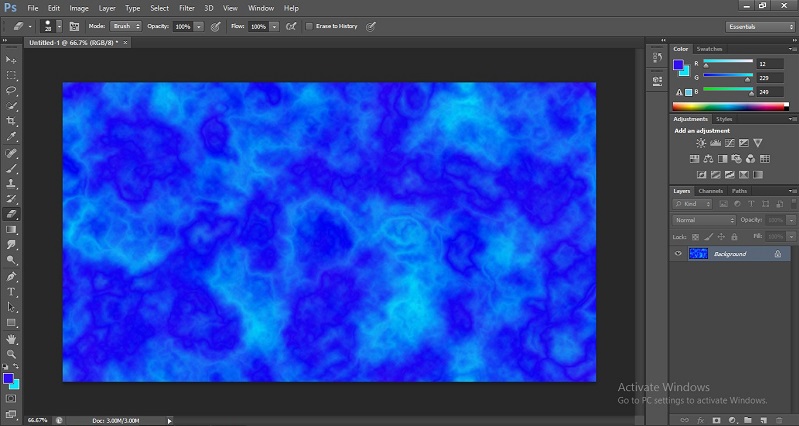
Step 11: You can press Ctrl+F keys as a last used command several times. The texture orientation will change every time you press the Ctrl+F.
Step 12: You can add more color to this cloud option. For adding the next color in it, just click on the color box as we did previously and again press the Ctrl+F on the keyboard to apply Cloud again.
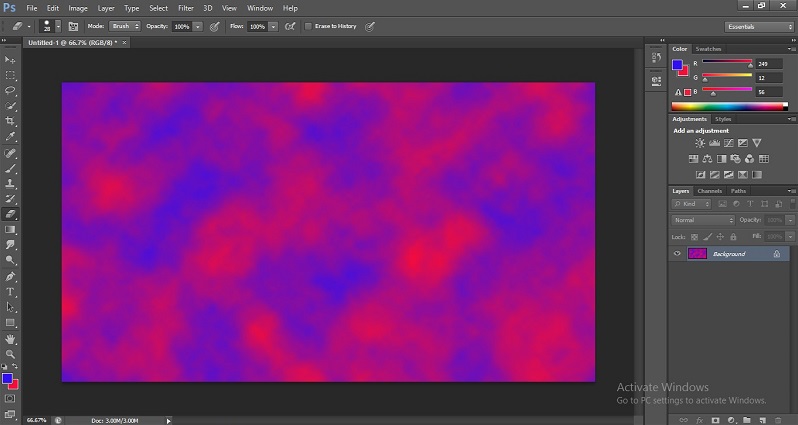
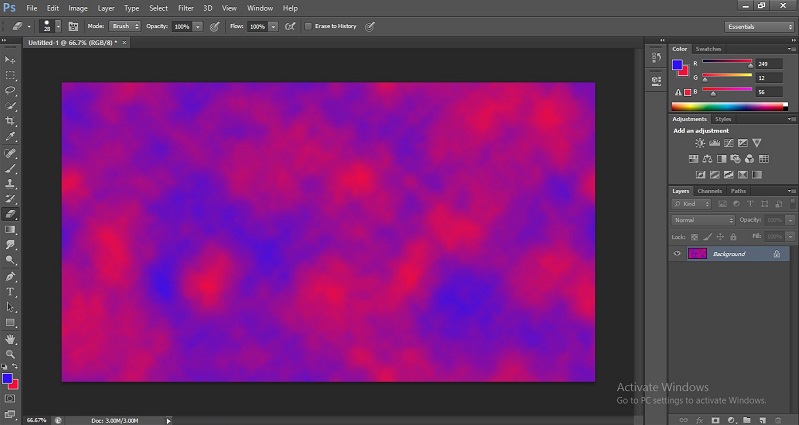
Step 13: Again, press Ctrl+F on the keyboard, and you can see the orientation is changed again. You can change it again and again and choose your desired texture.
Step 14: Again, go to the ‘Filter’ menu and go to the Render option and choose the Difference Cloud option from here.
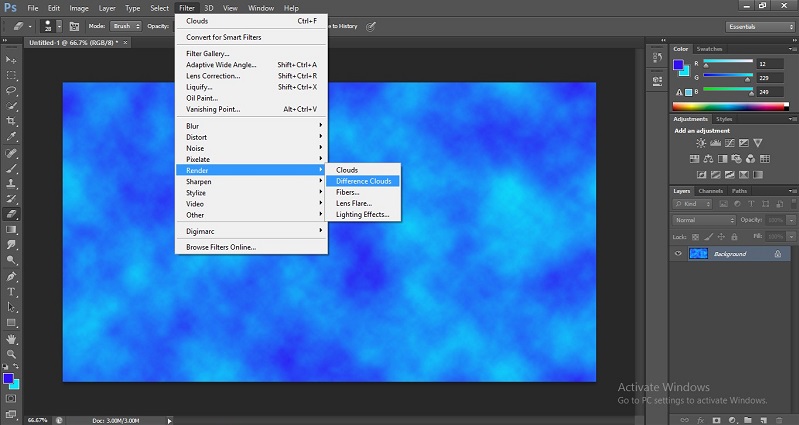
Step 15: Difference Clouds is an option that shows the difference between the two selected colors.
Step 16: Now, when you repeated the previous command by pressing Ctrl+F, you will see a change in orientation of the cloud, and again when you press this short cut you will see the Difference Clouds effect of different orientation. In short, you will see the alternate change of orientation of both filters.
Step 17: For example, the first time when you press Ctrl+F, Cloud orientation will appear.
Step 18: Now, for the second time, also when you press this shortcut, Difference clouds orientation will appear.
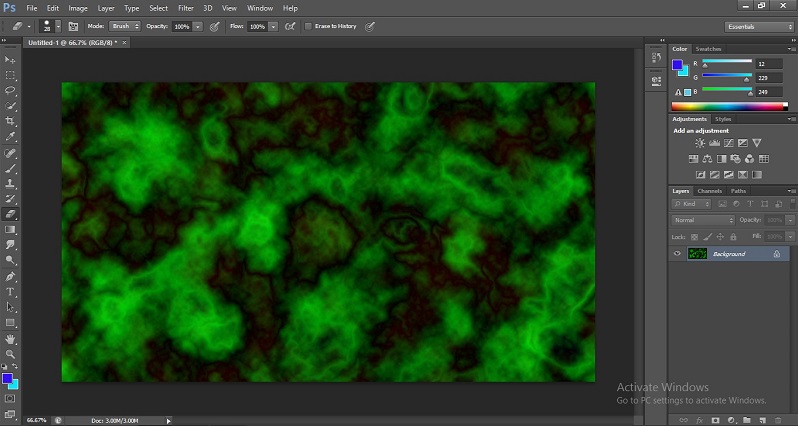
Step 19: Now add another color to the cloud difference filter.
Step 20: The difference in the cloud’s texture will become like this.
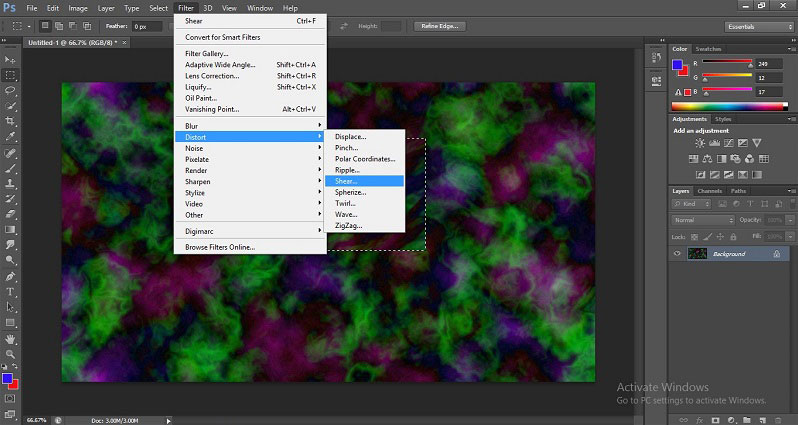
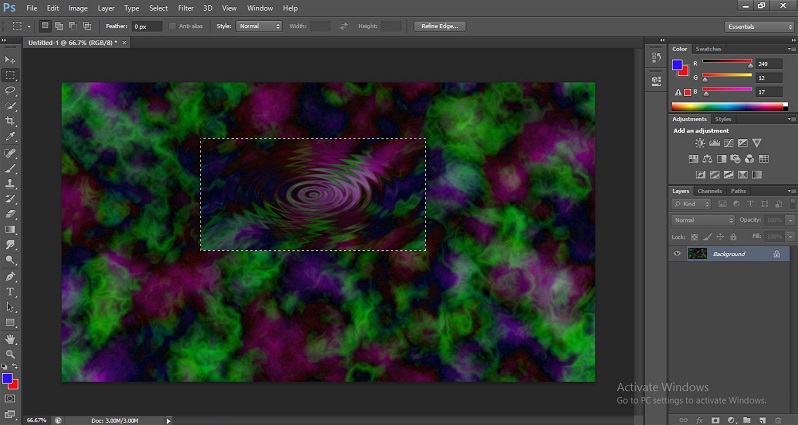
Step 21: Now, take the Rectangle selection tool from the tool panel and select an area on this texture for using the next filter.

Step 22: Here, we will see the next filter that is Distort. Go to the Filter menu and go to the Distort option of the drop-down list and choose the Shear option from the next drop-down list.
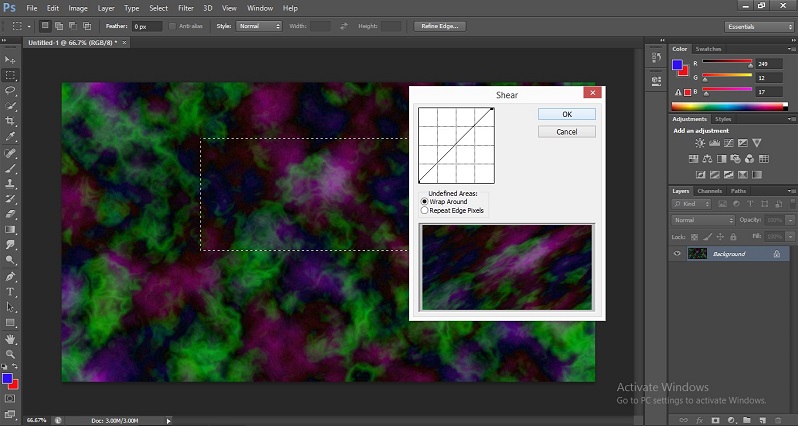
Step 23: Set the Shear angle from the open dialog box of shear.
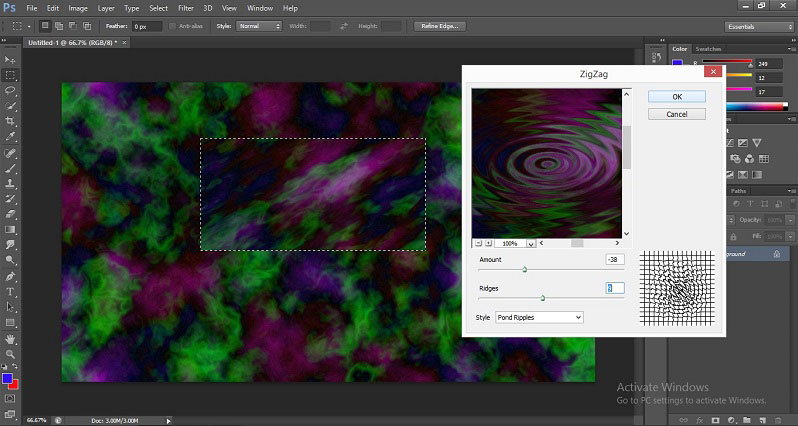
Step 24: Like Shear, you can choose another distort shape from the options of the distort drop-down list.
Step 25: You can separate the distort texture in a separate layer. For making the Separate layer, just press Ctrl+J.

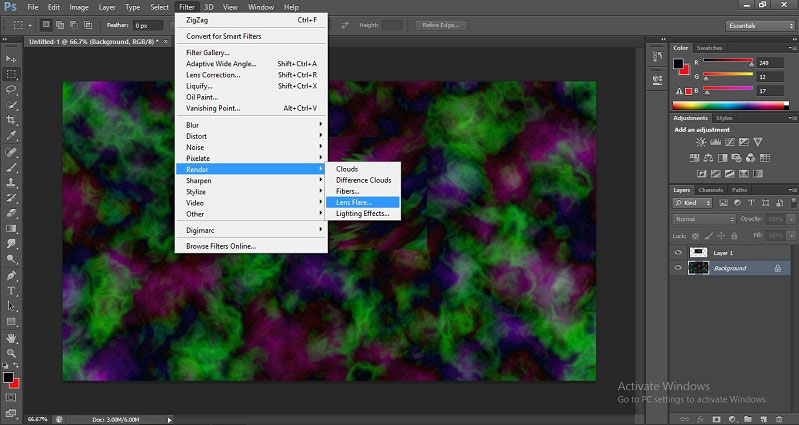
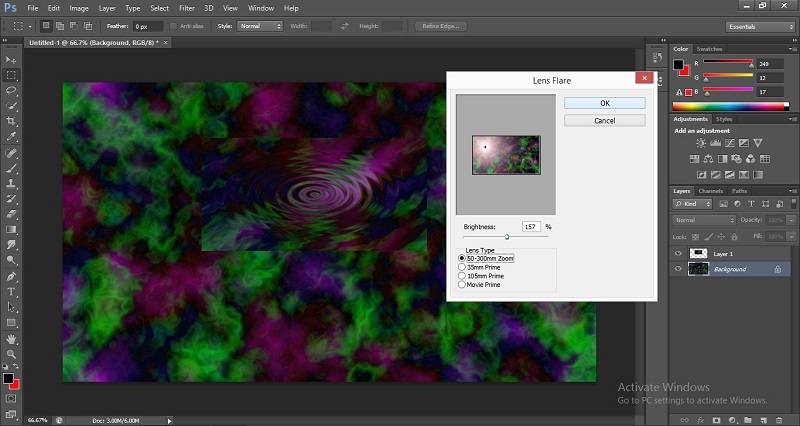
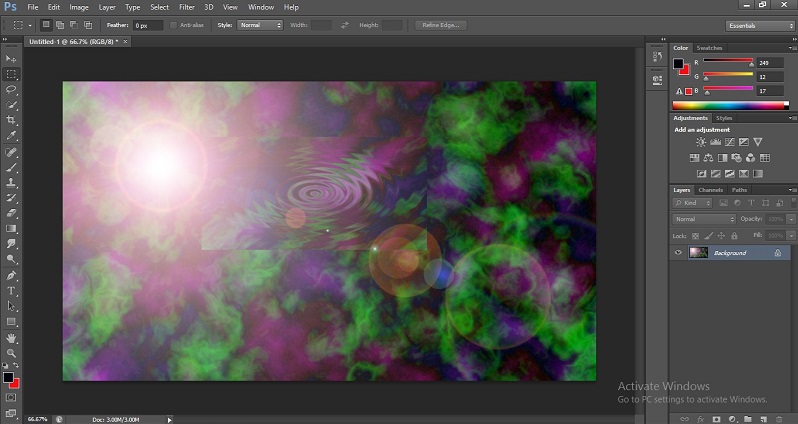
Step 26: Next, we can add light effects to our texture. For light effect, go to render option of Filter Menu and choose Lens Flare option from here.
Step 27: Adjust the direction of the light from where you want to drop the light effect in your texture.
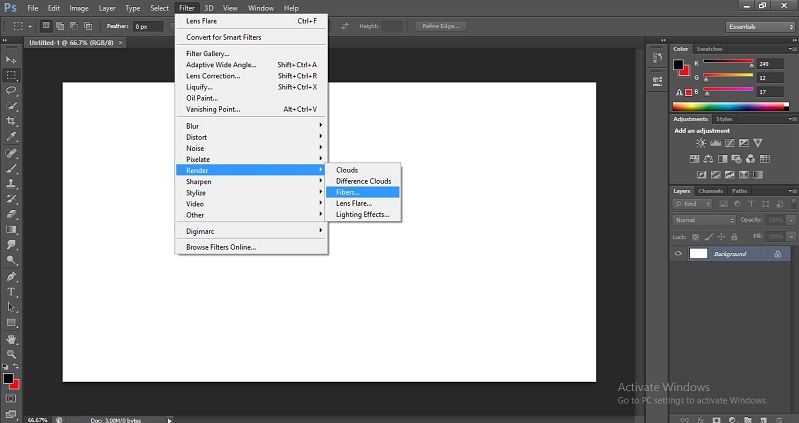
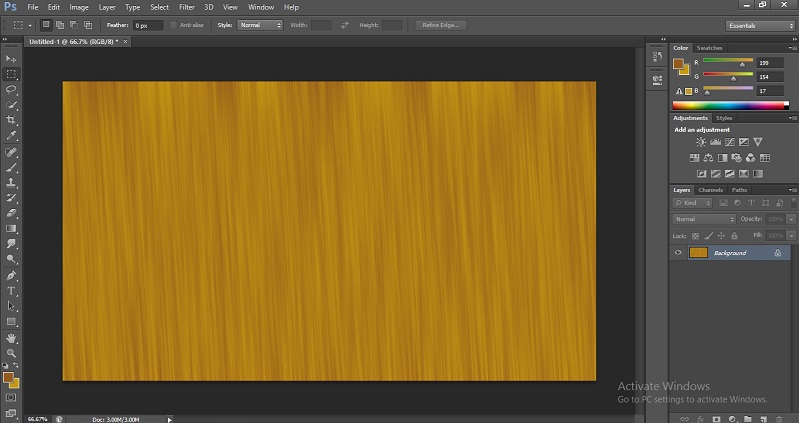
Step 28: The next Filter is Fiber. Choose again two colors from the color boxes.
Step 29: Go to the render option of the Filter Menu and choose the Fiber option from the next drop-down list.
Step 30: A dialog box of Fibers will open. You can change the Variance and strength of texture from here, and once you are done, click the Ok button of this dialog box.

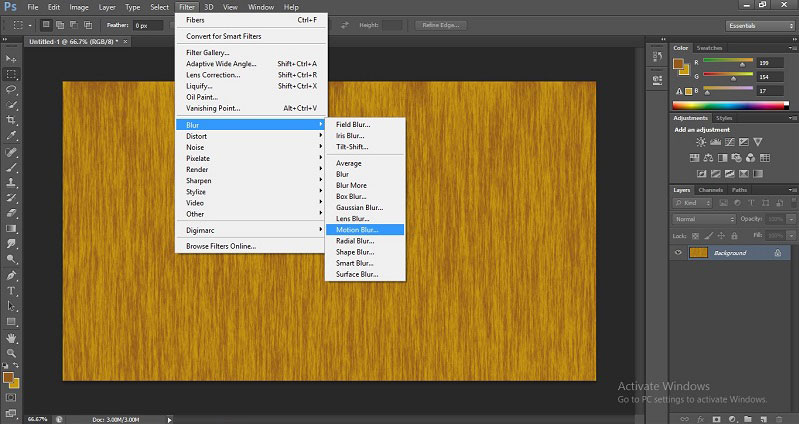
Step 31: For applying smoothness in your texture, we will use Blur Filter. Go to the ‘Filter’ menu and go to the Blur option in the drop-down list and again click on the Motion Blur option of the next drop-down list.
Step 32: A dialog box of Motion Blur will open. Set the angle of the option as 90 degrees.
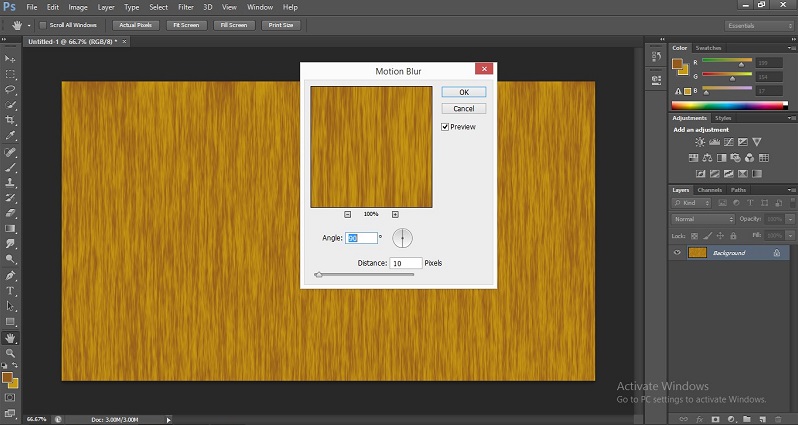
Step 33: For smoothness, increase the data of the Distance option and click the Ok button of this dialog box to apply the settings.

Step 34: You can again change the direction of the angle like this.

Below is the final image.
In this way, you can use the Filters in your project.
Conclusion
After this article, you can use Filters in your project very easily without any problem. With Filter, you can save your time and make your work in a more easy way than with any other tools of this software. Once you have a good command on Filters, preparing a project with perfection becomes an easy task for you.
Recommended Articles
This is a guide to Filters in Photoshop. Here we discuss the Introduction and how to use filters in photoshop along with its steps. You may also look at the following articles to learn more –
