


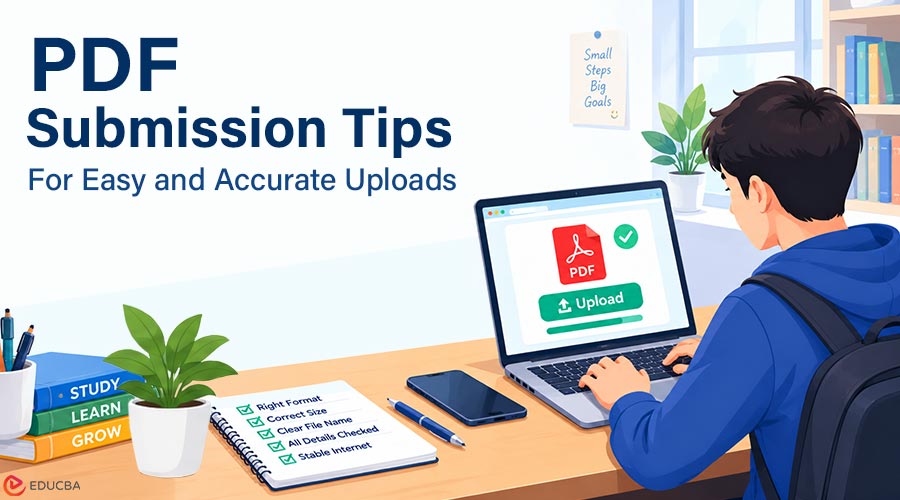
The essay is finished. The references are in place. Then the submission portal rejects the file, the pages appear out of order, or the attachment turns out to be last week’s draft. These problems feel especially irritating because you have already done the hard academic work. What remains is a small document task that suddenly stands between you and the deadline. Following a few practical PDF submission tips can make these final minutes easier.
You do not need a complicated system or a different app for every assignment. You need a few habits that help you choose the right format, assemble the right pages, and check the result before sending it. Here are seven worth building into your next submission.
7 Essential PDF Submission Tips Every Student Should Follow
Preparing a document for submission involves more than saving it as a PDF. From checking assignment instructions to confirming the upload, these PDF submission tips can help students avoid common mistakes and submit their work confidently.
1. Read the File Instructions Before You Start Formatting
Submission instructions often specify more than a deadline. They may require one PDF, a particular filename, a maximum file size, or separate attachments for the main paper and supporting material. Read these requirements while there is still time to change the document. Write a short checklist beside your working file. For a lab report, that might mean a cover sheet, the report itself, results tables, and an appendix in one document.
For an application, it might mean several individual files. Follow the actual instructions rather than assuming the same arrangement works everywhere. This early check also prevents unnecessary work. If the portal wants a Word document, converting everything to PDF creates another step without solving a problem. Let the receiving system decide the delivery format; your preferred writing tool can remain where you create and revise the content.
2. Keep an Editable Original and a Separate Submission Copy
A PDF is useful for delivering a document with a stable layout. Your editable file is useful for changing it. Keep both, and give them names that make their roles clear. A folder containing Essay_Working.docx and Essay_Submission.pdf is easier to navigate than several files named final. Create the submission copy after the last content review. If you correct a sentence later, update the original and export again.
Otherwise, you can end up with one correction in the PDF and a different correction in the source document. Avoid treating a screenshot of a page as a substitute for the page itself. When possible, export from the application that created the document. A text-based PDF is usually more convenient to search and copy from than a collection of page images. If an image scan is required, check that it is clear and complete.
3. Assemble Supporting Pages in the Order a Reader Expects
Think of a submission as a short reading journey. The cover sheet introduces the work, the report explains it, and the appendix supports it. Put the pages in that sequence before uploading. A pile of individually correct files can still become a confusing final document. A browser toolkit such as PDFVerge brings merging, splitting, compression, and document conversion into one place. Its site lists free tools that do not require sign-up.
That can be useful when a course asks for one PDF, and your materials began as separate documents or images. Choose the tool for the particular task rather than converting files repeatedly. After assembling the document, inspect the page thumbnails and open the transition between sections. Watch for duplicated cover pages, an appendix placed before the conclusion, or a scan that faces sideways. Those mistakes are easier to catch in the combined file than in a folder of separate attachments.
4. Reduce File Size with Readability in Mind
If a portal has a size limit, check the finished file against that limit before the deadline. Photographs and scanned pages can make a document much larger than a text-only report. Remove unnecessary images or empty pages first, then compress a copy if needed. The goal is a file the portal accepts, and the assessor can read. Open the compressed file and zoom in on small labels, equations, citations, and handwritten notes.
A document that uploads successfully but turns a chart into a blur has not solved the practical problem. Keep the original quality version. If one compression setting produces poor results, try a less aggressive setting or adjust the source images. Do not repeatedly compress the same output and assume each pass will preserve the information equally well.
5. Send Only the Pages the Assignment Actually Needs
A shared course pack may contain twenty pages even when an exercise asks for three. An application bundle may include information that belongs in a different upload field. Extracting the relevant pages helps the recipient find what matters without searching through unrelated material. Check the assignment’s requirements before removing anything. A rubric, signed declaration, or supporting table may be mandatory even if it seems unimportant.
Keep a complete original and make a separate delivery copy with only the required pages. Be careful with personal information in scans. A receipt or form can include details outside the area you intended to submit. Removing a page is different from securely redacting information on a page. If you must remove something sensitive, use a proper redaction process and check the result rather than covering it with a decorative shape.
6. Test the Document From the Recipient’s Point of View
Close your editing application and open the exact file you intend to upload. Start at page one and move through it in order. Look for missing fonts, blank pages, clipped tables, and hyperlinks that lead somewhere unexpected. A phone preview is useful for spotting very small text, though it does not replace the formatting rules for your course. If your document contains selectable text, try searching for a phrase.
If it contains scans, make sure the page edges and important details remain visible. This is also the right moment to check the content basics: your name where required, the correct module, the assignment title, and the reference list. Treat this as a delivery check, separate from proofreading. You are confirming that the version leaving your computer is the version you intended to send.
7. Keep Evidence of What You Submitted
After uploading, use the portal’s preview or download option if it provides one. Confirm that the attachment is correct and that the submission status changed as expected. An uploaded file sitting in a draft area may still need a separate submission step. Save the confirmation message or receipt alongside the delivered file. Use a simple name that includes the assignment and submission date.
If you later need to discuss a technical issue, you will know which document was sent and when. For group assignments, agree who submits and who checks the receipt. Explicitly sharing that responsibility is more reliable than assuming someone else completed it. One person can upload while another checks the final PDF against the requirements.
Final Thoughts
The most useful PDF submission tip is to leave a little time between finishing the writing and pressing Submit. Use that space to check the instructions, prepare one clear delivery copy, and verify the upload. The routine becomes familiar quickly, and it keeps avoidable file problems from becoming the most memorable part of an assignment.
Recommended Articles
We hope these PDF submission tips help you prepare, organize, and submit your academic documents with confidence. Check out these recommended articles for more insights and practical strategies to simplify document management and boost productivity.