Updated February 14, 2023
Introduction to Nginx Modules
Nginx modules contain its core and collection of modules, whether we are using core modules like a stream and the http or third-party modules like RMTP or the GeoIP. The nginx module framework is the same as the dynamic of additional module support. By using it, we can add additional functionality to an nginx application. Multiple customizations can be done in a configuration of basic nginx.

What are Nginx Modules?
Once we get the configuration of nginx, we can look at options such as scripting. By using the javascript module, It is offering scripting as a higher performance option for the current implementation. We can add new features and functionality by creating the modules of nginx. To make it, we need a good understanding of C programming and a better understanding of nginx internal architecture. It allows us to implement non-blocking code, and the event-based processing, which was nginx, is processed. It is beneficial and essential for adding functionality.
How to List Installed Nginx Modules?
We can easily find the installed modules in nginx by using simple commands. For example, we can use the same command to list the nginx flags. To list it, we need to run the command using root or sudo users. To list it, we need to install the nginx in our system first.
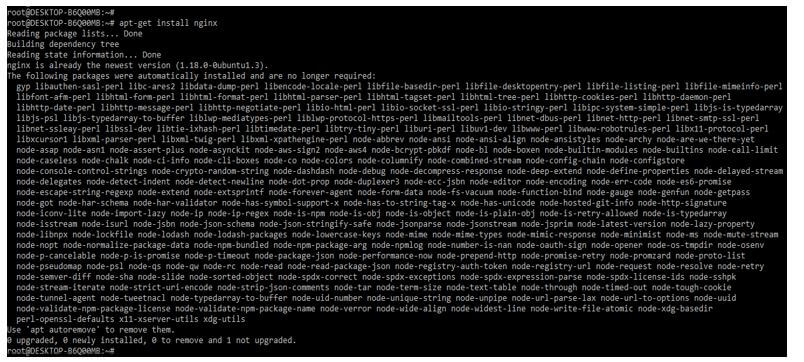
1. In the first step, we need to install the nginx server in our system. We can install the nginx server by using rpm, and source, as well as by using the binary installation. In the below example, we are installing the nginx server using the below command.
Code:
apt-get install nginxOutput:
2. After installing the server of nginx, we need to start the nginx server by using the “service nginx start” command. After beginning the nginx service, we can check the status of the service. In the below example, we can see that after installing the nginx server, we need to start the service of the nginx server; the service of nginx service is not starting automatically; we need to start it manually after installing the nginx on the ubuntu system.
Code:
service nginx start
service nginx status
Output:

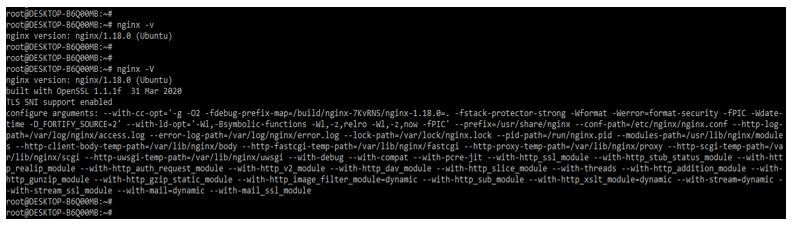
3. After starting and checking the nginx server status in this step, we list the nginx module using the following command. Basically nginx –V command is used to display the installed nginx version; also, we can use the same command to display the installed nginx module in our system. In the below example, we can see that while executing the nginx –v command, it will show only the nginx installed version, but after executing the nginx –V command, it will also show the installed version as installed modules of the nginx server as follows.
Code:
nginx –v
nginx –V
Output:
4. In the above example, we can see that we have listed all the nginx installed modules, but it will not show in a neat format. Therefore, we need to use the below command to display the installed nginx module in an excellent format. In the below example, we list all the nginx modules related to the SSL and http.
Code:

Output:
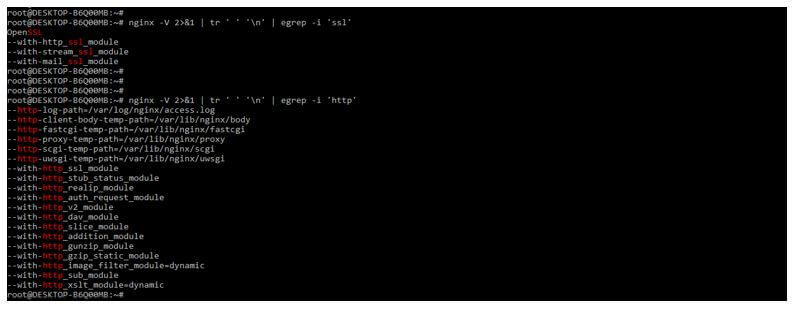
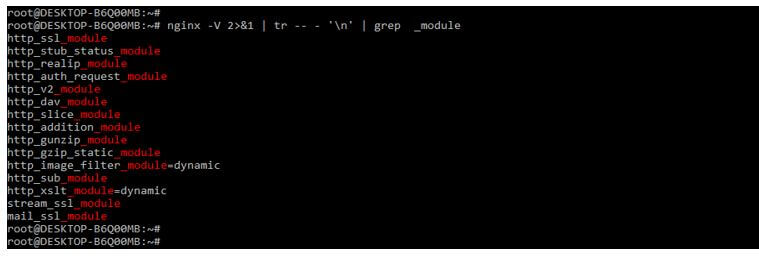
5. We can also list all the installed modules in a new line using the following ubuntu OS command.
Code:
![]()
Output:
List
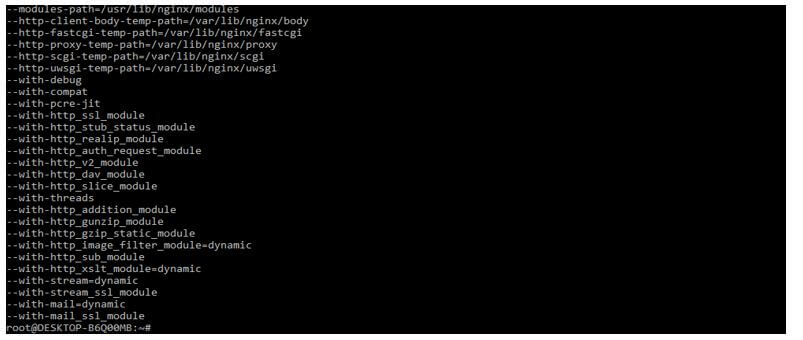
To find the list of the installed module in nginx is essential; we can get the list of installed modules by using the following command, as we know that nginx plus uses the modular architecture. We can add the new features and functionality by adding the specified modules in nginx. We can also add dynamic modules and functionality to the nginx. Once the module is created into the nginx, it is available for all developers.
Nginx maintains the repository of the module, which is dynamic. All modules in the nginx repository are thoroughly tested and certified for the correct use. Multiple third-party plugins were not included in the nginx module repository. We can compile the same by using dynamic modules. We can install it by using the package management tool, which was standard.
The below example shows how we can list all the nginx modules as follows. Below is the list of nginx modules we are using in our application. The list below shows all the nginx modules installed on our nginx server.
Code:
![]()
Output:
Nginx Modules Configure
The below steps show how we can configure the modules in nginx. To configure the module, first, we need to download the same.
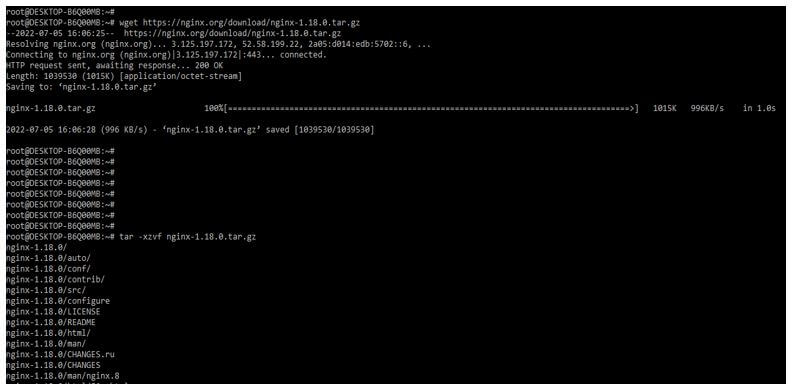
1. We are downloading and extracting the nginx package in the first step.
Code:
wget https://nginx.org/download/nginx_installed_version.gz
tar -xzvf nginx-1.18.0.tar.gz
Output:
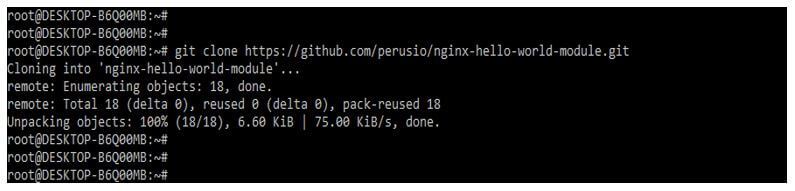
2. After downloading and extracting the packages in this step, we obtain the source of the nginx modules.
Code:
git clone https://github.com/module_name.gitOutput:
3. After obtaining the module’s source in this step, we are compiling the specified module as follows.
Code:
./configure --with-compat --add-dynamic-module=../module_name
make modules
Output:

4. For loading and configuring the module into the nginx, we need to add the below line into the configuration file.
Code:
load_module modules/module_name.so;Output:

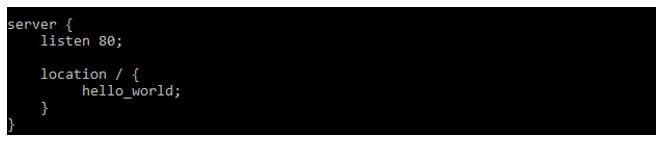
5. After loading the configuration, we add the below directive into the nginx configuration file.
Code:
server {
 listen 80;
 location / {
  module_name;
 }
}
Output:
6. Restart the nginx server.
Code:
service nginx restartOutput:

Conclusion
The nginx module framework is the same as the dynamic of additional module support. By using it, we can add additional functionality to an nginx application. For example, it allows us to implement non-blocking code, and the event-based processing, which was nginx, is processed.
Recommended Articles
This is a guide to Nginx Modules. Here we discuss the introduction, how to list installed it? And configure, respectively. You may also have a look at the following articles to learn more –
