Updated April 17, 2023
Introduction to Nginx Error_page
Nginx error_page allows us to attract the HTTP and URI code of response which was optionally replacing the code with another. At the time of setup and nginx, we need to set up an error page of custom for every error. For example, Nginx will allow us to configure our website’s custom 404 error page; this was automatically displayed on our browser when the requested URL website was not found or working correctly.
The Nginx error page allows us to display the intuitive steps of website visitors when they are not finding the page of our website. We can configure the custom error pages for various codes like 500, 502, 404, 403, etc. The default error page is opened when an error occurs in a particular environment. We can substitute the nginx error page with the customer to provide more specific instructions to the end users. To configure the error into the nginx server, first, we need to create an error page in the location, server, or http directive; this is part of the server directive.

How to Configure Nginx Error_page?
Nginx is a high-performance web server that serves content with power and flexibility. Designing web pages helps customize the piece’s content that our user sees. In addition, it will include the pages of error.
Every time an nginx will encounter an error as and attempts to process the request of the client. Each error includes the code response in a short description. Usually, the error is displayed to a user using the default page, which is simple. However, we can configure the nginx error page to display the error on our site for web users. We can achieve the same by using the directive of the nginx error page, which was used to define the URI shown in a specified error.
Optionally we can use the http status code in the response headers for sending to the client. The below steps are used to configure the error page of nginx as follows. To configure the error page, first, we need to install the nginx server in our system; in the below example, we are installing the nginx server as follows.
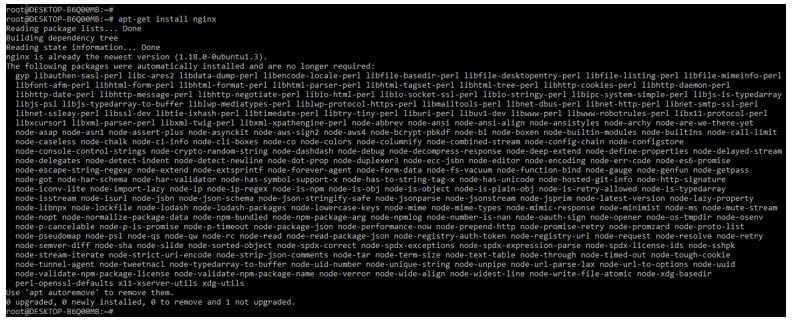
1. In this step, we install the nginx server on the ubuntu system. We are installing the nginx server by using the apt-get command.
Code:
apt-get install nginxOutput:
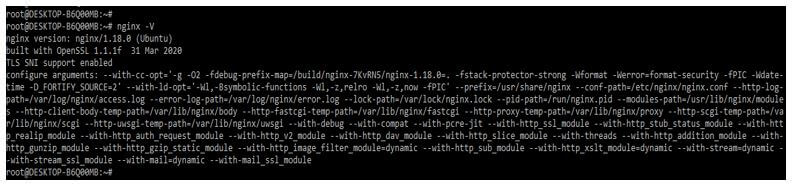
2. After installing the nginx server, we check the nginx installed version by using the following command. We can check the nginx version and the running status of the nginx server.
Code:
nginx –VOutput:
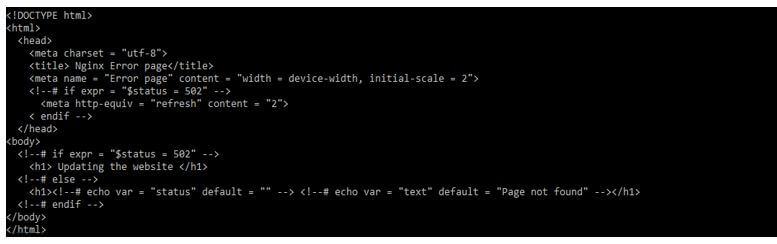
3. After installing the nginx server, we create the error page template. We are creating the file name as error.html in /var/www/default/ directive. In simple analytics, we deploy our app in a server, and then nginx will return 502 because the app will be reloading. We need to inform the users, and the page automatically refreshes every 2 seconds.
Code:
<!DOCTYPE html>
<html>
<head>
<meta charset = "utf-8">
<title> Nginx Error page</title>
<meta name = "Error page" content = "width = device-width, initial-scale = 2">
<!--# if expr = "$status = 502" -->
<meta http-equiv = "refresh" content = "2">
<endif -->
</head>
<body>
<!--# if expr = "$status = 502" -->
<h1> Updating the website </h1>
<!--# else -->
<h1> <!--# echo var = "status" default = "" --> <!--# echo var = "text" default = "Page not found" --></h1>
<!--# endif -->
</body>
</html>
Output:
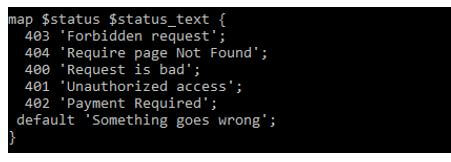
4. After creating the error page template, we need to map the text to work with the http directive.
Code:
map $status $status_text {
403 'Forbidden request';
404 'Require page Not Found';
400 'Request is bad';
401 'Unauthorized access';
402 'Payment Required';
default 'Something goes wrong';
}
Output:
5. After mapping the nginx error page now, in this step, we are rebooting the nginx server to take the effect of the parameter. Before restarting the nginx server, we execute the nginx –t command to check the nginx configuration file is not contain any error.
Code:
nginx –t
service nginx restart
Output:

Creating Your Custom Nginx Error_page
We will make our custom pages for the demonstration. But the custom pages are different.
Below steps shows how to create the customs nginx error_page as follows:
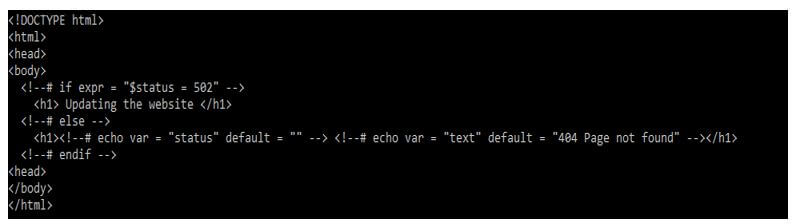
1. In the first step, we create the custom html file to define the nginx custom web page.
Code:
<!DOCTYPE html>
<html>
<head>
<body>
<!--# if expr = "$status = 502" -->
<h1> Updating the website </h1>
<!--# else -->
   <h1><!--# echo var = "status" default = "" --> <!--# echo var = "text" default = "404 Page not found" --></h1>
<!--# endif -->
<head>
</body>
</html>
Output:
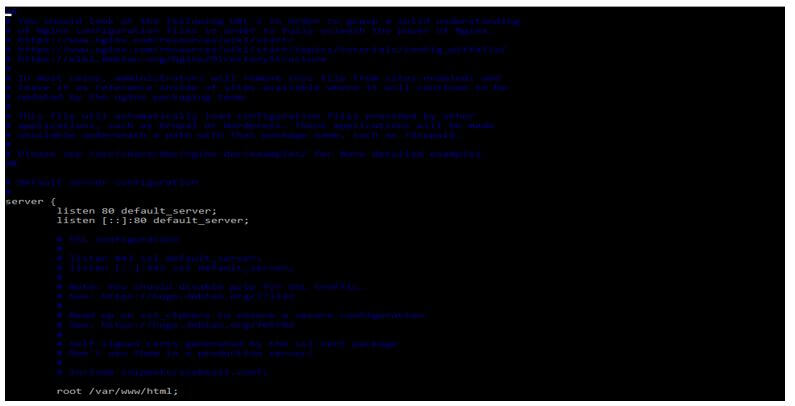
2. After creating the custom html file, we need to tell the nginx server that we were utilizing those pages when the error occurred. We need to open the server block file into the directory of nginx; we are opening the block file of the server.
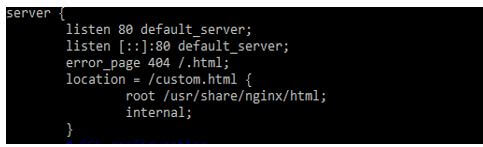
3. After opening the file, we add the error page directive while a 404 error will occur on the custom page created and served. We are adding the following line to the server block.
Code:
error_page 404 /.html;
location = /custom.html {
  root /usr/share/nginx/html;
  internal;
}
Output:
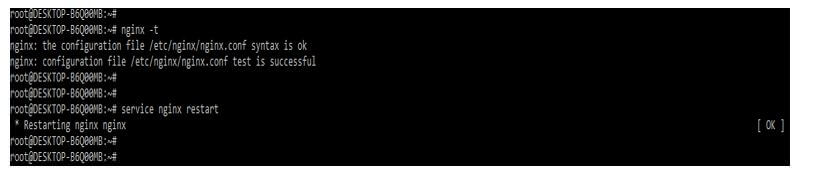
4. After adding the directive in this step, we reboot the nginx server to take the effect of the parameter. Before restarting the nginx server, we execute the nginx –t command to check the syntax error.
Code:
nginx –t
service nginx restart
Output:
Conclusion
To configure the error into the nginx server, first, we need to create an error page in the location, server, or http directive; this is part of the server directive. Nginx error_page allows us to attract the HTTP and URI code of response which was optionally replacing the code with another.
Recommended Articles
This is a guide to Nginx Error_page. Here we discuss the introduction, how to configure nginx Error_page? and create your custom nginx Error_page. You may also have a look at the following articles to learn more –
