Updated May 16, 2023

Introduction to MySQL Client
Whenever Mysql is installed on any machine, a default command-line interface(CLI) that will accept text-based inputs to communicate with the MySQL database server is also installed. A program that receives inputs from the user, sends them to the server, accepts the returned response from the server, and displays the outputs to the user is known as a client-side program or simply a client program.
The MySQL client program does a similar job of sending the queries entered by the user and display the output on the screen. In this article, we will learn about MySQL command-line in-built software usage and look at other client-side programs that provide interactive GUI to communicate with MySQL servers.
MySQL Client Usage
When installing MySQL, the MySQL client command-line program is automatically included as part of the default installation. This client helps send the queries across the network to the server, retrieves the response, and displays it on screen. Using the MySQL client on the same machine where your server is present is not always necessary. We can install the MySQL client software on the remote device and communicate with your server from anywhere. To use MySQL, follow the specific steps listed below:
Locate the presence of the Mysql client on your machine.
Firstly, you need to know where your MySQL client is on your machine. By default, for Unix/Linux machines, it’s usually /usr/local/MySQL/bin while for Windows machines, the default location is c: Program and then further your MySQL folder where bin folder must be present. Failure to locate the MySQL client program can occur for the following reasons: absence of program installation on your machine, installation in a different path, or insufficient database administrator rights.
Beginning the Client usage
First, open the terminal or command prompt and then navigate to the path where your MySQL client program is located. Then, you will be entered into the MySQL client automatically if no username and password credentials are required. To log in using a specific username and password, you can use the following command, assuming you are in the directory where MySQL is installed:-
mysql -u educba -pYou will be prompted to enter your password.
-u stands for specifying that you mention the username in the further parameter value, and -p stands for determining that you will enter the password. The educba is our username, so we have used it in my command.
In case you want to access the MySQL database server that is located remotely on some different machine in the network, then you will need to specify some additional parameters in the above query as follows –
mysql -h educbadbhost.edu_database.com -u educba -pwhere -h stands for host address, that in my case is educbadbhost.edu_database.com, and educba is the username we wish to log in to the system. In either case, that is local or remote machine server location, once you see the following output MySQL client starts.
sudo mysql -u root -p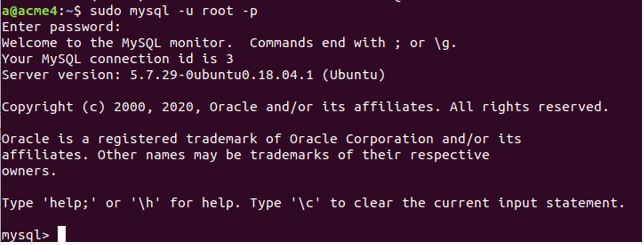
Selecting the database you want to use
The next step is to specify the name of the database you wish to use that is present on your MySQL database server. For this, you can make the use of the following command –
use nameOfYourDB;where nameOfYourDB is the database name you wish to connect to and use. If you are unaware of the databases in your database server, you can use the SHOW DATABASES command to list all the databases in your MySQL database server.
Using the database and firing queries
If you have knowledge of MySQL queries, you can start executing queries on your database to perform various operations. You can use MySQL queries to interact with the database and manipulate data according to your requirements. Ensure you specify a semicolon at the end of each query you are firing on the database.
Exiting the MySQL client program
Once you have finished using the database server, simply type “quit” on the command line and press Enter to exit the MySQL client.
Client tools with interactive GUI
Besides the command-line MySQL client default installed to communicate with the MySQL database server, you can also use various other tools that are available in the market and can be used that are better in the GUI interactions and provide facilities to use the database quickly and effectively. There are both free and paid options available among them.
Some commonly used client tools for working with MySQL include:
1. Dbeaver
The MySQL client offers multiplatform support, allowing it to run on various operating systems such as Windows, Linux, and macOS. This tool offers the capability to generate mock data if desired. Additionally, it supports NoSQL databases as well.ERDs can run to get a look at our database visually.
2. navicat
It helps to import and export the data from various sources and file types. This is cross-platform and supports operating systems such as Linux, Windows, and Mac. We can schedule the reports, restore, and backup tasks. We can share the connections, queries, and data between teammates.
3. sqlyog
It has the best interface that is elegant and provides the capability to create and manage your schemas and tables and visually design them. This is highly customizable and provides the option to apply different themes for a personalized experience.
Other client tools include Mysql WorkBench, Jetbrain’s datagrip, Heidi SQL, and DB forge studio for MySQL.
Conclusion
The MySQL client, which is command-line based, typically installs by default when you install MySQL on your machine. However, you also have the option to install it separately if you intend to use a remote database server on your device. Besides this, other client tools that provide better GUI are available in the market and are primarily cost-free.
Recommended Articles
We hope that this EDUCBA information on “MySQL Client” was beneficial to you. You can view EDUCBA’s recommended articles for more information.
