EDUCBA

EDUCBA

MENUMENU
  • Free Tutorials
  • Free Courses
  • Certification Courses
  • 280+ Courses All in One Bundle
  • Login

Motion Effect in Photoshop

By Preeti PrajapatiPreeti Prajapati

Home » Design » Design Tutorials » Photoshop Tutorial » Motion Effect in Photoshop

Motion Effect in Photoshop

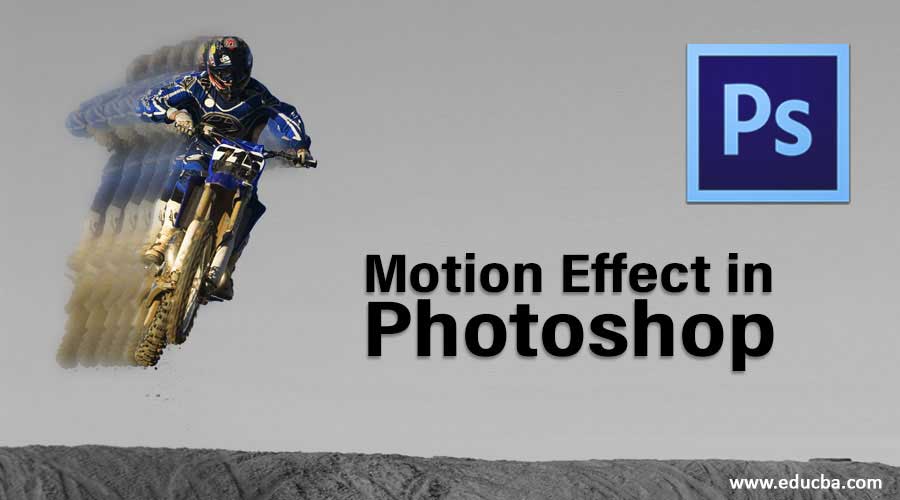
Overview of Motion Effect in Photoshop

Adobe Photoshop is a raster graphics editing software developed by the Adobe systems and compatible with Windows and macOS. In 1988 it was originally developed by Thomas and John Knoll and released in 1990 initially. Its latest version is CC 2019 released in August 2019. The motion effect in Photoshop is a very interesting part. Motion means giving moving appearance to any object. We can give Motion effect in Photoshop in a different manner. In this article, we will take an example of one of the best motion effects here in Photoshop for our learning.

Let us start our article about the motion effect in Photoshop. Here I will tell you this in the step by step manner in a very interesting way.

Start Your Free Design Course

3D animation, modelling, simulation, game development & others

Steps to Create Motion Effect in Photoshop

Creating motion effects to your photos is quite simple with a few tricks on Photoshop. Let us look at a few steps.

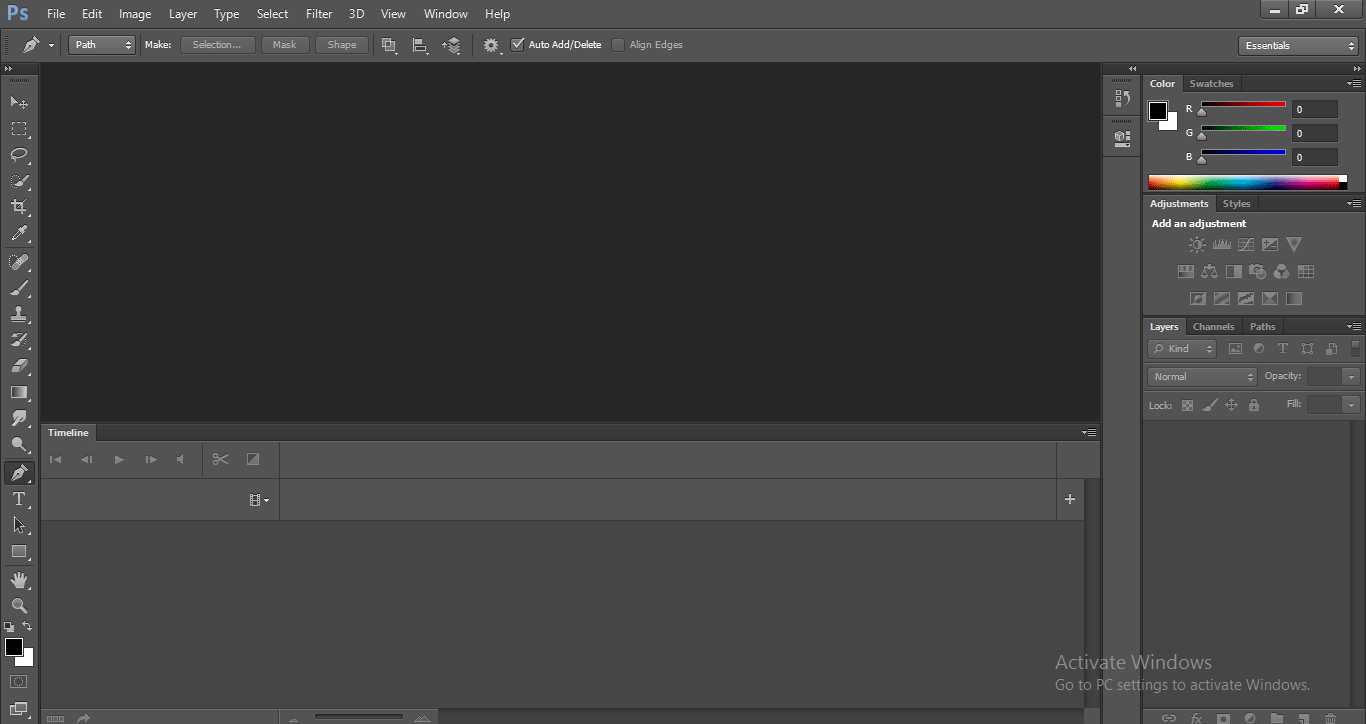
Step 1: This is the user interface of Adobe Photoshop very similar to other graphics software of adobe system. We have a tool panel here at the left corner of the work screen, On the right side, we have the color panel and layer section, which plays a very important role in Photoshop, at the top we have a Menu bar with some managing menu option such as File, Edit, etc.

Motion Effect in Photoshop 1-1

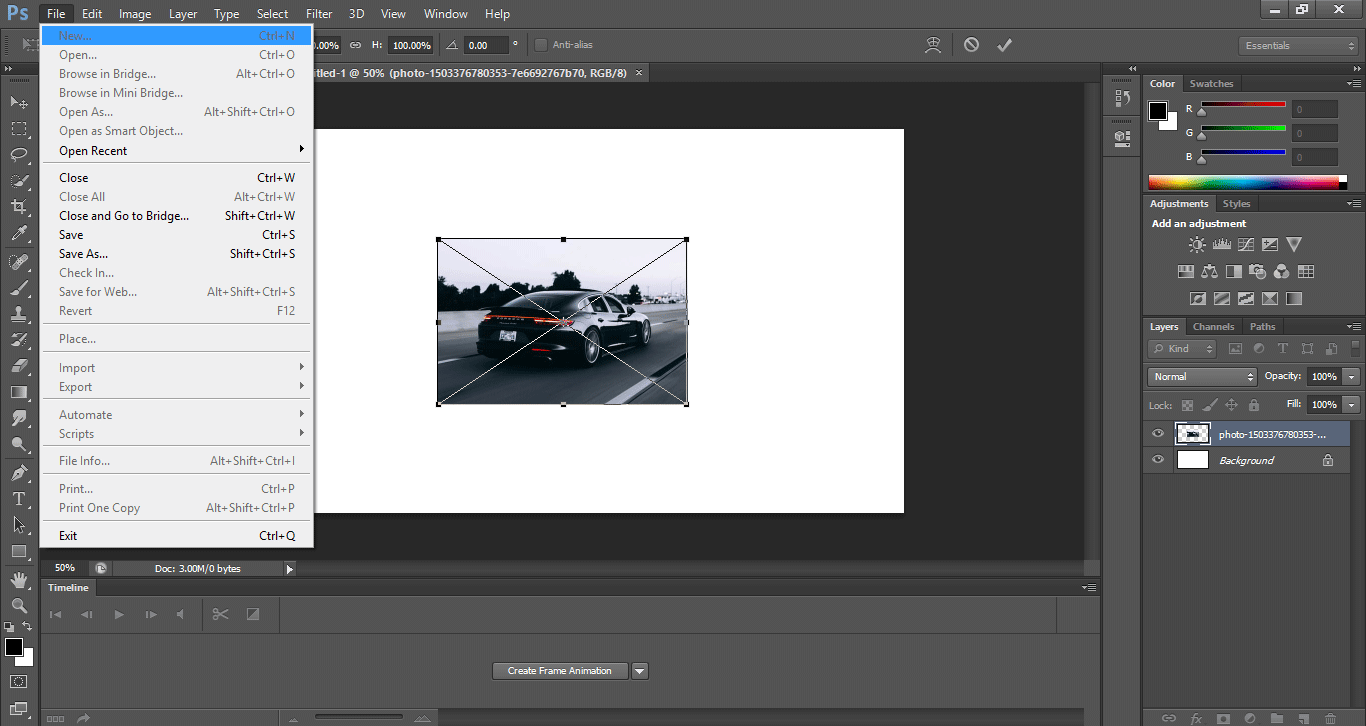
Step 2: Now go to the File Menu. A drop-down list will open. Then click on New option for taking the background layer or you can click on open if you saved something previously.

Motion Effect in Photoshop 1-2

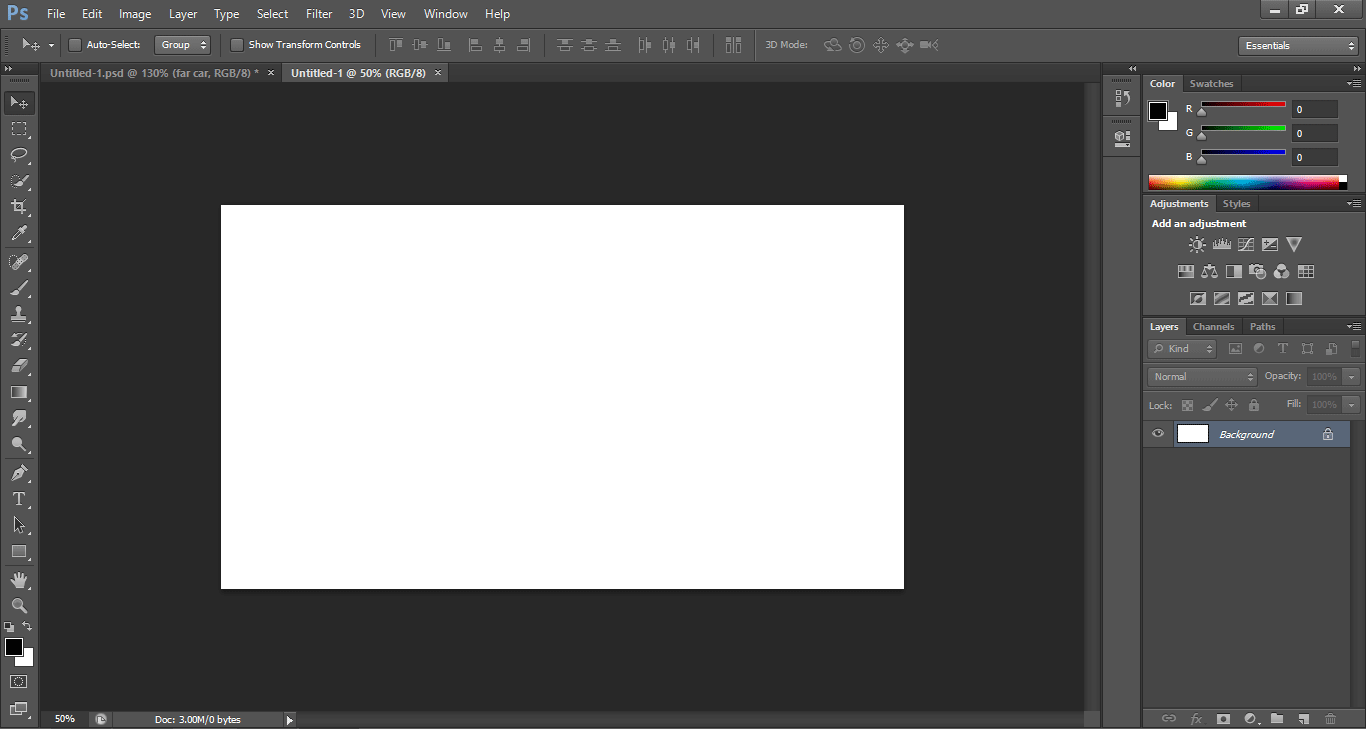
Step 3: A dialog box for the background setting will open. You can set the size of the background according to your requirements.

Popular Course in this category
Photoshop Training (9 Courses, 12+ Projects)9 Online Courses | 12 Hands-on Projects | 78+ Hours | Verifiable Certificate of Completion | Lifetime Access
4.9 (7,114 ratings)
Course Price

View Course

Related Courses
Adobe Premiere Pro Tutorial (2 Courses, 7+ Projects)All in One Design Bundle (280+ Courses, 100+ projects)

Motion Effect in Photoshop 1-3

This is your background layer.
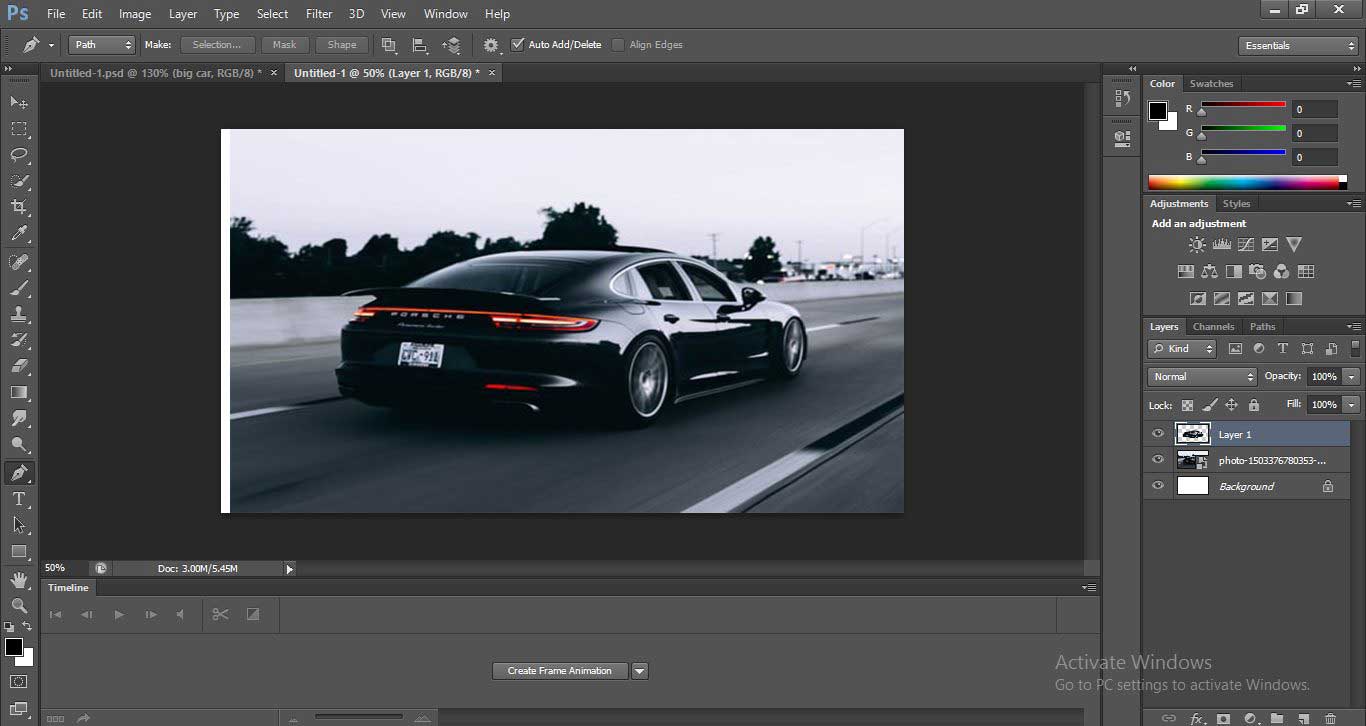
Motion Effect in Photoshop 1-4

Step 4: First of all I will download some images from the internet for making our motion effect in Photoshop or you can take any high-resolution images taken by you. I will import my downloaded image in Photoshop. For importing go to the File menu and click on the Place option to place it in Photoshop.

Place option

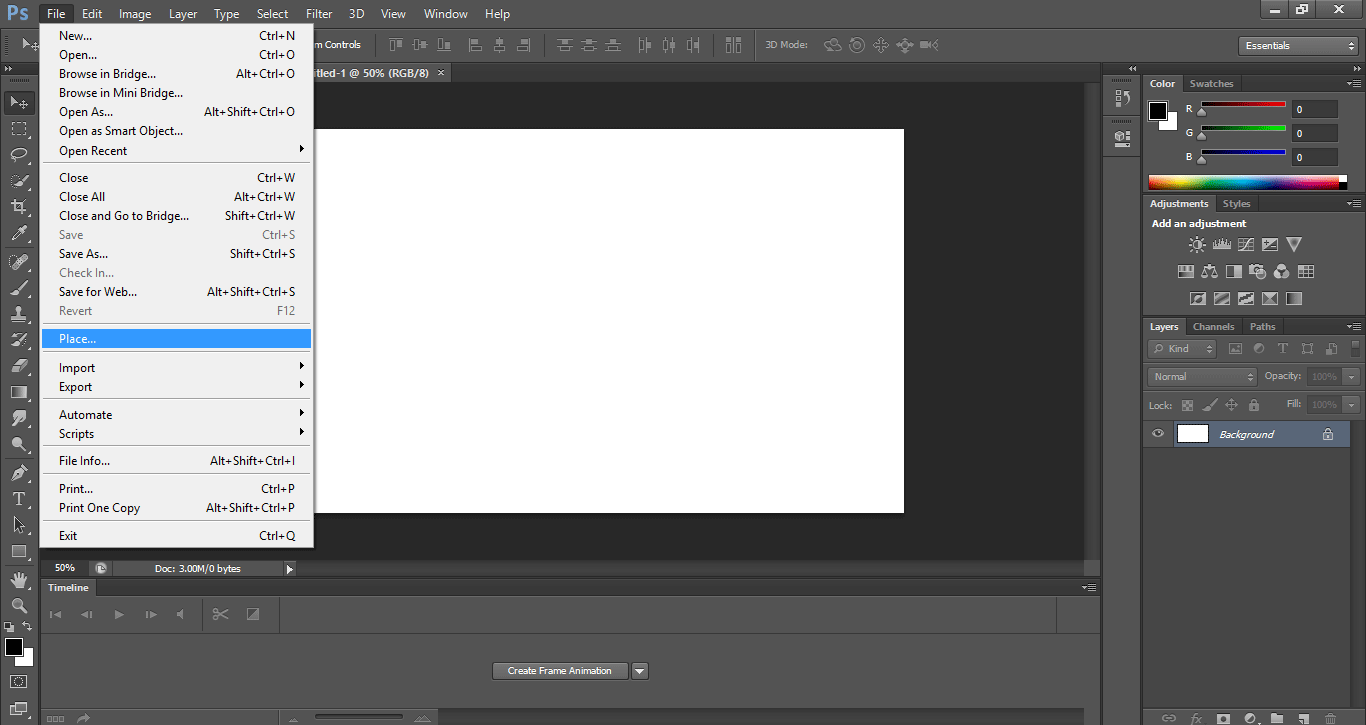
Step 5: A dialog box will be an option to go to that folder where you have saved your image. Select the image by click on it. Then click on the place button of this dialog box to place your image in the working area of Photoshop.

Motion Effect in Photoshop 1-6

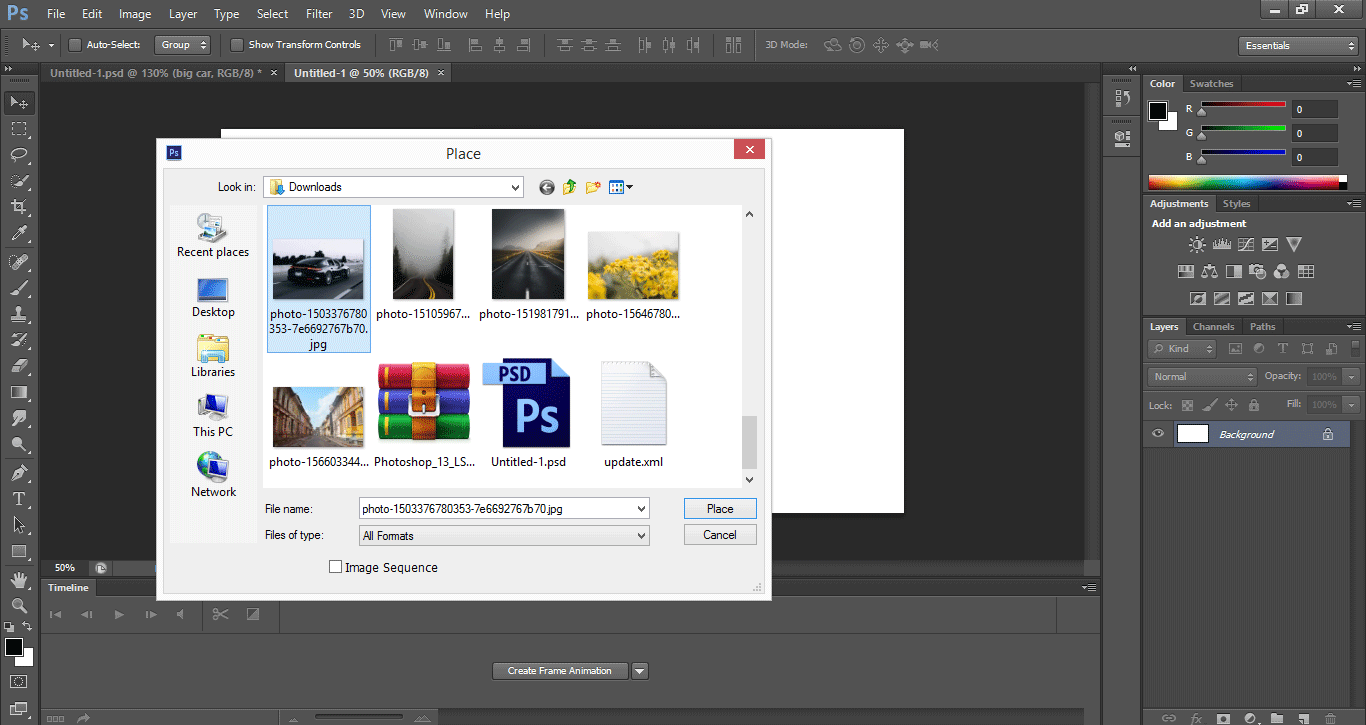
Now you can also change the size of an imported image by dragging or moving from the bounding box.
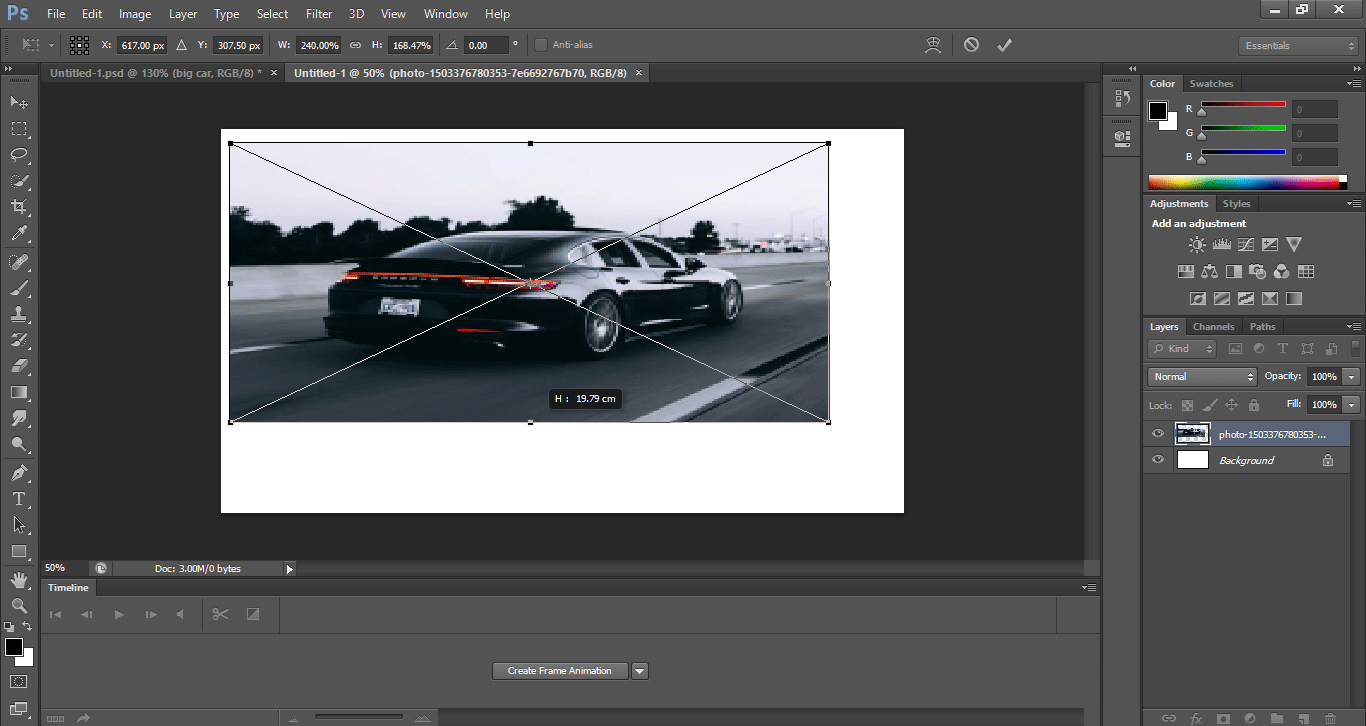
boding box

Step 6: Now when you click on any tool in the tool panel, it will ask whether you want to place this image or not by the show this message box. Click on the Place button of this dialog box to place this image in Photoshop.

Motion Effect in Photoshop 1-8

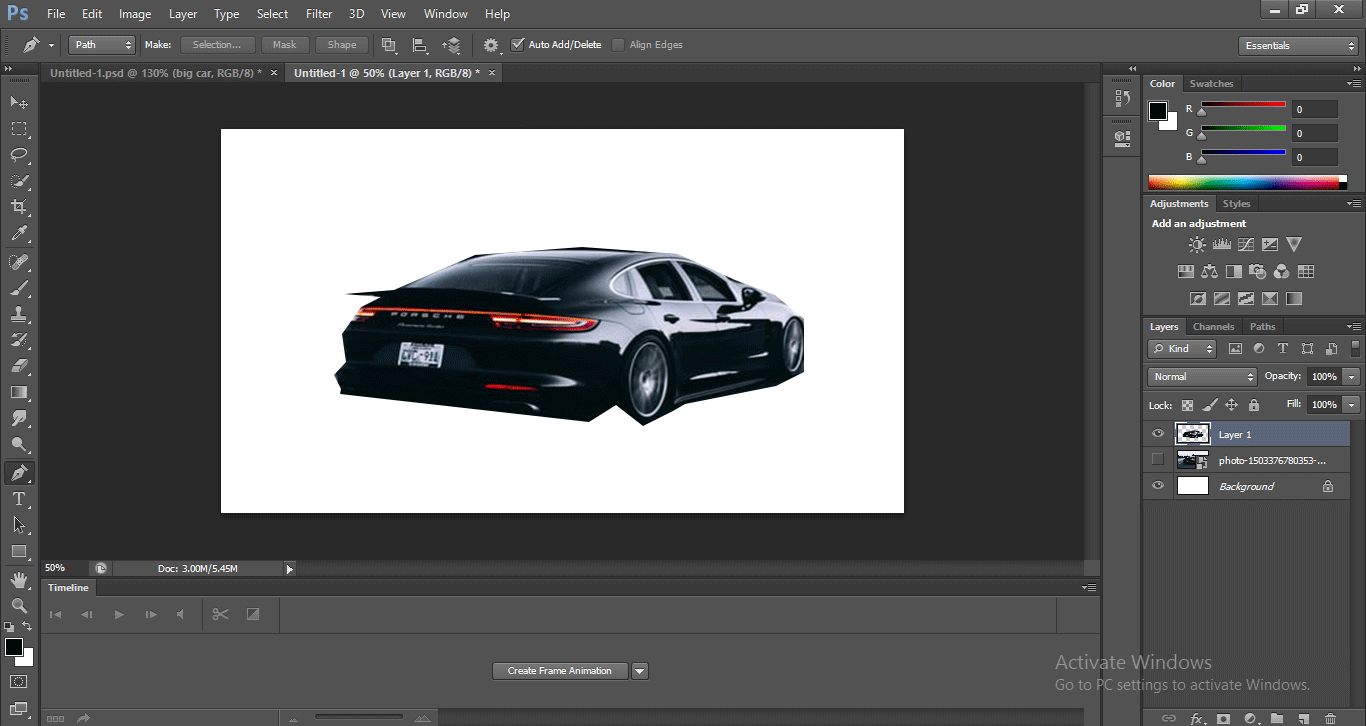
Now I will take the pen tool from the tool panel.

pen tool

And make a selection around the car with a pen tool. You should be care full during the selection of a car for a better result.

Motion Effect in Photoshop 1-10

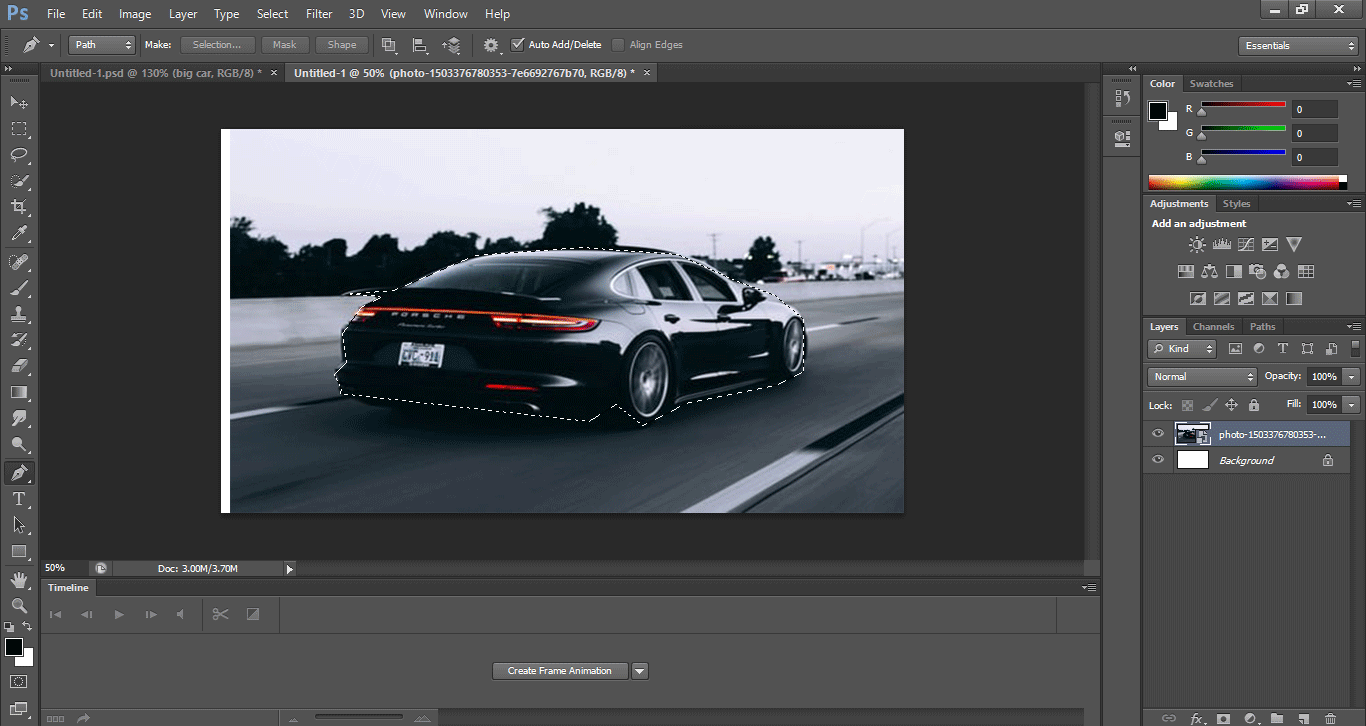
Step 7: Now click on the Selection button at the top of the work area of Photoshop to select the car.

Selection button

Step 8: A dialog box will open. It will show some message. Click on the New Selection radio button and then click on the Ok button of this dialog box to active selection.

Motion Effect in Photoshop 1-12

When you click on the Ok button of this dialog box, a selection will be active, you can see selection by the dotted line around the car.

dotted line around the car

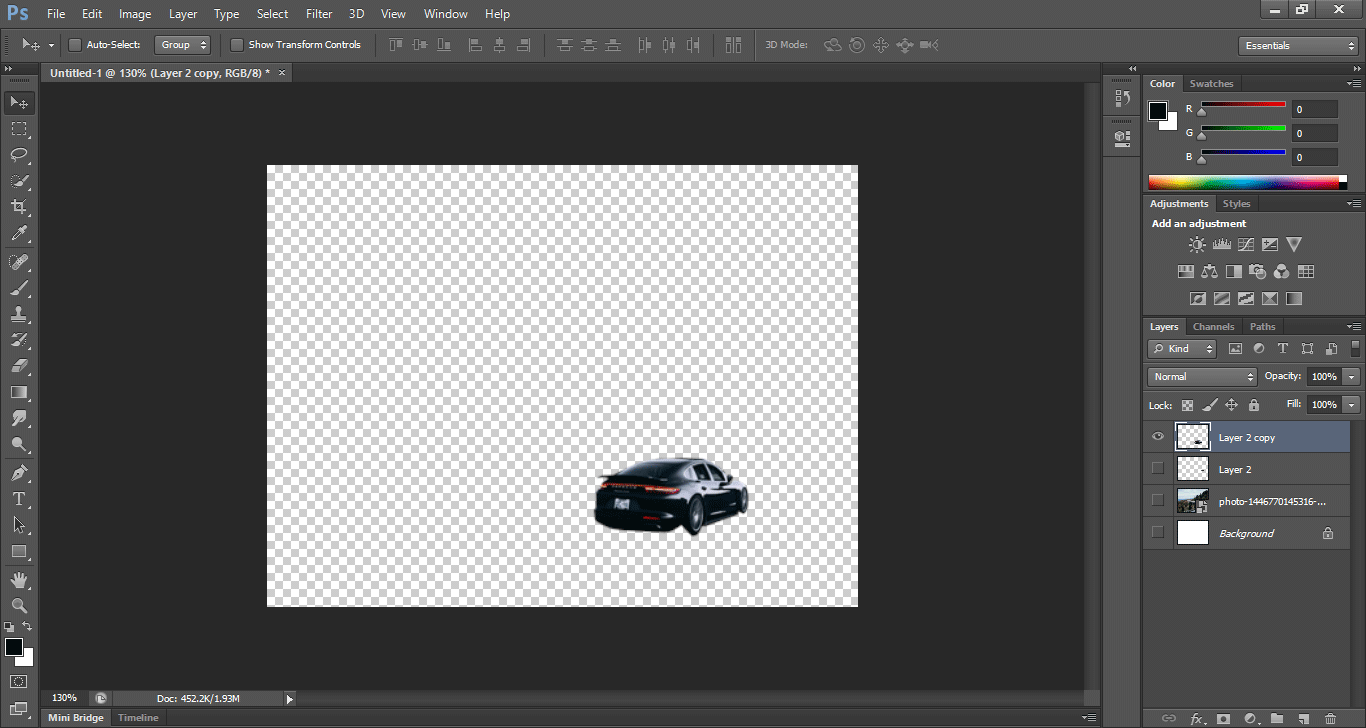
Step 9: Now go to the layer section. Select this image layer by clicking on it if it is not selected. Press Ctrl+J keys on the keyboard to duplicate this image.

Motion Effect in Photoshop 1-14

Step 10: Now your selected area (car) will be pasted in a duplicate layer and if you hide the main image by clicking on the eye button of this layer you can see the car will remain in the duplicated layer.

duplicated layer

Step 11: Now I will duplicate this car’s layer for making multiple copies of this car. For duplicating this car layer select this layer and press Ctrl+J on the keyboard.
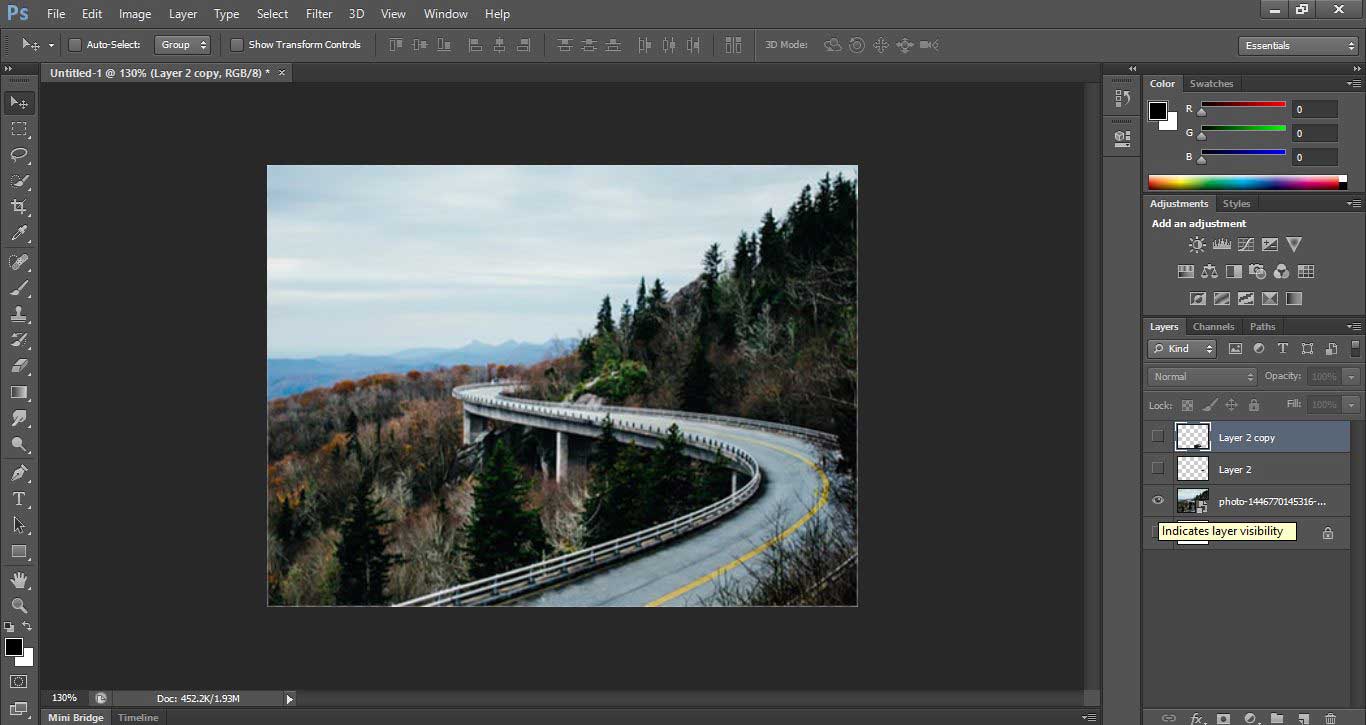
Motion Effect in Photoshop 1-16

Step 12: Now I will place another image in my project by following the same method of placing as I did previously.

Motion Effect in Photoshop 1-17

Step 13: Now click on the Window menu at the top of the work area. A drop-down list will open. Click on the Timeline option here to activate the animation frame for a motion effect.

Timeline

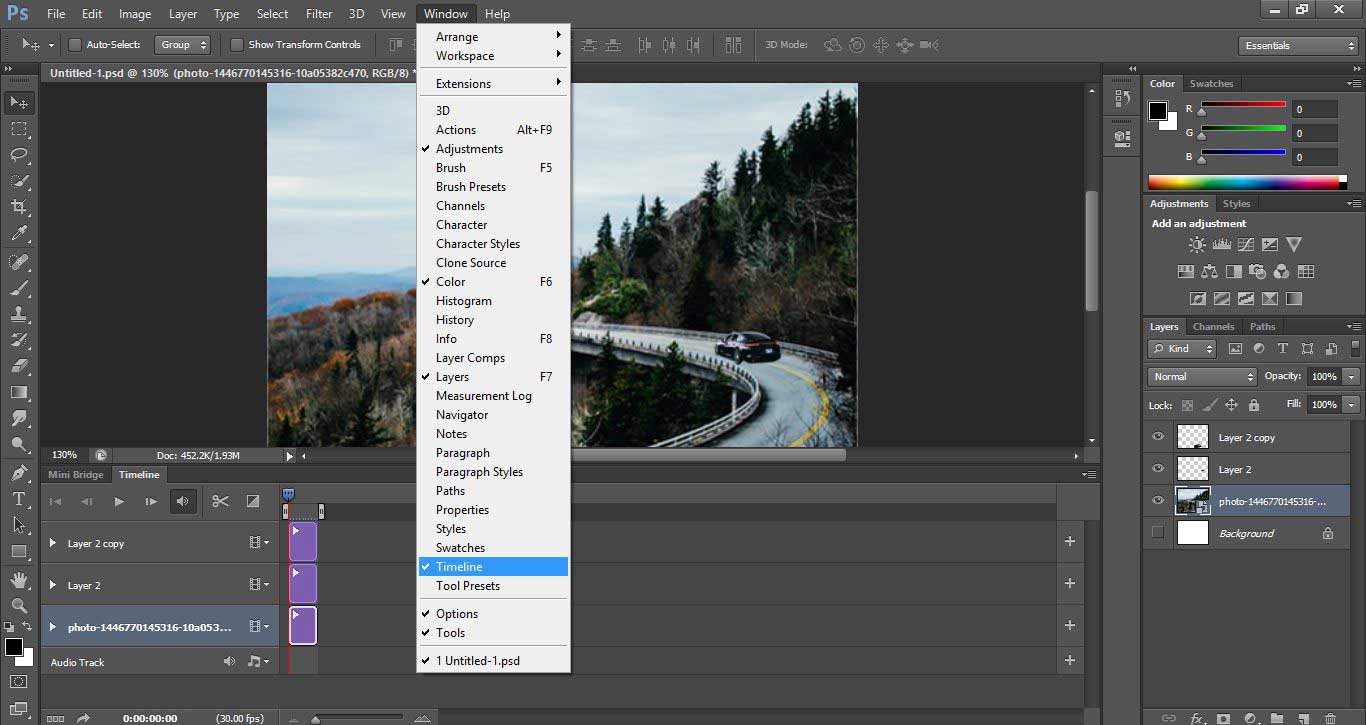
This type of timeline icon will be an option. Click on the ‘Convert to Video timeline’ option to see the keyframe and play head section.

Convert to Video timeline

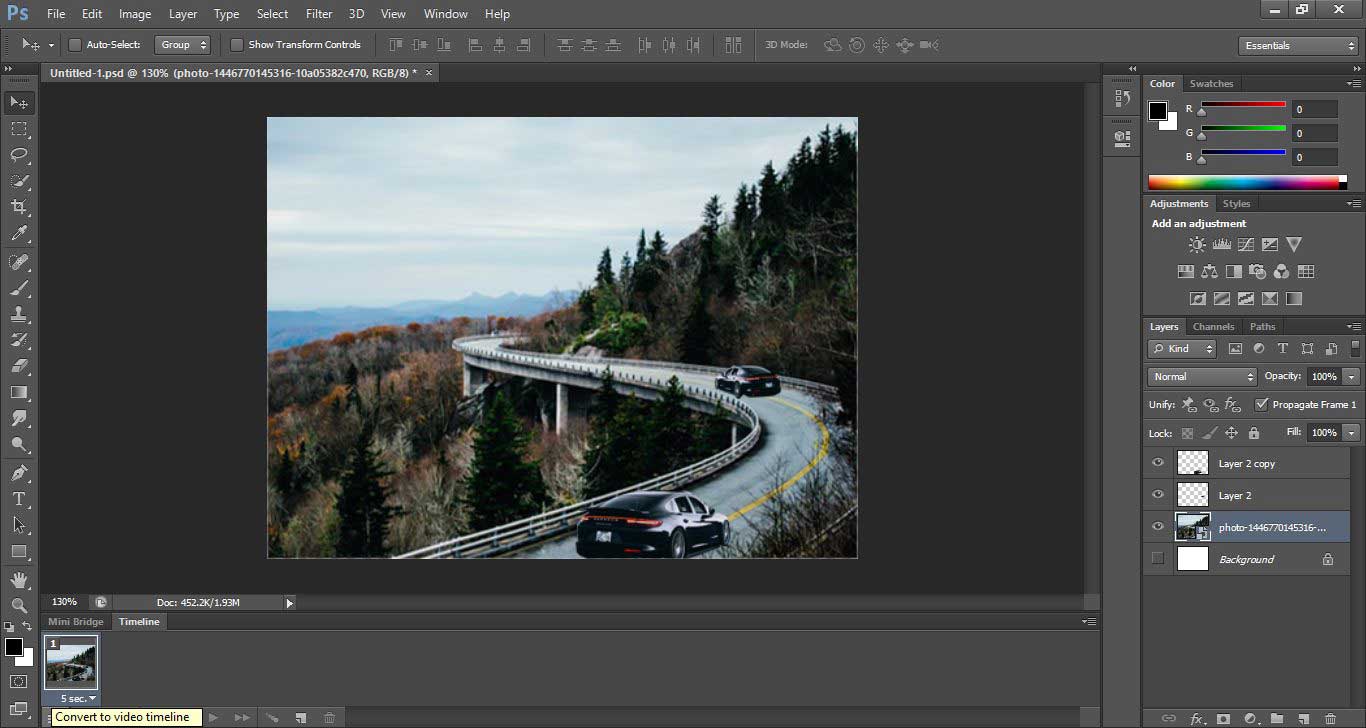
Now the Time frame will open like this.
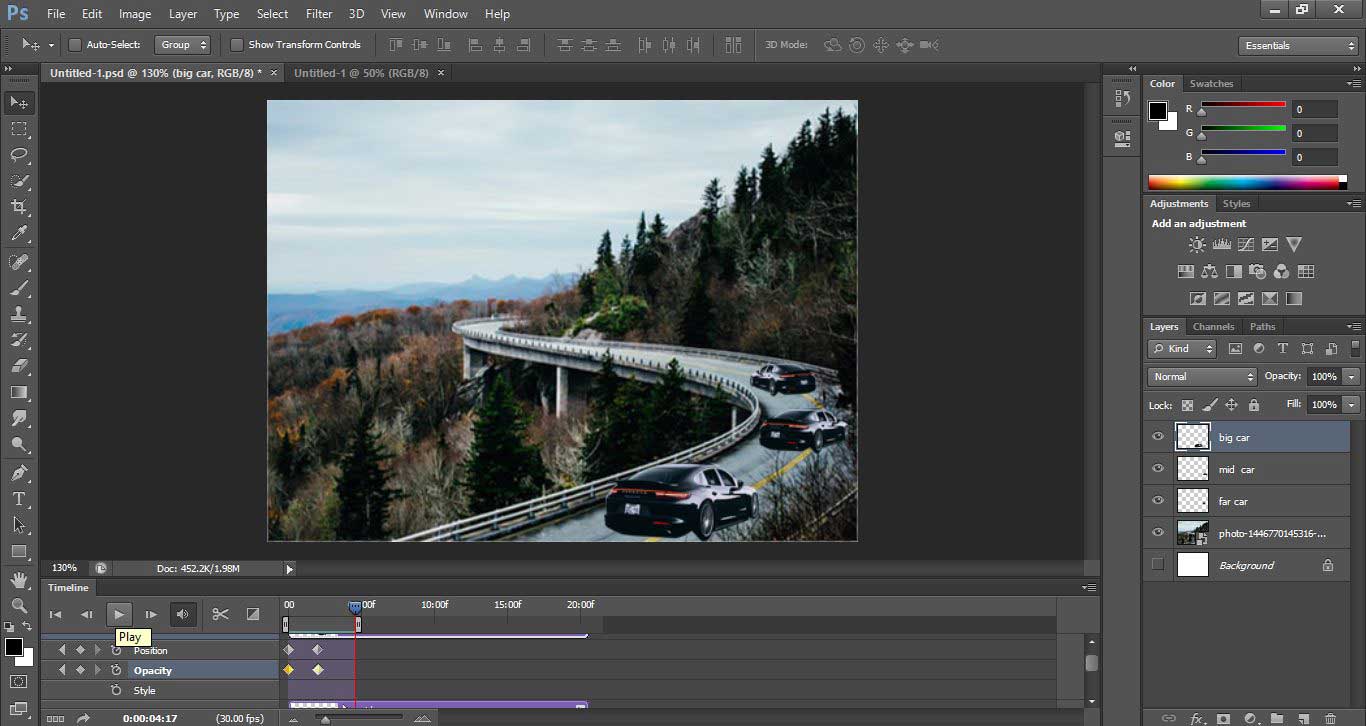
Motion Effect in Photoshop 1-20

Step 14: Now I will name all the layers for my understanding. For changing the name double click on the particular layer and name it. I will name the first copy of the car as a big car, the second in the middle car, and the third as a far car. You can name it whatever you want for your better understanding.

Motion Effect in Photoshop 1-21

Step 15: Now click on the drop-down arrow of the Big car layer and click on the clock icon of the position property of this layer to generate the keyframe here and then I will take this car out of the image.
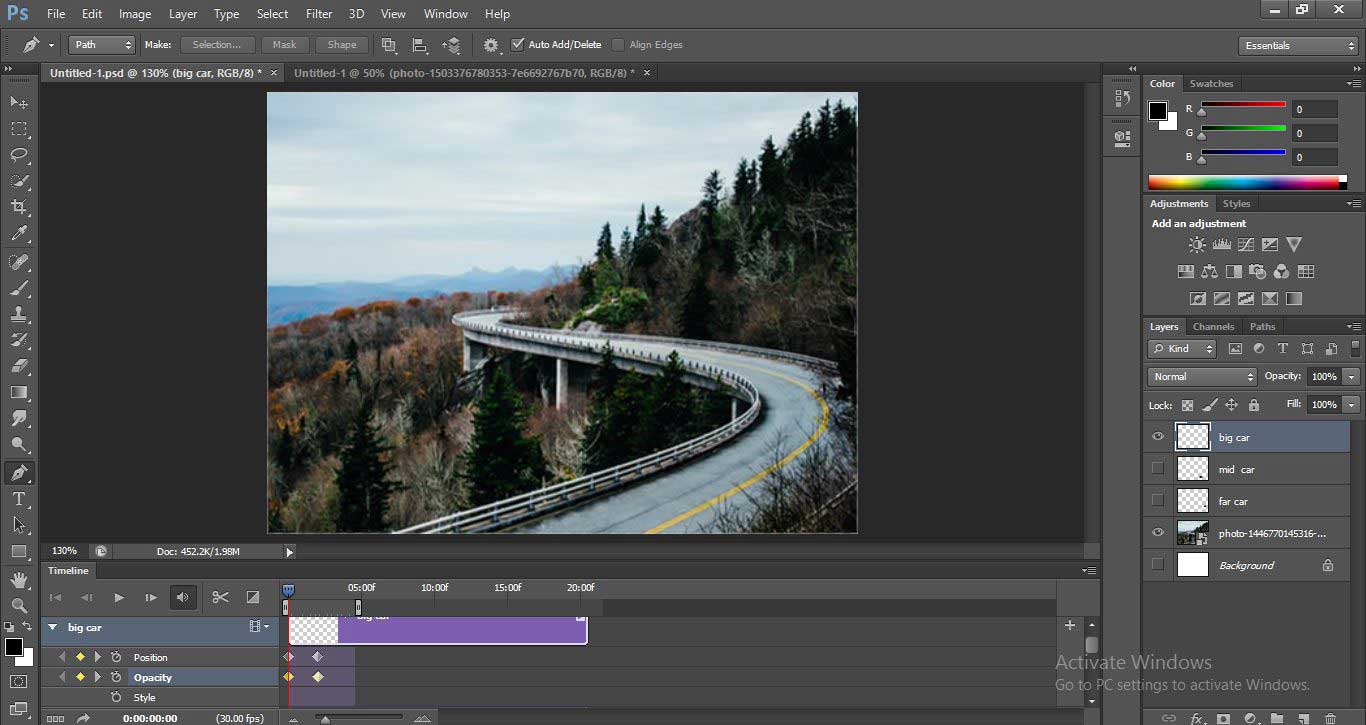
Motion Effect in Photoshop 1-22

And then I will drag the play head at 2 sec to generate another key here and place the car at this position.

Motion Effect in Photoshop 1-23

Step 16: Now I will set the same key in the opacity property of this car layer and make opacity 100% at the starting key and 0% and the end key.

Motion Effect in Photoshop 1-24

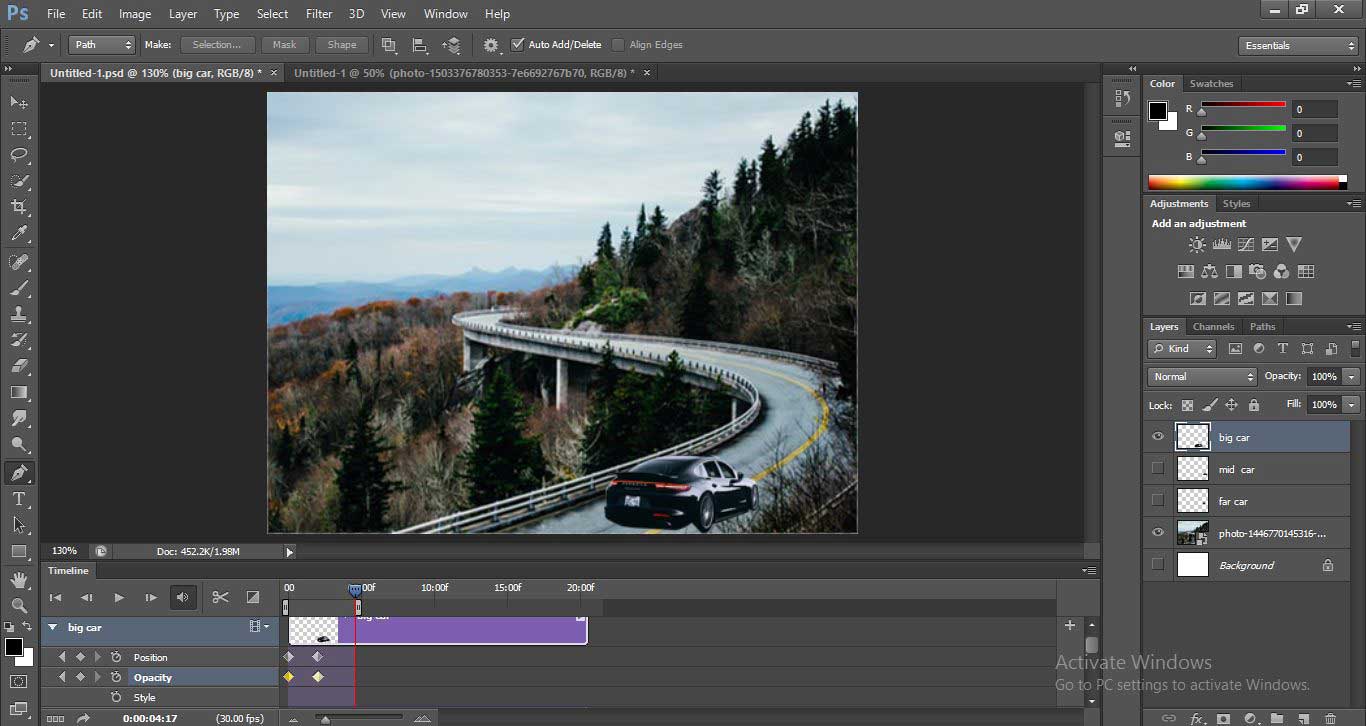
You can check the animation by playing it from the play button at the top of the keyframe area.

play button

Step 17: Now I will take animate another car layer one by one as I have shown in this image. You can animate them according to your requirement.

Motion Effect in Photoshop 1-26

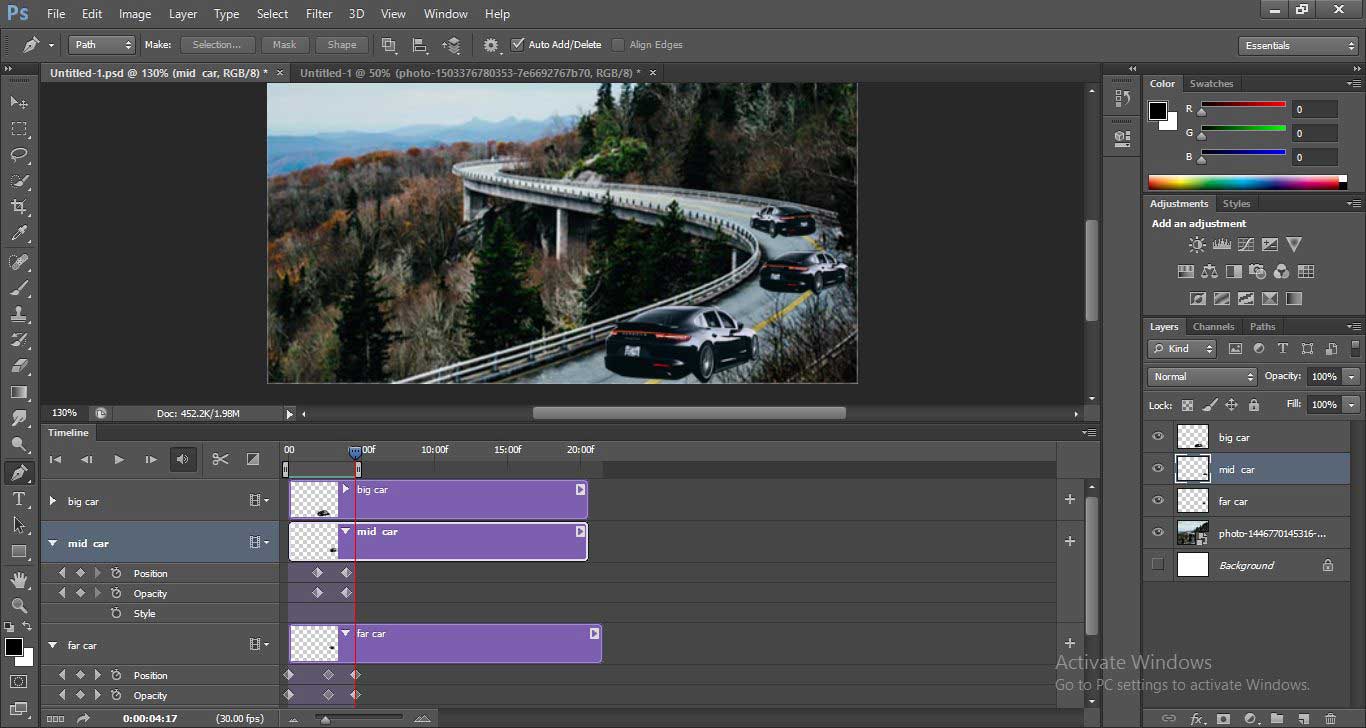
Now click on the play button to see the effect of motion on your objects of Photoshop. You can add more effect to this project if you want for making it effective.

In this way, you can give a motion effect to your project of Photoshop and make it more and more effective.

Conclusion

Now after this article you can easily give motion effect in your raster graphics and make it more effective for your viewers and you can also try other motion effects once you have knowledge about motion effect in Photoshop. This motion effect property of Photoshop enhances your skill and makes you more efficient in your work.

Recommended Articles

This is a guide to Motion Effect in Photoshop. Here we discuss an overview along with steps to create a motion effect in photoshop. You may also look at the following articles to learn more –

  1. How to Set the Units in 3ds Max?
  2. Patch Tool in Photoshop
  3. Steps to Create Clipping Mask in Photoshop
  4. How to Use Texture Paint Mode in Blender?
  5. Top 4 Best Video Editing Softwares in Industry
  6. Adobe Editing Softwares | Adobe Applications for Image

Photoshop Training (9 Courses, 12+ Projects)

9 Online Courses

12 Hands-on Projects

78+ Hours

Verifiable Certificate of Completion

Lifetime Access

Learn More

0 Shares
Share
Tweet
Share
Primary Sidebar
Photoshop Tutorial
  • Effects
    • Text Effects in Photoshop
    • Metal Text Effect in Photoshop
    • Reflection Effect in Photoshop
    • Snow Effect in Photoshop
    • Mirror Effect in Photoshop
    • Motion Effect in Photoshop
    • Oil Paint Filter in Photoshop
    • Plastic Effect in Photoshop
    • Rain Effect in Photoshop
    • Gold Text Effect in Photoshop
    • 3D Text in Photoshop
    • 3D Text Effect in Photoshop
    • Clipping Mask in Photoshop
    • Fill Color in Photoshop
    • Delete Background in Photoshop
    • Transparent Text in Photoshop
    • Make Logo in Photoshop
    • Blend Images in Photoshop
    • Website Layout in Photoshop
    • Change Hair Color in Photoshop
    • Change Color in Photoshop
    • Highlight Text in Photoshop
    • Change Text Color in Photoshop
    • Change Shirt Color in Photoshop
    • Filters in Photoshop
    • Portrait Effect in Photoshop
    • Fire Effect in Photoshop
    • Ice Effect in Photoshop
    • Metallic Effect Photoshop
    • Photoshop Font Effects
    • Glow Effects in Photoshop
    • Tree Brush Photoshop
    • Shiny Effect Photoshop
    • Morphing in Photoshop
    • Dispersion Effect in Photoshop
    • Photoshop Distort Effect
    • Typography in Photoshop
    • Photoshop Cinemagraph
    • Glitch Effect in Photoshop
    • Photoshop Straighten Image
    • Stamp Effect in Photoshop
    • Warp Image Photoshop
    • Fix Perspective in Photoshop
    • Vanishing Point in Photoshop
    • Fisheye Effect in Photoshop
    • Distortion Effect Photoshop
    • Resize Object in Photoshop
    • How to Paint in Photoshop?
    • How to Print in Photoshop?
    • Perspective Correction in Photoshop
    • Photoshop Sun Effect
    • Photoshop Gold Gradient
    • Night Effect in Photoshop
    • What is Masking
    • Photoshop Polaroid
    • Pixel Effect Photoshop
    • Vaporwave Photoshop
    • Vintage Effect Photoshop
    • Photoshop hologram effect
    • Templates in Photoshop
    • MP4 to GIF Photoshop
    • Photoshop Cheat Sheet
  • Basic
    • Introduction to Photoshop
    • What is Photoshop
    • Career in Photoshop
    • Install Adobe Photoshop
    • Plugins in Photoshop
    • Photoshop Versions
    • Uses Of Photoshop
    • Adobe Photoshop Shortcut Keys
    • Adobe Photoshop Commands
    • Adobe Photoshop
    • Is Photoshop Free
    • Top 10 Features in Adobe Photoshop
    • Layers in Photoshop
    • 10 Free UI Kits For to Download
    • Smart Objects in Photoshop
  • Tools
    • Adobe Photoshop Tools
    • Clone Stamp Tool in Photoshop
    • Eraser Tool in Photoshop
    • Selection Tool in Photoshop
    • Blur Tool in Photoshop
    • Eyedropper Tool in Photoshop
    • Move Tool in Photoshop
    • Paint Bucket Tool in Photoshop
    • Patch Tool in Photoshop
    • Pencil Tool in Photoshop
    • Line Tool in Photoshop
    • Color Replacement Tool in Photoshop
    • Background Eraser Tool in Photoshop
    • Burn Tool in Photoshop
    • Custom Shape Tool in Photoshop
    • Magic Wand Tool in Photoshop
    • Quick Selection Tool in Photoshop
    • Red Eye Tool in Photoshop
    • Ruler Tool in Photoshop
    • Sharpen Tool in Photoshop
    • Smudge tool in Photoshop
    • Sponge Tool in Photoshop
    • Rectangle Tool in Photoshop
    • Lasso Tool in Photoshop
    • Adobe Photoshop Elements tools
    • Photoshop Mixer Brush Tool
    • Watercolor Brushes in Photoshop
    • Artboard in Photoshop
    • Crop Tool in Photoshop
    • Healing Brush Tool in Photoshop
    • Transform Tool Photoshop
  • Interview Questions
    • Photoshop Interview Questions

Related Courses

Photoshop Training Course

Adobe Premiere Pro Training Course

Design Training Course

Footer
About Us
  • Blog
  • Who is EDUCBA?
  • Sign Up
  • Corporate Training
  • Certificate from Top Institutions
  • Contact Us
  • Verifiable Certificate
  • Reviews
  • Terms and Conditions
  • Privacy Policy
  •  
Apps
  • iPhone & iPad
  • Android
Resources
  • Free Courses
  • Photoshop Tutorial
  • 3ds Max Tutorial
  • All Tutorials
Certification Courses
  • All Courses
  • Design Course - All in One Bundle
  • Photoshop Course
  • Maya Course
  • Unreal Engine Course
  • Unity Course
  • DaVinci Resolve Course
  • Pro Tools Course

© 2020 - EDUCBA. ALL RIGHTS RESERVED. THE CERTIFICATION NAMES ARE THE TRADEMARKS OF THEIR RESPECTIVE OWNERS.

EDUCBA Login

Forgot Password?

EDUCBA
Free Design Course

3D animation, modelling, simulation, game development & others

*Please provide your correct email id. Login details for this Free course will be emailed to you
Book Your One Instructor : One Learner Free Class

Let’s Get Started

This website or its third-party tools use cookies, which are necessary to its functioning and required to achieve the purposes illustrated in the cookie policy. By closing this banner, scrolling this page, clicking a link or continuing to browse otherwise, you agree to our Privacy Policy

EDUCBA

*Please provide your correct email id. Login details for this Free course will be emailed to you
EDUCBA
Free Design Course

3D animation, modelling, simulation, game development & others

*Please provide your correct email id. Login details for this Free course will be emailed to you

Special Offer - Photoshop Training (9 Courses, 12+ Projects) Learn More