Updated June 9, 2023

Introduction to Krita Stabilizer
Krita Stabilizer is the most important feature of this software, and by enabling this feature, we can provide smoothing to our brush stroke. There are some parameters also with this feature that are adjustable, and by adjusting them, we can make a variation in the smoothing quality of brush stroke. You have noticed many times that when you start to draw your raster artwork in Krita, you faced a smoothing problem in brush strokes. There is a couple of things for this issue, and you can short out these things by following some designing technique in this software.
How to Use Stabilizer in Krita?
A stabilizer actually works as a smoothing agent for brush stroke. Now let me tell you why you need to smooth brush stroke and what happens when we do it?
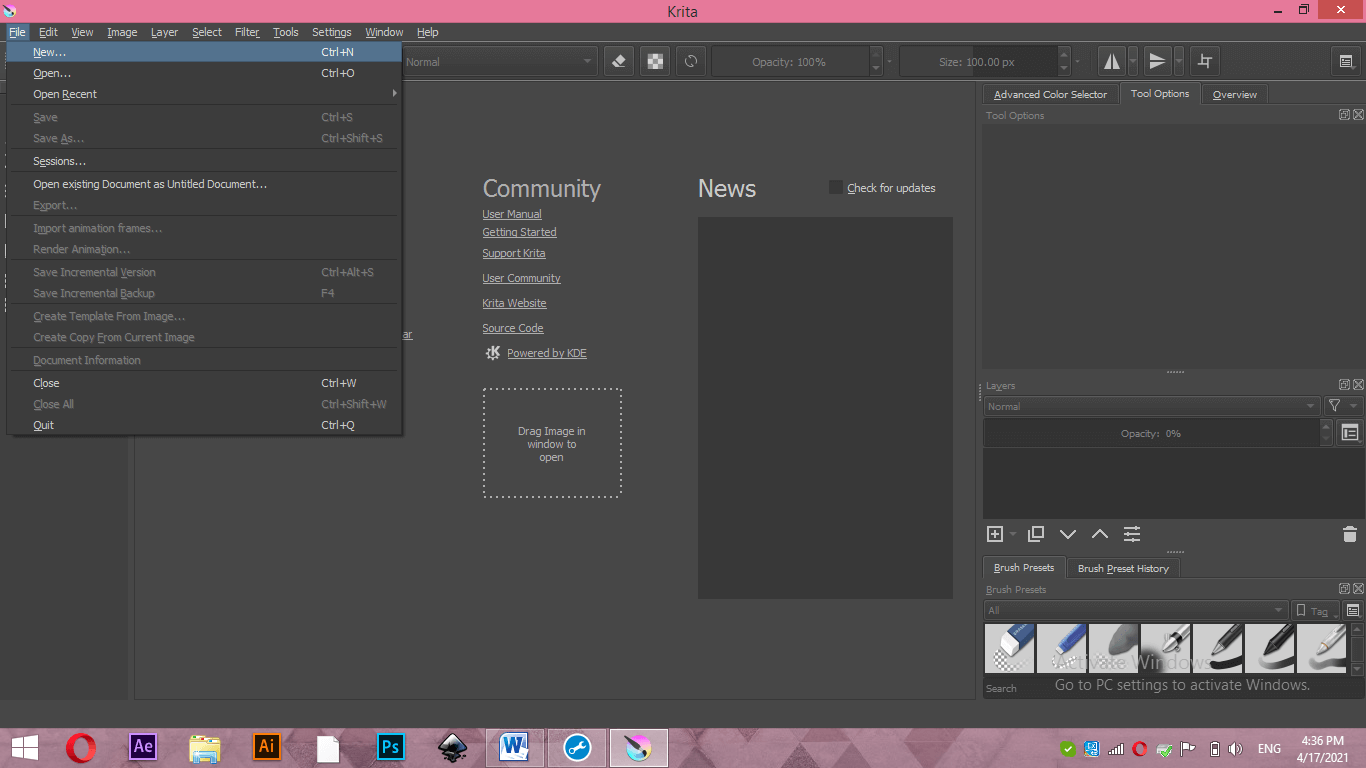
Now take a new document file, and for having a new document, click on the New File option, which is the sub-option of the Start button of the welcome screen.
Or you can go to the File menu of the menu bar and click on the New option of the drop-down list of this menu.
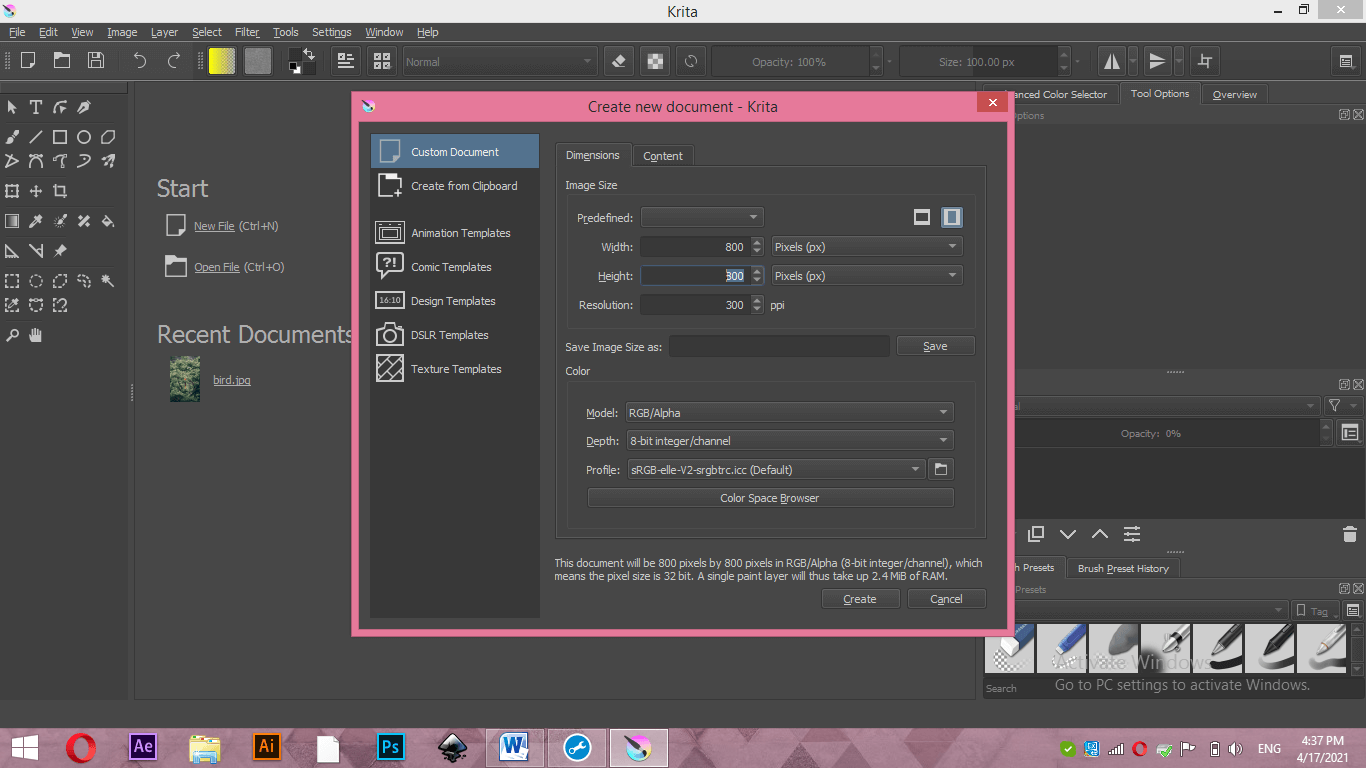
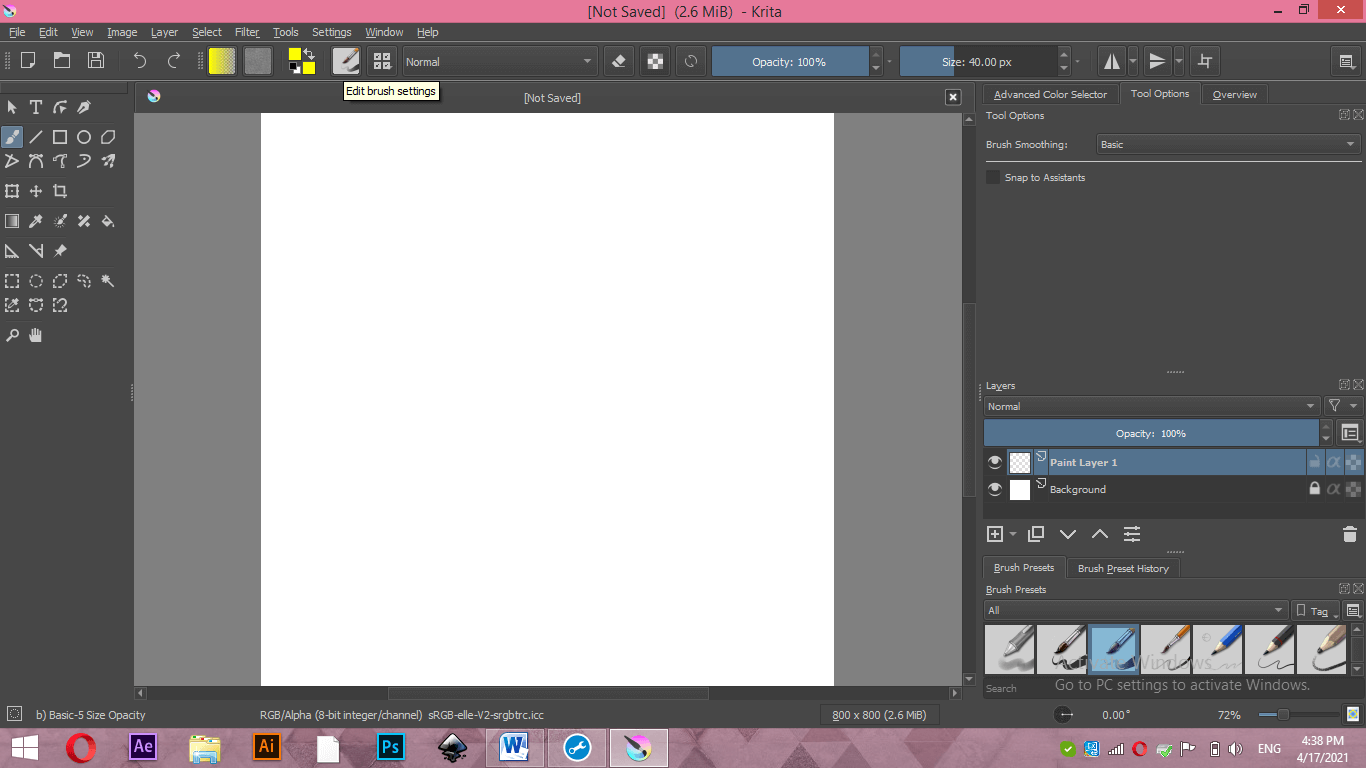
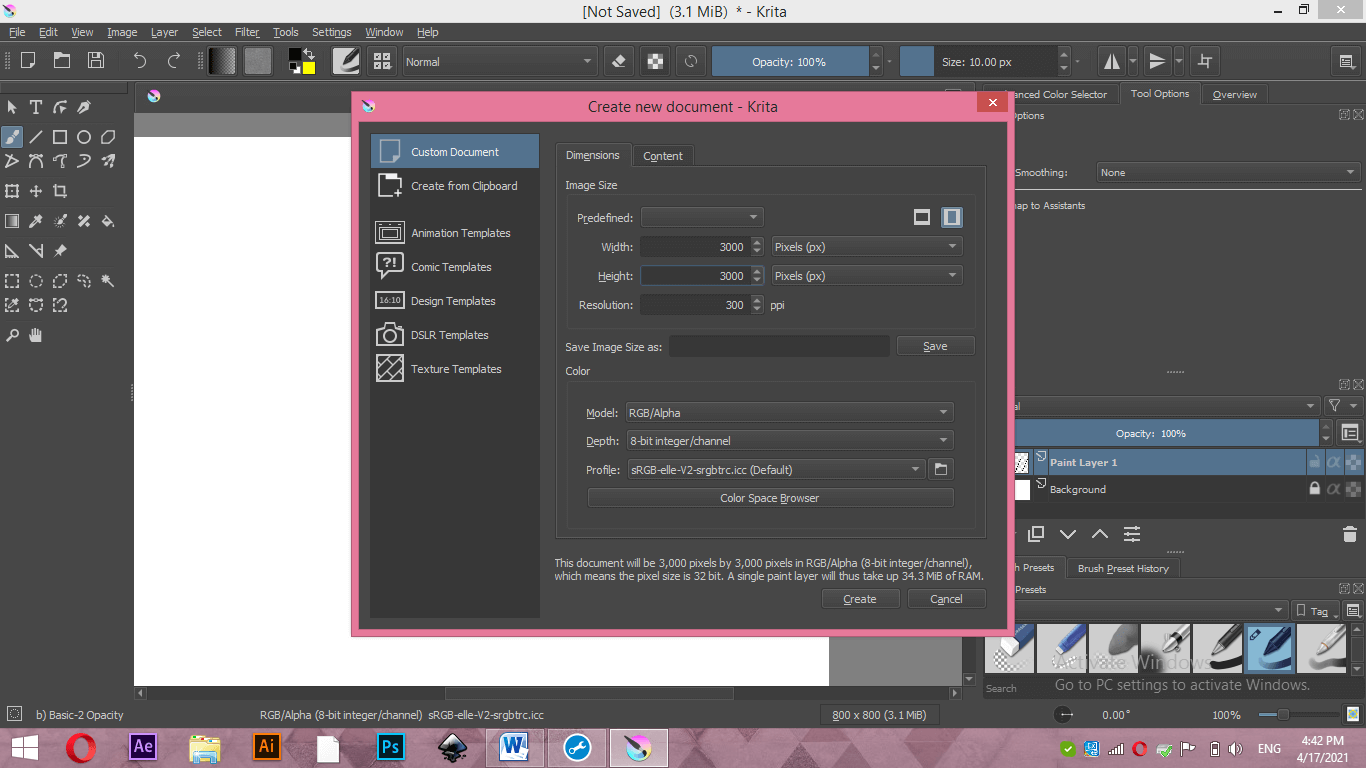
Once you click on this option, a Create New document box will be open. Here you can set the parameters of your document. I will take the size of my document as 800 x 800 and click on Create button of this dialog box.
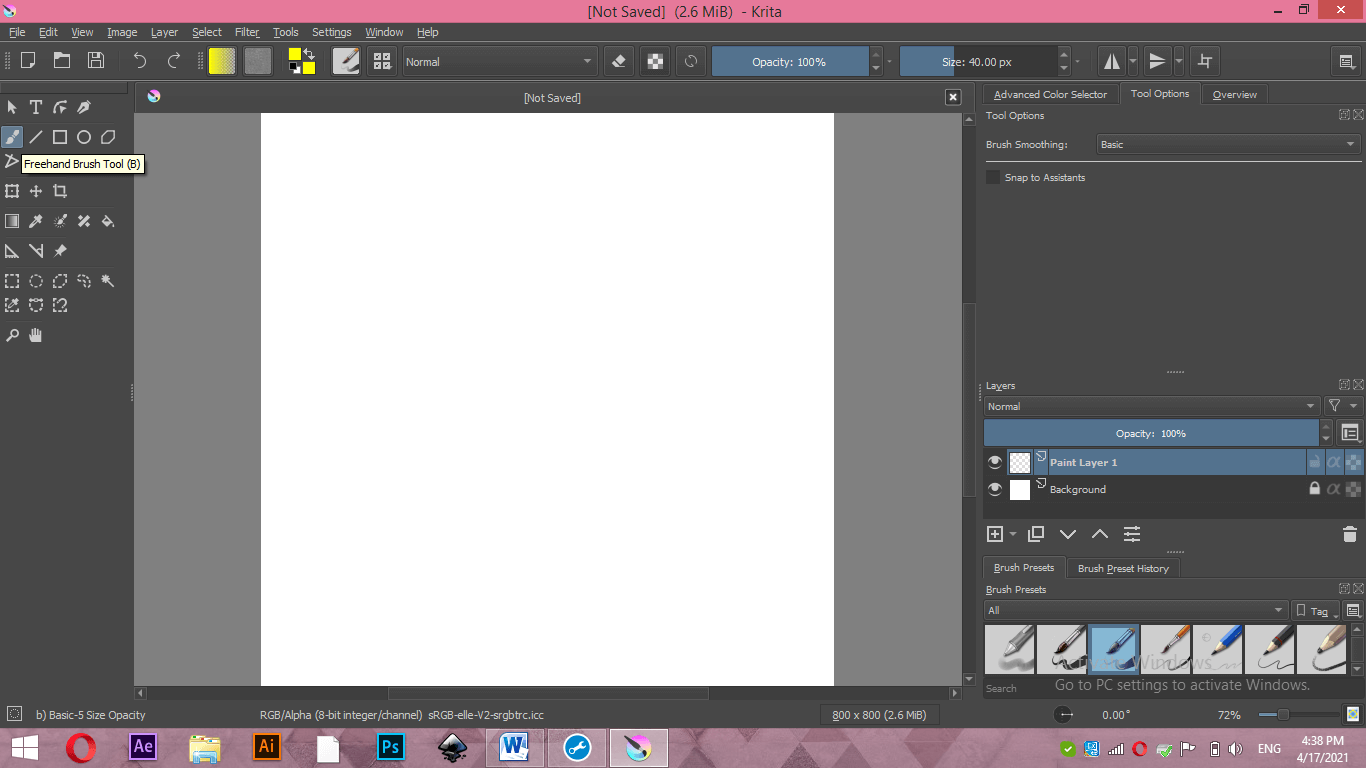
Now go to the tool panel, which is on the left side of the working screen and select Freehand Brush Tool or press the B button of the keyboard as the shortcut key of it.
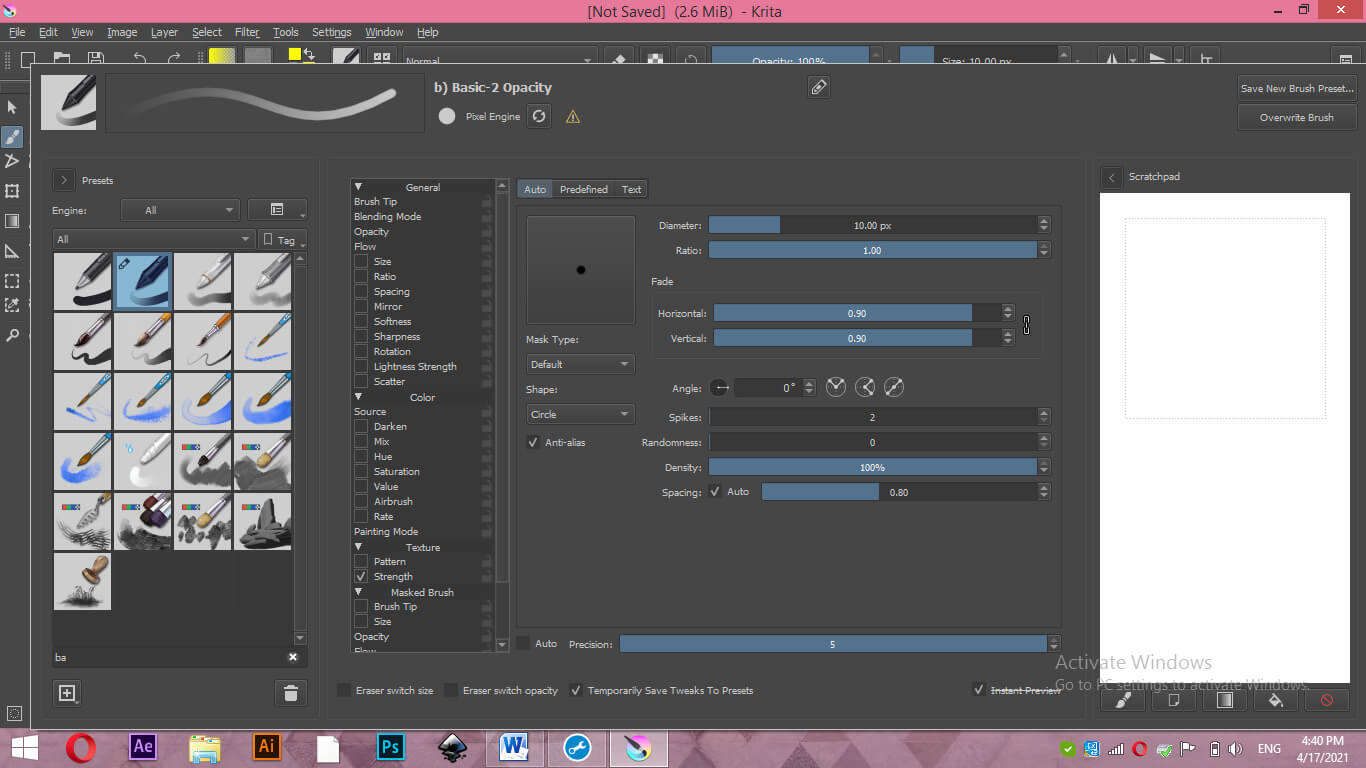
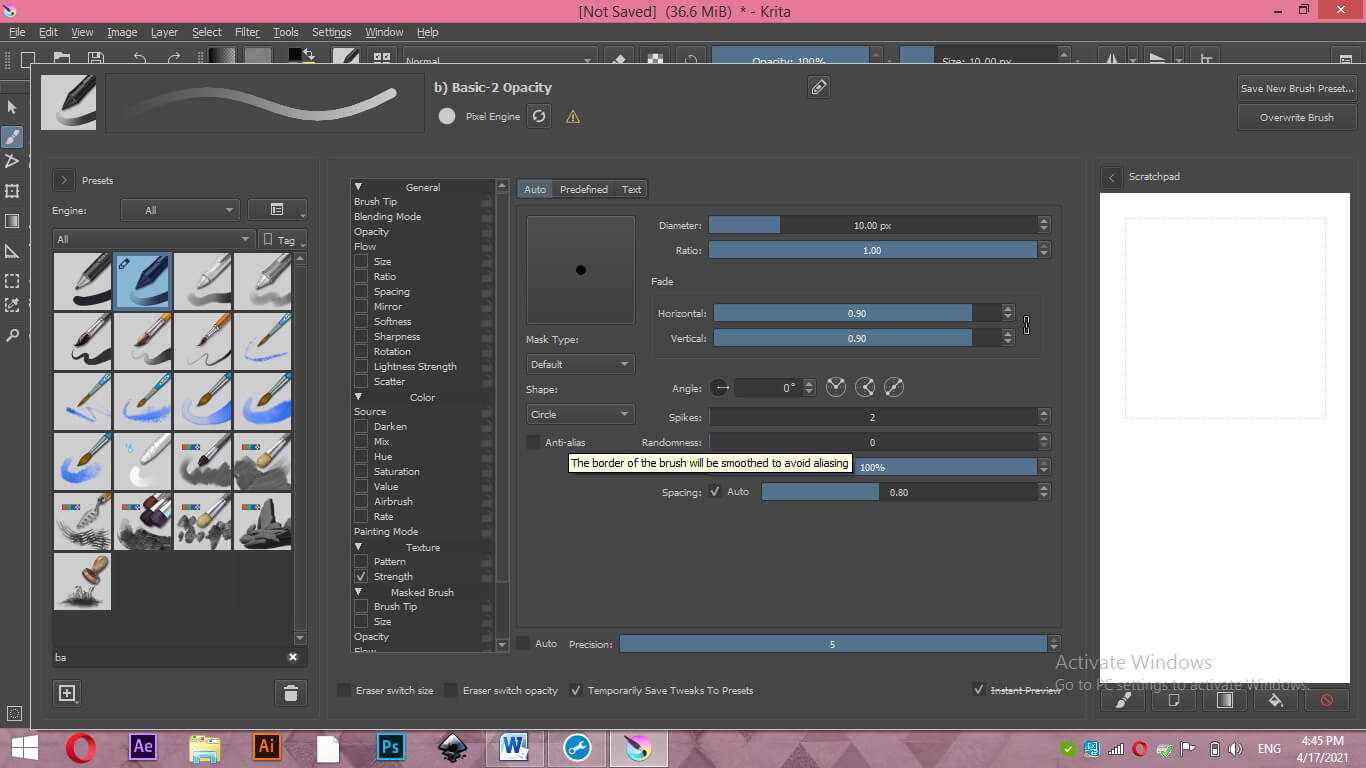
Now click on the Edit Brush settings button of the Brush tool. You will find this button on the top of the working screen.
Here click on the arrow button of the Toggle Showing presets button.
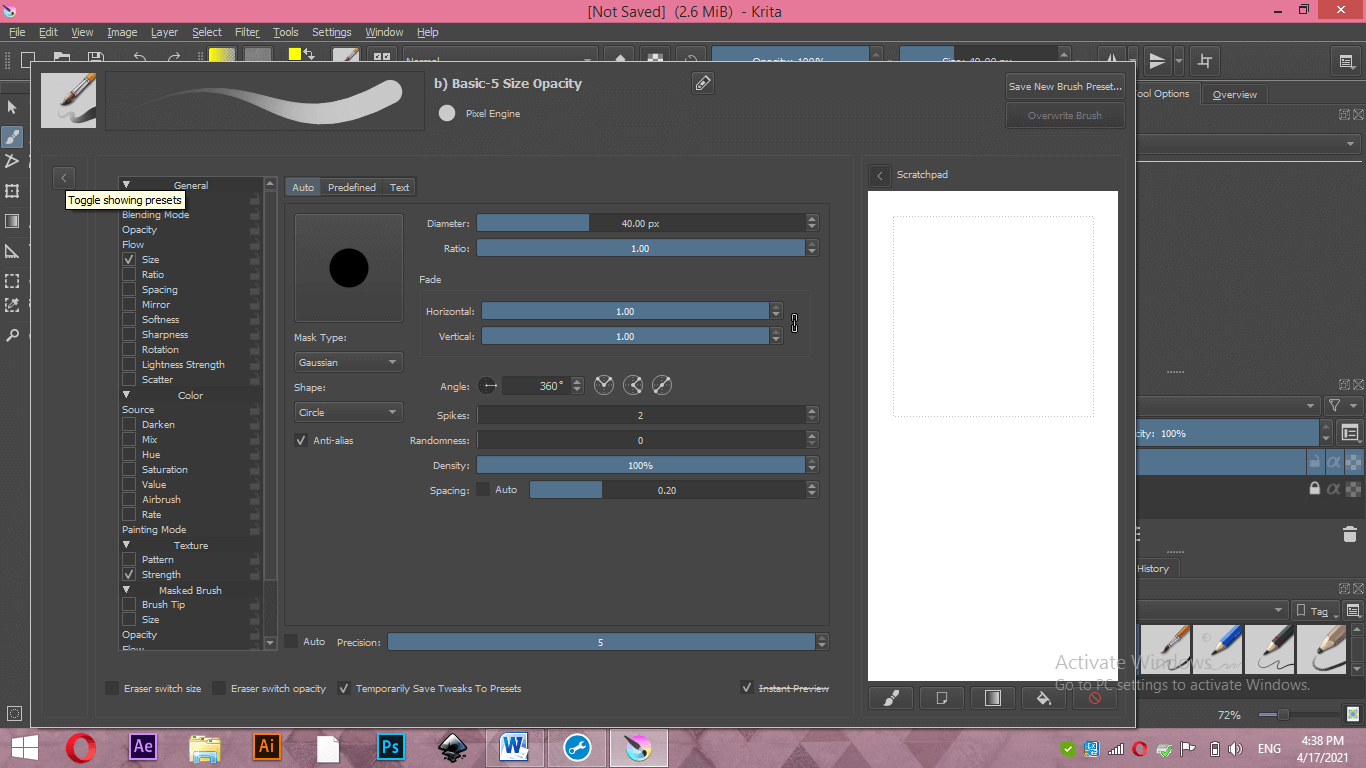
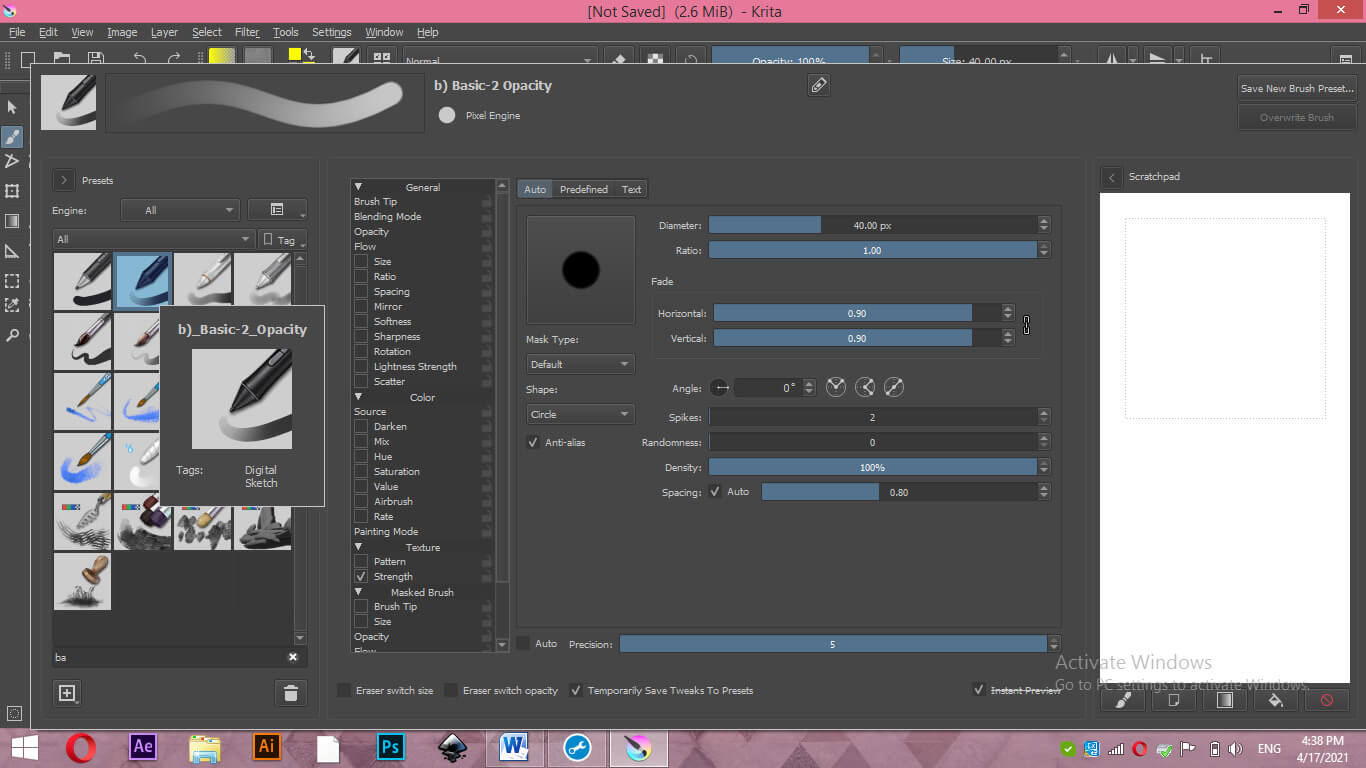
Choose your desired brush preset from here. I will take a basic brush preset to explain to you about the stabilizer feature.
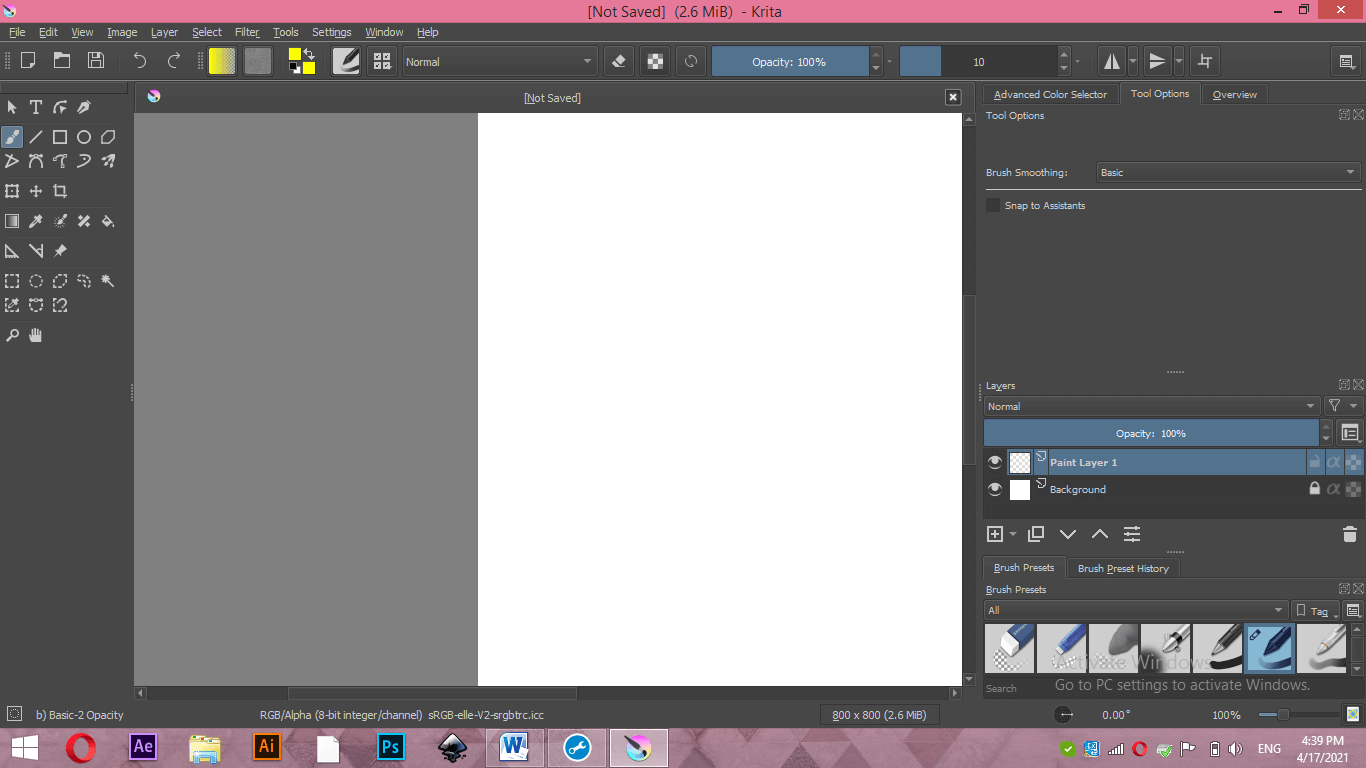
Set size of the brush as 10 pixels from this Size option.
You can also set the size of the brush tip from Edit Brush presets dialog box. Just give your desired value in the Diameter option of the chosen brush.
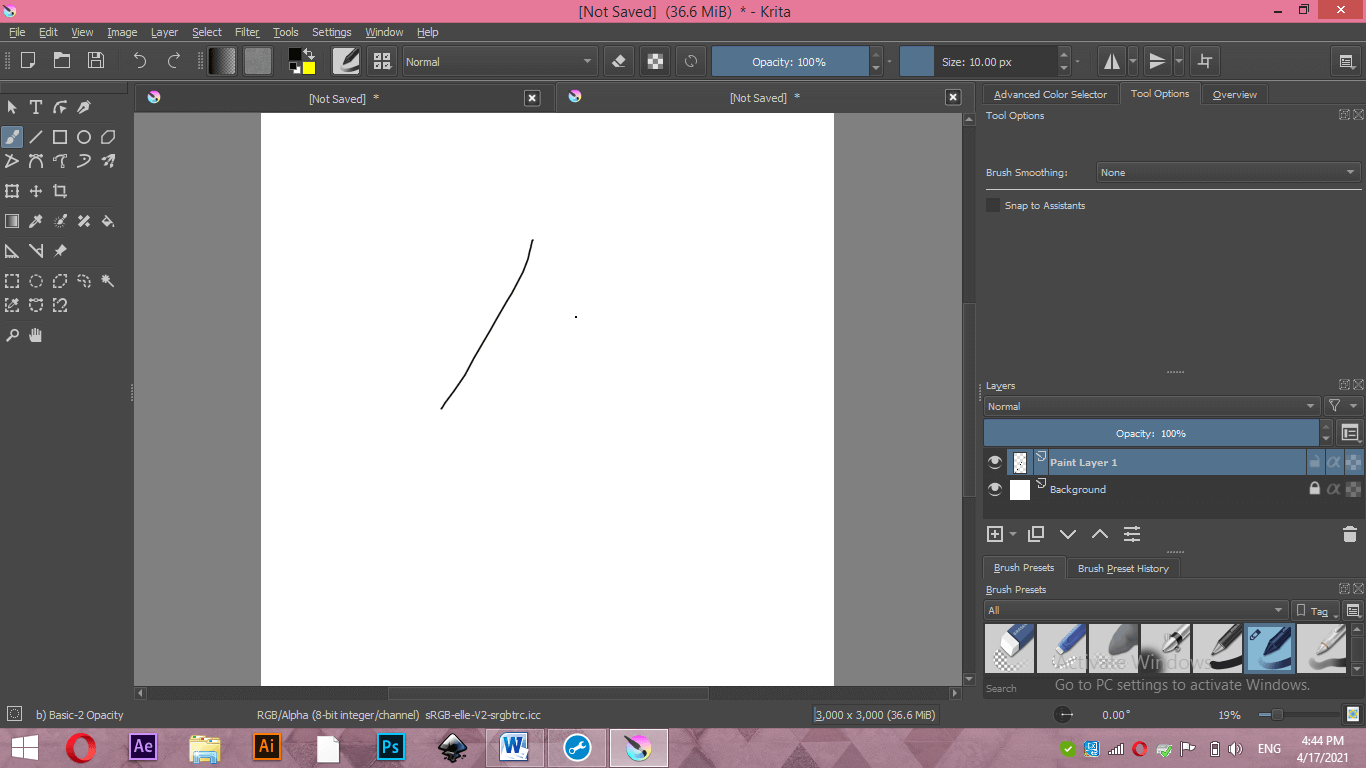
Now draw a line with this brush.
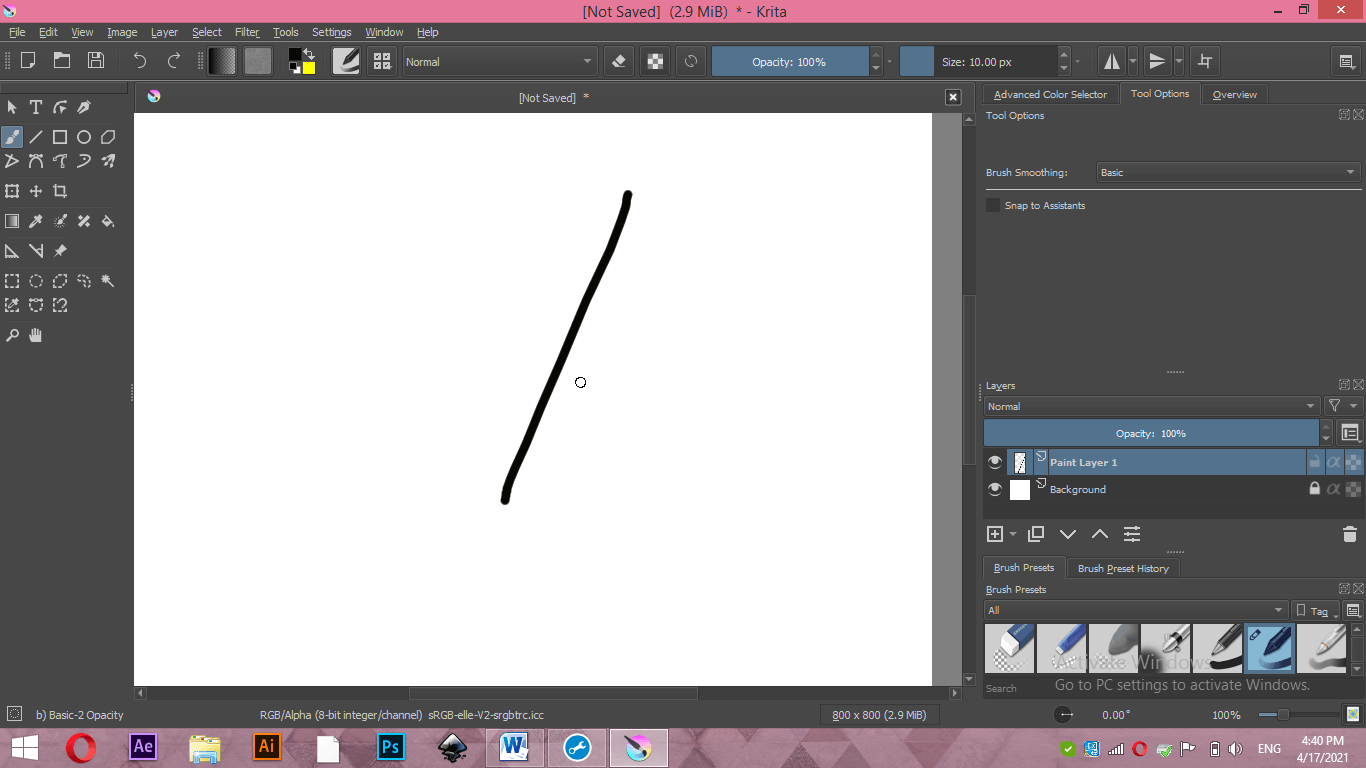
And zoom it at 100%. You can see there is jazziness in this line, and it is not smooth. Due to this issue, your artwork may look blurry, which is not good for you.
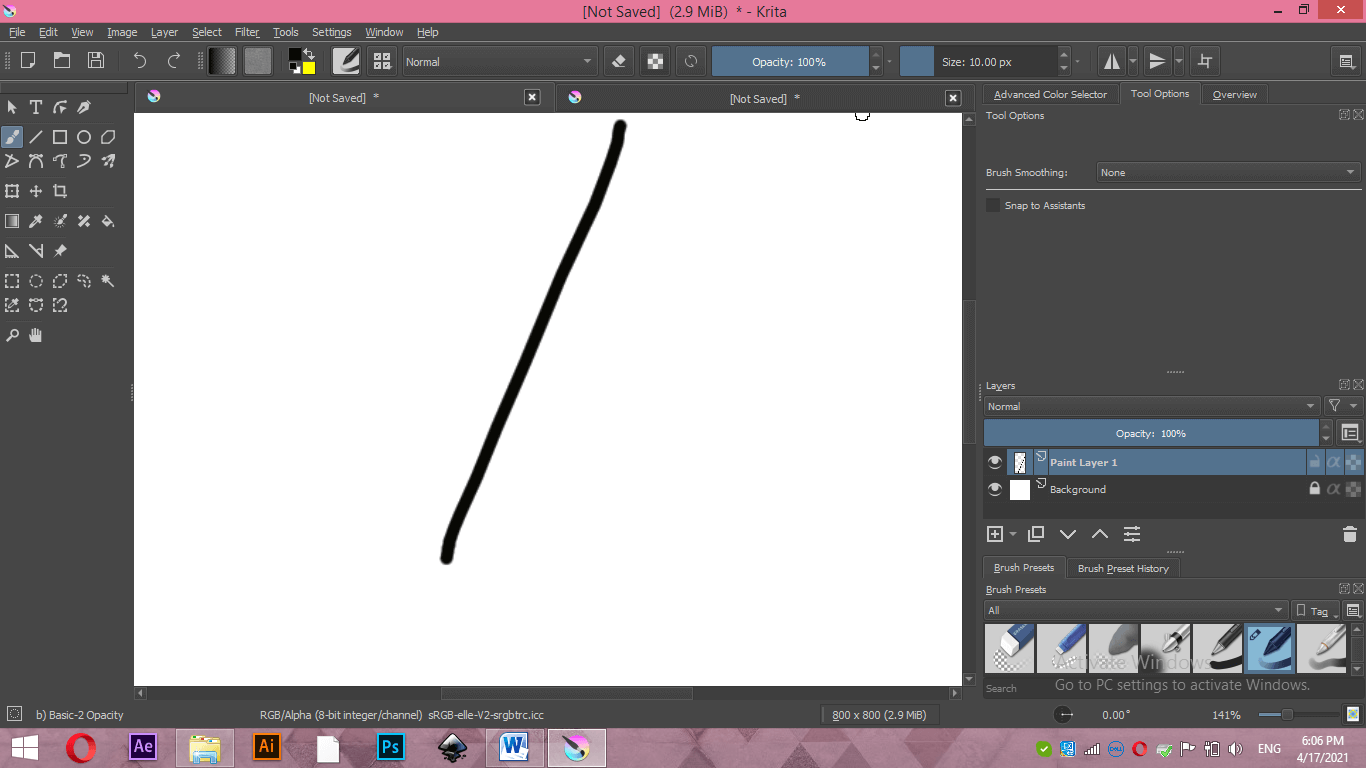
Let us find the solution to this problem. Just again, to go the File menu of the menu bar and click on the New option of the File menu for having a new document of different sizes.
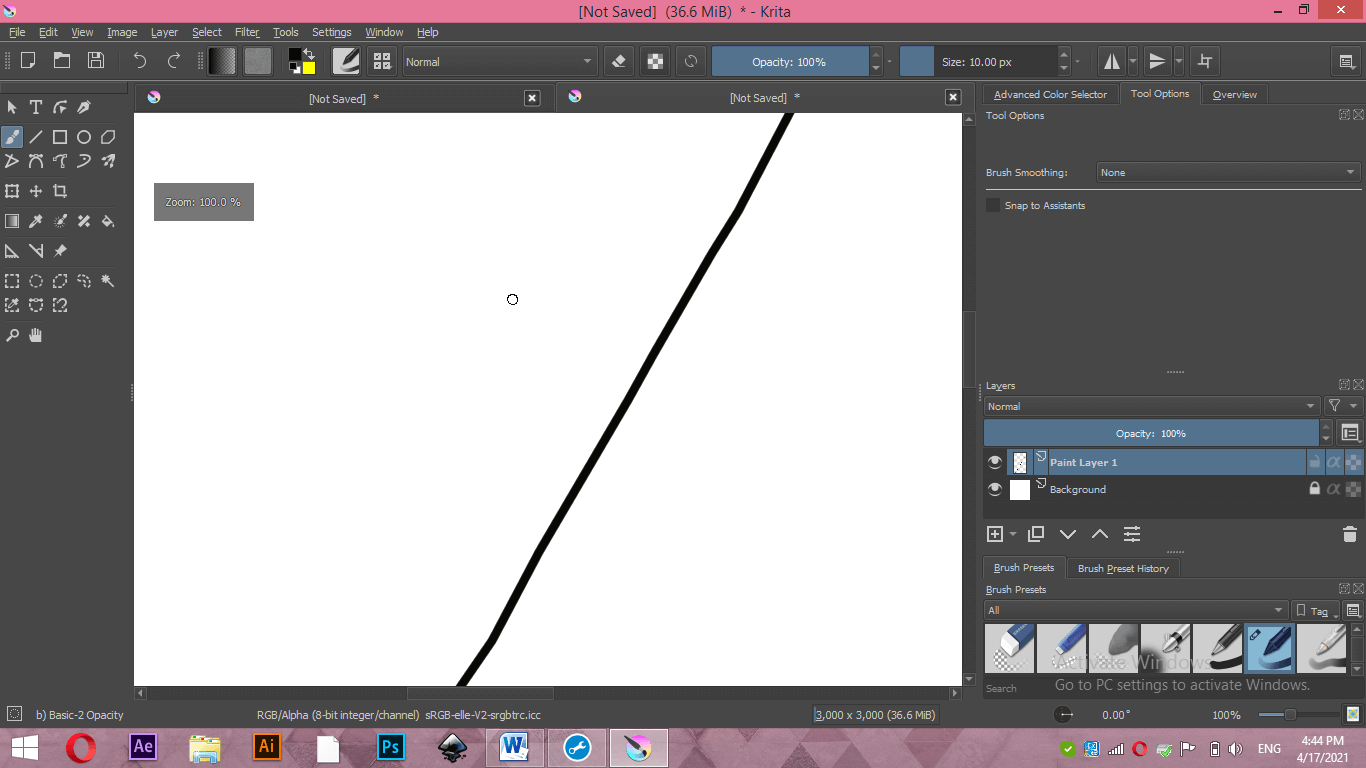
This time I will set the size of my document as 3000 x 3000 pixel and click on Create button of this dialog box which is at the button of this box.
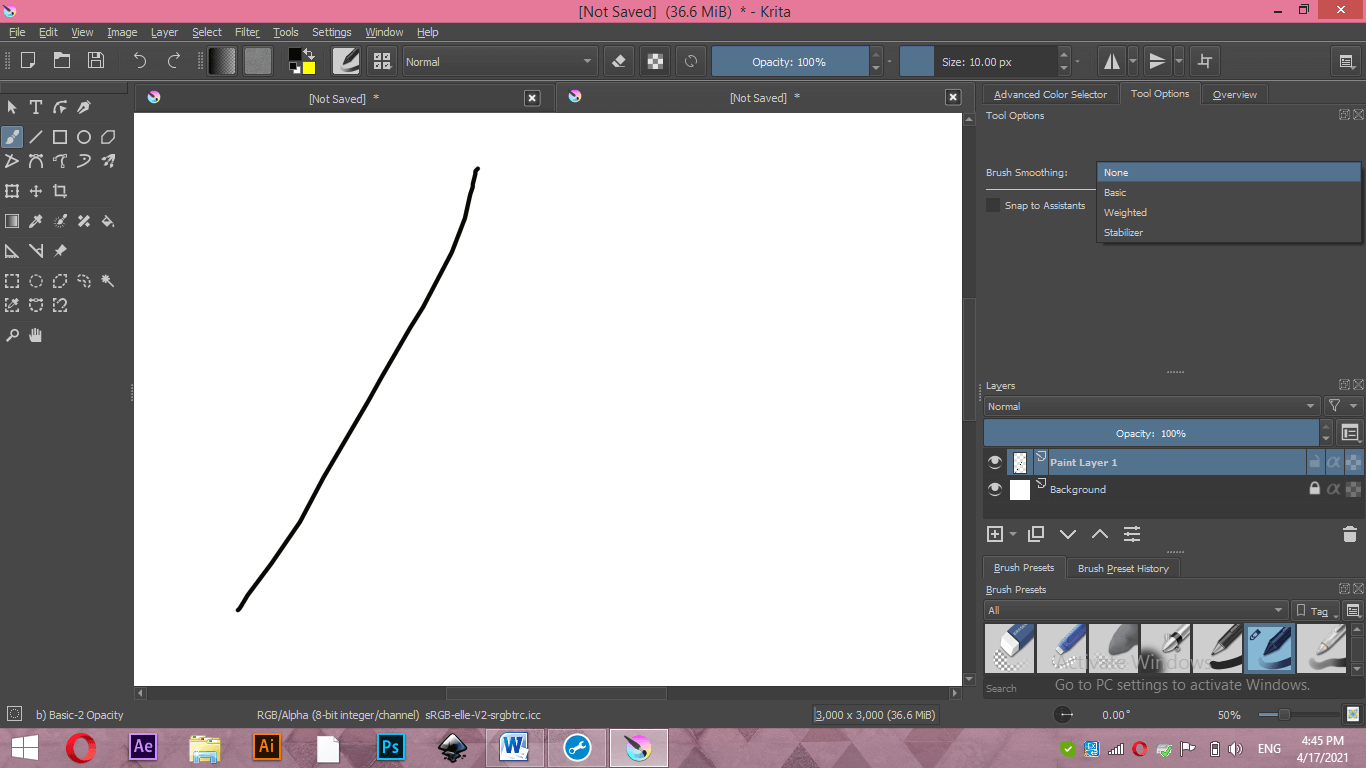
Now the canvas size is very big. Draw a line with the same brush preset parameters, which we used last time in an 800 x 800 pixels document.
When you zoom in, you can see only 100% zoom; it is much smoother than the previous one. So I will suggest you take a bigger size of document for your artwork in Krita software. Document size below 1000 x 1000 pixels will act as a baby size for your artwork, and you will not get your desired result.
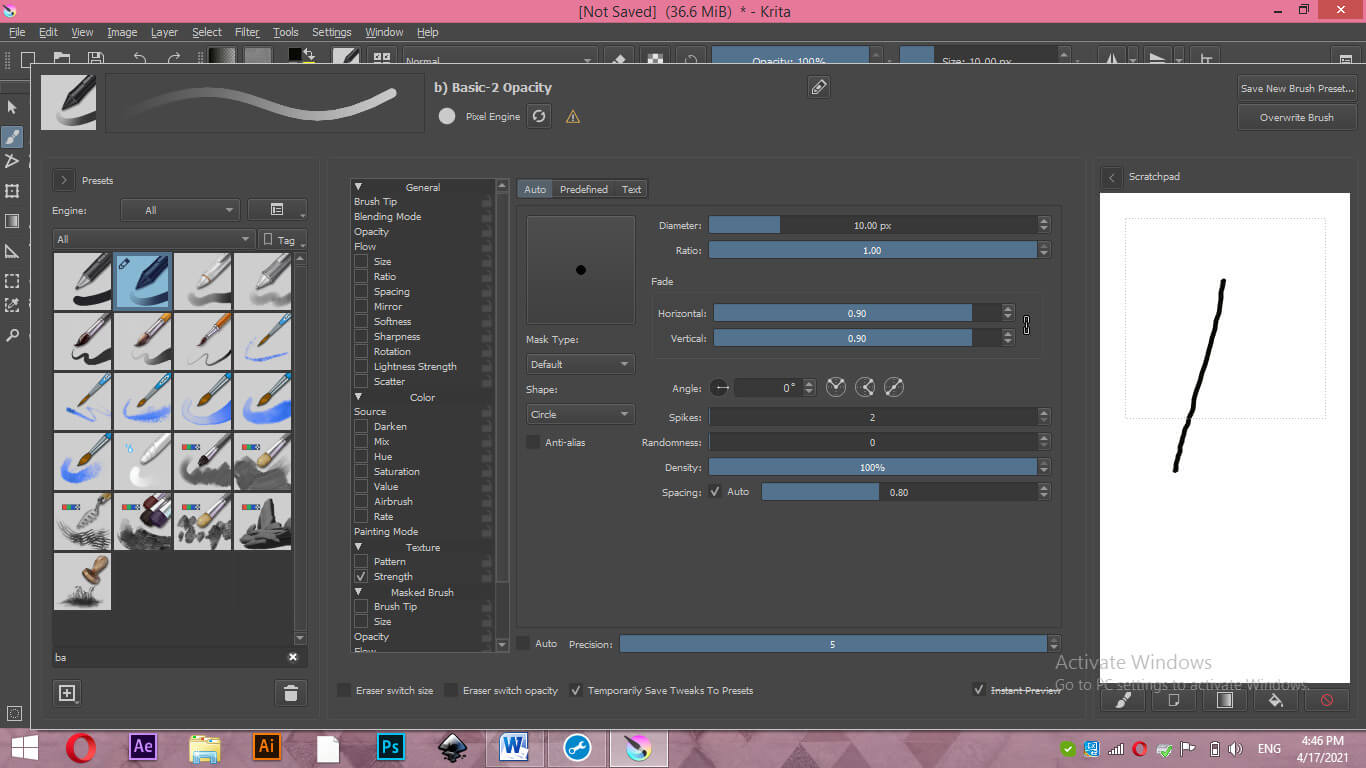
Now, if you open up the Edit Brush preset dialog box again, there is an Anti-alias option, and it will provide smoothness to your brush stroke. If I disable it by clicking on it check box.
And draw a line you can see it is lots of jazziness in it.
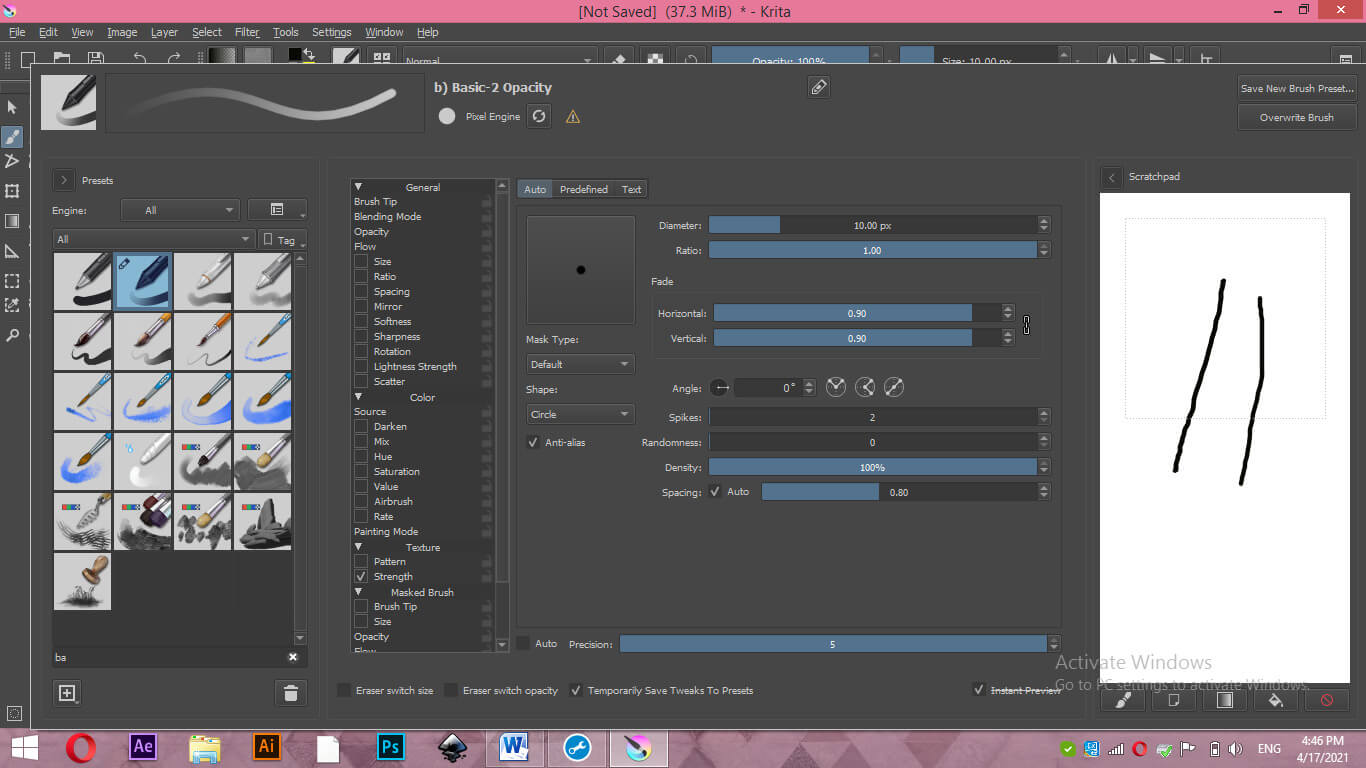
Now enable this option by again clicking on its check box and draw the line again. You can see it is smoother than the previous one. So make sure during working with brushes you have enabled this option.
For having more smoothness in line, we can do a couple of things, such as we can use smoothing settings in the brush. Here on the right side of the working screen, you will have the Tool options tab, and in this tab, we have Brush Smoothing options.
If you are unable to find this Tool options tab, then go to the Settings menu of the menu bar and click on it. Go to the Dockers option of the drop-down list, then enable Tools options from the new drop-down list of Dockers.
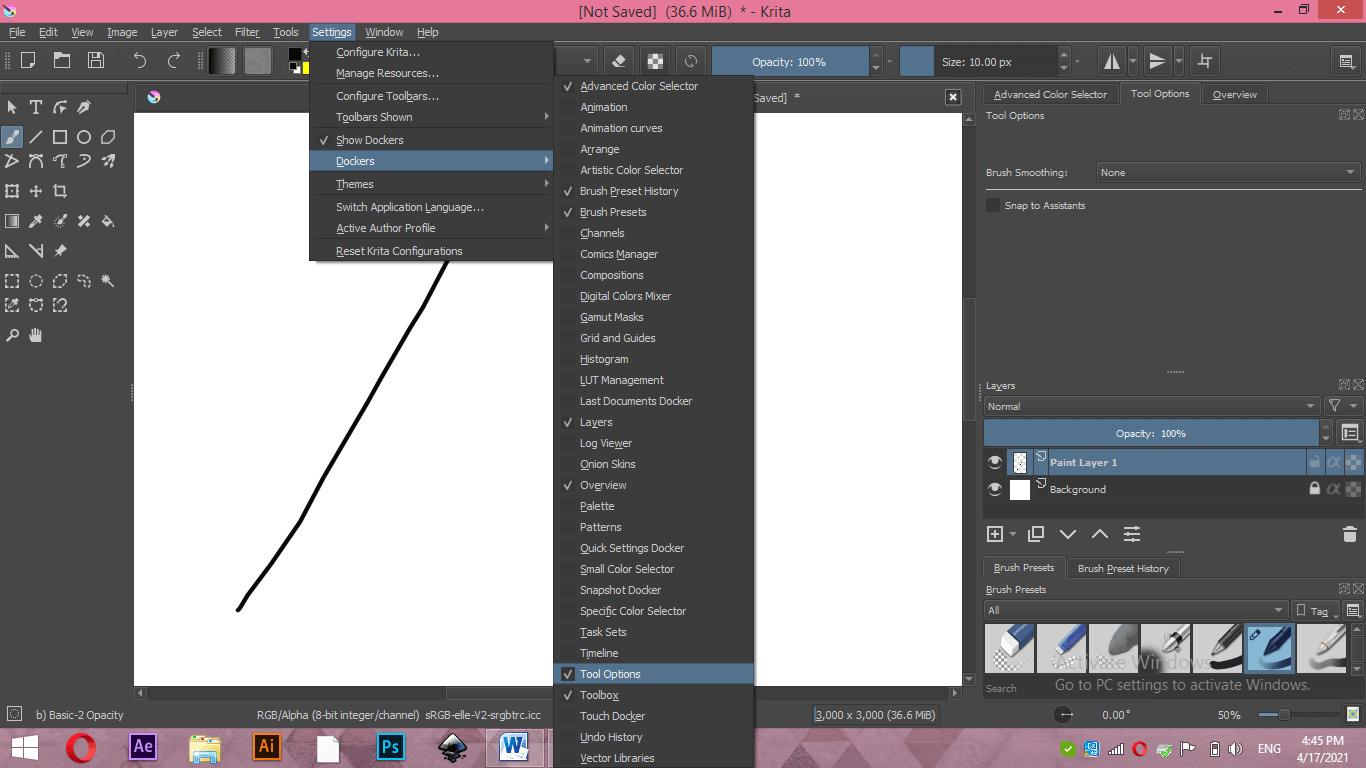
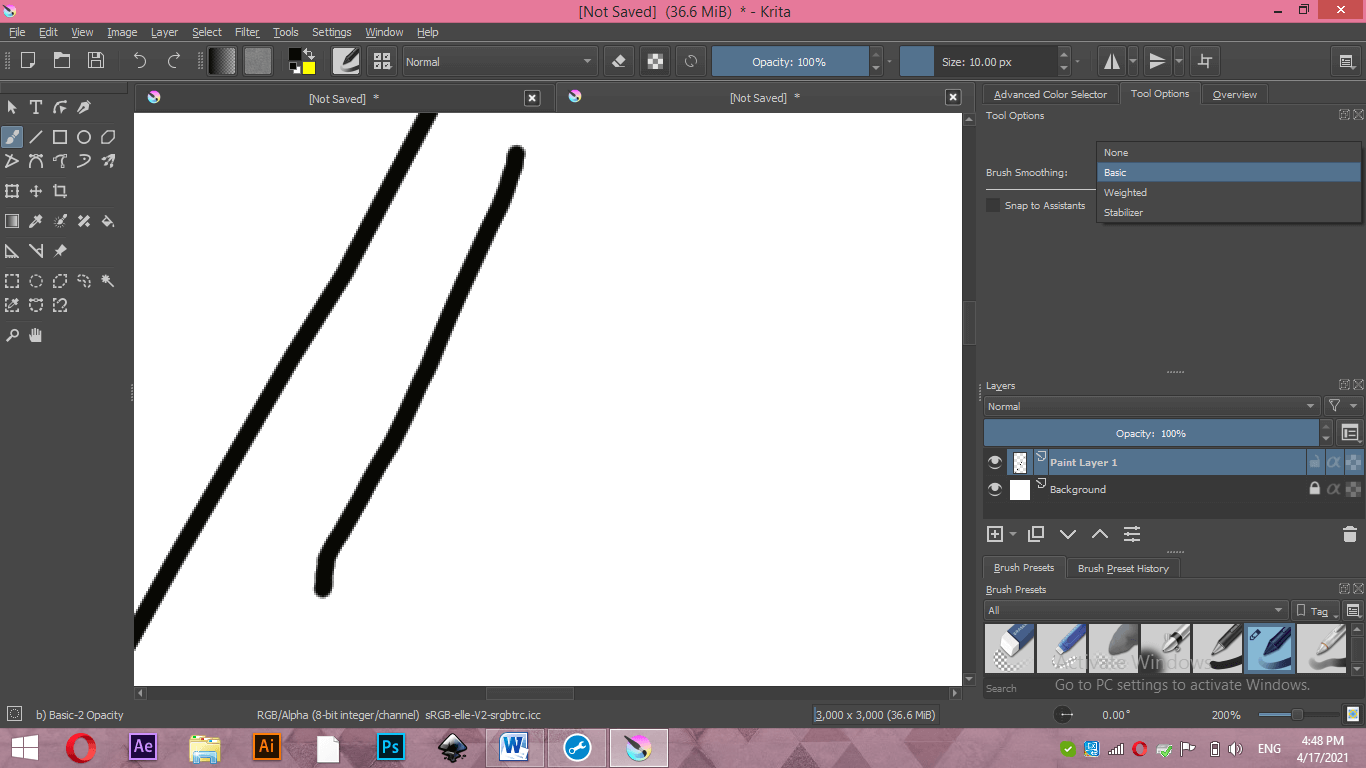
Click on the drop-down arrow key of the Brush Smoothing option, and you will have these options here that are None, Basic, Weighted and Stabilizer.

Let me tell you about these options one by one. First is will select a Basic option and draw a line next to the previous line, which I have drawn with the None option of Brush Smoothing.
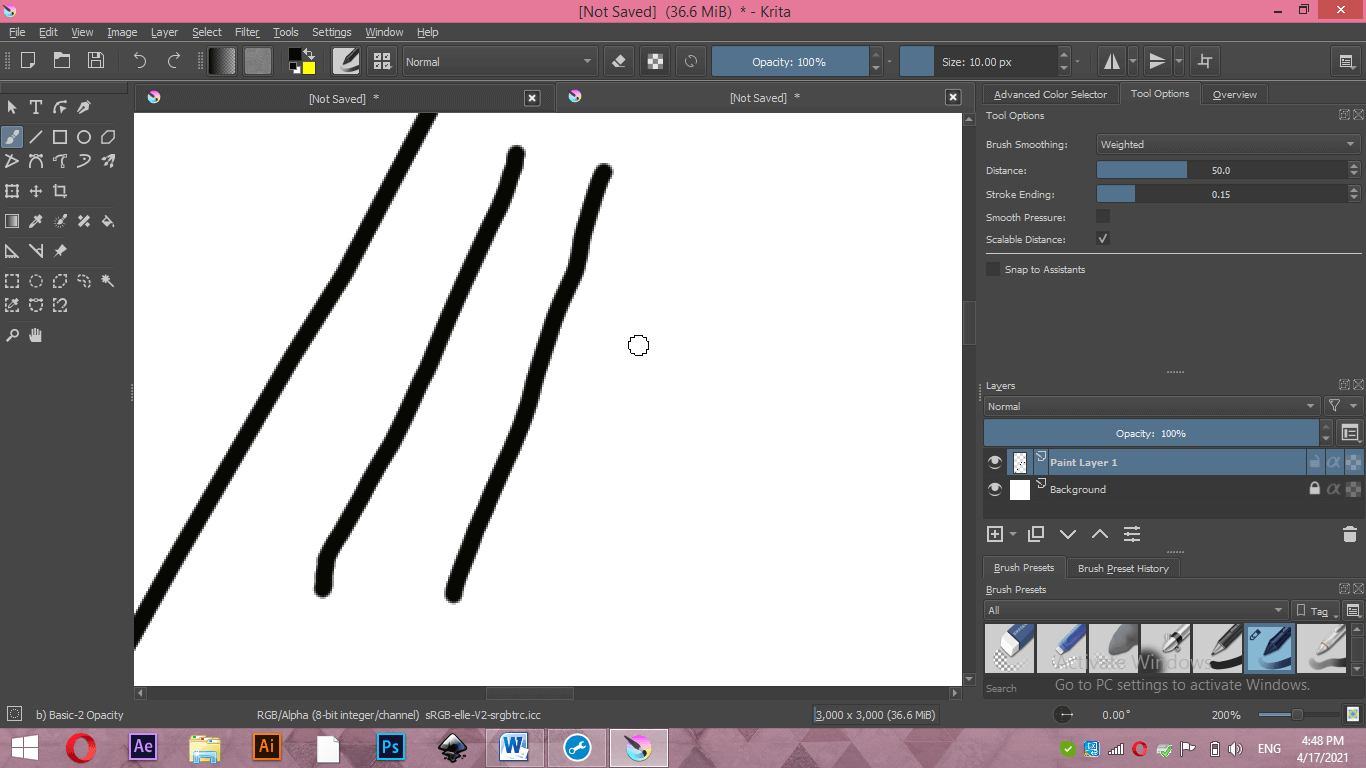
Now select the Weighted option by clicking on it and again draw a line with the same parameters of a brush.
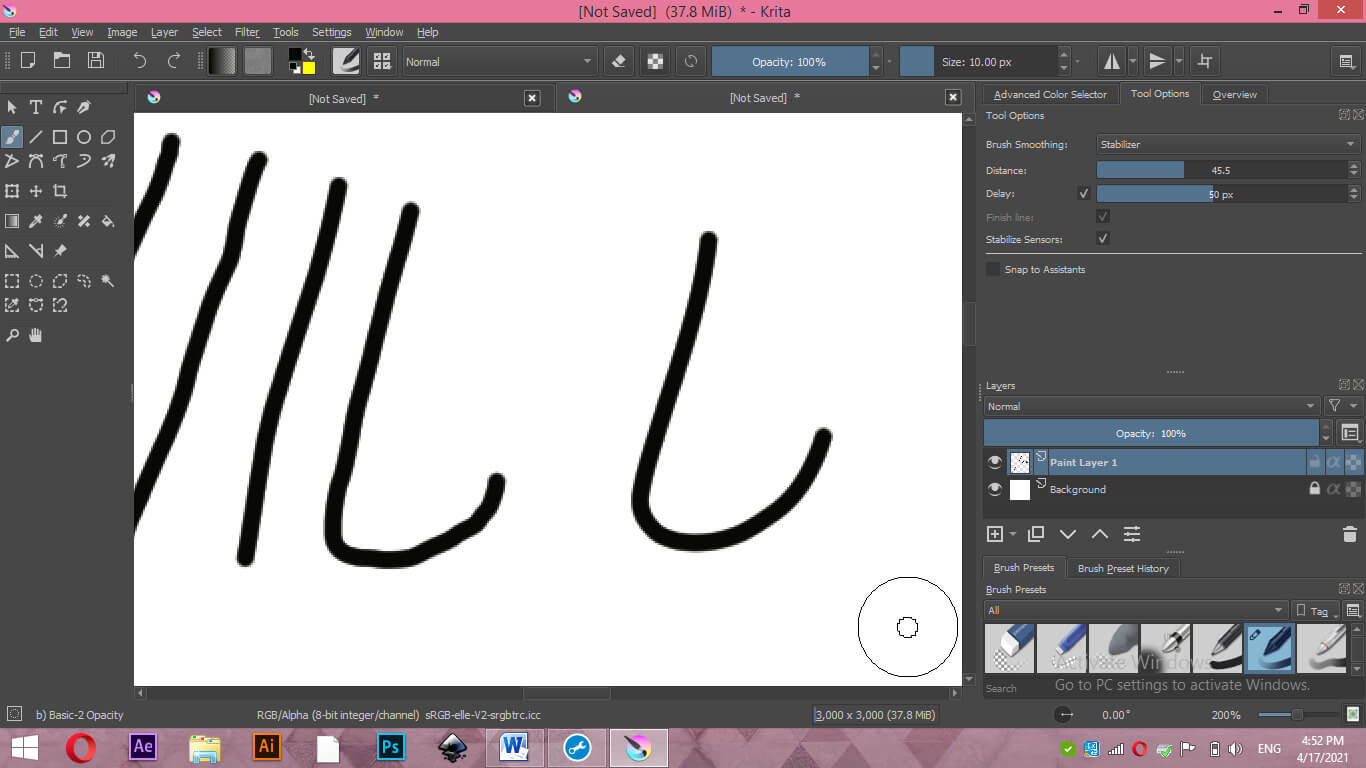
One more time, draw a line, but this time select the Stabilizer option of this list, and you can find a difference between each option. With the Stabilizer option, you will have a smoother line than all of the options. Here when you select the stabilizer option, the mouse cursor will change into two circles; tip like that and out circle represents delay time during drawing with it.
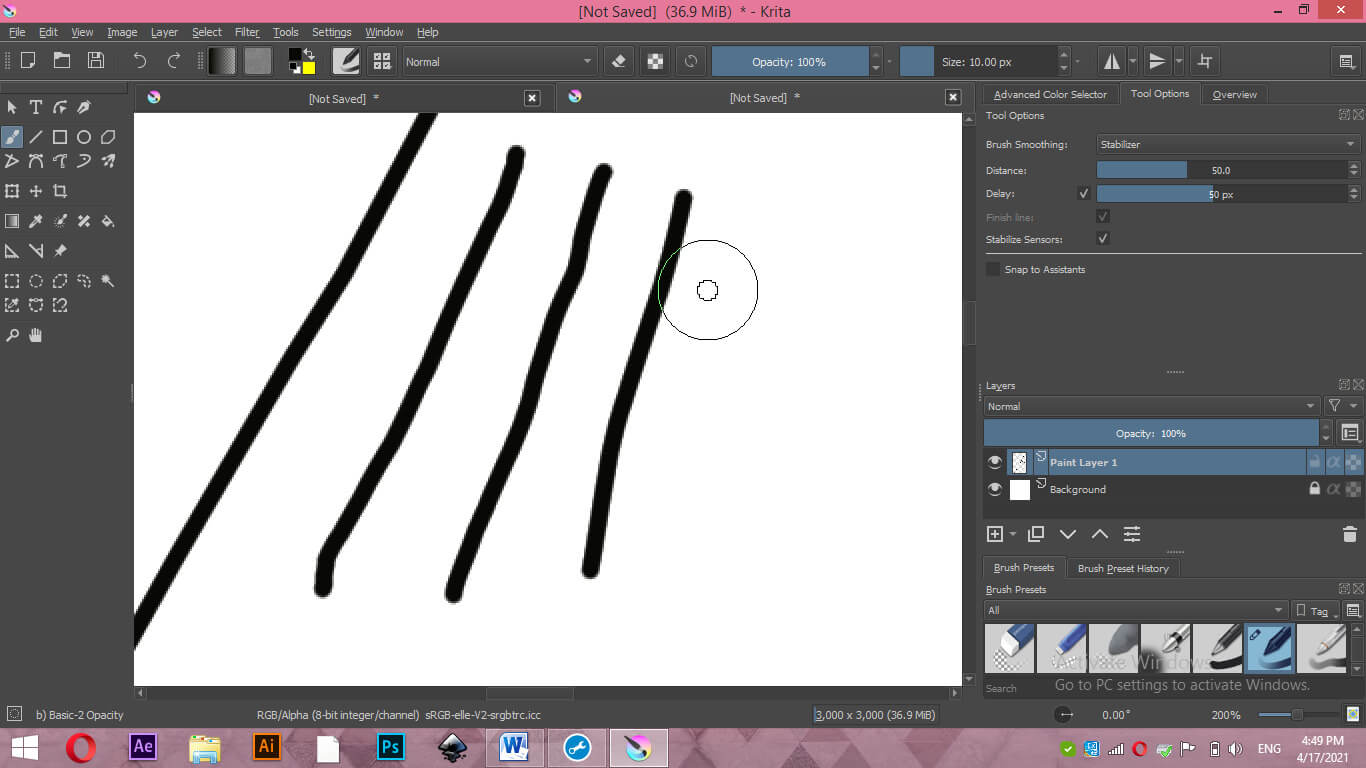
Delay can be understood as controlling the speed of drawing any stroke that means when the value of delay is less, then the stabilizer will provide less stoppage in drawing any stroke, or if delay value is more, then there will be more stoppage during drawing and speed of drawing that stroke becomes slow. Due to slow speed, there will be good smoothness on any stroke.

For example, if I draw this curve with less value of delay, it will be less smooth.
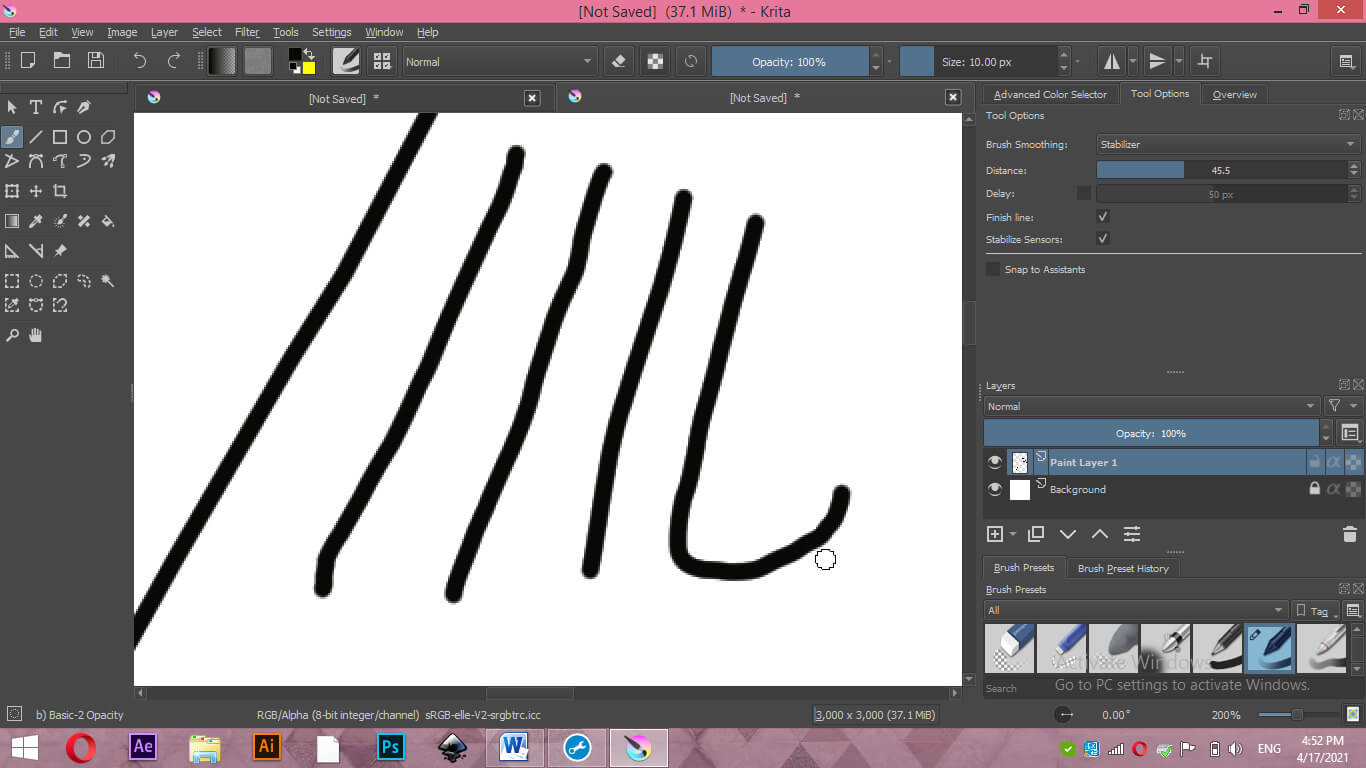
And if I increased the delay value, then you can see it is smoother than the last one.
Conclusion
Now you can understand how important a Stabilizer is in Krita? You can use this feature of Krita to have a good quality of the result of your art work. It is easy to handle it because it offers adjustable parameters for dealing with our different requirements. I am sure it will be a very helpful feature to your art work in Krita.
Recommended Articles
This is a guide to Krita Stabilizer. Here we discuss How to use Stabilizer in Krita, and by enabling this feature, we can provide smoothing to our brush stroke. You may also have a look at the following articles to learn more –
