Updated February 17, 2023
Introduction to JUnit Report
Junit report is generated in the application using the framework of junit, as we know that junit is used in several applications as a framework of the test. By default, the junit framework generates the simple report of xml files for the test execution. This type of xml file generates custom reports per the junit testing requirement.
We can also generate the reports using xml files and the ant tool for generating the report. Ant is a utility task, it will take xml files of junit as input, and then it will generate the html report. TestNG, by default, creates the xml report of junit for the test execution. So we can use an xml report file as input for generating the report of junit. Junit framework will help us to validate the methods in functionality. But in other cases, we need to see our report in test cases.

Create JUnit Report Class
- Developing reports maven is essential in making the report of text, XML, and html.
- All the junit test cases with all details will print into the reports. We can generate it in different ways like TestNG, ant, and many types of libraries. We can also develop it by using maven.
- To create a class, we need to use the maven surefire report plugin for generating the html based report, which was used for junit tests. Then, we can export this report in our test of junit and share the same with our team. Using the junit reports class also makes it easy to understand how our tests go, specifically when integrating them into the CI tools.
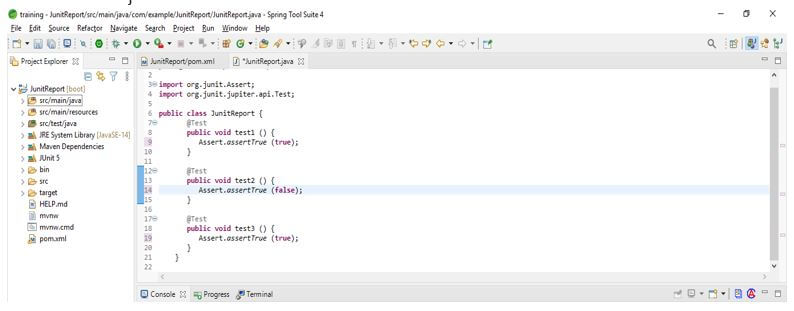
- The below example shows the creation of a junit reports class as follows. In the below example, we are defining the class name as junitreport. After creating the class, we used the @Test annotation to write the test cases. Then, we use the user-defined method to create the junit reports class. After using the @Test annotation, we use assert annotation using true and false conditions.
- We use the assert condition three times to define the junit report class. It is essential and valuable to create junit reports.
- In the below example, we have defined three test methods to create a junit report class as follows.
Code:
public class JunitReport {
@Test
public void test1 () {
Assert.assertTrue (true);
}
@Test
public void test2 () {
Assert.assertTrue (false);
}
@Test
public void test3 () {
Assert.assertTrue (true);
}
}
Output:
JUnit Report Project Setup
We can set up a junit project by using multiple ways. We set up the project using the spring tool suite in the example below. At the time of setup of the project, we are using the maven plugin as follows.
At the time of creating the project setup of junit reports, we are also adding the dependency of junit.
We are using the below technologies at the time of the new setup of the junit report project as follows.
Java – It is the primary language of coding.
Spring tool suite – It is IDE for project development.
Maven – This is used for generating test cases and reports and is a dependency management tool.
Junit 4.12 – It’s a testing framework.
The below steps show to set up the project as follows.
We are creating the project name as JunitReport.
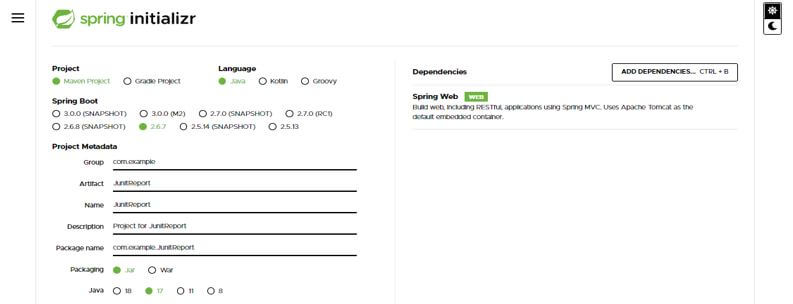
In this step, we create the project template of junit reports in spring boot. We provide project group names as com. Examples are artifact names such as JunitReport, project names such as JunitReport, and selected java versions as 11. We are defining the version of spring boot as 2.6.7.
Group – com.example Artifact name – JunitReport
Name – JunitReport Spring boot – 2.6.7
Project – Maven Java – 11
Package name – com.example. JunitReport
Project Description – Project for JunitReport
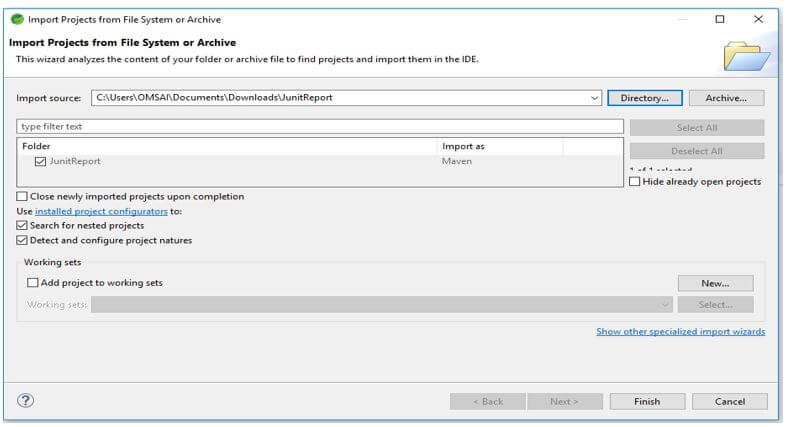
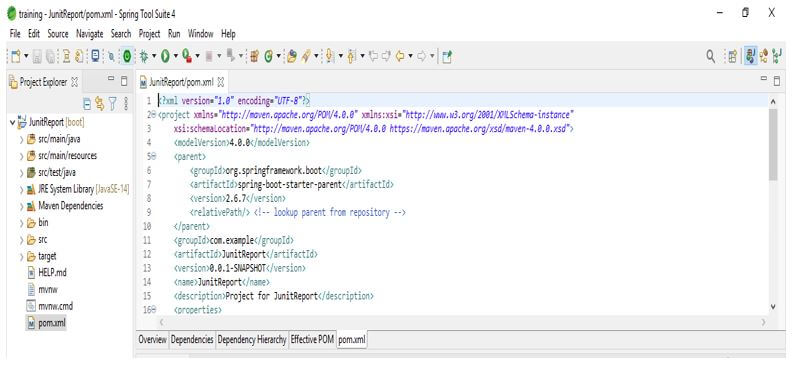
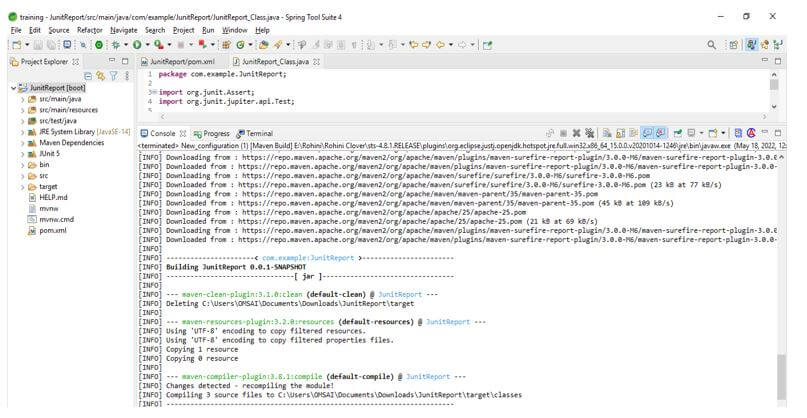
In this step, we extract the downloaded project and open the same by using the spring tool suite.
In this step, we check all the project structure and its files. Also, we are checking whether that pom.xml file is created or not. If this file is not created, we need to create the same manually. However, this file is created in the below example, so we do not need to create it manually.
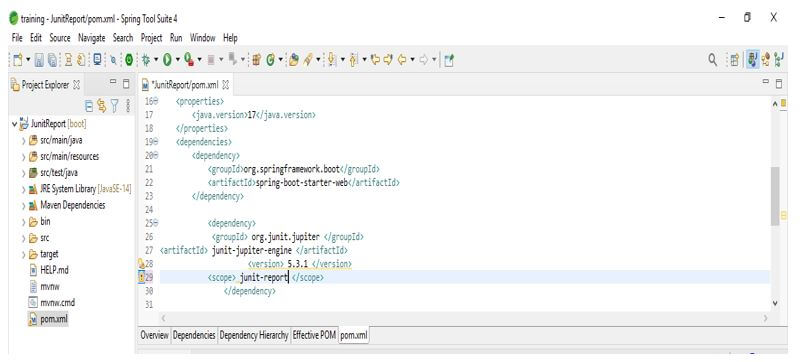
In this step, we add the junit dependency in the junit report project. We are adding junit dependency as follows.
Code:
<dependencies>
<dependency>
<groupId> org.junit.jupiter </groupId>
<artifactId> junit-jupiter-engine </artifactId>
<version> 5.3.1 </version>
<scope> junit- report </scope>
</dependency>
<dependency>
<groupId> junit </groupId>
<artifactId> junit </artifactId>
<version> 4.12 </version>
</dependency>
</dependencies>
<properties>
<maven.compiler.source> 1.8 </maven.compiler.source>
<maven.compiler.target> 1.8 </maven.compiler.target>
</properties>
<reporting>
<plugins>
<plugin>
<groupId> org.apache.maven.plugins </groupId>
<artifactId> maven-surefire-report-plugin </artifactId>
<version> 2.19.1 </version>
</plugin>
</plugins>
</reporting>
Output:
Example of JUnit Report
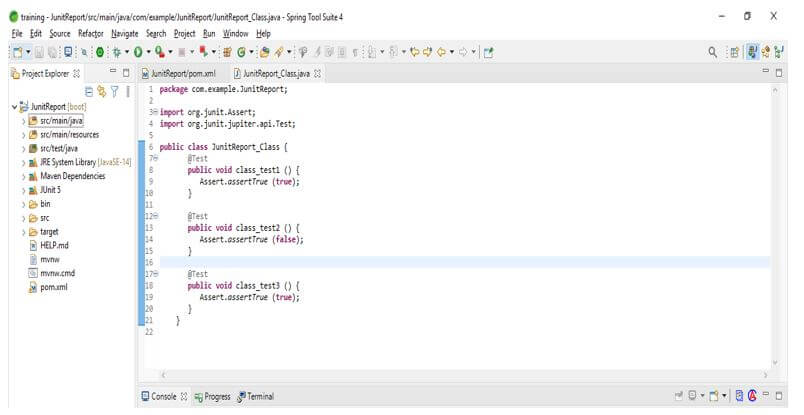
In the below example, we are creating the class name JunitReport_Class to define the example of junit reports.
After creating the class, we used the @Test annotation to write the test cases. We are using the user-defined method to create the junit report class. After using the @Test annotation, we used assert annotation using true and false conditions.
Code:
public class JunitReport_Class {
@Test
public void class_test1 () {
Assert.assertTrue (true);
}
@Test
public void class_test2 () {
Assert.assertTrue (false);
}
@Test
public void class_test3 () {
Assert.assertTrue (true);
}
}
Output:
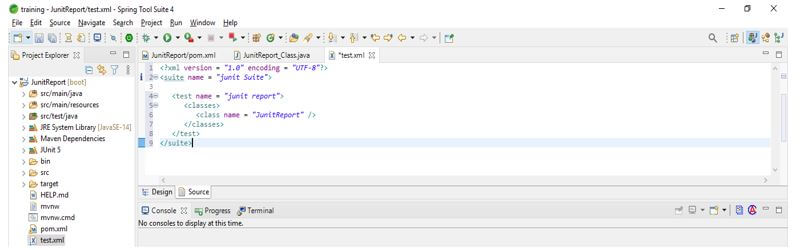
After creating the above class in this step, we create the sample html file as follows.
Code:
<?xml version = "1.0" encoding = "UTF-8"?>
<suite name = "junit Suite">
<test name = "junit report">
<classes>
<class name = "JunitReport" />
</classes>
</test>
</suite>
Output:
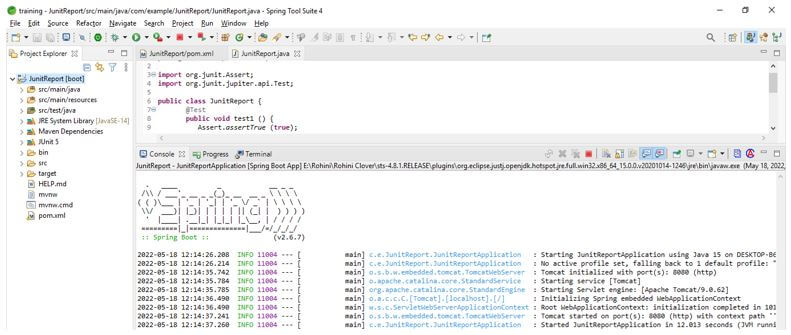
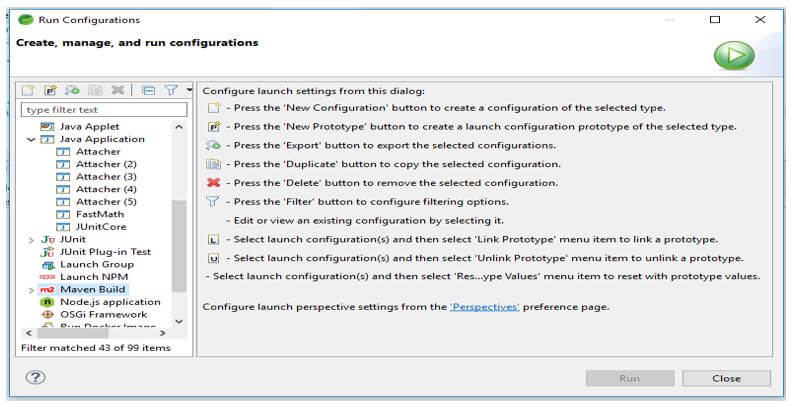
After creating a sample xml file, we run our project using the running configuration. Below is the method to run the junit report project as follows.

Conclusion
We can generate the reports using xml files; also, we can use the ant tool for generating the report. It is generated in the application by using the framework of junit, as we know that junit is the framework that was used in several applications as a framework for the test.
Recommended Articles
This is a guide to JUnit Report. Here we discuss the introduction and create a JUnit report class, project setup, and example. You may also have a look at the following articles to learn more –
