What is an iTop Screen Recorder?
iTop Screen Recorder is a tool for capturing your computer screen smoothly and in high definition. It makes screen recording easy and hassle-free, with a user-friendly interface and a built-in editor. Whether you want to capture gaming moments, online meetings, or educational sessions, it lets you record, save, and share them effortlessly with just a few clicks.
Features of iTop Screen Recorder
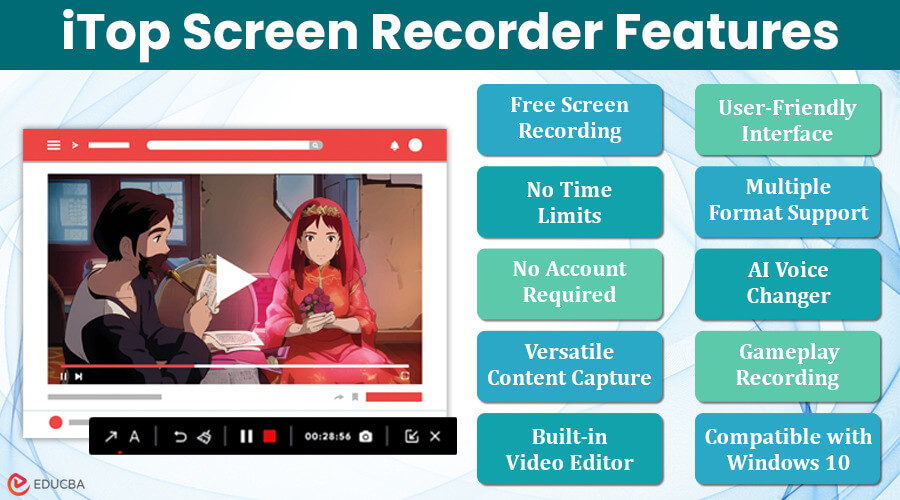
- Free Screen Recording: The tool offers a free screen recorder, allowing users to capture moments on their desktop screens effortlessly.
- No Time Limits: Users can record video clips without any time restrictions, making it versatile for various recording needs without interruptions.
- No Account Required: Users are not burdened with creating accounts or dealing with intrusive advertisements, ensuring a smooth and hassle-free experience.
- Versatile Content Capture: Suitable for capturing a wide range of content, including video meetings, online classes, lectures, presentations, games, and even 4K movies.
- Built-in Video Editor: It features an integrated video editor, enabling users to enhance their recordings by adding music, effects, subtitles, transitions, filters, and more on multiple tracks.
- Multiple Format Support: Users can save their recordings in popular formats like MP4, AVI, MKV, MOV, MP3, FLAC, etc., and share them with just one click, simplifying the sharing process.
- AI Voice Changer for Audio Recording: The screen recorder includes an AI voice changer for audio recording, adding a fun element to recordings by allowing users to alter their voices creatively.
- Gameplay Recording without FPS Drops: It offers gameplay recording without any FPS drops, ensuring smooth and high-quality recordings even during intense gaming sessions.
- User-Friendly Interface: Its intuitive interface makes the tool accessible to all users, without requiring any level of technical experience.
- Compatible with Windows 10: It works seamlessly on a screen recorder Windows 10 operating system, catering to a wide user base.
Advantages
- Records desktop screens without any expenses or time restrictions.
- Easy integration of clickable links for beginners.
- Access to video editors to add professional effects.
- Speeds up recording without compromising on quality due to GPU acceleration.
Disadvantages
- In the free version, recorded videos have a watermark. Upgrading to a paid plan removes it.
- It lacks full support for macOS and mobile devices.
- Users might experience performance issues or system slowdowns.
Final Thoughts
Using the iTop screen recorder will help you with recording any type of video content on your desktop. Whether it’s capturing online meetings, team briefings, or sales pitches, this user-friendly recorder ensures a smooth communication process for all.
Recommended Articles
We hope this article on “iTop Screen Recorder” was helpful to you. To learn more, refer to the articles below.


