Updated March 13, 2023
Introduction to Ubuntu Server
Ubuntu is a very popular operating system. It is free and community-supported. Developers around the world prefer Ubuntu for its great functionality. Ubuntu server is a variant of standard ubuntu, which is specially designed for network and services. Ubuntu server can run from a simple file server application to operating thousands of node cloud. There is a significant difference in the installation process of Ubuntu desktop and server. Where Ubuntu Desktop comes with a graphical user interface that is easy and intuitive to install, Ubuntu Server does not have a graphical program for installation.
Requirements to Install Ubuntu Server
To be able to set up or install an Ubuntu server on any machine, we need to first satisfy the basic hardware needed.
- A system should have at least 2 GB of free storage space.
- There has to be a slot for DVD reading or a flash drive port that should contain the Ubuntu server setup software for installation.
Steps to Install Ubuntu Server
Given below are the steps required to install Ubuntu Server as follows:
Step 1: Boot from install media
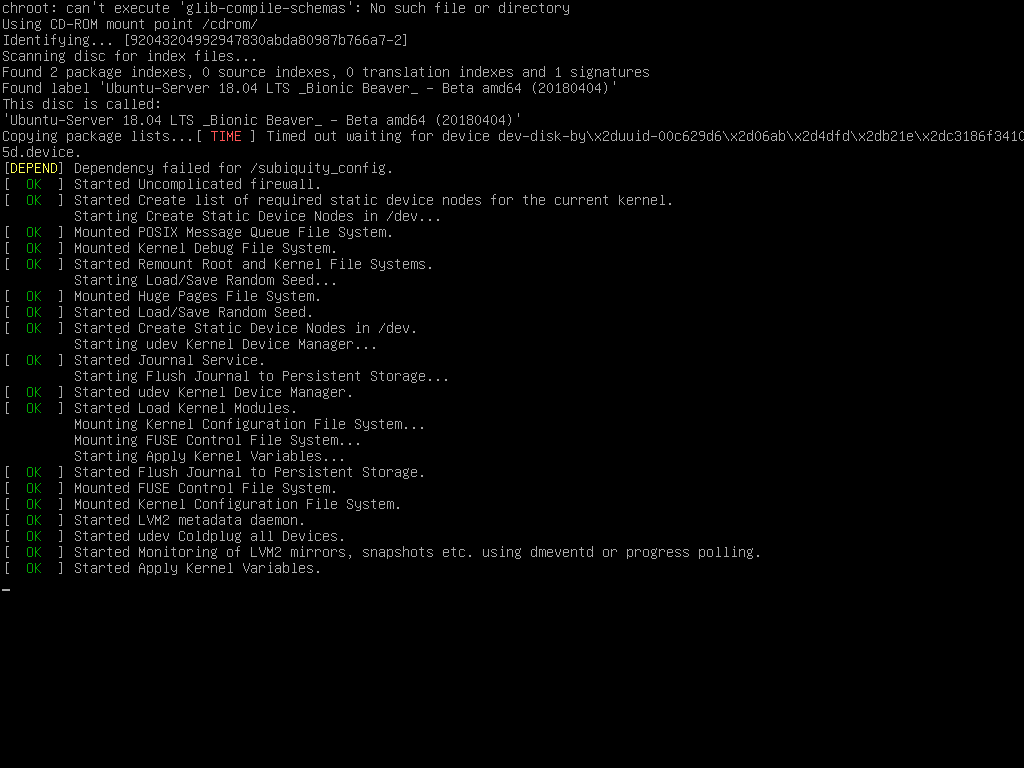
This is typically the first step of the installation process where we obtain a ubuntu server software copy in the form of a DVD or USB flash drive and read it through the DVD player or USB port. Once the software copy is inserted into the drive, a dialogue window should pop up within 1 few seconds. Once that is available, the next step should be followed.
A restart may also be needed; if so, please restart your computer. After the restart, a message as displayed below can be seen.
Step 2: Choosing the language of installation
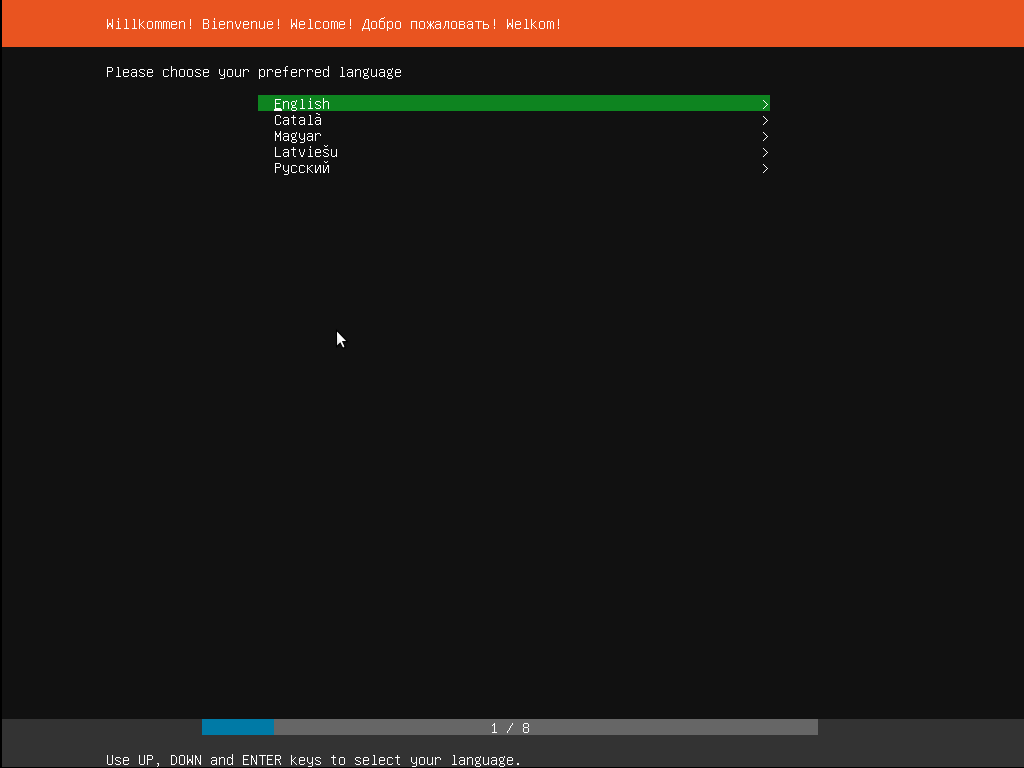
There are several languages in which Ubuntu can be installed. In this step, we choose the language of the installation. For this tutorial, we shall pick English as our language to install the Ubuntu Server. The language option is displayed right after the boot message.
Step 3: Choosing correct keyboard layout
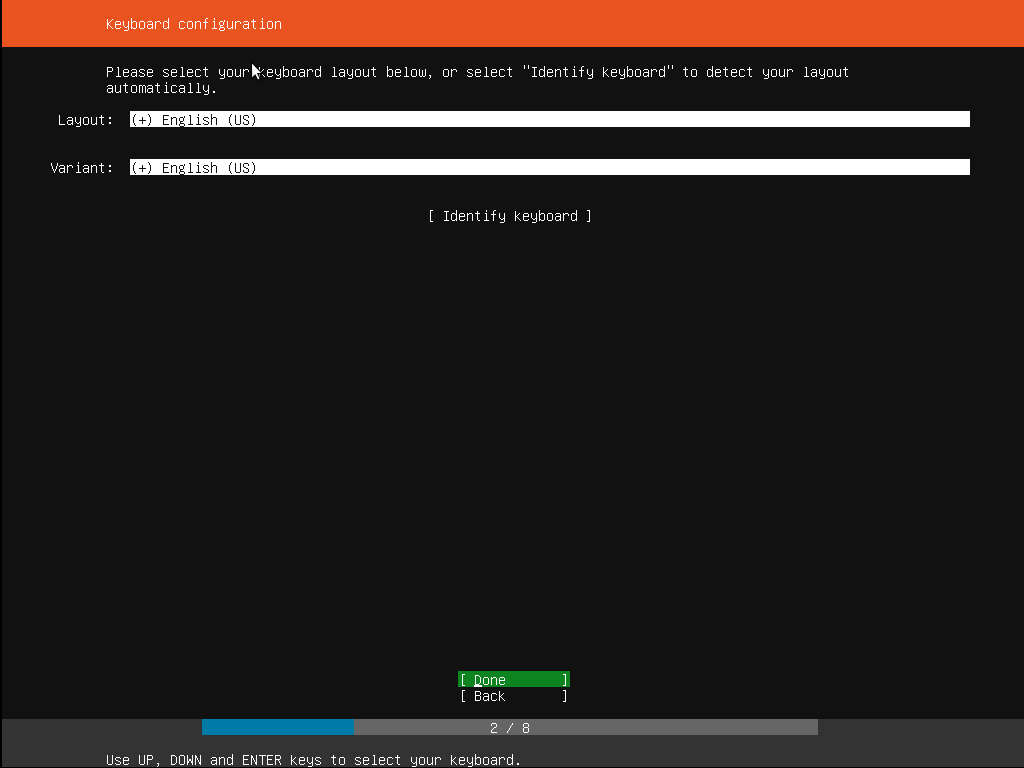
Once the language of installation is selected, we need to choose the keyboard type. For this tutorial, we shall select the English US keyboard layout. The keyboard layout selection is important because during the installation process, several commands need to be sent to the installation wizard for correct installation, and hence keyboard is required for that.
Step 4: Choose install variant
Under this step, we select the relevant version for installation. There could be many options available such as install ubuntu, install mass region controller, install mass rack controller. We should pick the install ubuntu option.

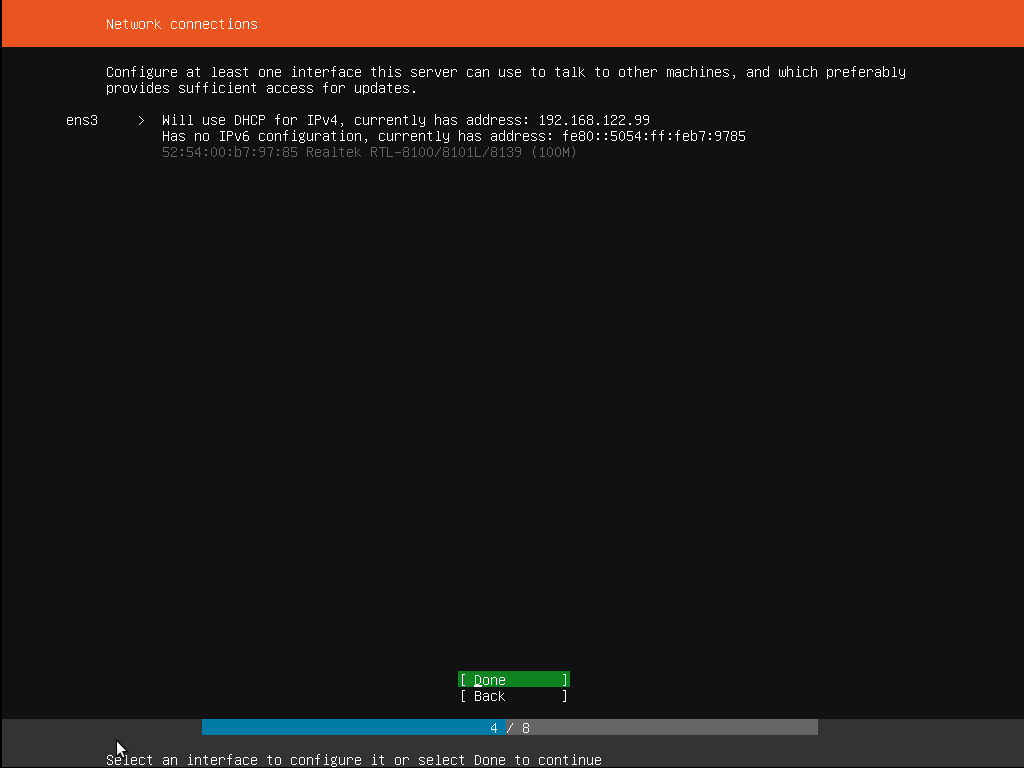
Step 5: Networking
In this step, the installer automatically detects and tries to configure any network connections through the DHCP switch. This step is automatic, and the user need not do anything. But it is still good to know.
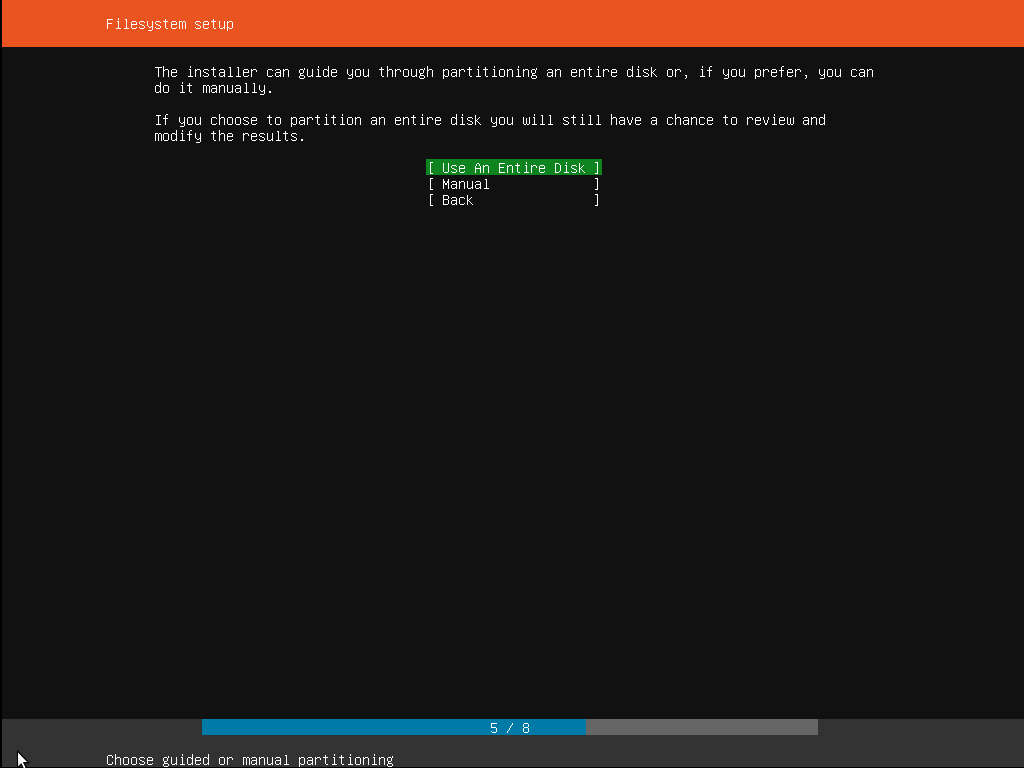
Step 6: Configuring the storage
As a next step, we need to set up memory storage for storing and running Ubuntu. The usual recommendation is to install an entire disk or partition to be set aside. As can be seen in the screenshot below, the storage step has three choices. Either we can pick an entire disk, or we can choose manual partitioning. The third choice is to go back and abort the installation process.
If one needs to set up a customized or rather complicated system, then a manual option can be picked. It will allow a user to select and re-organize partitions as per his/her requirement on any connected drives.
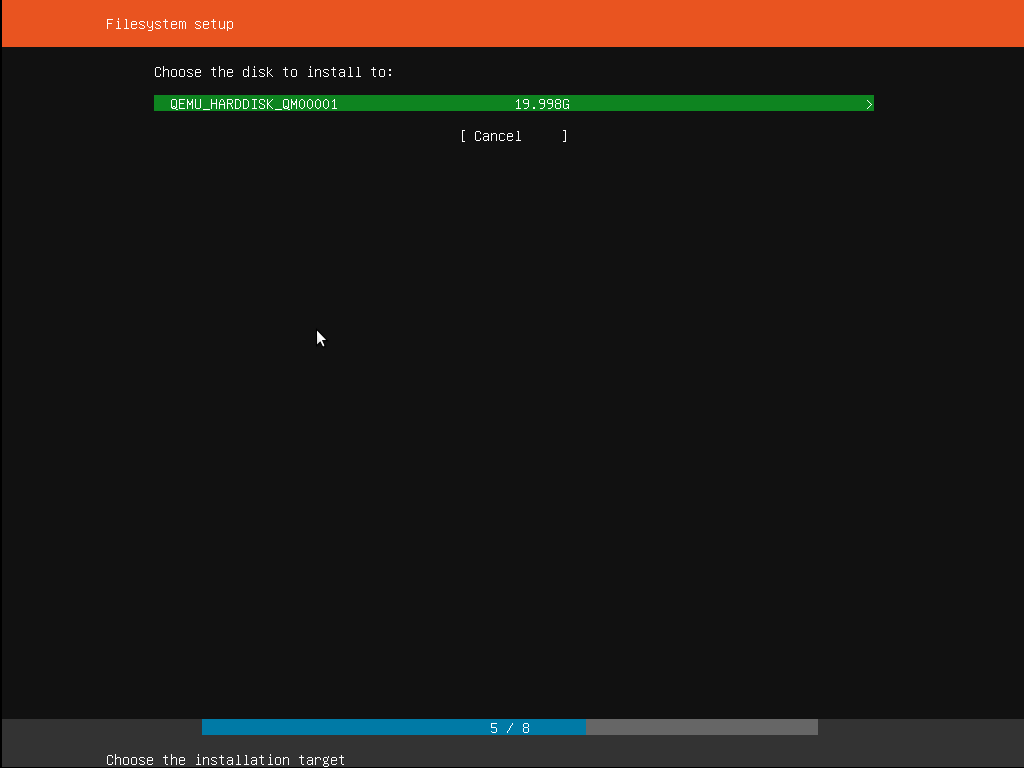
Step 7: Selecting a device
This menu allows a user to select a disk from all detected disk that is shown on the system. To help this identification, the drives are listed using their system ID. Users can navigate through the arrow keys and press enter key to select the disk that he/she wishes to use.
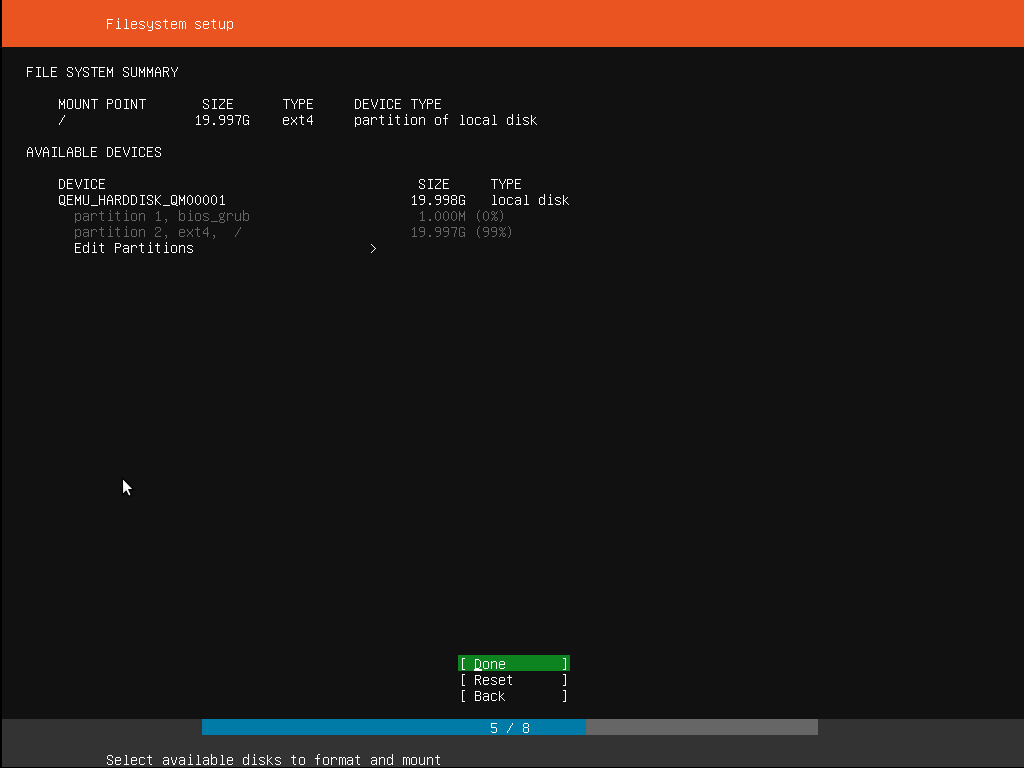
Step 8: Confirming partition
Now that the target drive is selected, the installer calculates what partitions are to be created, and then it presents this information on the display. If a user has a different preference or requirement, such as if you have selected a wrong driver, then arrow keys can be used to change the same, or one can select Back from the options available at the bottom of the screen too. This action will take back to the previous menu choices where one can select a different drive and continue the process.
Manually change the partitions is also possible, and it can be done by selecting the Edit Partitions option. But this should be chosen only if one is familiar with how partitions work.
Once all set, select Done to continue the installation process of the Ubuntu server.
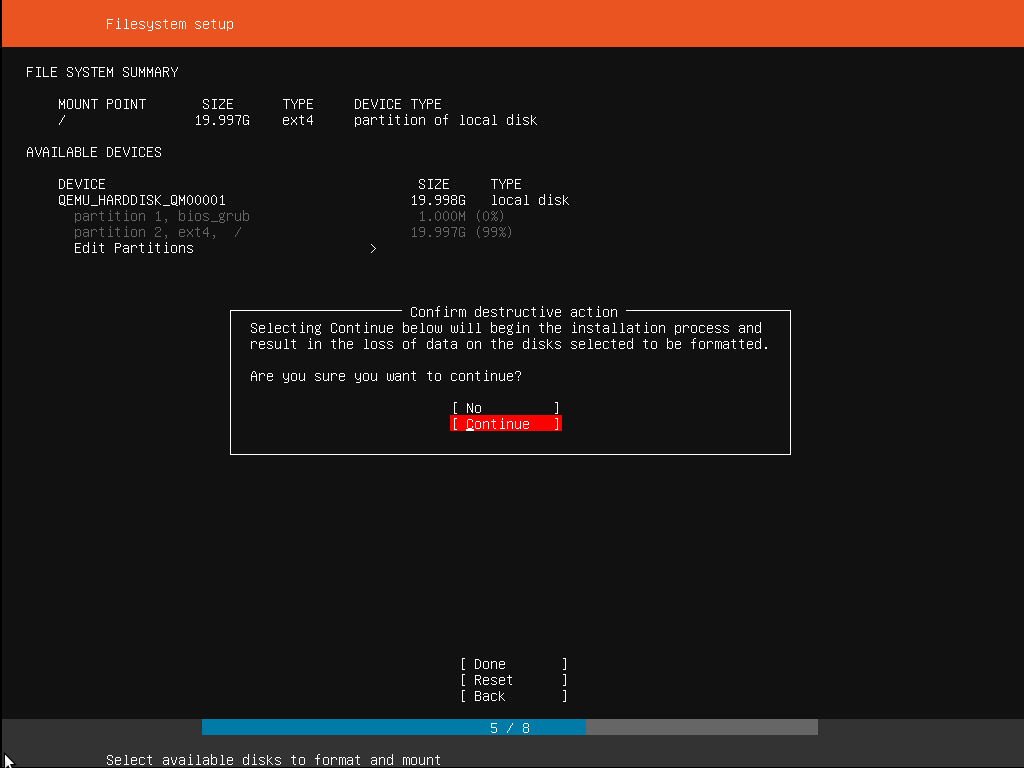
Step 9: Confirming the changes
This step is very important. Before the installer makes any permanent changes, it shows this as a final confirmation step. A user should double-check if everything is as per his requirement, and no wrong device will get reformatted. There is no undo option for this step, and thus once changes are confirmed, the indicated devices get overwritten, and all previous content is lost.
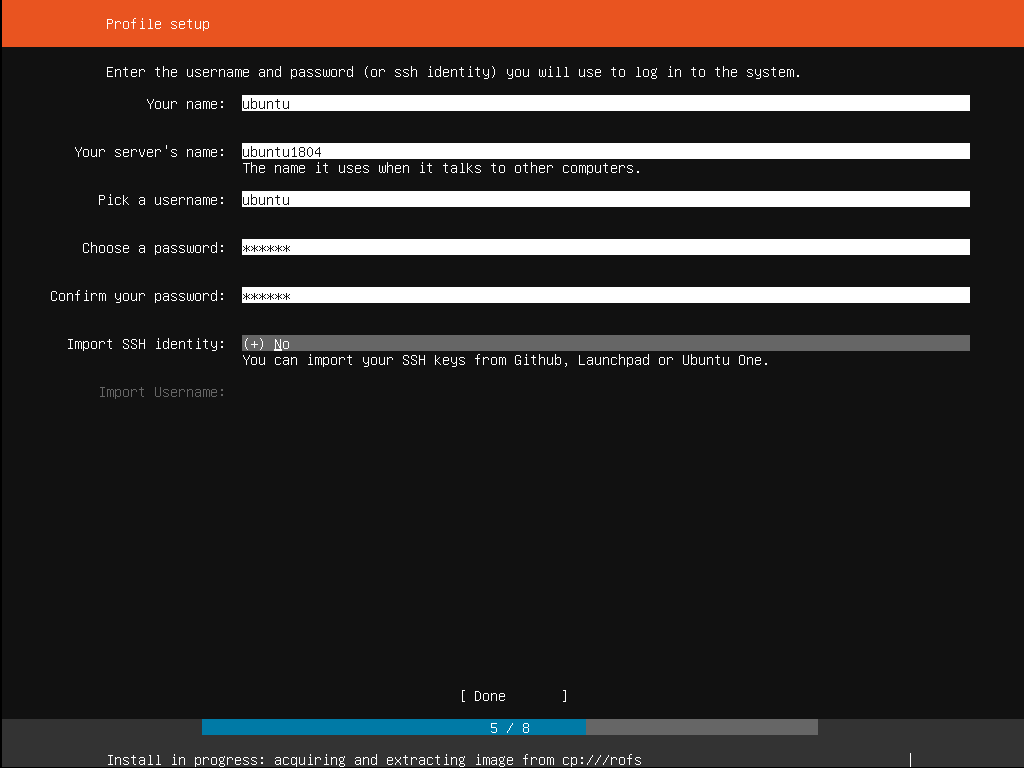
Step 10: Setting up a profile
Ubuntu Server requires at least one username, password, and hostname for the system. There is a field for importing SSH keys as well. SSH keys can be imported from Launchpad or Ubuntu One, or Github too. Once the user provides the username, the installer will fetch the relevant keys from one of these systems as selected and install them on the system for use. e.g. secure SSH login to the server. This may look complicated, but it is quite simple.
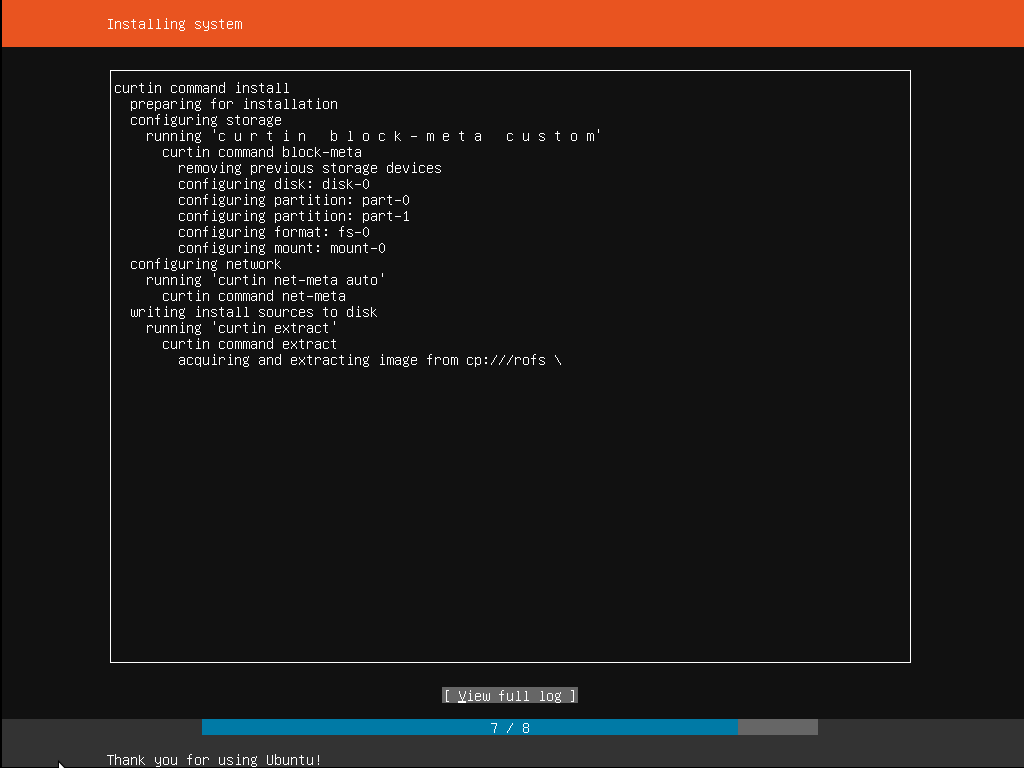
Step 11: Installing software
Once all required information is entered, the screen starts showing the progress of the installer. Ubuntu Server only installs a very concise list of software that is a core requirement for the server to function. This ensures the minimum required time for the install and setup. Once this step is completed, i.e. after the install is finished, any additional software can be installed as needed.
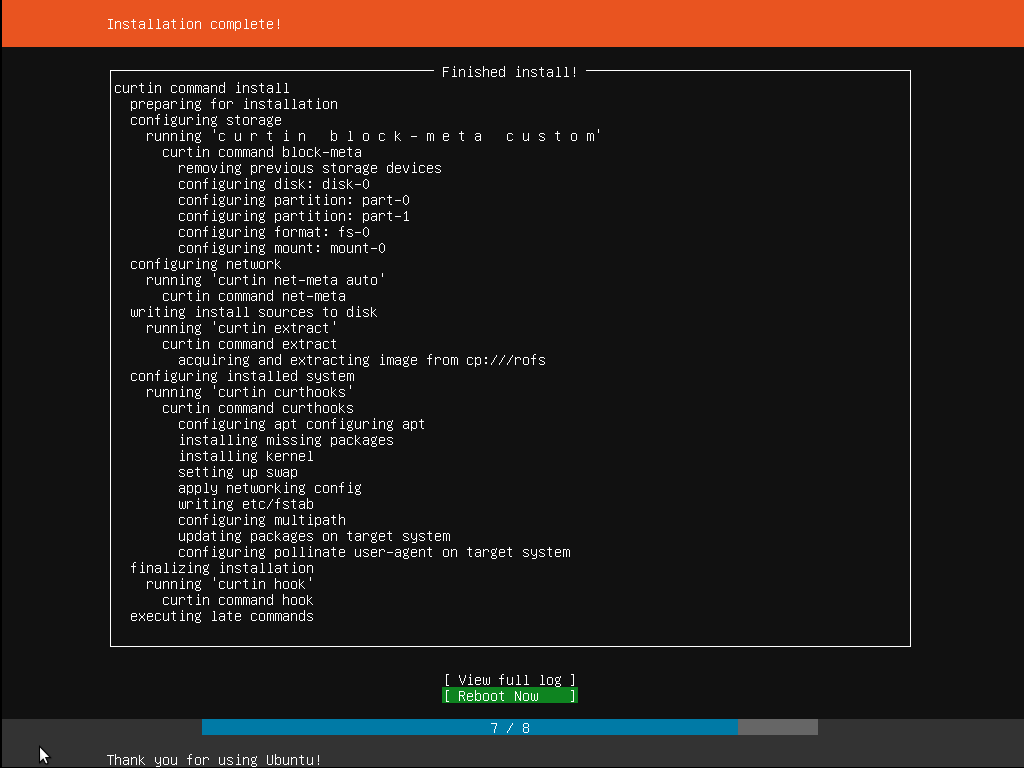
Step 12: Installation completion
When the installation process is complete, the user can see a message like the below screenshot. This indicated that the installation process is over, and the system is ready for use. Now, the user should remove the installation media from the DVD drive or flash drive as the case may be and then restart the system one last time before use.
Recommended Articles
This has been a guide to how to install Ubuntu Server. Here we have discussed the concept and step-by-step guide to install Ubuntu Server. You may also look at the following articles to learn more –

