Updated April 8, 2023
Introduction to Typescript
The following article provides an outline for How to Install Typescript. Typescript is a programming language owned and maintained by Microsoft. It is an open-source as well as an object-oriented programming language. Typescript is the superset of JavaScript since it contains all of JavaScript’s elements along with components such as classes, modules, interfaces, and types. The main feature of Typescript is its Static typing approach. The typescript was first introduced in October 2012 by Microsoft.
We need to install Node.js in order to install Typescript. Node.js is a JavaScript runtime. It is asynchronous and event-driven. It uses a non-blocking I/O model. We can easily build scalable network applications which are not only lightweight but also efficient. Node.js is built on Chrome’s V8 JavaScript engine. In this article, we will see the process of installing Node.js. After that, using the Node Package Manager, we will install TypeScript.
How to Install Node.js?
Given below are the steps required to install Node.js:
Step 1: Firstly, we need to go to the node.js website:
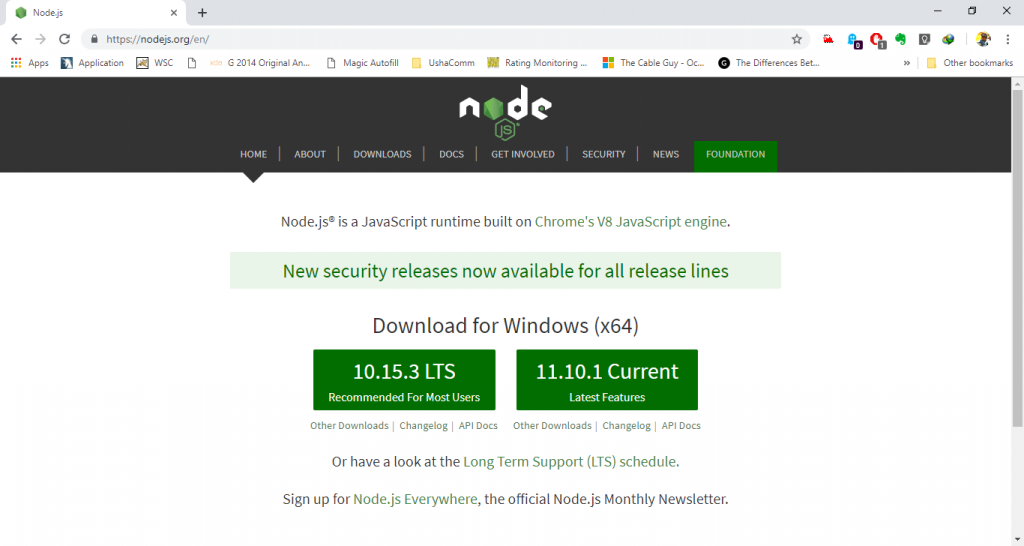
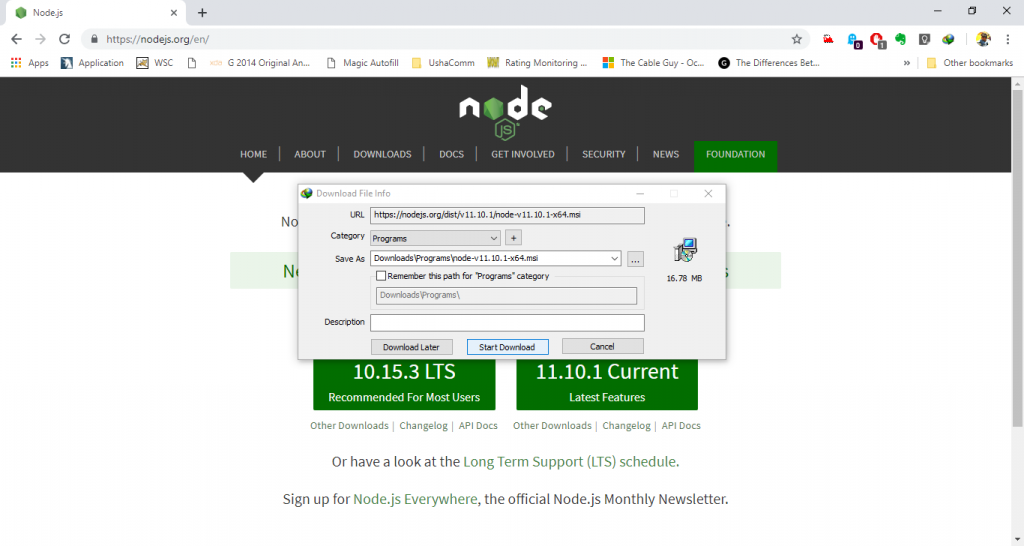
Step 2: Then, we need to download the node.js installer by clicking the Current version button:
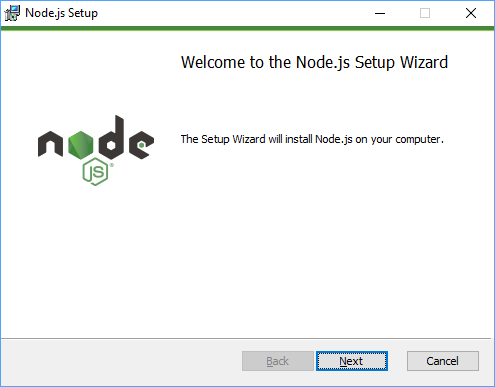
Step 3: Once the download is complete, we need to open the downloaded file. Upon opening the file, we will see a Node.js setup wizard, which will guide us through the rest of the process to install Node.js. Click on the Next button.
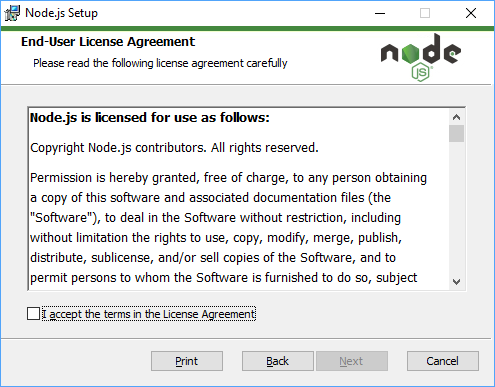
Step 4: After clicking the next button, the following screen will come up. This screen will display the license agreement. This shows us the End User Licence Agreement. This agreement mentions various terms of usage to which we need to adhere. It is recommended to read the terms carefully.
The below screenshot shows how it would look:
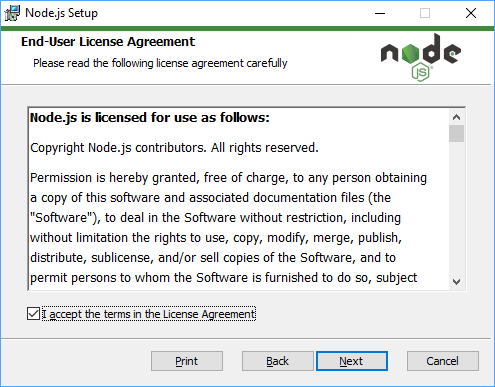
Step 5: Once we have read the terms in the End User Licence agreement and is satisfied, we need to check the “I accept the terms in Licence Agreement” checkbox.
Please follow the below screenshot. Once checked, we need to click the next button:
Step 6: On clicking the next button, the following screen comes up. This window asks us for a “Destination Folder” where we would like to install our Node.js operational files. We need to enter the destination folder and click on the “Next” button.

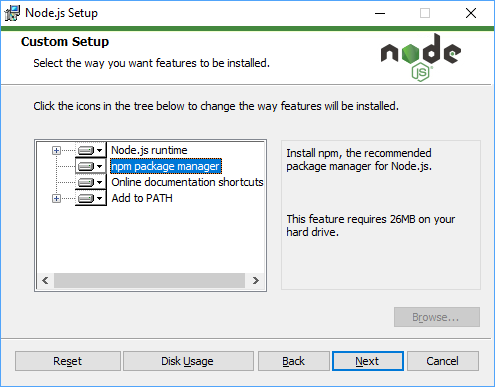
Step 7: The next step is configuring our installation with some custom setup. Since our installation for Typescript does not require any customization, we would simply click the Next button and skip to the next window.
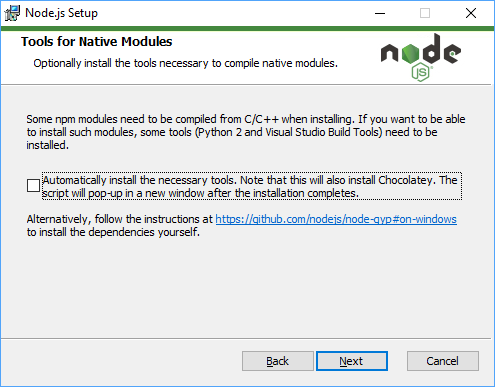
Step 8: The next window is to optionally install the tools that are necessary to compile native modules. We do not require any such tools; hence, we skip to the next step by clicking the Next button.
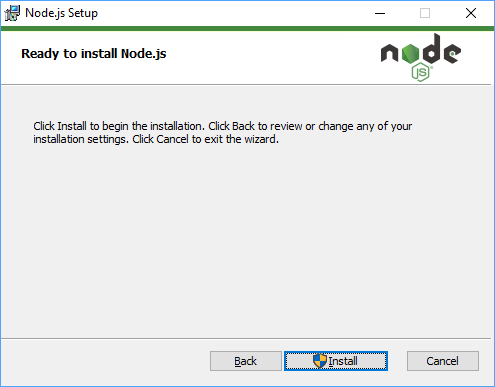
Step 9: This step marks the final stage before the setups run into installing necessary files. We have to click the Install button now. This will install the Node.js required files and begin the installation process.
Step 10: After clicking the install button, the setup wizard will ask for administrative privileges. We grant the privileges, and the setup begins. The below screenshot shows how it looks,

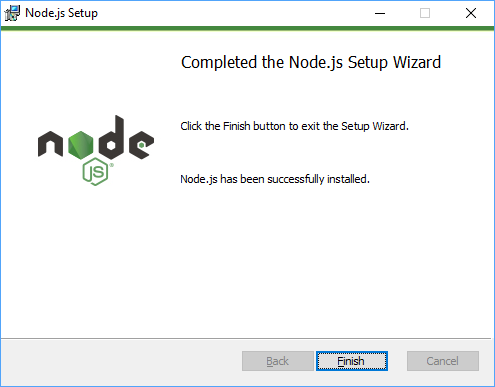
Step 11: Once the process is finished, we will have the following screen. Now click the Finish button. This marks the end of the Node.js setup process.
Steps to Install Typescript
Given below are the steps required to install Typescript:
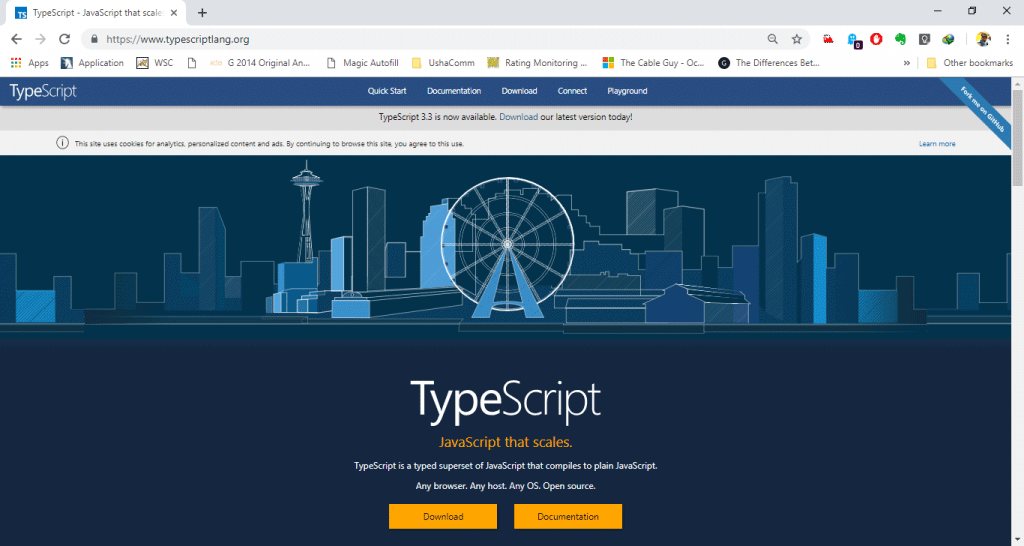
Step 1: The next step is to install Typescript. To do this, we have to visit the following website:
https://www.typescriptlang.org/
On opening the web page, we will see a download button. We have to click that download button.
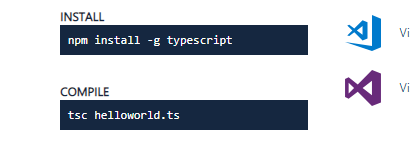
Step 2: On clicking the Download button, the following page will open. We need to locate the Install script on the page.

Step 3: The install script will contain a command as below.
Code:
npm install -g typescriptOutput:
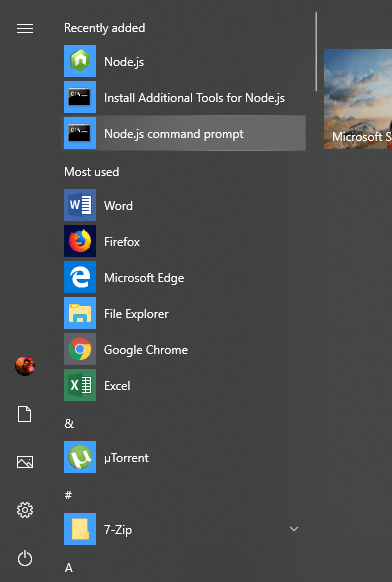
Step 4: Open the Node.js command prompt window from the start menu. This Node.js command prompt will be available only after installing the Node.js as instructed earlier.
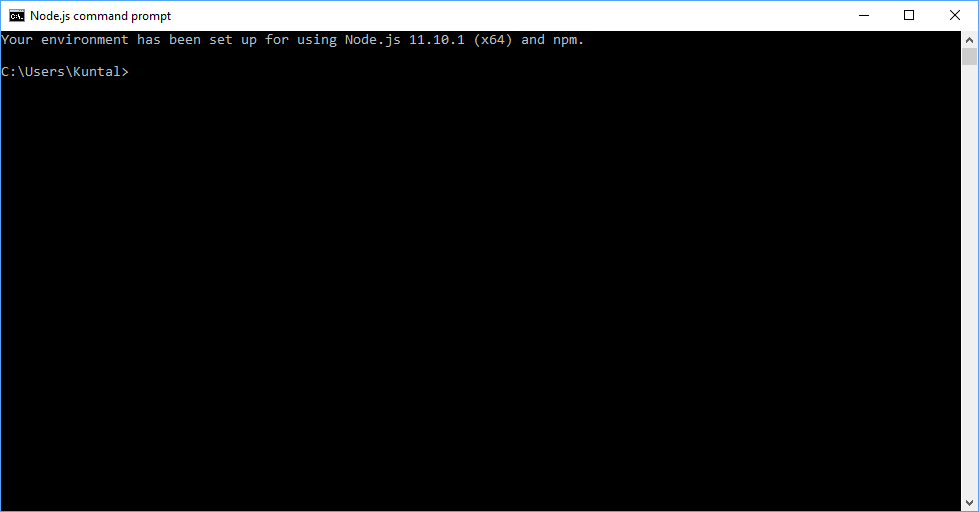
Step 5: Once the command prompt window is open, we will see a screen similar to the following.
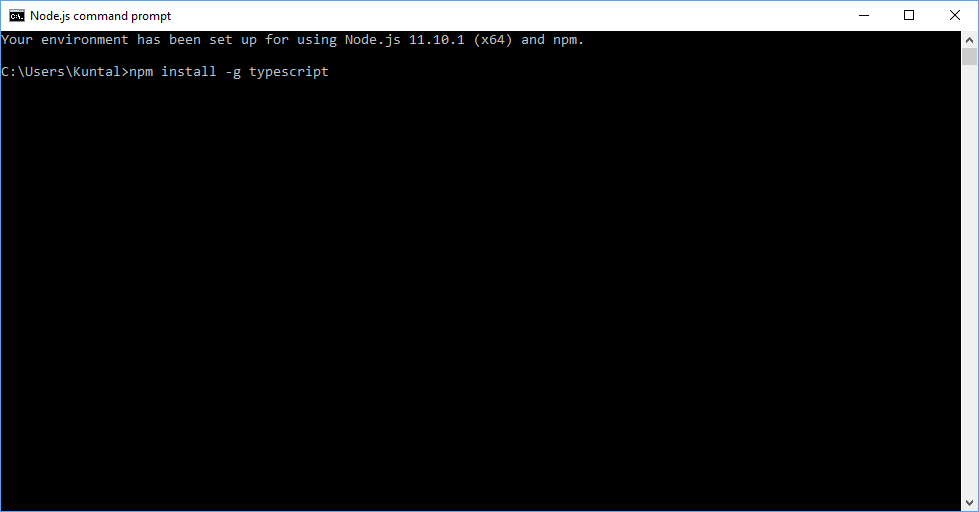
Step 6: Now paste the command that we copied in Step 3 above. It will look similar to the following screenshot. Run the command by pressing the Enter key.
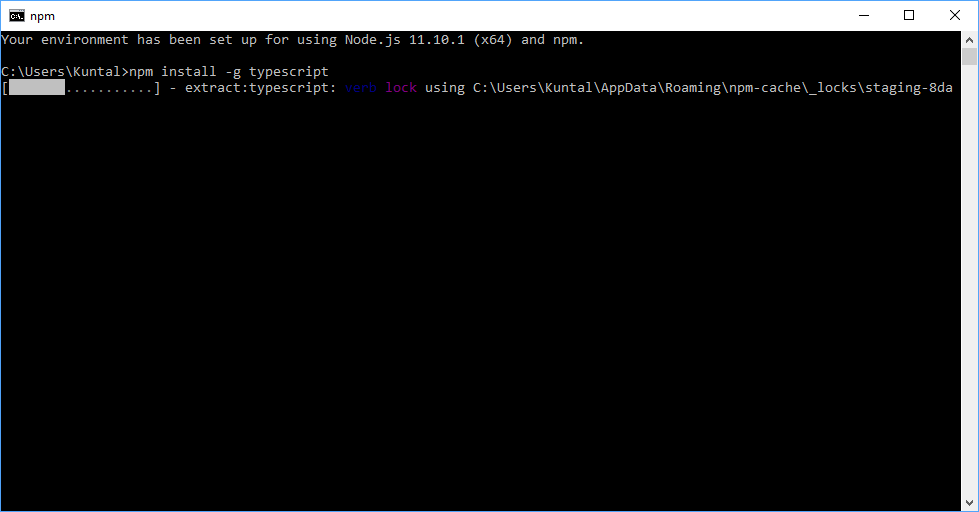
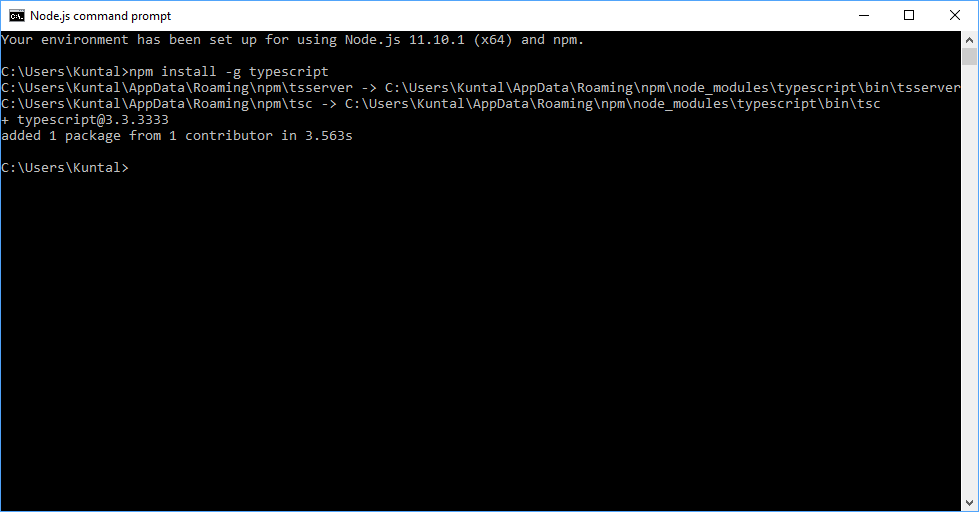
Step 7: Now, it will begin to install Typescript. We will be able to see the progress in the command prompt window itself. Please see the screenshot for reference.
Step 8: Once the process is complete, we will see the following in the command prompt window. This marks the completion of the Typescript installation. Now we will be able to code and compile our Typescript codes.
Conclusion
With this tutorial, we can see that installation is very basic stuff for any person who wants to get their hands-on Typescript. Not only it is easy to install Typescript, but we can also practice and enhance our skills to make perfect use of this beautiful language.
Recommended Articles
We hope that this EDUCBA information on “Install TypeScript” was beneficial to you. You can view EDUCBA’s recommended articles for more information.
