
Introduction to Inkscape shadow
In this article we are going to learn how to create shadows in Inkscape. Shadows are useful tool in the designer toolkit. It can be used for purely aesthetic purpose or you can also use for a practical purpose like if you create an artwork and are not sure whether it will be used against dark or light background then using shadow is ideal as it will create a contrast regardless of the background image. Shadows in Inkscape is also used to create user interface elements like button and text which appears raised and change the state according to user interaction.
Steps to Inkscape shadow
Here are the follwoing steps mention below
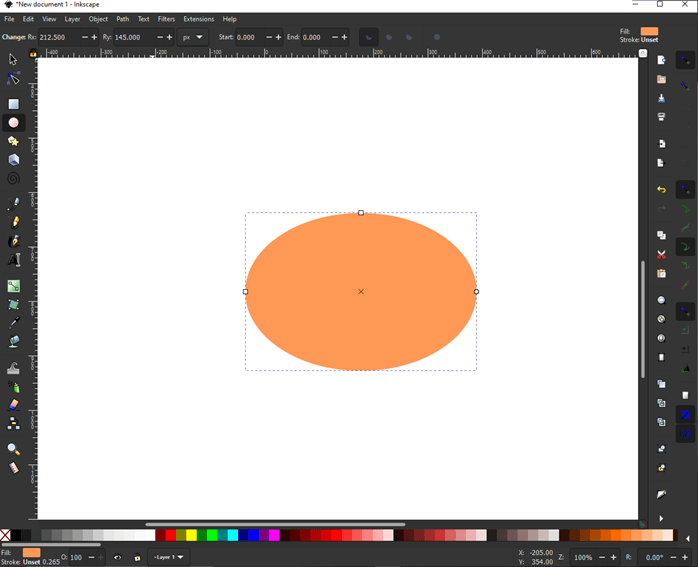
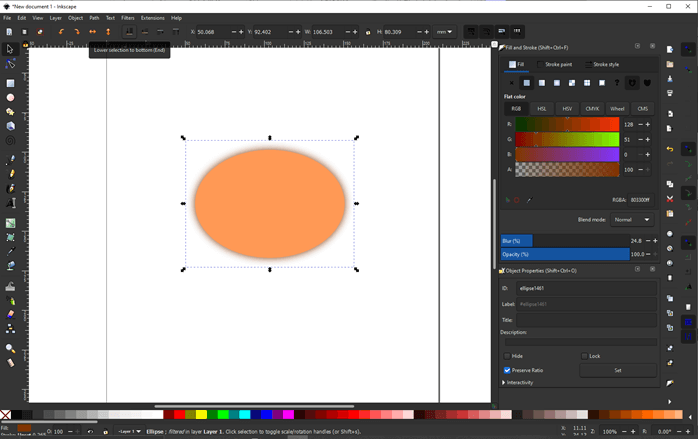
Step 1: Using ellipse tool draw an ellipse and set a fill color to it.
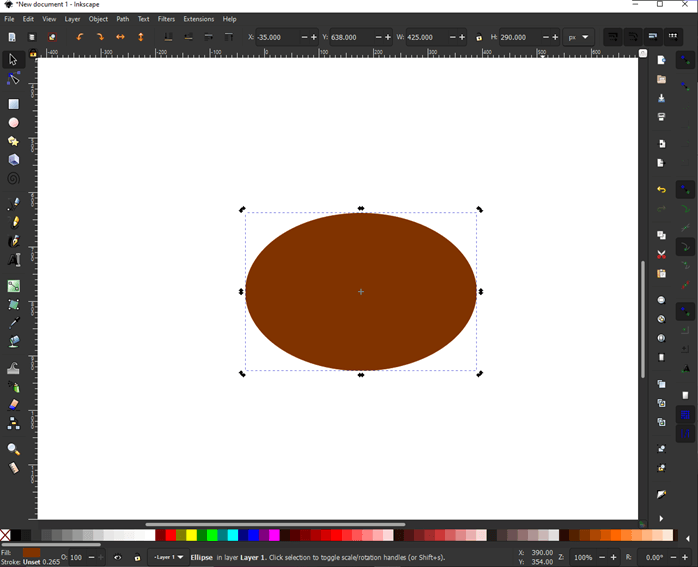
Step 2: Duplicate the ellipse using Ctrl + D and change fill to a darker shade of previous color as it will be used to make the shadow.
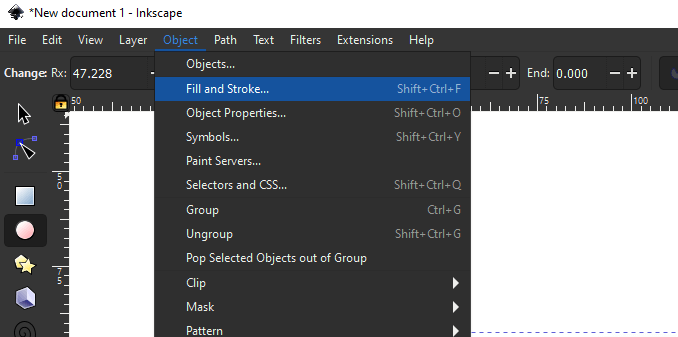
Step 3: Then open fill and stroke window so that we can use the blur functionality of it to create a shadow.
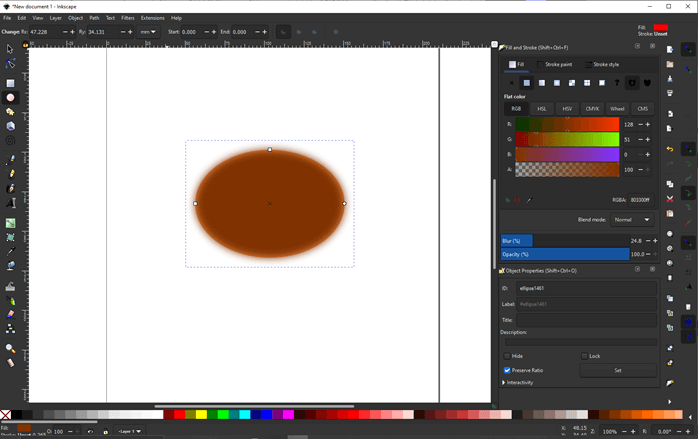
Step 4: Give some blur to the upper ellipse which will give a shadow effect.
Step 5: Then click on lower selection to bottom button on toolbar or hit end button on keyboard to move it below which will reveal the ellipse at the bottom and give it an effect of shadow.
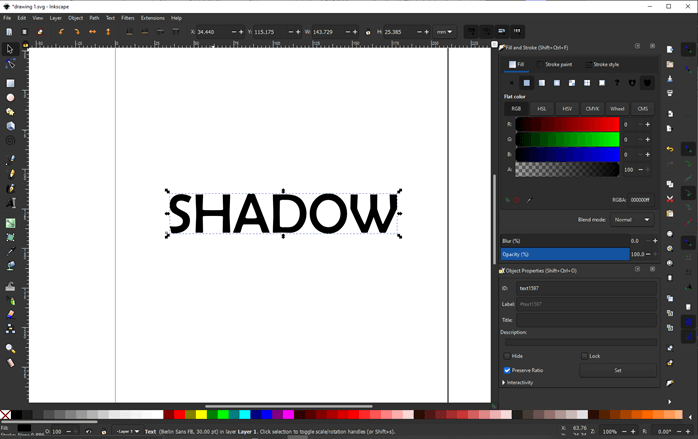
Step 6: Similar technique can be applied to text. Using text tool write any text and increase the size like 100 pt. You can even Bold depending on your text.
Step 7: Then press Ctrl + D to duplicate the text and give it some blur like 20% from the fill and stroke panel.
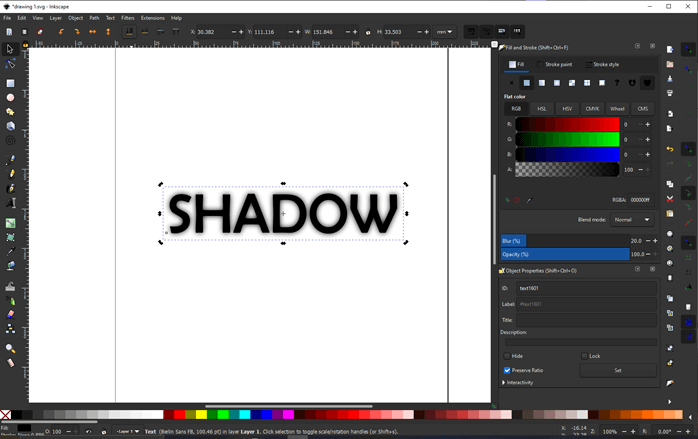
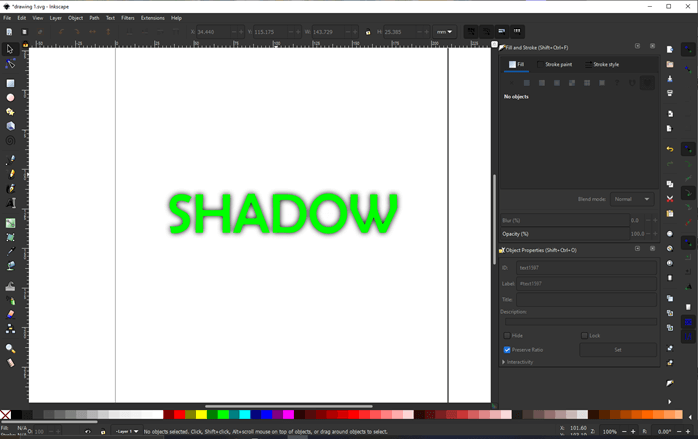
Step 8: Then change the color of the text from the bottom bar. Now we can see the shadow and the text seems to be raised.
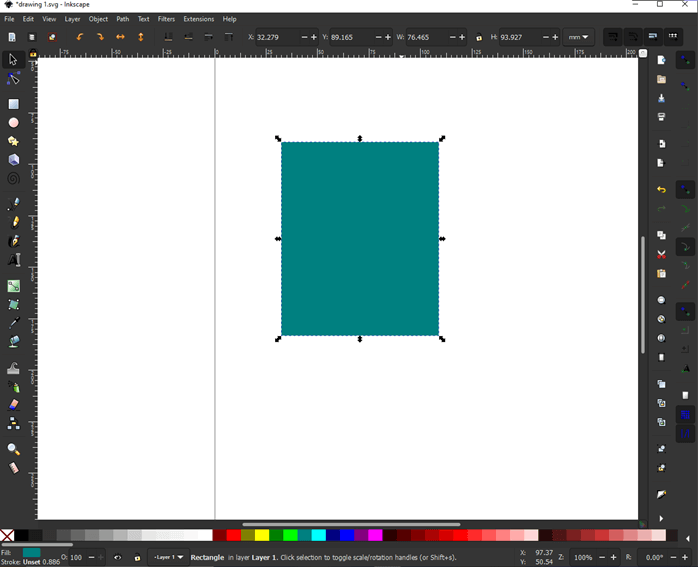
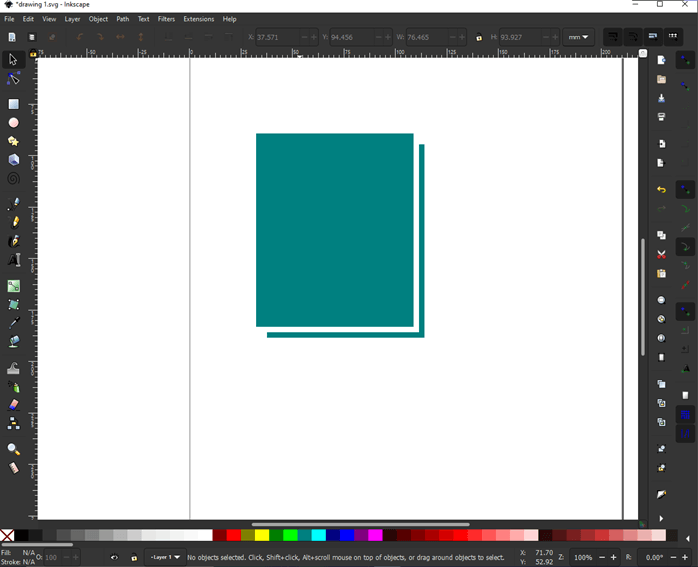
Step 9: Then we will look at some flat shadows. For that using rectangle tool we will first draw a rectangle. Set a fill of green.
Step 10: Then press Ctrl + D to duplicate it and set the fill of black. Then move it to bottom right. Using keyboard can be accurate as you can set how many pixels. You can use arrow keys to make fine adjustment. One pro tip is that if you press shift while using arrow keys than you will move the object 5 units at a time
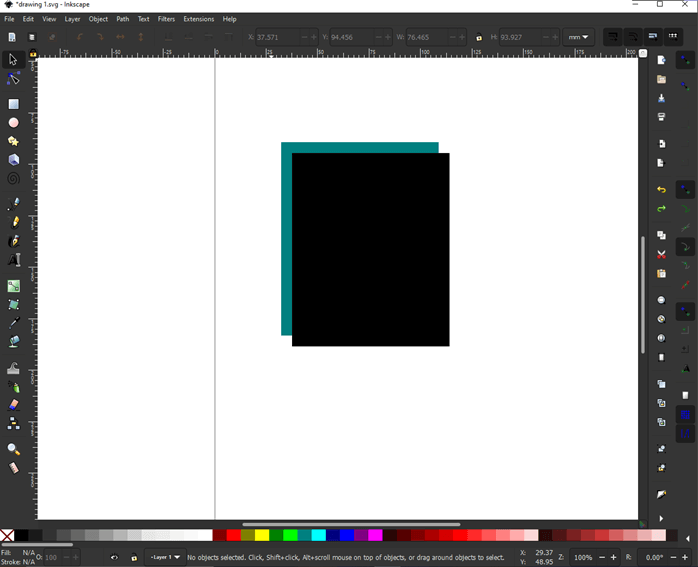
Step 11: Using lower selection to bottom button move the selection to bottom or press end on keyboard.
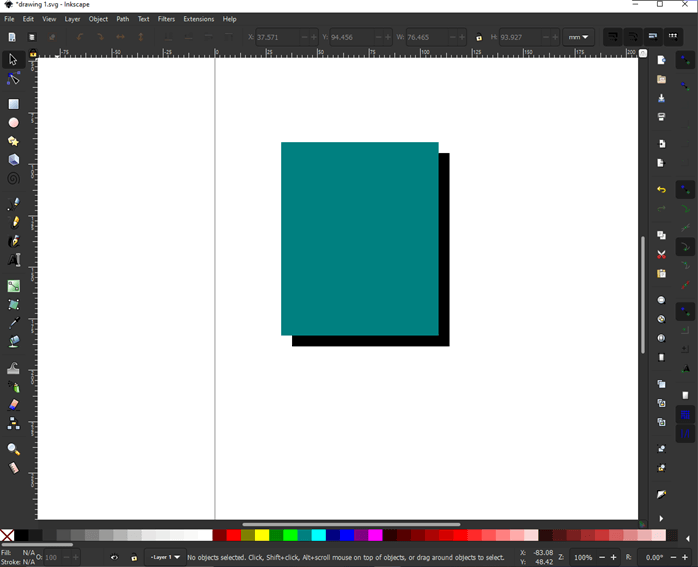
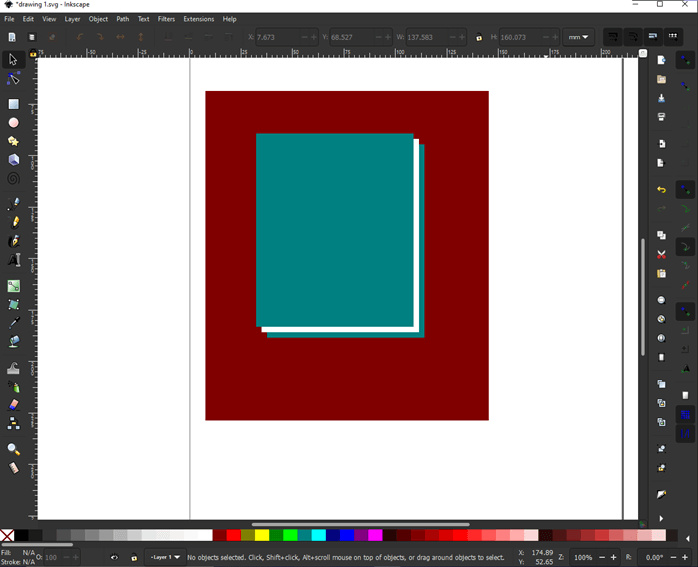
Step 12: Again press Ctrl + D to duplicate and the black square and set the fill to white and move it up using raise selection to top or press Home key.
Step 13: Once more we will perform the same operation of moving the white rectangle using arrow keys between the black and the green rectangle. Then move the white rectangle between green and black rectangle using lower selection one step or use page down button. Then change the color of black rectangle to green same as top rectangle. Our flat shadow is almost complete. But if you are using it against a transparent background then there will be a problem.
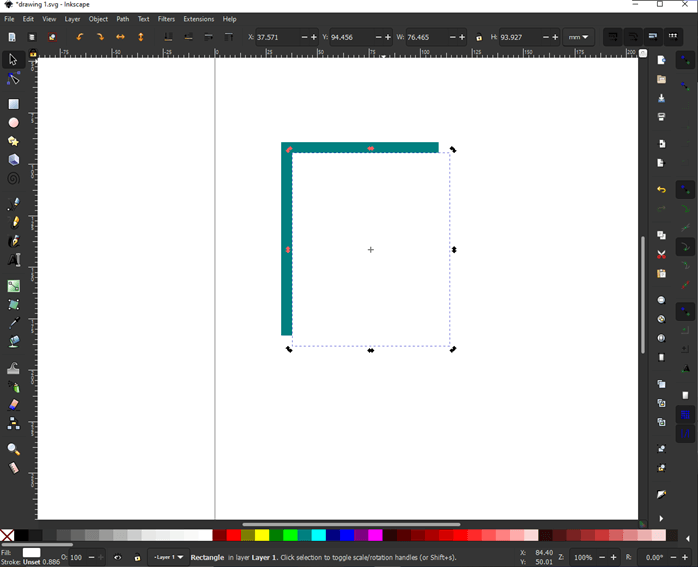
Step 14: As we can see that a negative space is created between the shadow and the object if we create a red rectangle behind the green one.
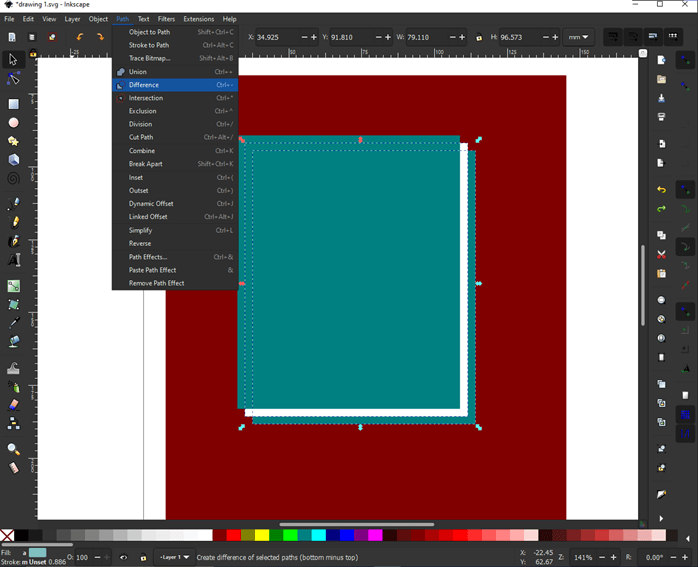
Step 15: To resolve this let us select the bottom two rectangle then got to Path -> Difference or press Ctrl + – to remove the white the rectangle.
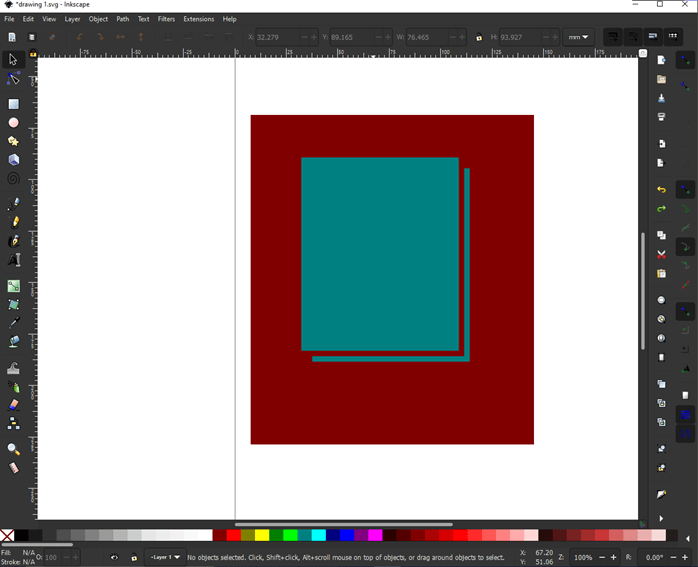
Step 16: As we can see now we can use this artwork against any background and the flat shadow will show properly.
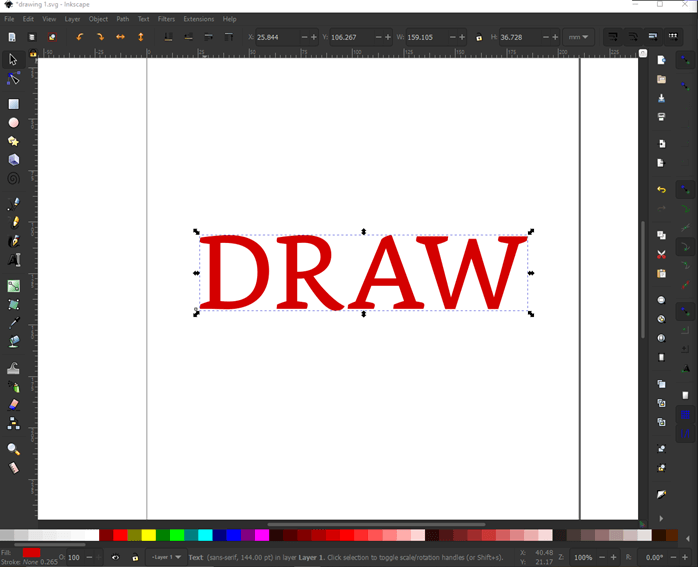
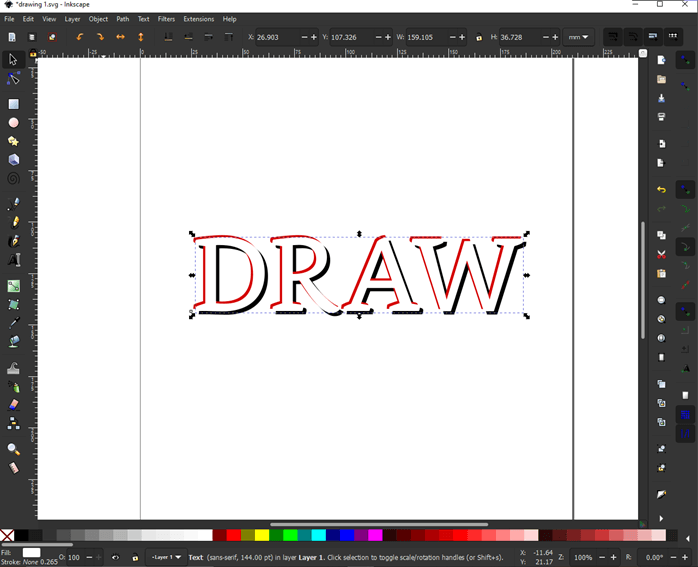
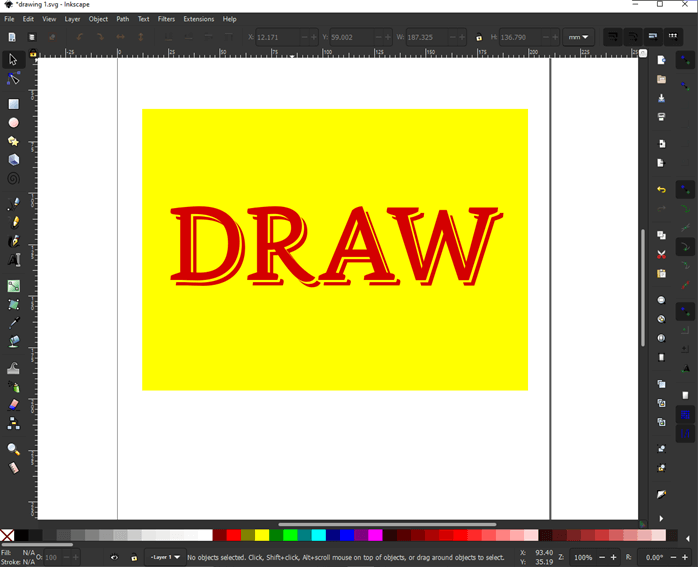
Step 17: Now we will see how flat shadows can be applied on text. Write any text using text tool and set size to around 144pt and give it red color.
Step 18: Then press Ctrl + D to duplicate selected object and give it black color.
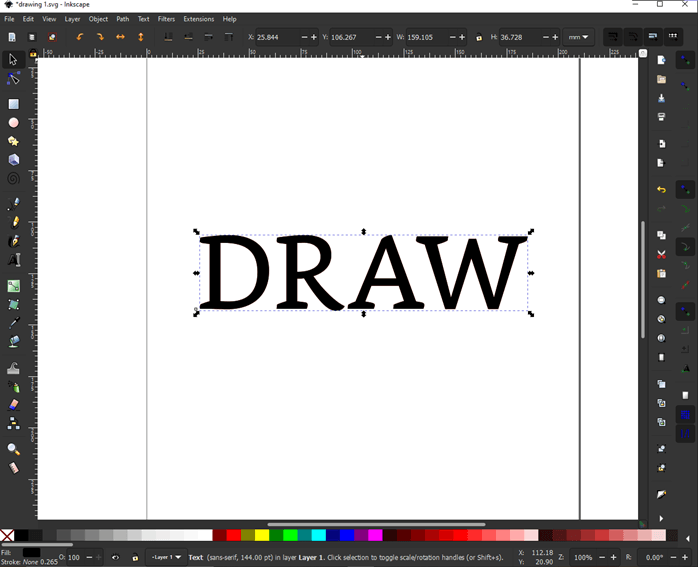
Step 19: Then use arrow keys to adjust the black text depending on how you want to adjust your shadow.
Step 20: Once the adjustment is done then lower the selection to bottom or press end key.
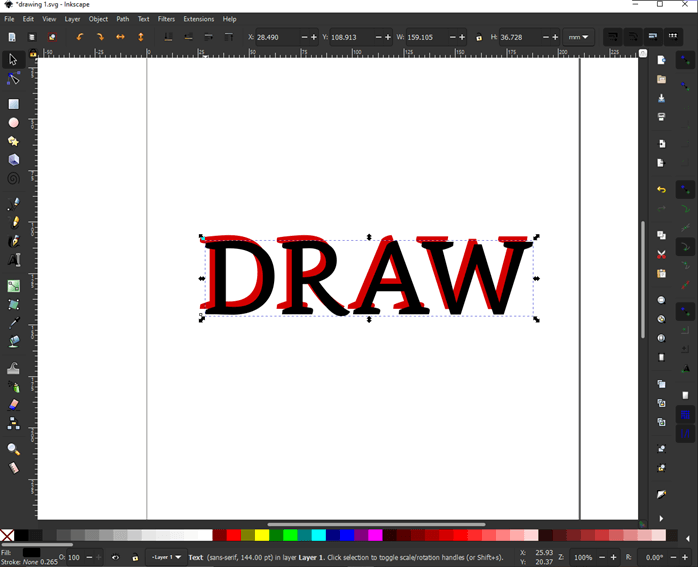
Step 21: Then press Ctrl + D to duplicate the black text or shadow and make it white and then adjust it using arrow key to position between red and black text.
Step 22: Then use the lower selection to one step or press page down so that the white text is between red and black text. This will create a perfect shadow which follows the text.

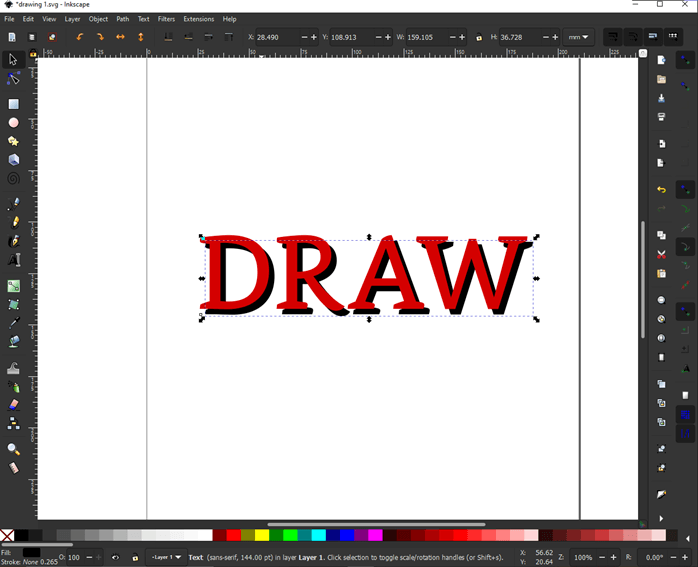
Step 23: Once again to clear the negative space we select the white text and black text and then use difference from the path menu or press Ctrl + – to remove the white from the black text.
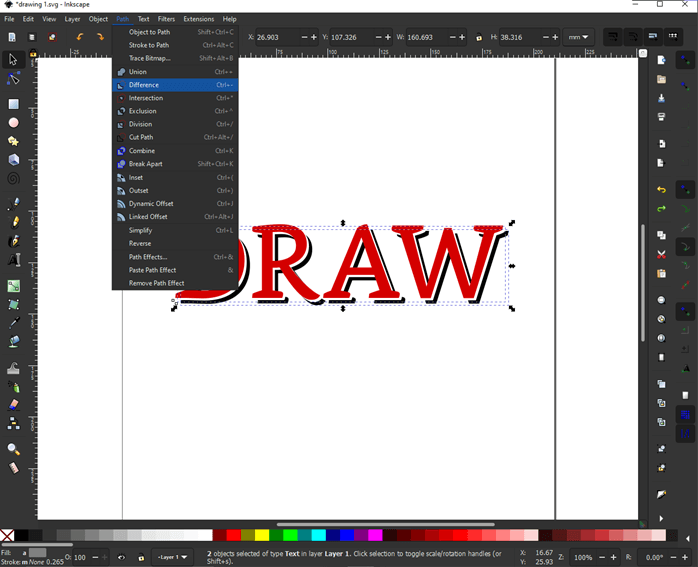
Step 24: Make the shadow color same as the text by filling it with same shade of red or you can use pick color from image tool or press D while making sure the shadow or black text is selected and then click on the red text to make the shadow red.
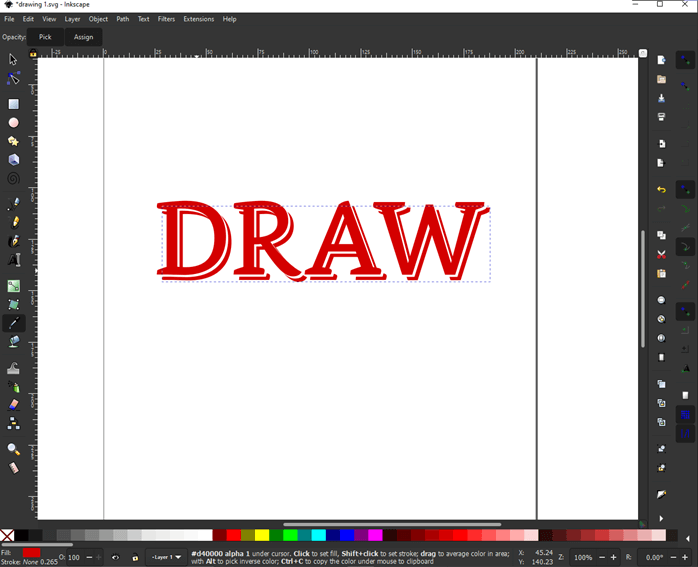
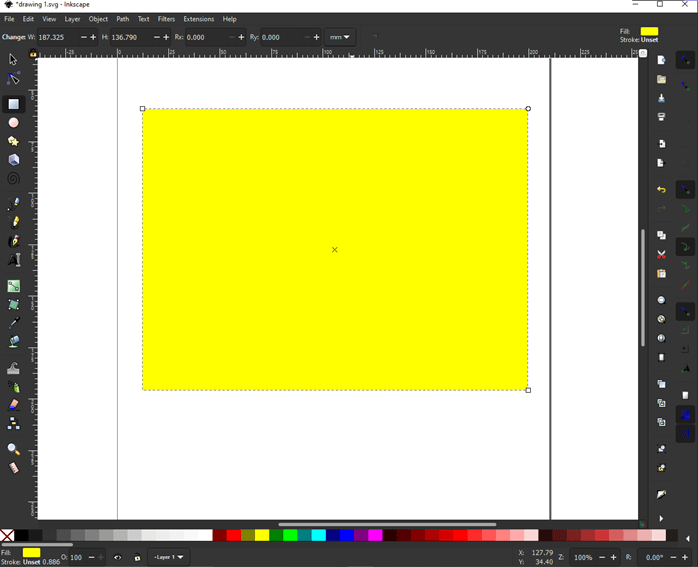
Step 25: To make sure that we have removed the negative space we will draw a rectangle and give it yellow fill.
Step 26: Then move the rectangle to the bottom using lower selection to bottom or press end. We have successfully removed negative space between the shadow and the text
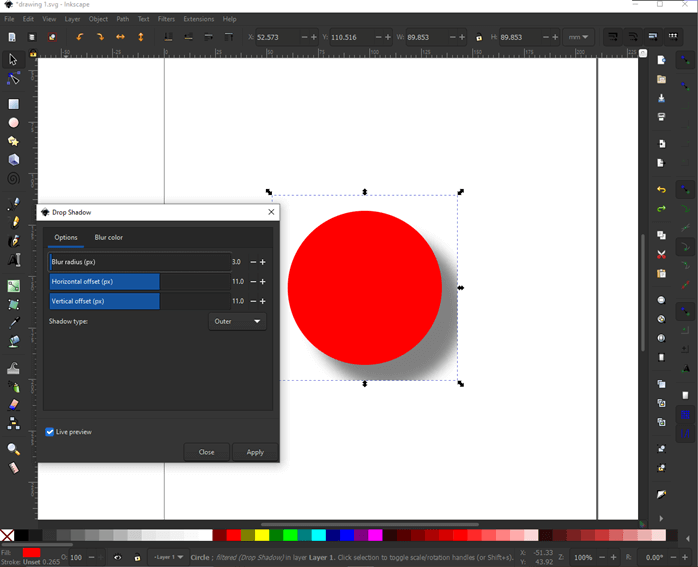
Step 27: There is also a filter available in Shadows and Glows -> Drop shadows. We will make a circle and apply to it.
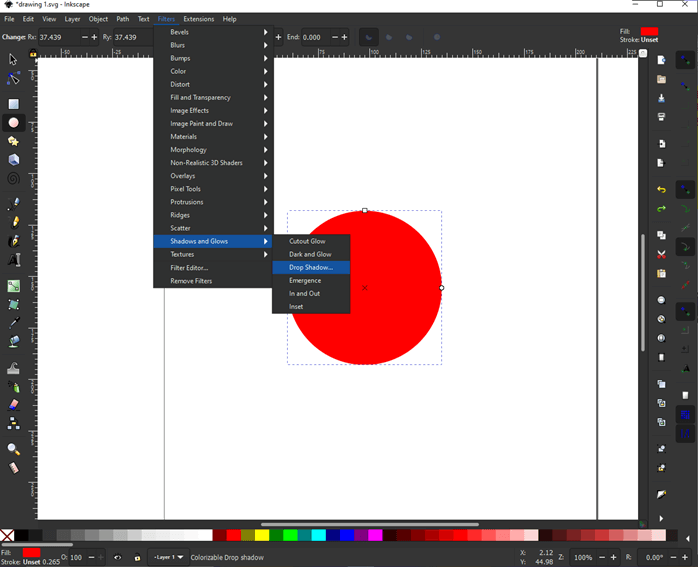
Step 28: Here you can adjust the blur radius, horizontal and vertical offset, shadow type and change the color of the shadow.
Conclusion
In this article, we have seen how to create shadows in Inkscape. Firstly, we have created shadows using blur and duplicating the object and same on the text object. Next, we have seen duplicating the object to create flat shadow and managed negative space and lastly, we have seen the inbuilt filters like drop shadows from shadows and glows.
Recommended Articles
This is a guide to Inkscape shadow. Here we discuss how to create shadows in Inkscape and duplicating the object and same on the text object. You may also have a look at the following articles to learn more –
