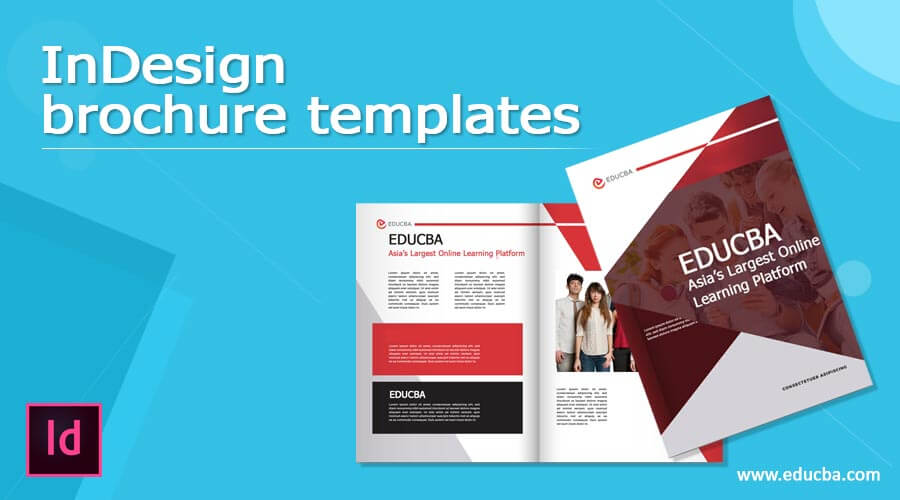
Introduction to InDesign Brochure Templates
InDesign Brochure Templates can understand as create the layout of brochures of different professionals for advertising their business and its purposes. Creating Brochures templates is totally depends on your creative ideas, but we need powerful software for having our imagination come true. Here in InDesign, it offers us many tools and features which we can use for creating an effective digital brochure design. Today in this article, we will use some of the tools of the tool panel with some features of an additional panel of the panel section and also learn how we can use an image in our Brochure.
How to Create Brochure Templates in InDesign?
For creating a Brochure template, we must analyze the text content for which we are going to design the layout of a brochure and then we should choose an image that expresses the purpose of that content. So let us find how we can do this.
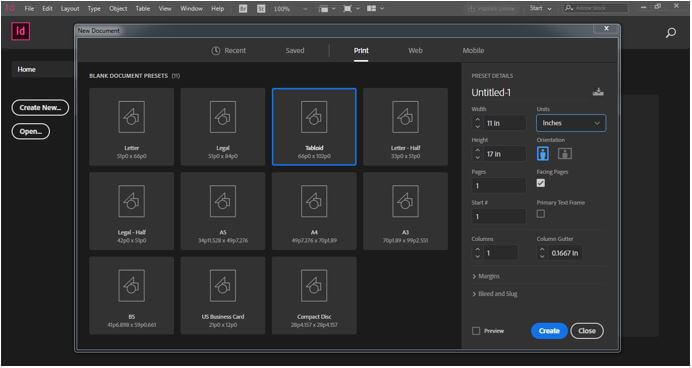
I will first click on the Create New button of the welcome screen to have a New Document dialog box and then choose this Tabloid size of the document.
I need two columns in my brochure so that I will enter 2 as values of a column in this dialog box.
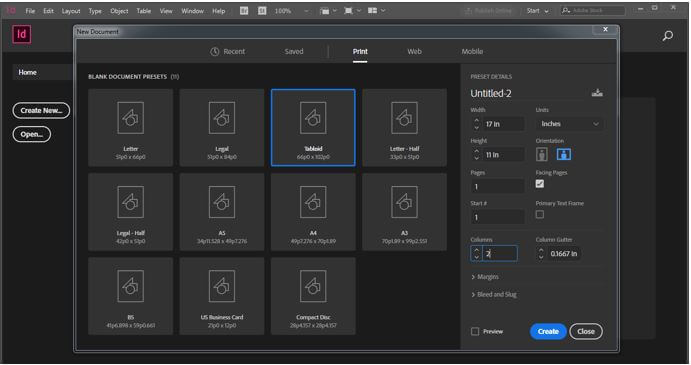
Now I will choose an excellent gutter value for the column so that when we fold this brochure from the center, then there will be a nice gap between them. A gutter is a gap between columns.

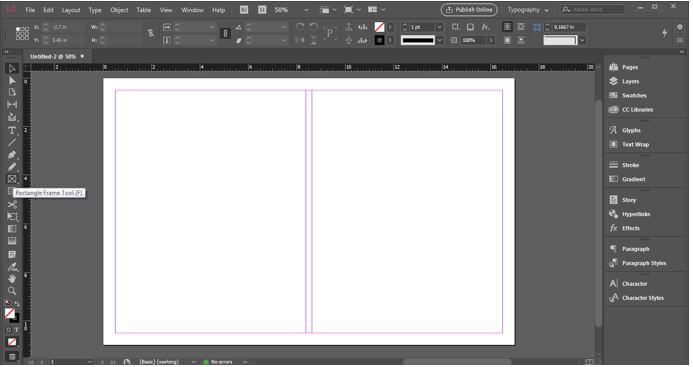
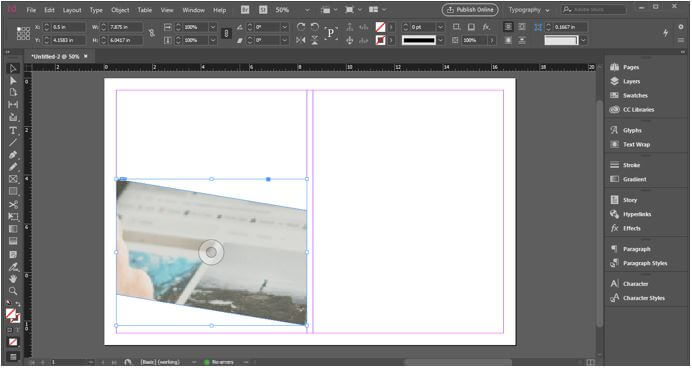
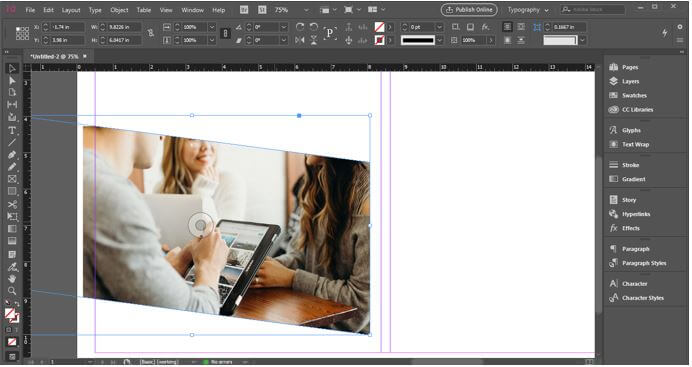
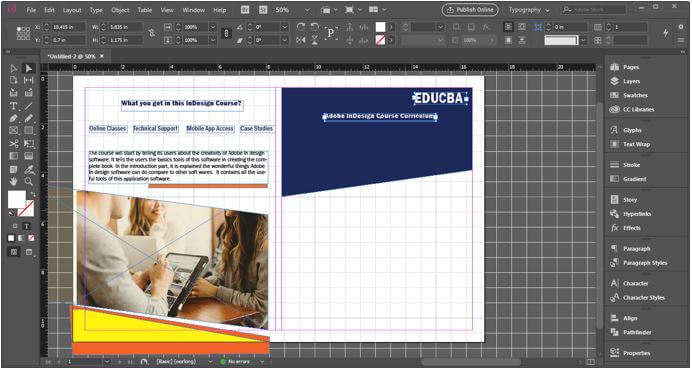
Now I will take the Rectangle Frame tool for creating a frame in which I will place an image.
I will draw it like this and then take the Direct Selection tool.
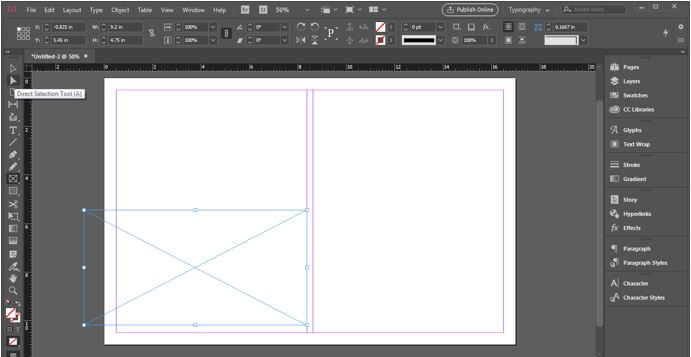
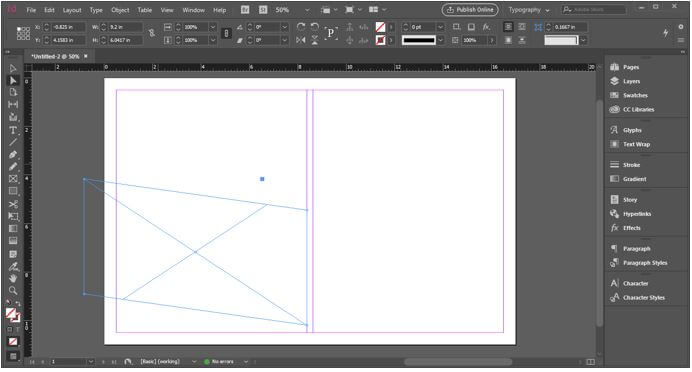
And move these anchor points in an upward direction for having this type of frame.
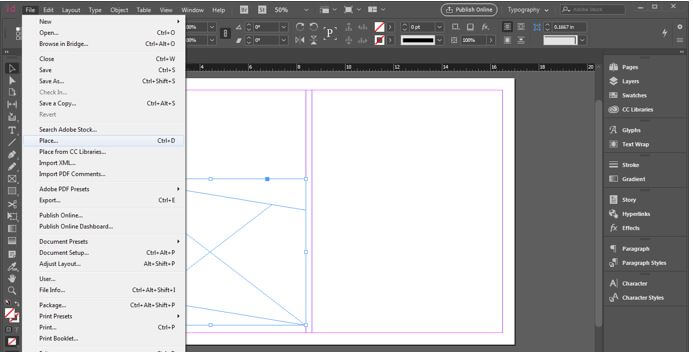
Now I will place an image in it. So being selected for this frame, I will go to the File menu and click on it. From its drop-down list, I will choose the Place option, or you can press Ctrl + D as its shortcut key.
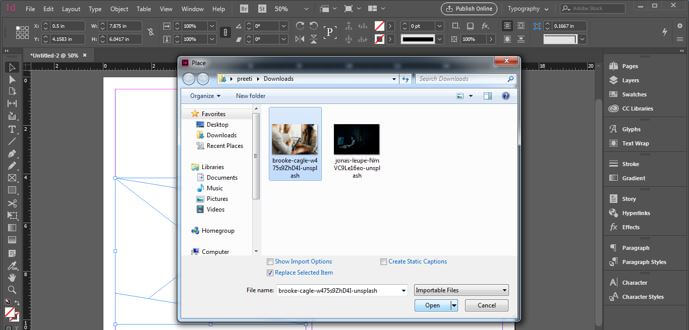
I will select this beautiful image from its saved location. I have downloaded this image from unsplash.com.
It will come like this, and you can notice that the image is not perfectly fit in this frame.
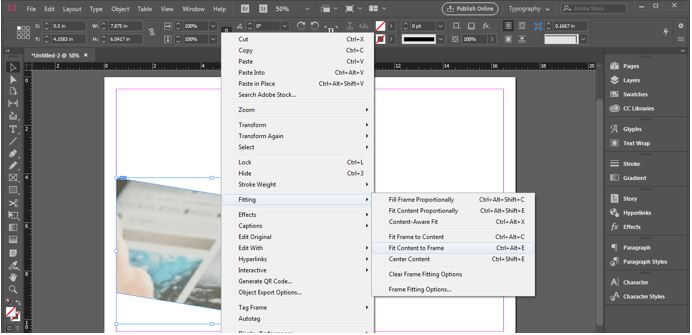
So I will make right-click on it, then go to the Fitting option of the scroll-down list and choose the ‘Fit Content to Frame’ option from the new scroll down the list of the Fitting option.
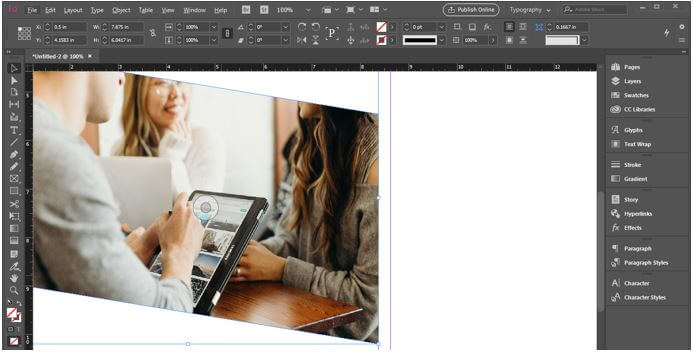
Now it will fit in the frame. You can see the quality of this image is a little bit pixelated.
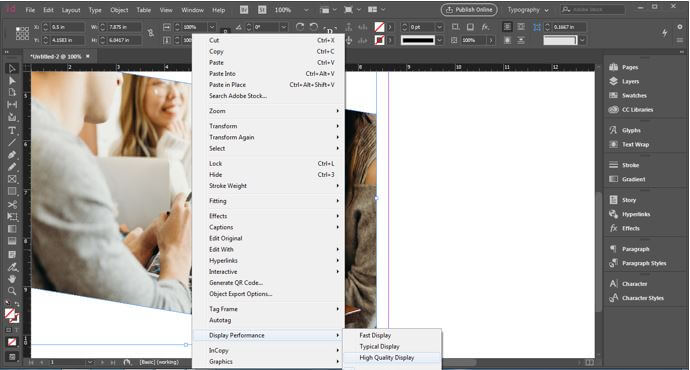
So for this again, make right-click on this image and go to the ‘Display performance’ option of the scroll list, then choose the ‘High-Quality Display’ option.
Now I will adjust this image for adjusting it properly with the document area.
After this, I will make a copy of this image and delete this image from the frame.

I will fill this color to the frame and down its opacity from the opacity option of the properties panel, which you can find at the top of the working screen.
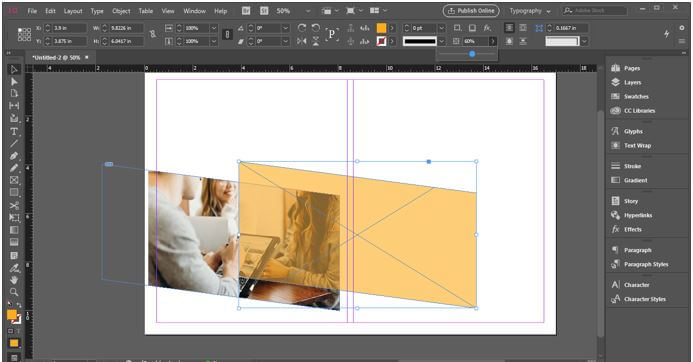
And set it at the top of the image frame so that we have a nice yellowish effect on the image.

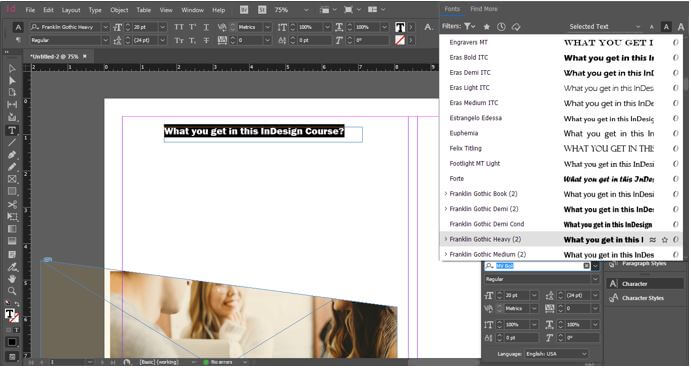
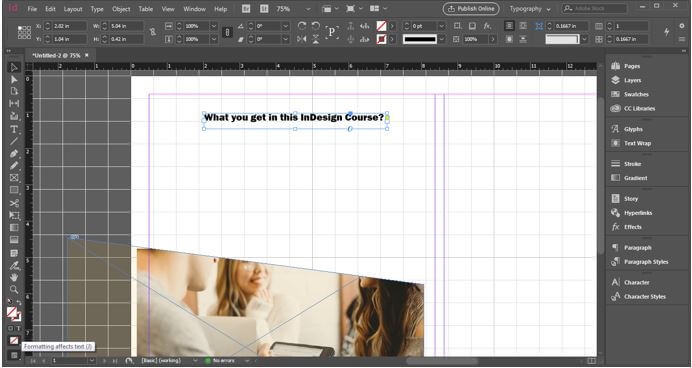
Now I will take the Type tool and paste this text here.
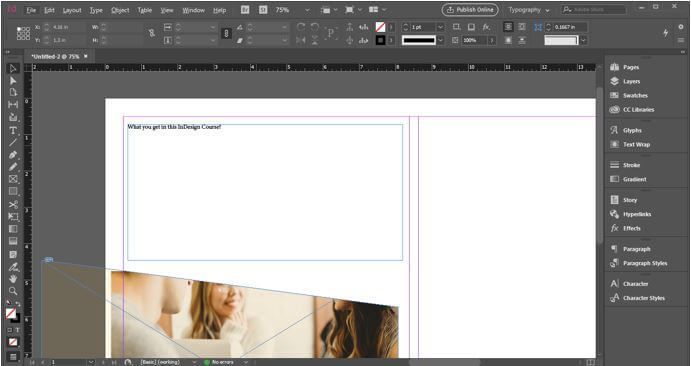
I want to make this text a heading, so I will increase its size and change its font style to this font style.
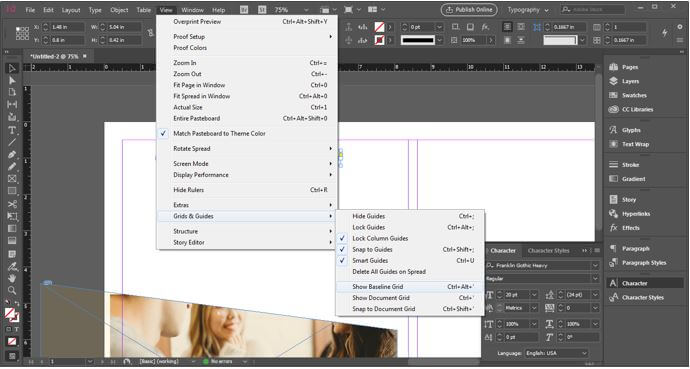
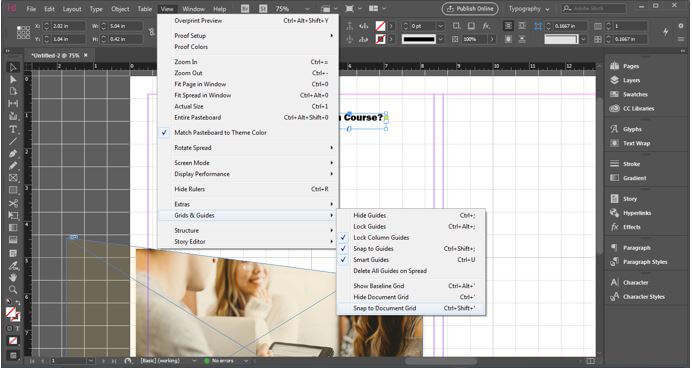
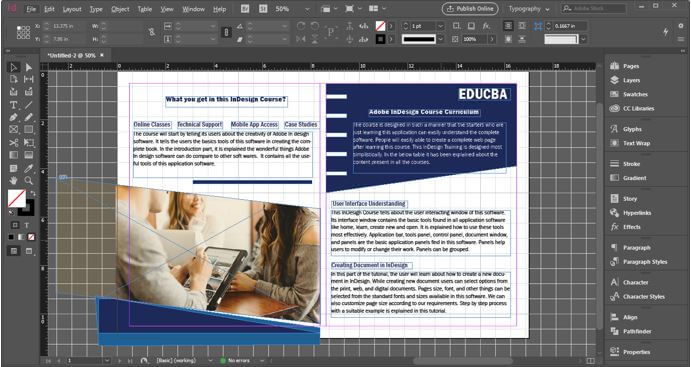
Now here I want to have Grids so that we can perfectly align our content according to our design layout. So for enabling the grid to go to the View menu, and here in the scroll-down list, we have the ‘Girds & Guides’ option, then in the new drop-down list of this option, we have the ‘Show Baseline Grid’ option or ‘Show Document Gird’ option. This time I will enable the Document gird option.
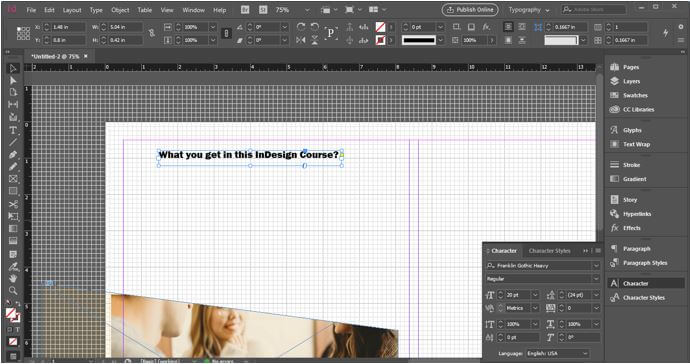
Here we have this type of grid, but I want to adjust this grid according to my requirement.
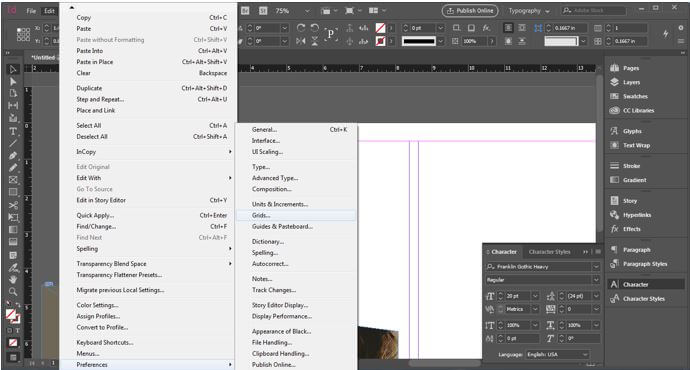
For adjusting it go to the Edit menu and go to the Preferences option of scroll down list, and in the Preferences option, we have the Grids option so that I will click on it.
And here, I will change the gird size as 5 inches.
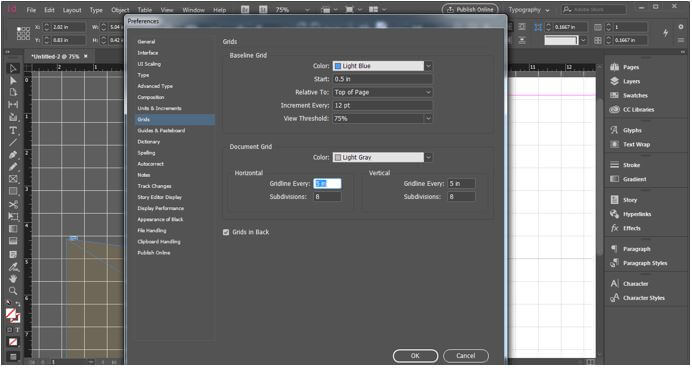
Now I will do one more thing here that enables the ‘Snap to Document Gird’ option.
Now you can see we have a good base for aligning our text.
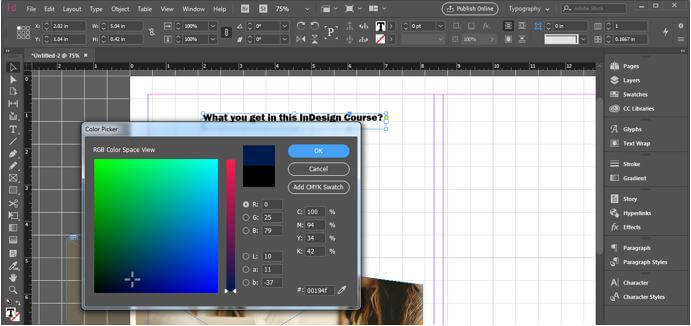
I will change the color of this text to something dark shade of blue.
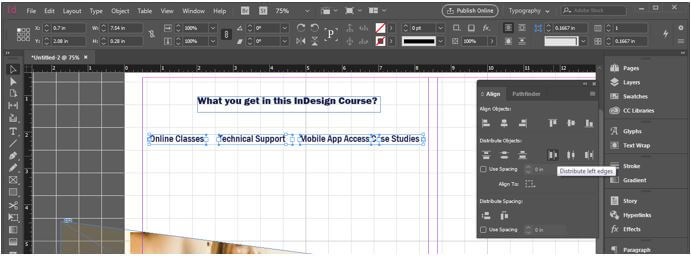
Now I will add these four subheadings here according to my text content. So now you can see there are not perfectly aligned.

So for that, I will go to the Window menu of the menu bar, and in the scroll-down list of it, we have the ‘Object & Layout’ option. Here in the new scroll-down list of it, we have Align panel option, or you can press Shift + F7 as its shortcut key.
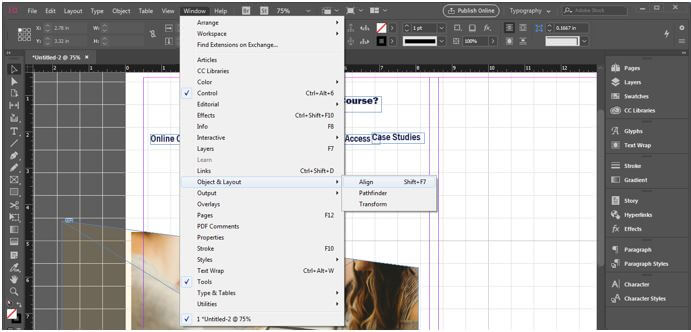
And I will align it, and for align, then first I will click on the ‘Align bottom edges’ option of the Align panel, so that bottom edges of text-align to each other.
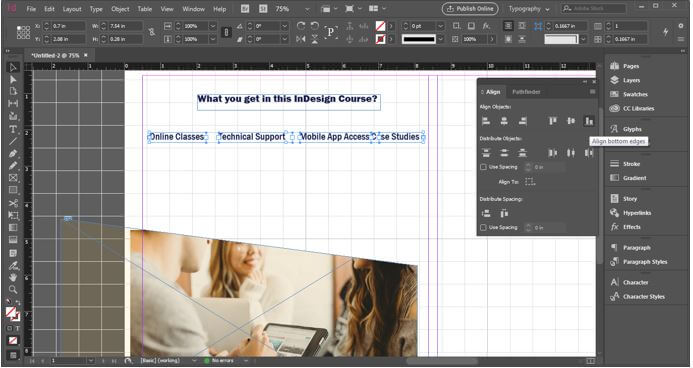
And for maintaining equal gaps between them, I will click on the ‘Distribute left edges’ option.
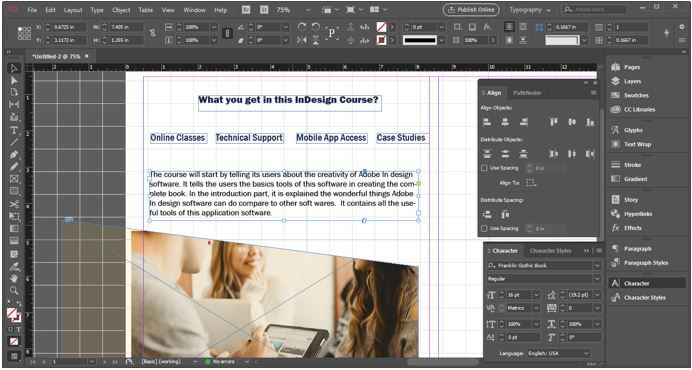
Now I will paste this body copy text here.
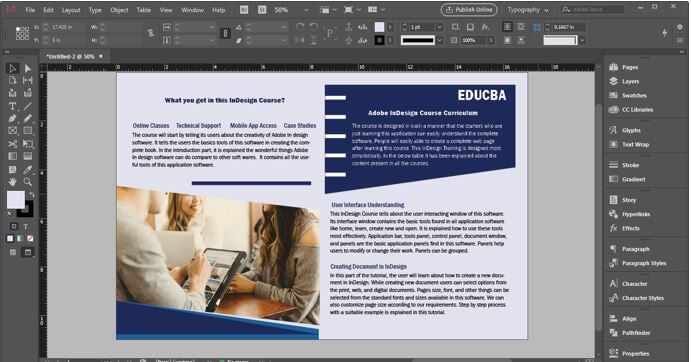
I will add some design shape elements here like this by using this software’s pen and shape tool. In addition, you can use the artwork of other software as a design element here.
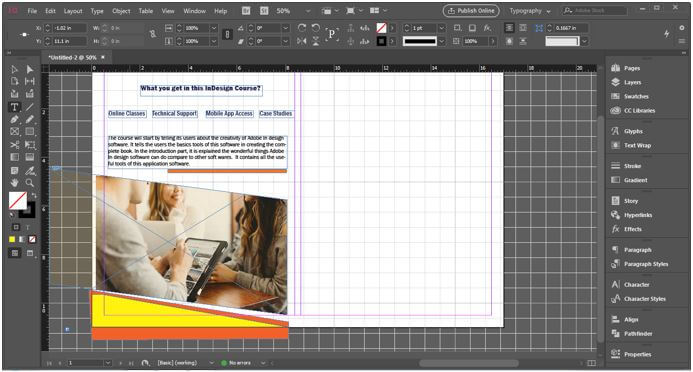
Now for the next folding page of this brochure, I have created this shape element and added my text content here.
I will add more content here according to the design layout, and I also made some changes in the color of the design element. So you can make changes at any time in your design if you are not satisfied with it.
You can also change the background colour, and you can see this is an excellent brochure layout design.
Conclusion
I am sure you have now an idea about Brochure template design, and you have made a good analysis throughout this article. So now I will suggest you start designing a Brochure with your own idea and use above discussed element for having effective results in your work.
Recommended Articles
This is a guide to InDesign Brochure Templates. Here we discuss how to create brochure templates in InDesign along with the step by step. You may also have a look at the following articles to learn more –
