Updated May 19, 2023

What is InDesign bleed?
InDesign bleed can understand as an extra area that is provided in the designed document for taking it to printing purposes. Many times when we print our document it may happen that there is misguide area through the printer, and it will cause to damage the design of the document. So for overcoming this issue, we set a bleed area around our designed document. You can add bleed to your designed document at the time of creating a new document or during working with it, which means you can add bleed area any time as per your choice. Let us discuss some important facts and aspects of bleed for having a good understanding of it.
How do Set up add InDesign bleed?
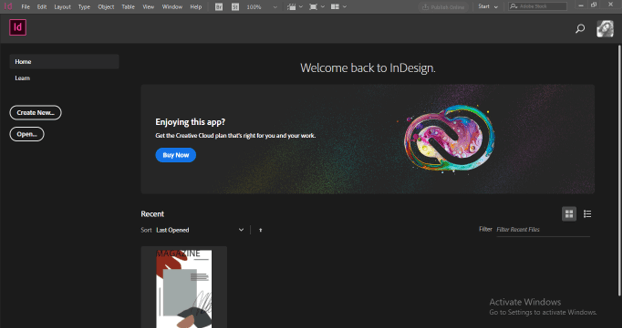
Now let me tell you what are the steps through which you can set bleeds for your document. First, take a new document by clicking on Create New button on the welcome screen of this software.
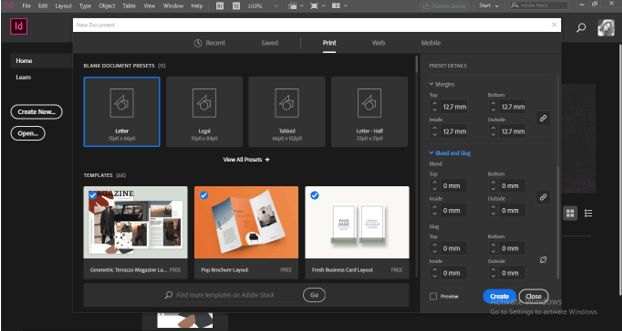
Once you click, a New Document dialog box will open like this. Select any preset or enter the desired size of your document.
In the Presets Details section, you will have some details. At the bottom of the details section, you will find the Bleed and Slug section. By default, it will be zero. You can set it as per the requirement of your design document. Here I will leave it as it is.
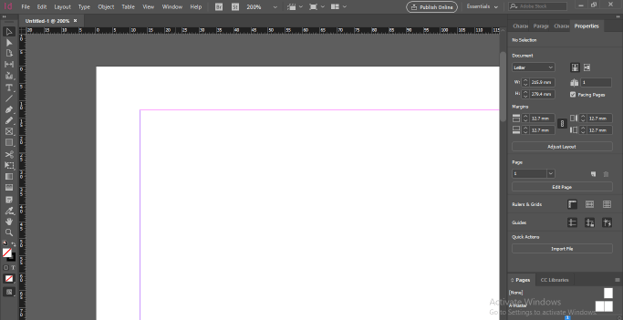
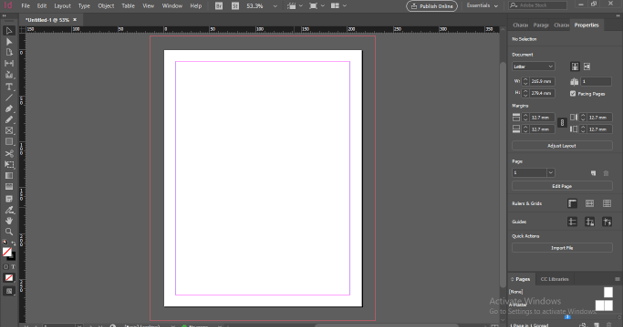
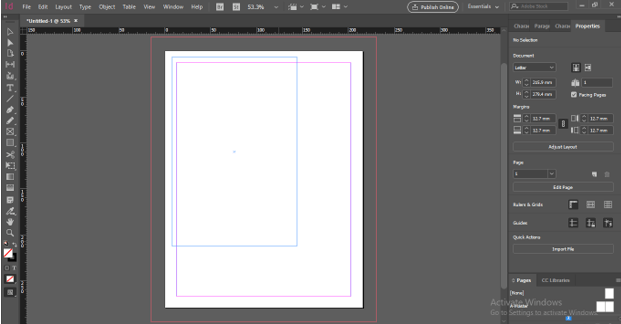
Now without bleed, our document will look like this.

The purple and pink lines around the document show margin lines.
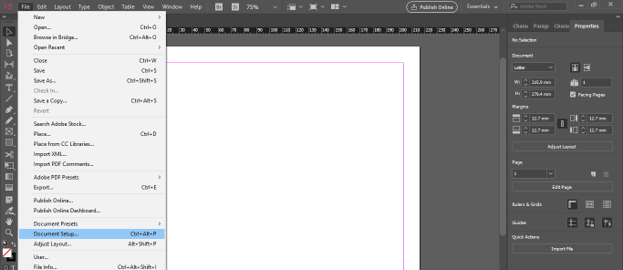
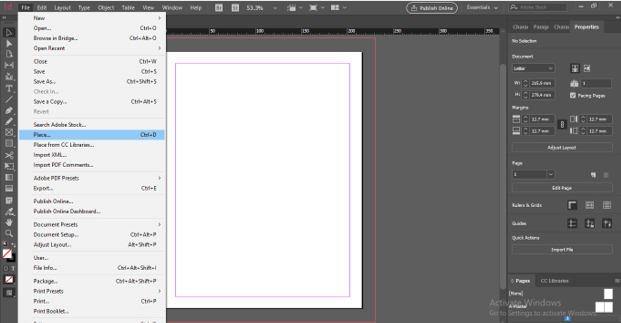
Now if you want to add bleed during working on any document or currently opened document, then go to the File menu of the menu bar and choose the Document Presets option from the drop-down list, or you can press Ctrl +Alt + P as its shortcut key.
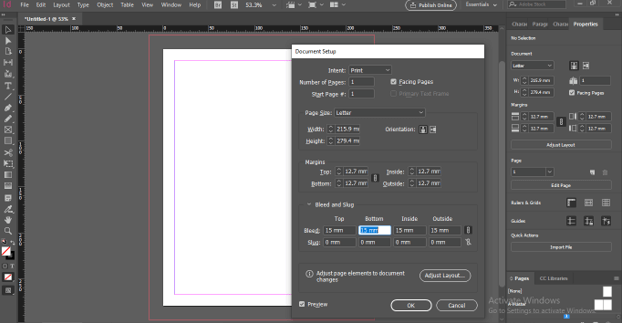
Once you click this Document Setup dialog box will open.
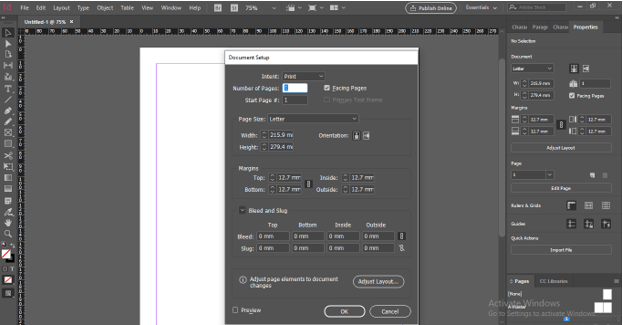
At the bottom, you will have the Bleed and Slug options. I will change its value to 3 mm, and you can see the value of all four sides will change proportionally. You can set it as per your requirement.
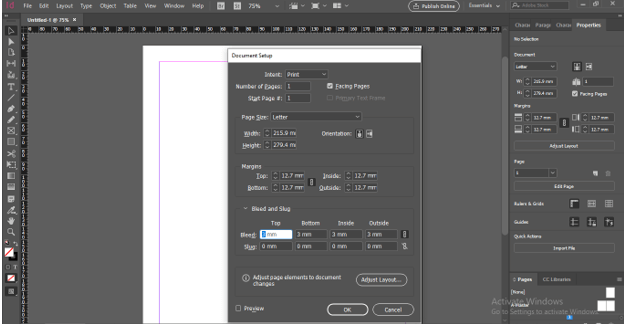
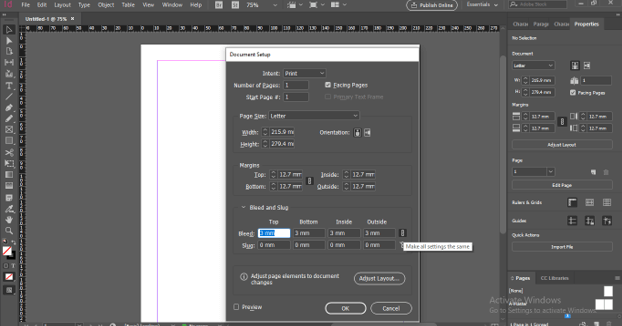
All four sides are linked together by this link icon so that it will change proportionally. You can unlink them by clicking on this link button if you want to change them separately.
If the Preview button of this dialog box is enabled, then you can see a preview of the changed value of bleed.
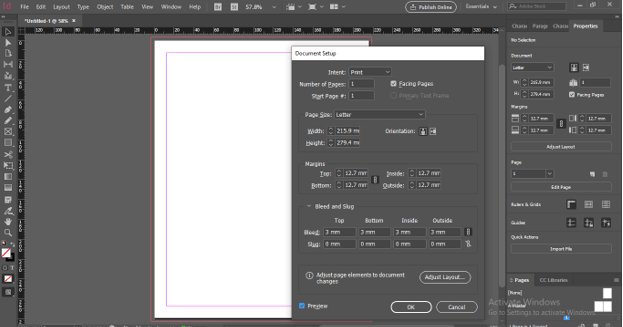
I will change them to 10 mm so that you can see them clearly.
The Bleed area will add around the size of the document, which means it will not affect document size.
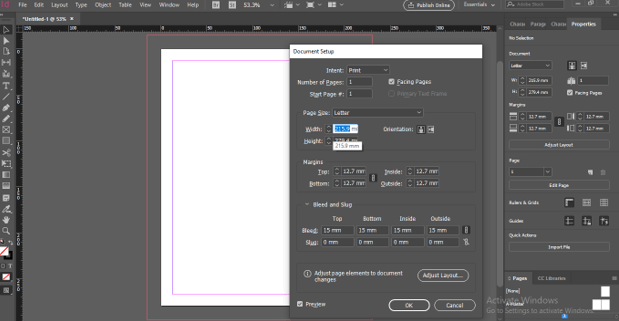
Bleed will look like this.
When to use InDesign bleed?
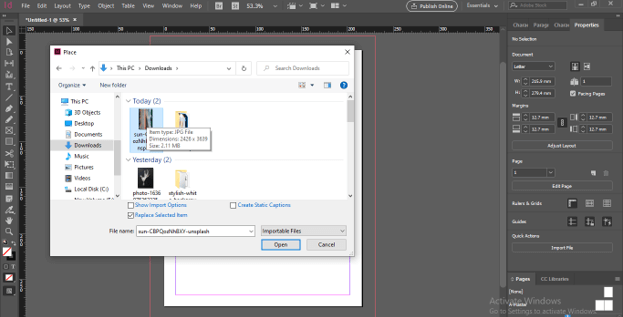
Now let us discuss why we need to set bleed areas in our document. For explaining this, I will place an image on my document. So again, go to the File menu and choose the Place option or press Ctrl + D.
Once you click on it, you will have this dialog box, so I will choose this image.
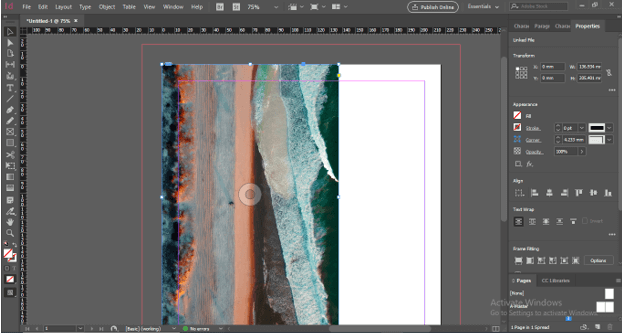
Now place it like this.
After placing this image, you can see its preview of how it will look in the final output. For seeing the preview, you can go to the Tool panel and choose the Preview option.
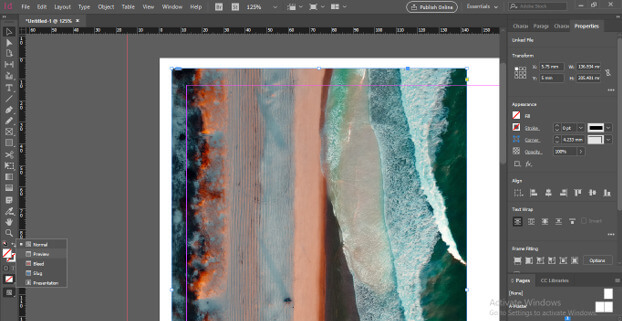
And it will look like this.
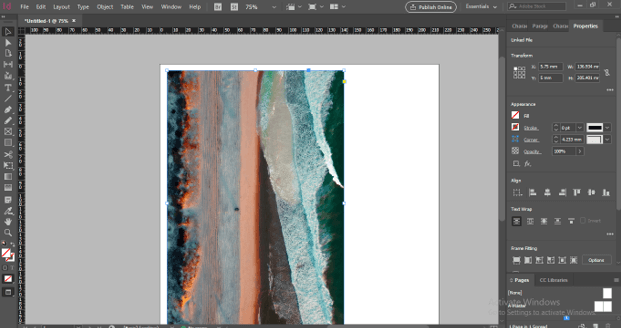
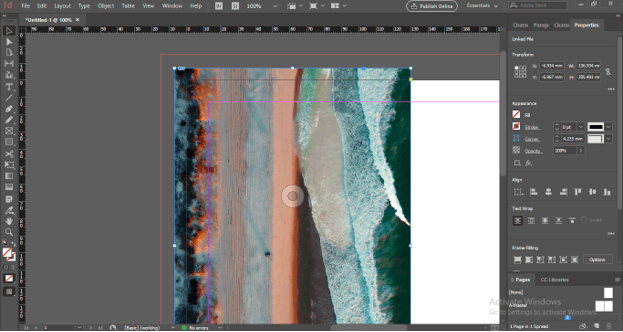
Now I will set it at the edges of the document.
You can see its preview again. Here we have our design at the edge of the document, and it may be cut by mistake if there is some misguide during printing.
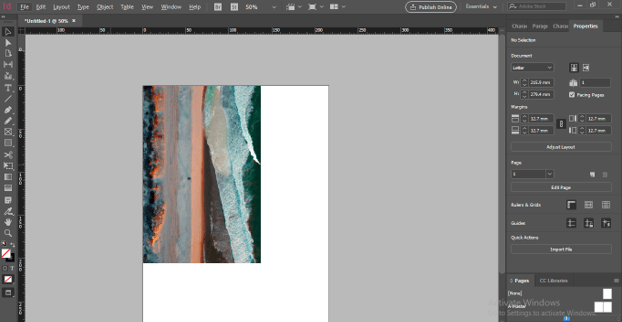
Once again, I will place this image out of the edge of the document.
And when I see it’s the preview, you can notice the area out of the edge of the document will cut off so bleed plays a major role during printing.

Adding InDesign bleed to a File
Now let me tell you how you can add bleed in your printing file of the designed document.
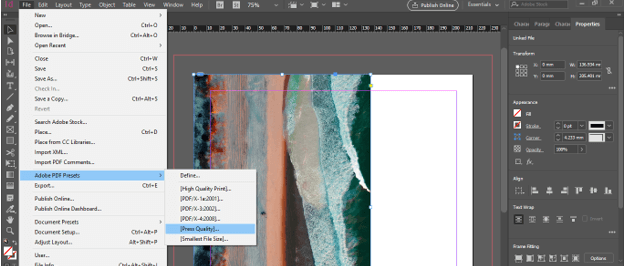
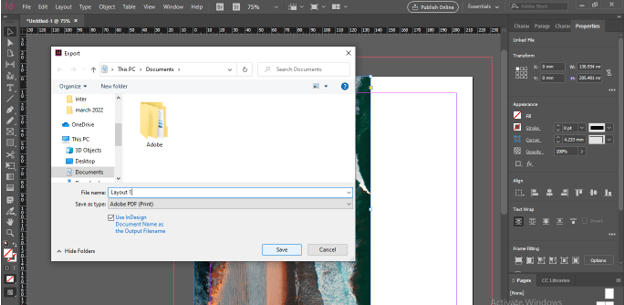
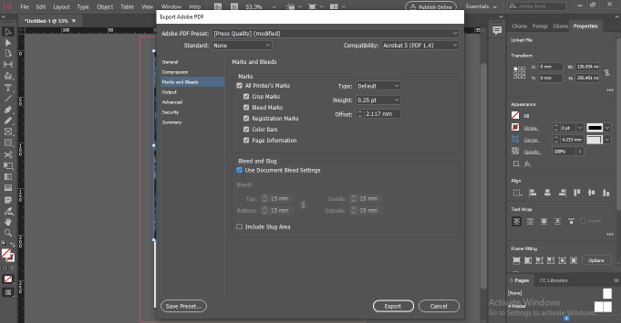
I will save this document as pdf and for saving it go to the File menu of the menu bar and go to the Adobe PDF Presets option, then choose the Press Quality option from the new drop-down list.
Once you choose an option, it will ask you to save it at your desired location. I will save it with the Layout 1 name. You can save it as per your desired name.
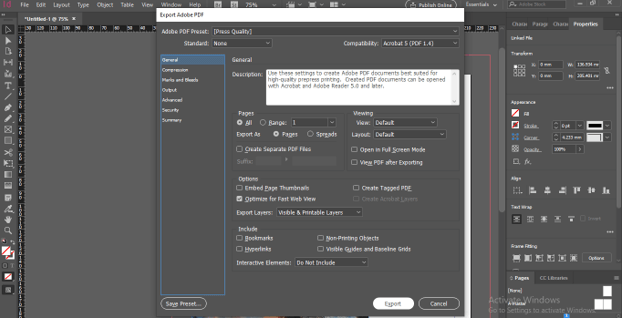
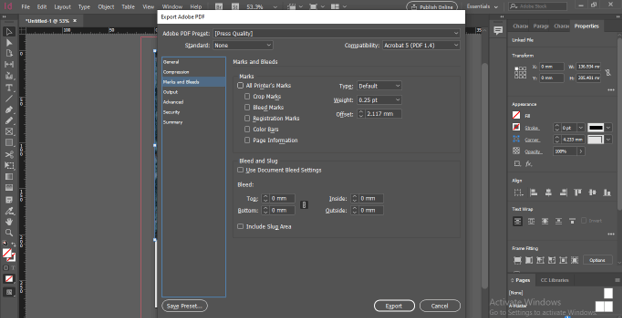
After clicking on the Save button, you will have this Export Adobe PDF button. Click on the Export button of it.
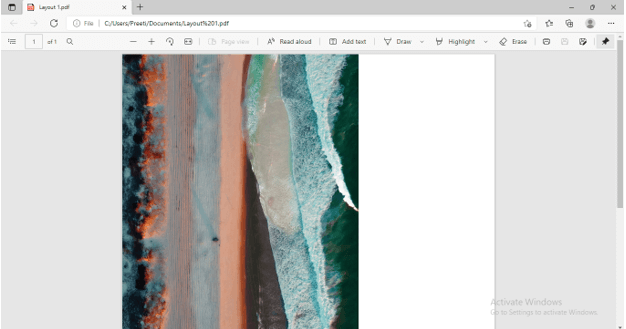
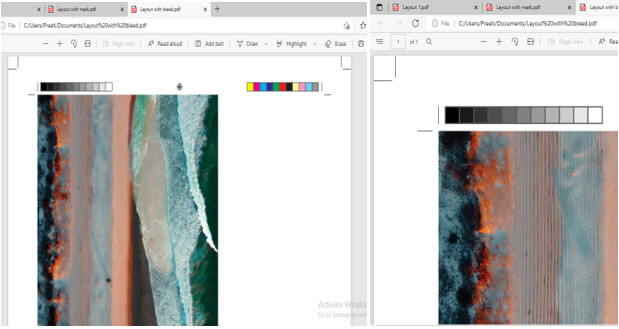
Now when you open it, the document will look like this, and there is no printer mark as well as a bleed mark.
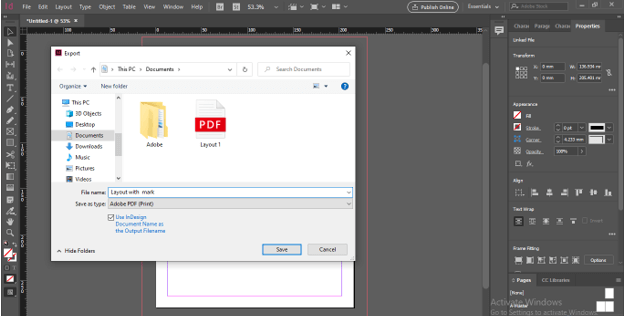
Now I will save my designed document again with the name Layout with Mark.
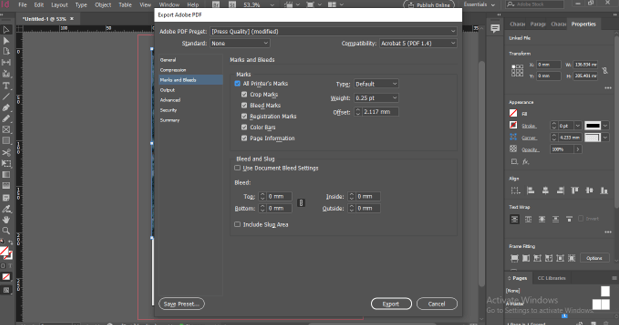
This time in the Export dialog box, go to Mark and Bleeds option.
Enable All Printer’s Marks option by making a tick mark in the check box of this option and exporting it again.
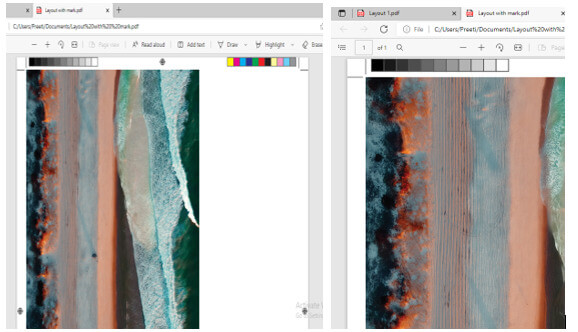
Now when I open this pdf, you can see there is a square mark at the top left corner of this document. It shows a printer mark so you can identify that your design will not cut after printing.
Let us now save it one more time with the name Layout with Bleed.

Now in the Export box under the Mark and Bleeds option there is a Bleed and Slug option too.
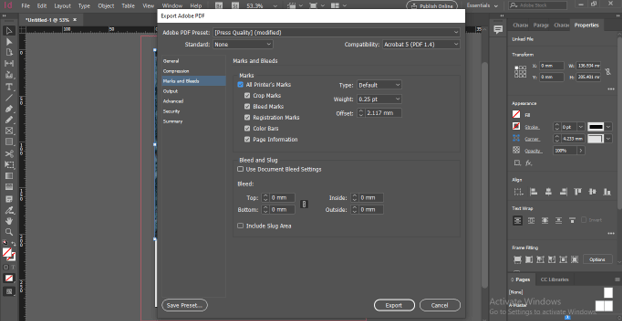
So tick mark it too, then click on the Export button.
Now when we open this pdf, you can see there is one more square mark at the corners of the document. The first mark is the printer mark, as we have seen above, and the second one is the bleed.
So this way, you can set bleed and add it to your printing file.
Conclusion
Now you have enough information about bleed, and its set after going through this article. You can set bleed in your document as per your work requirement at any time, as being discussed above. I will suggest you set bleed with different parameters in your document and see it as a preview to check how it manages our design layout.
Recommended Articles
This is a guide to InDesign bleed. Here we discuss What indesign bleed is, How to Set up InDesign bleed, and When to use InDesign bleed. You may also have a look at the following articles to learn more –
