Creating Logo in Photoshop
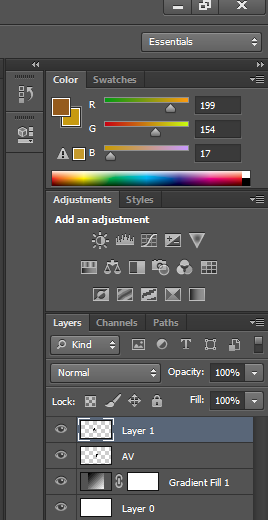
Photoshop, as its name indicates, is something related to ‘Photos’ manipulating work. Yes, it is image editor software. Although it is raster image editing software, we can also make logos in it. For creating a logo in this software, one should have good knowledge of the tools and commands of this software. Here in this article, I will tell you how to create a logo in Photoshop with a basic example for your better understanding. After some practice, you will be able to make a logo in this software with your own ideas. Let us get familiar with the interface of this software. The interface means the working area of any software; in the working area of this software, we have different types of sections that are Menu Bar, Property Bar, Tool Panel, Color section and most important is the Layer section because this software works on the principle of layers. We will use this layers section very much for making our logo design.
How to Make Logo in Photoshop?
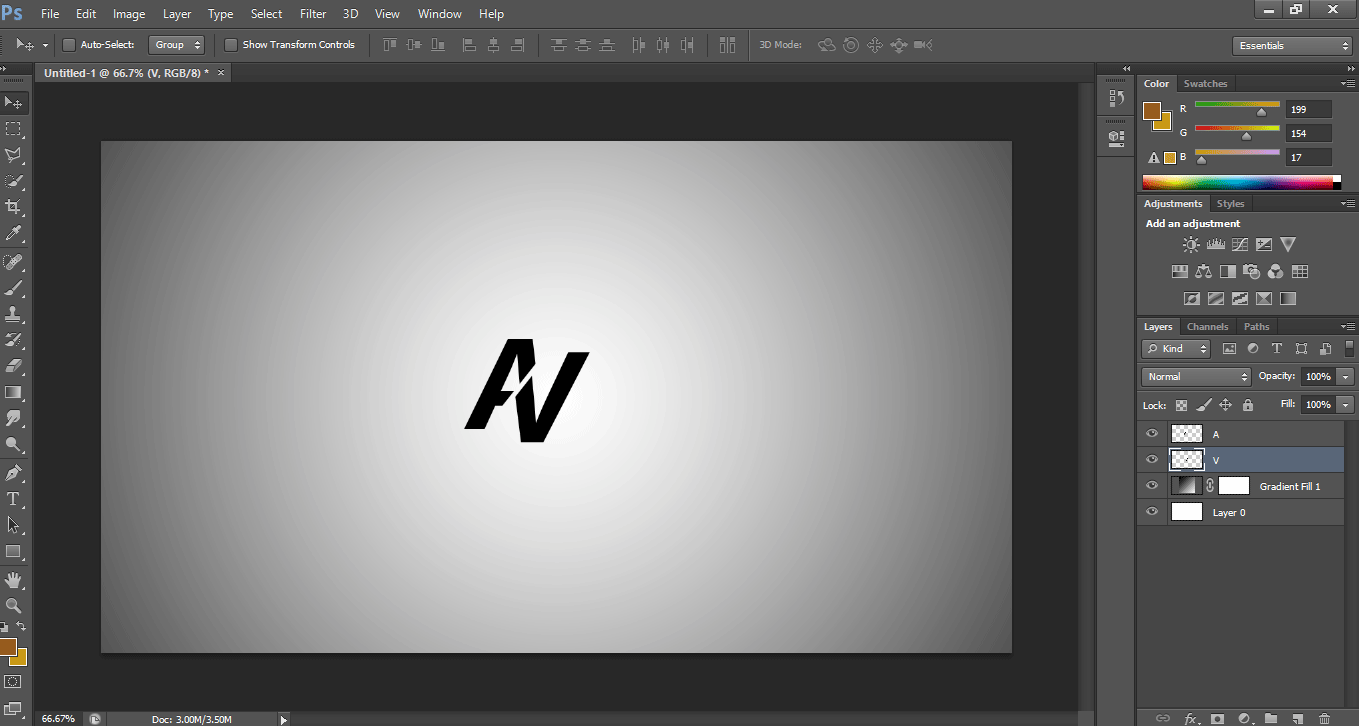
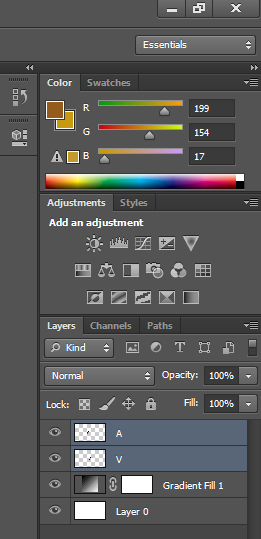
- Please find the below screen interface of Photoshop.
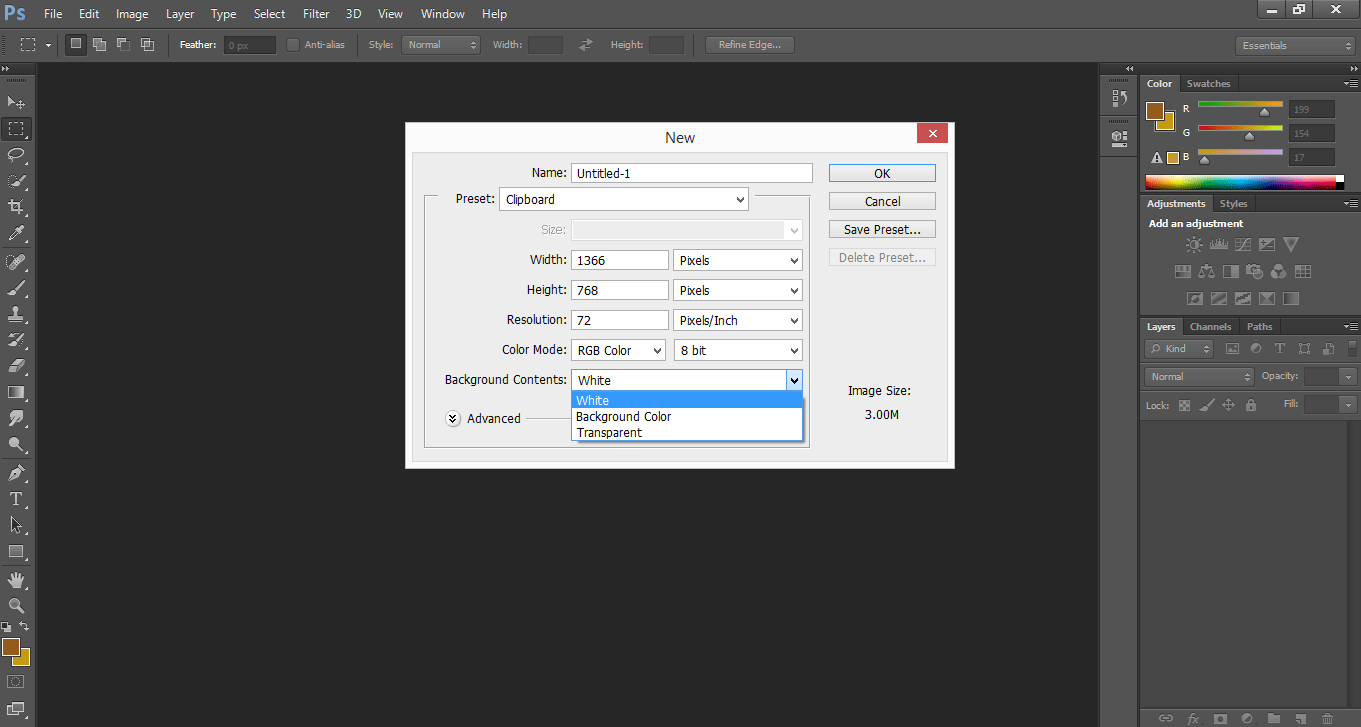
- Our first task is to take the ‘New’ document as a background layer. Go to File Menu and click on the ‘New’ option.

- A new layer dialog box will open. Set the width and height of the background layer according to your requirements.
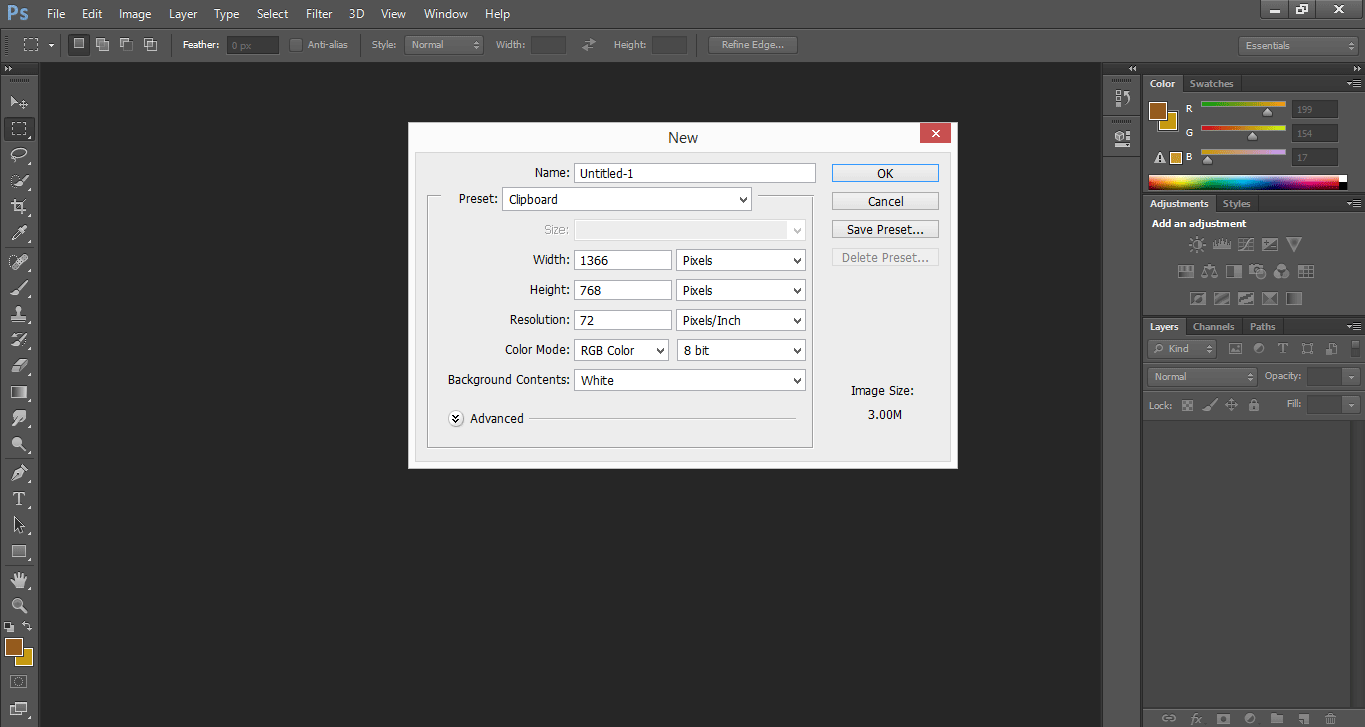
- Take color mode as RGB Color.
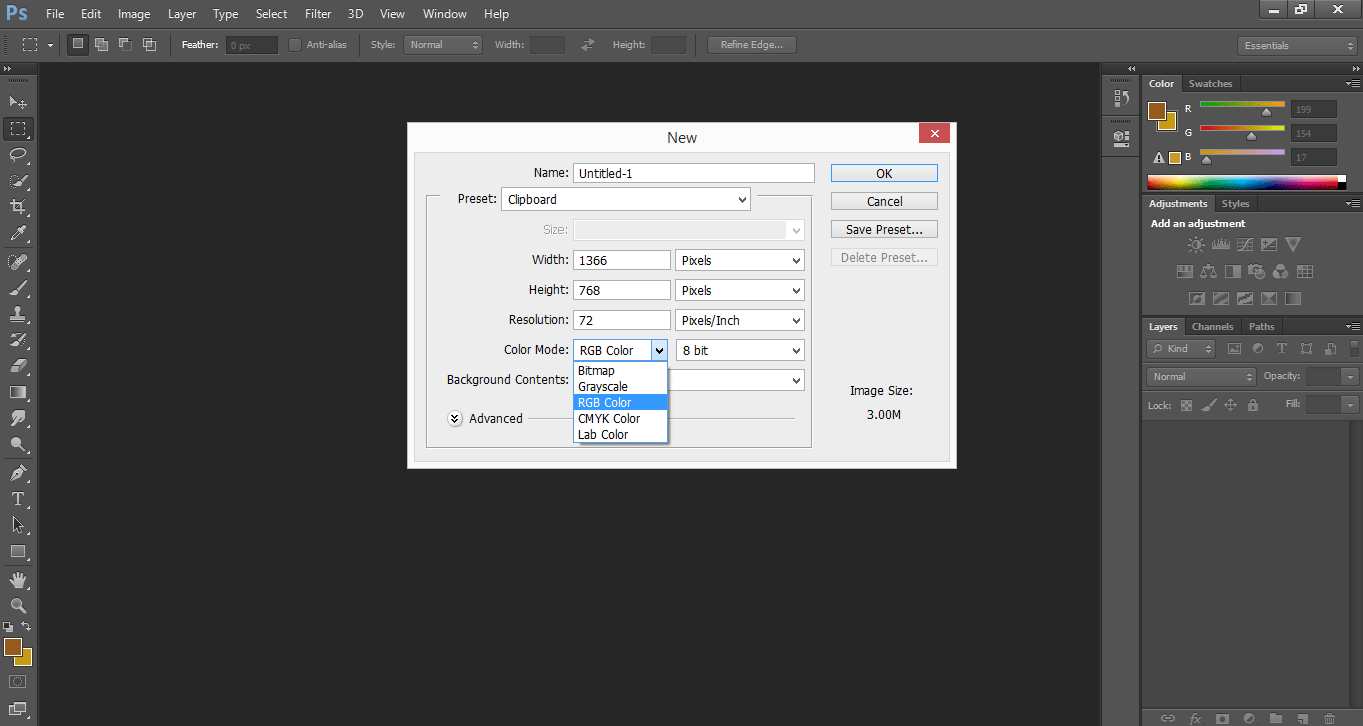
- And set Background content as White. I am taking this setting for the brighter look of my logo.
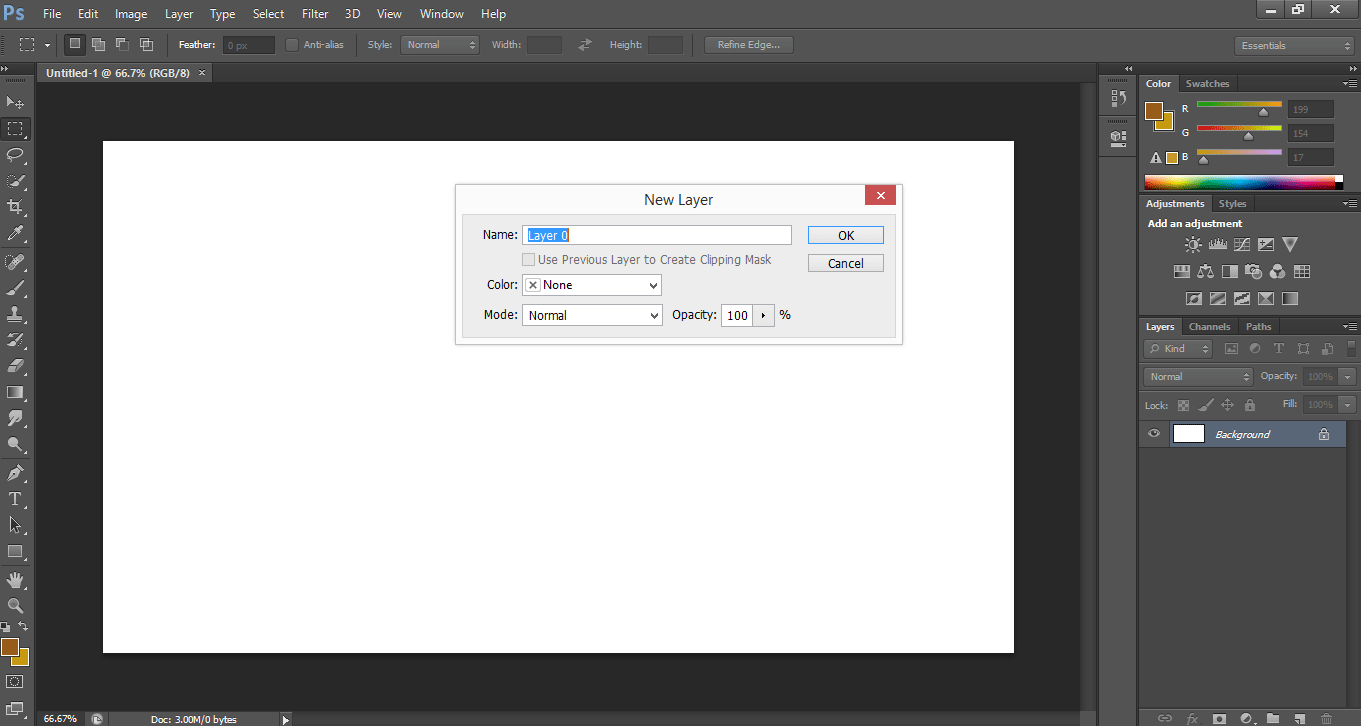
- Go to the layer section and double click on the background layer for making it an unlocked layer. It will ask for a new layer, which will be an unlocked layer. You can change the name of this layer according to you. Now click Ok.
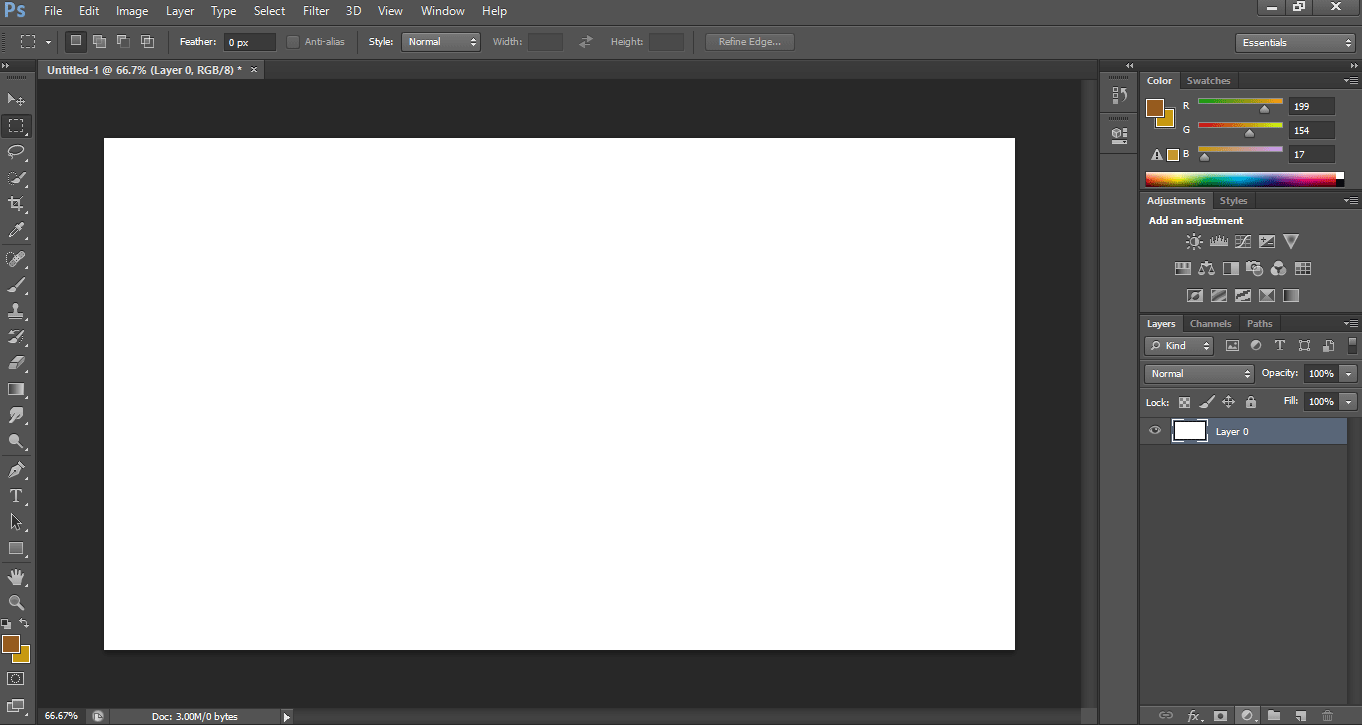
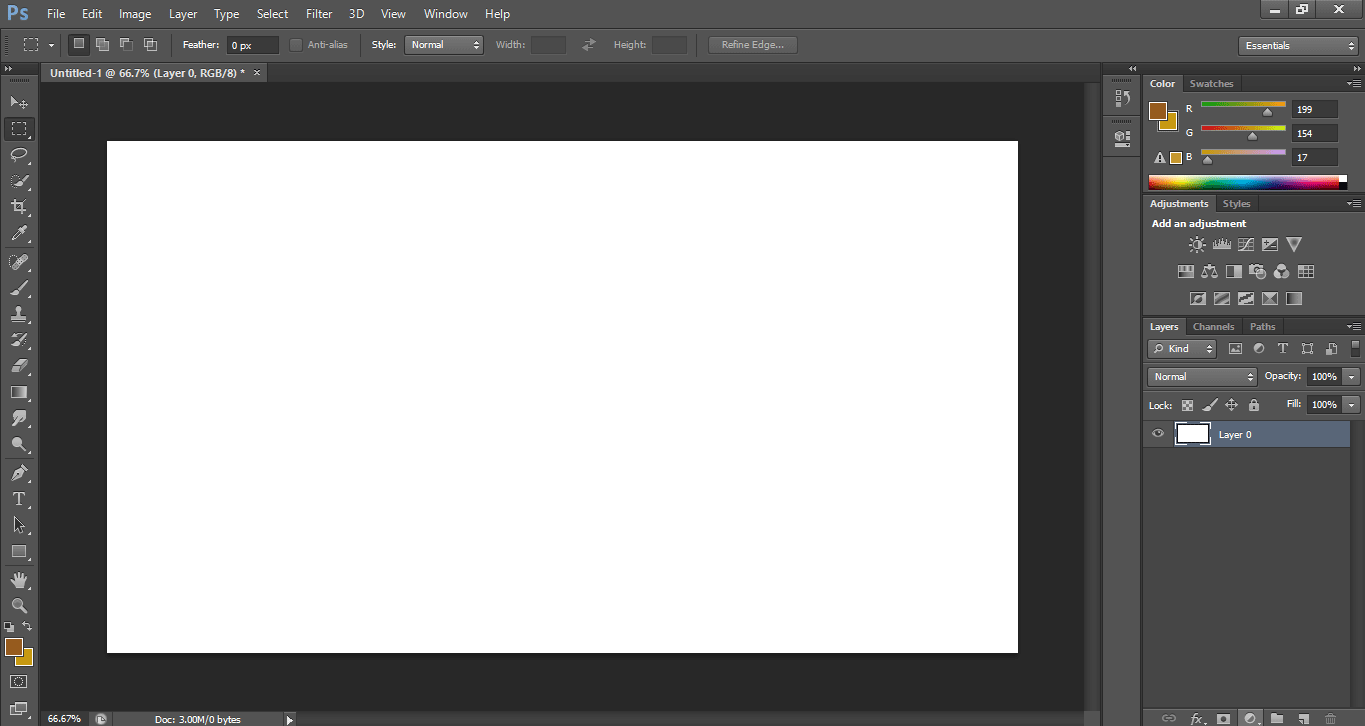
- The layer will be unlocked.
- Now I will apply Gradient to this layer. Go to this icon at the bottom of the layer section.
- A drop-down list will open; choose Gradient from here.
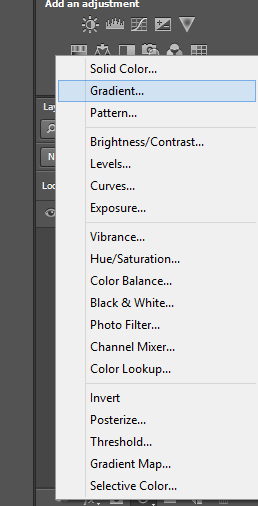
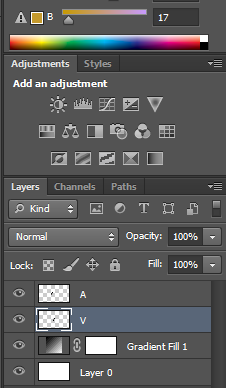
- A dialog box of Gradient fill will open. Click on the drop-down arrow of Gradient Picker.
![]()
- I will choose Black and White as a gradient. You can choose any one of them, which suits your logo.
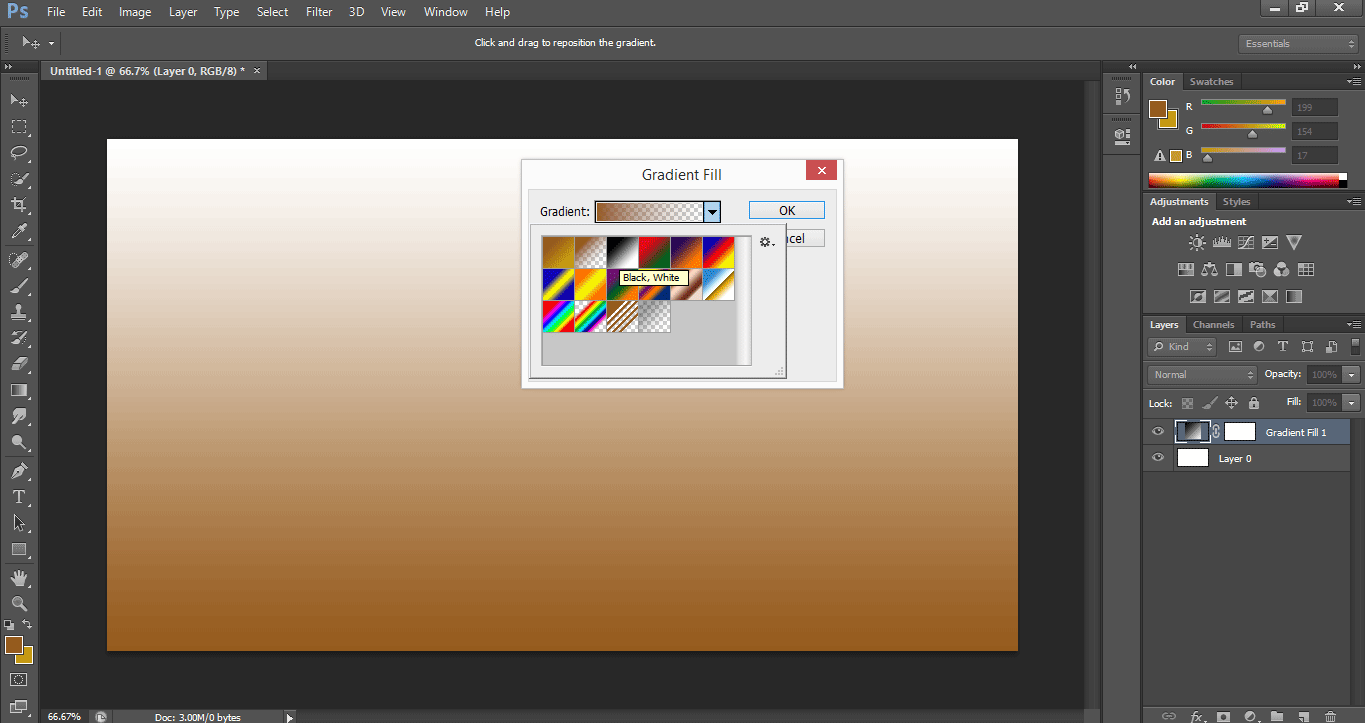
- Take the Radial option as the style of the gradient.

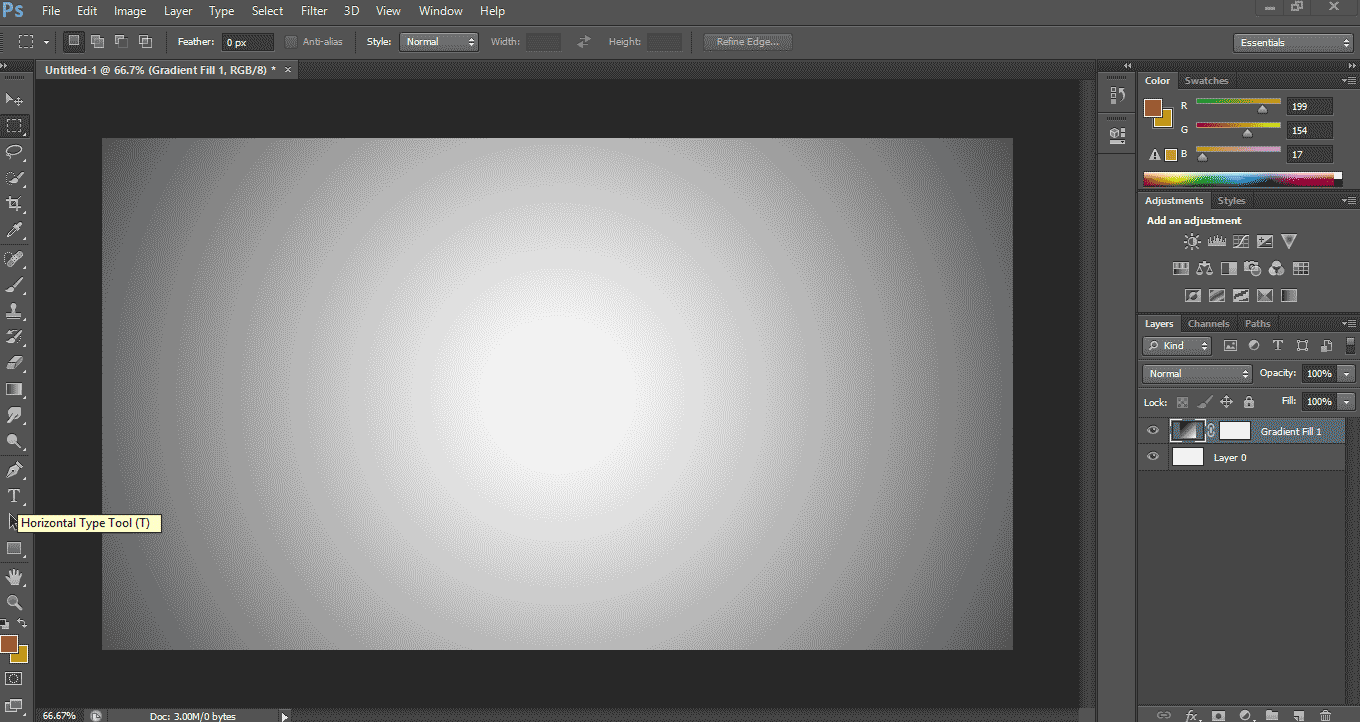
- I want white in the center and black on the outer side of the document, so I will try tickmark to select Reverse.
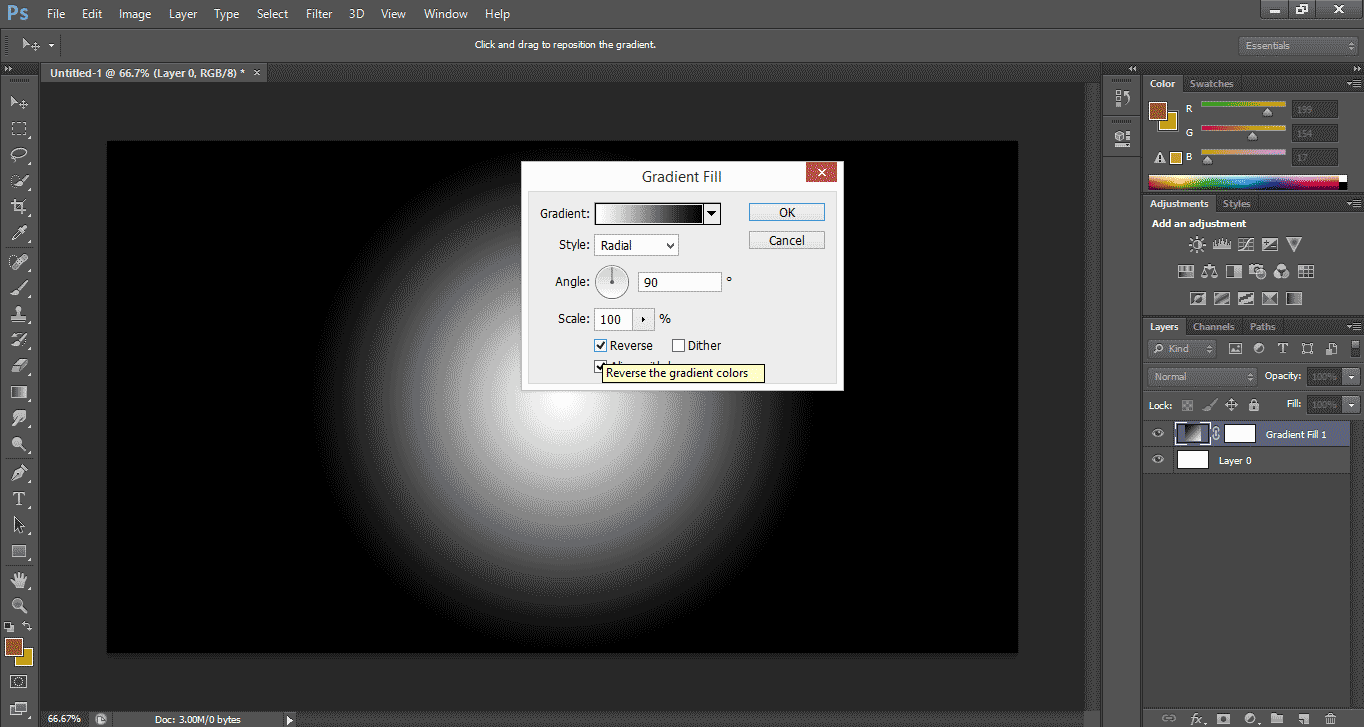
- Increase the scale parameter for a smooth spreading of a gradient in the outer direction.
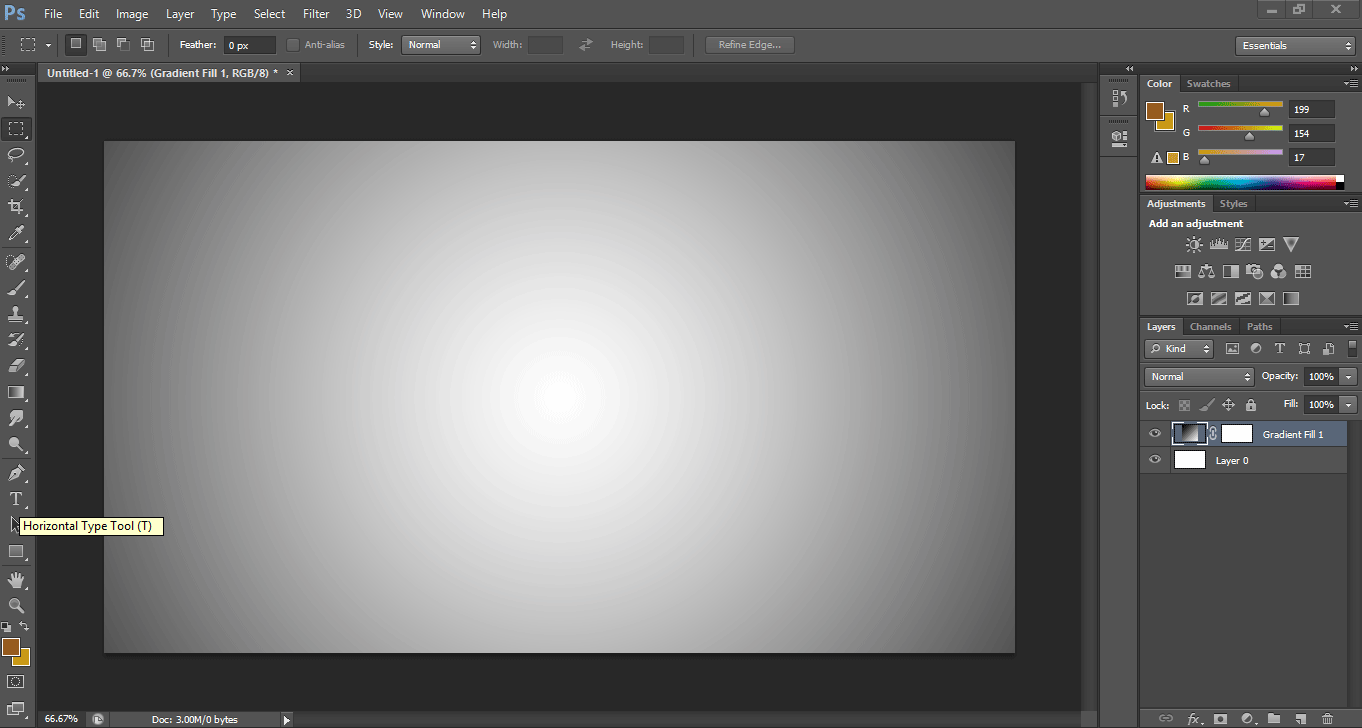
- This is our final gradient.
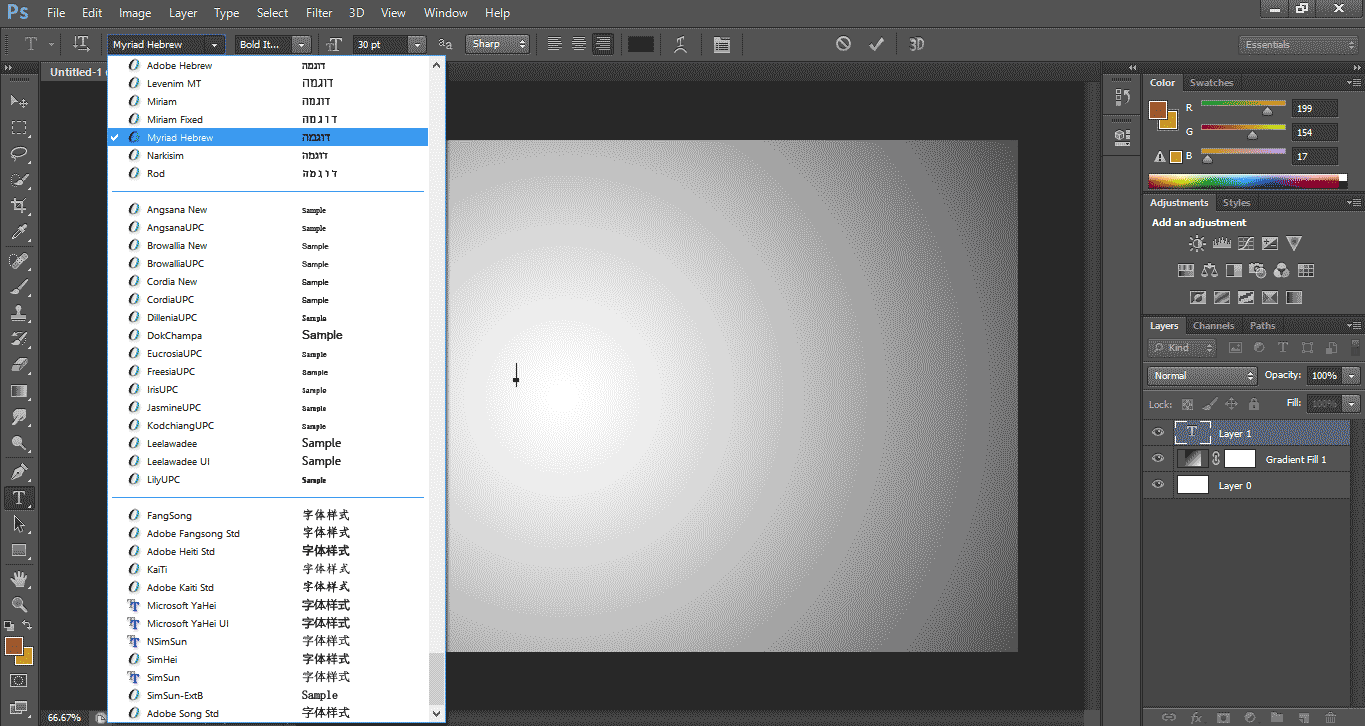
- Now take a Text Tool from the Tool Panel.
- Take the text font style according to your choices.
- Next, I will set Bold Italics as style.
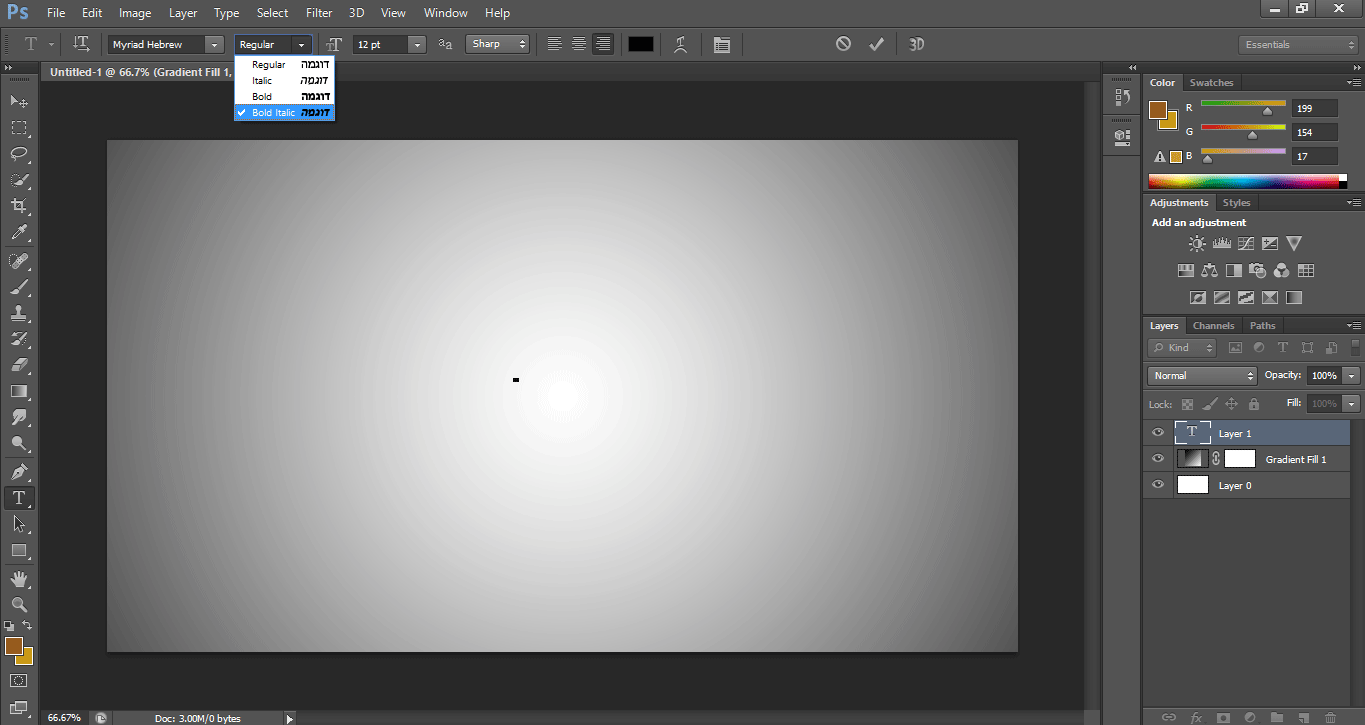
- Next, set the size of the logo according to your requirement.
![]()
- Once you are completed, click on this icon.
![]()
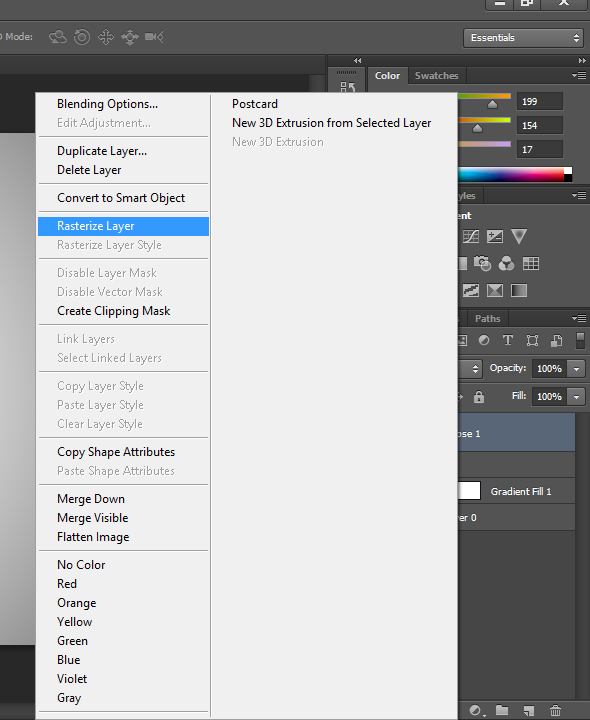
- Now I will Rasterize the text for looking at it as a logo. Right-click on the text image and click on the Rasterize Type option of the drop-down list.
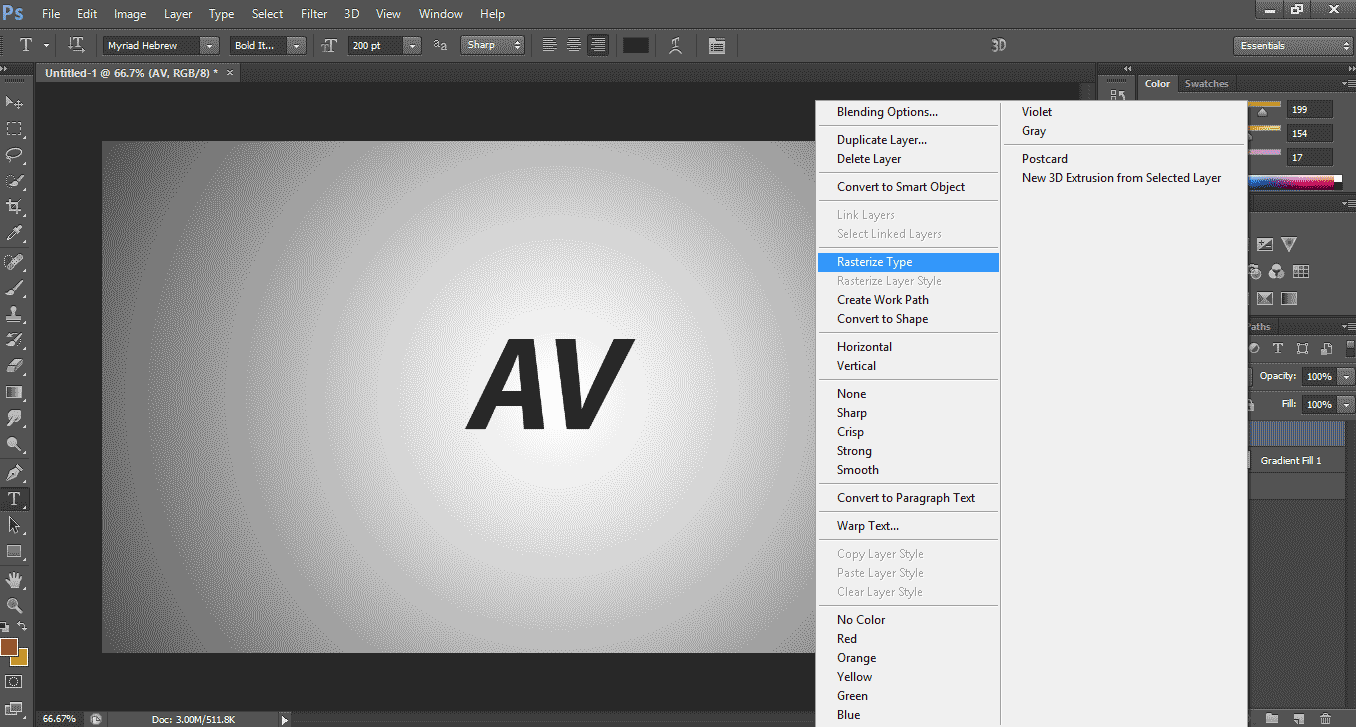
- Now the text layer has become an image layer.

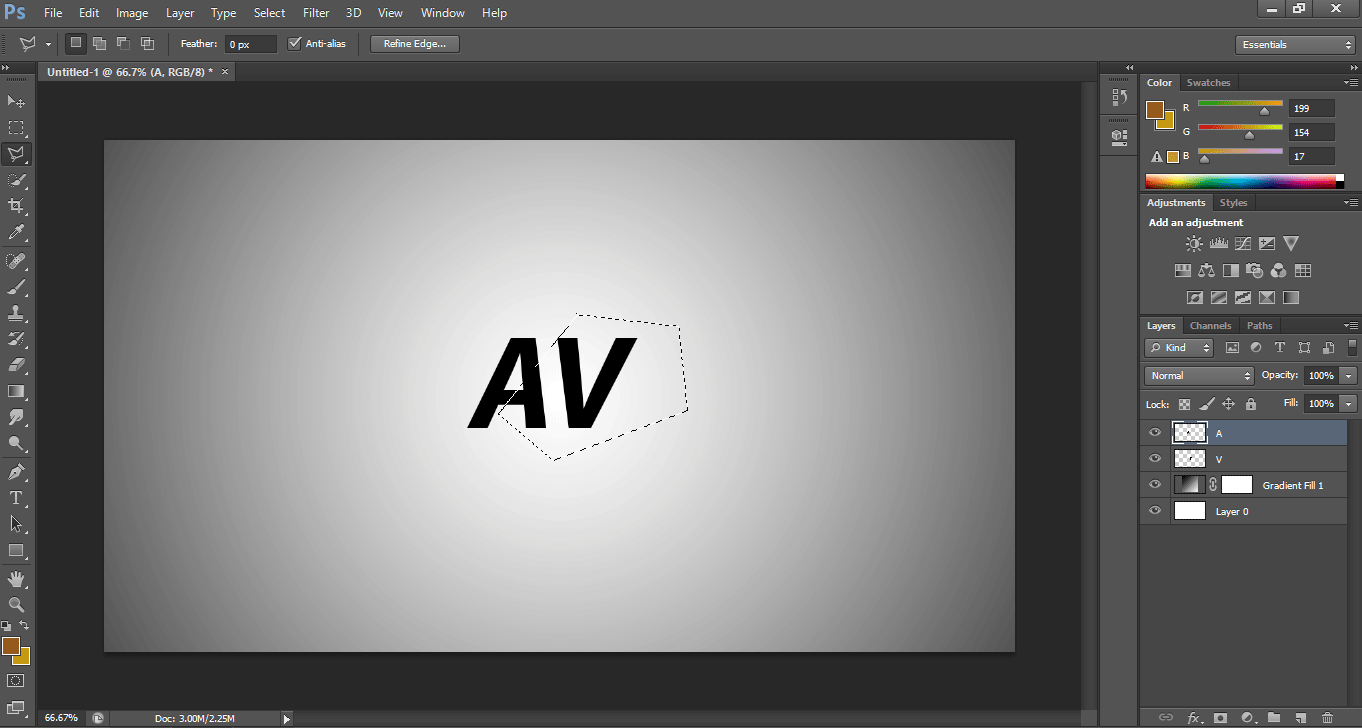
- Take the Polygon tool from the tool panel.
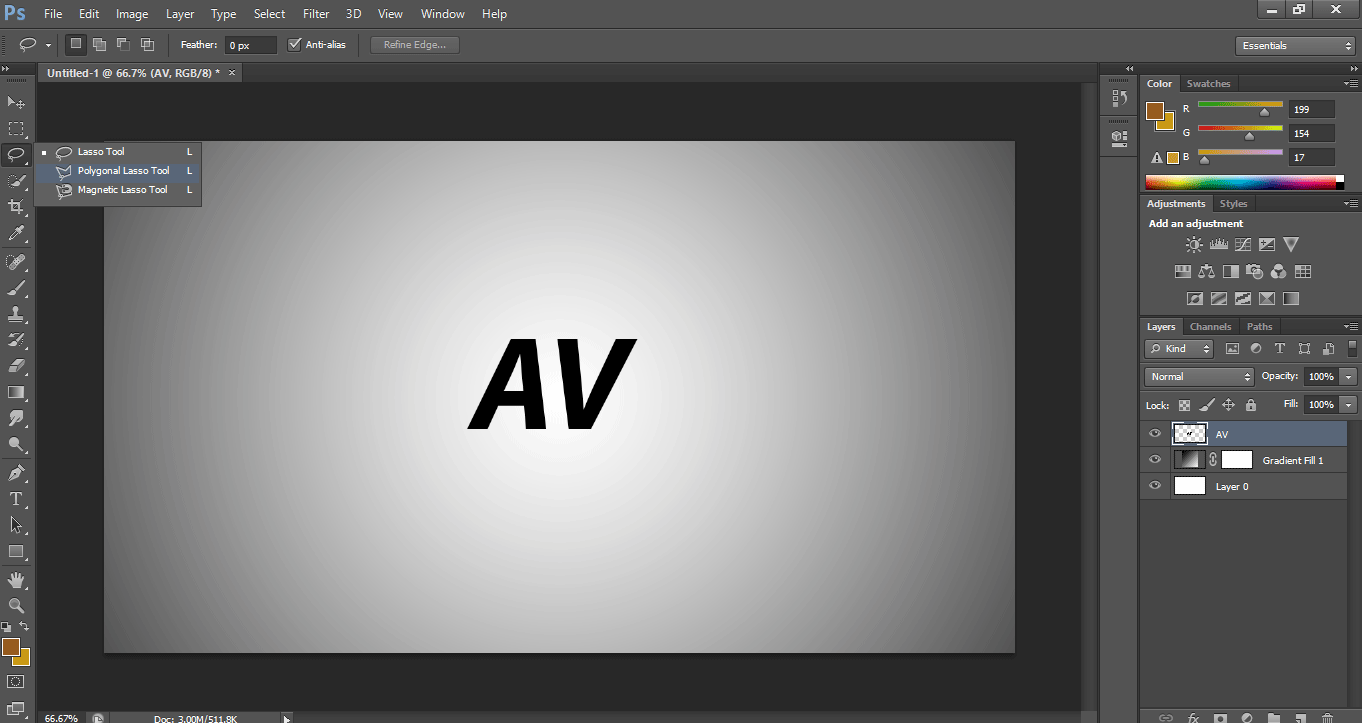
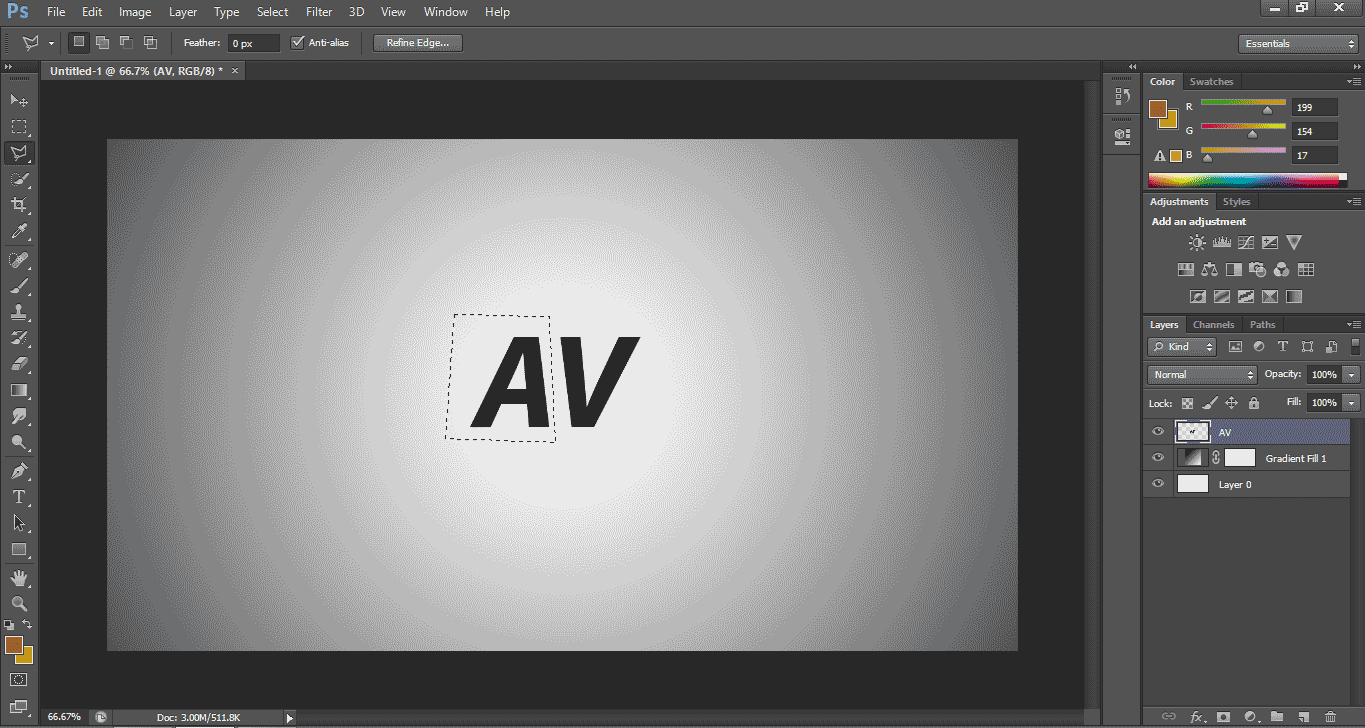
- Select the letter A for separating it from this layer.
- After selecting it with the polygon tool, click the right button of the mouse. A drop-down list will open; click on the ‘Layer Via Cut’ option.
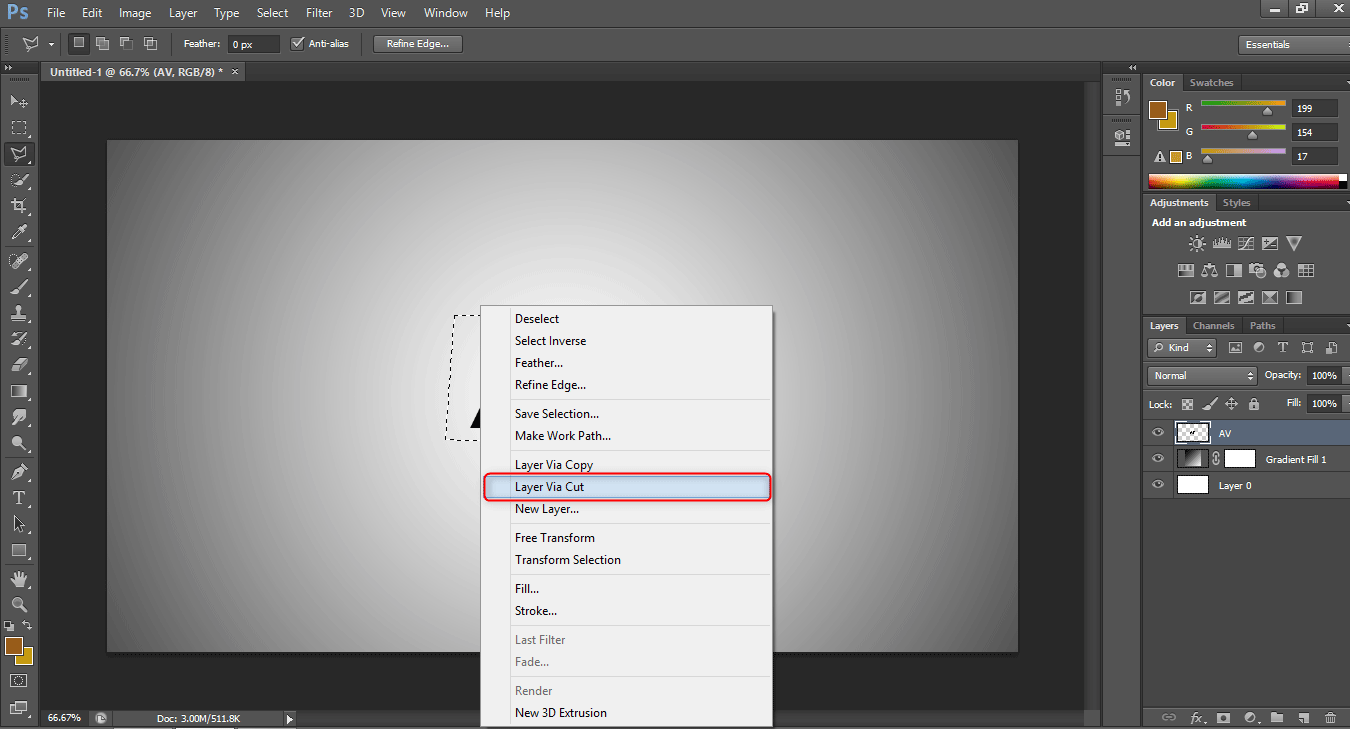
- Now two separate Layers of letter A and letter V will be generated.
- Now name both the layers for our better understanding.

- Now we will cut the letter A from the side to give it a logo look. Take a polygon tool and make a selection as I have done.
- Press the Delete button on the keyboard to cut the selected area of the letter A.

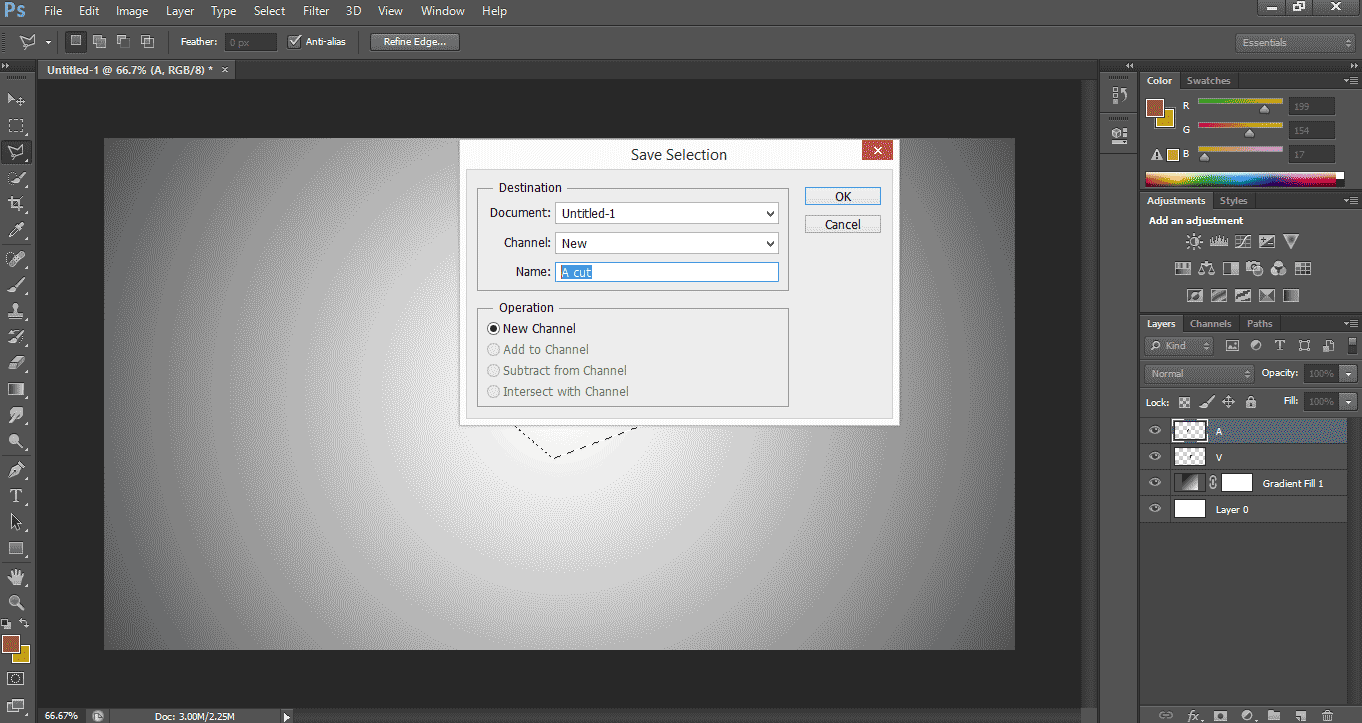
- Now save this selection. Right-click with the mouse button on the logo. A dropdown list will be open; click on the Save Selection option for saving it.

- A dialog box of Save Selection will open. Name the selection according to you and click Ok.
- Now press Ctrl+D on the keyboard to select the selected area of letter A.
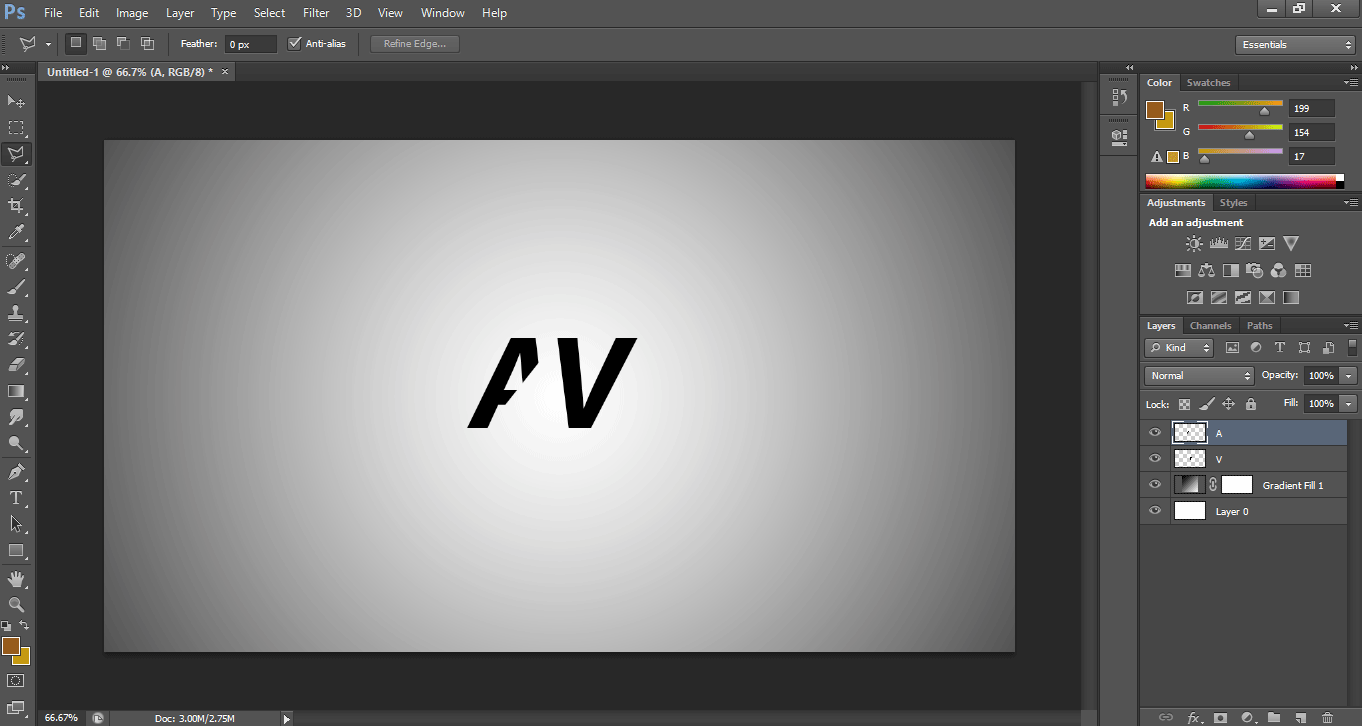
- Now come on to layer V.
- Go to the Channel tab by clicking on it, go to your saved selection, and click on it by holding the Ctrl key on the keyboard.
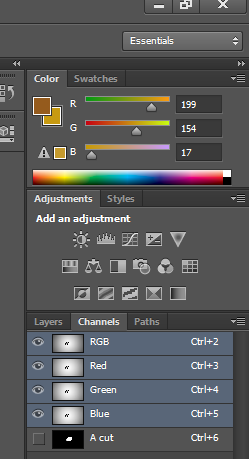
- A previous selection will be activated automatically for the V layer.
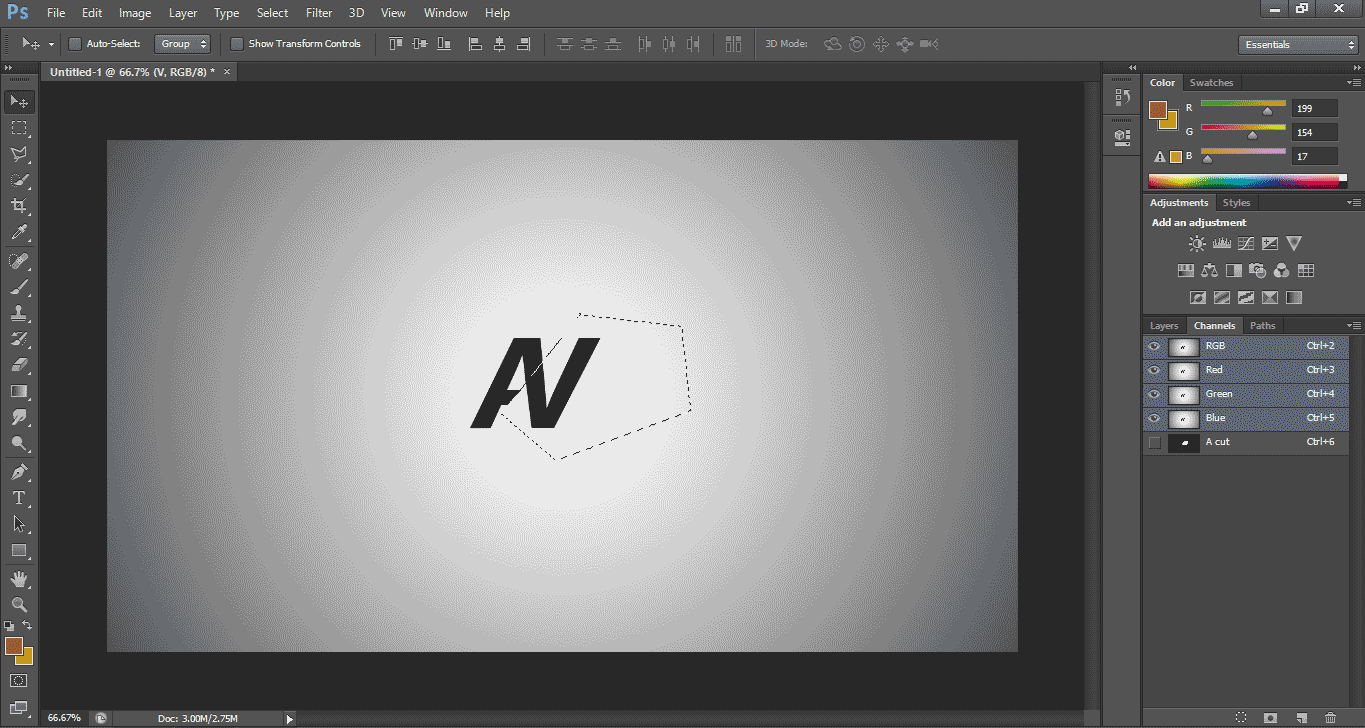
- Now press the Ctrl+Shift+I button on the keyboard to reserve the selection because I want to cut the whole area of this layer around V.

- Press the Delete key on the keyboard to delete the selected area.
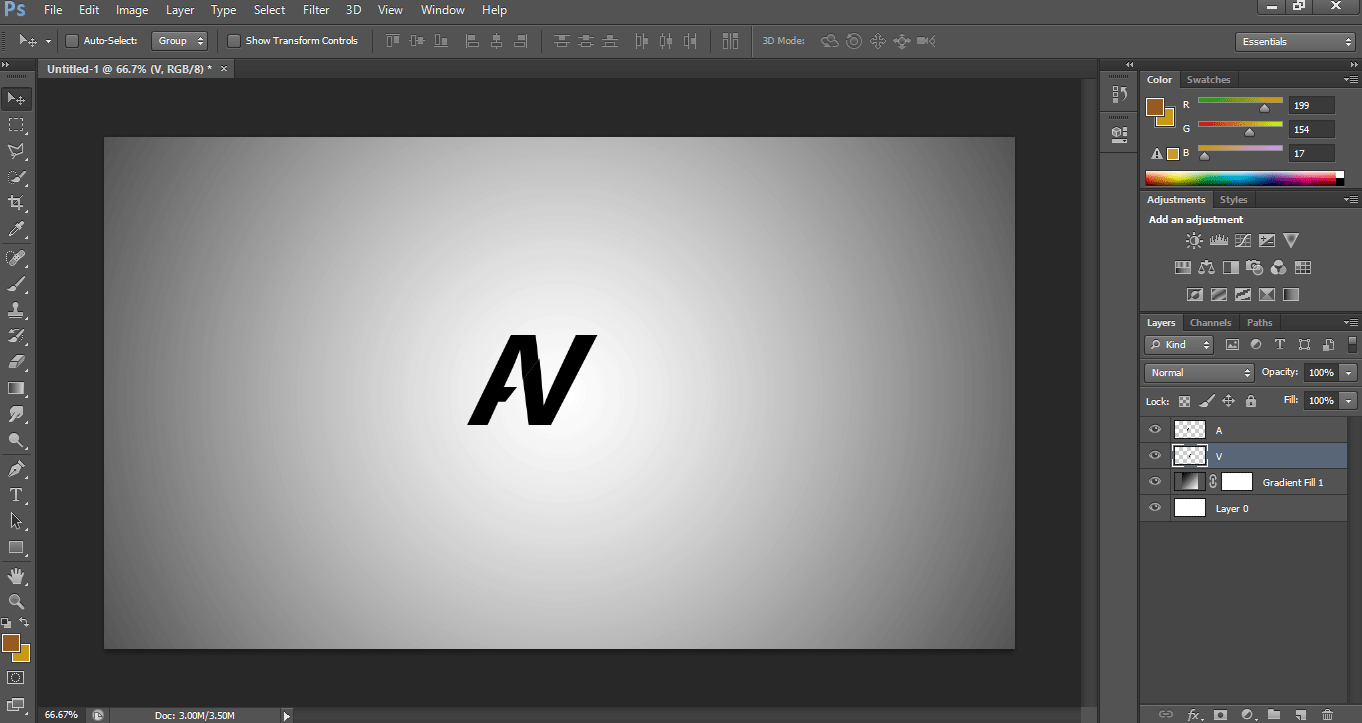
- Now use the Move Tool and move the letter V according to you to give a professional look to your logo.
- Now go to the layer section and select layers A and layer V by clicking on them one by one with holding the CTRL-key.
- And then click right-click on the selected layer. A drop-down list will open. Click on the Merge layer option from here to merge these layers.

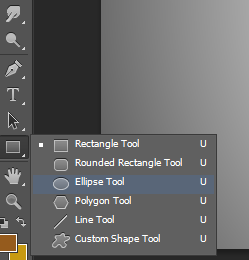
- Now take the circle tool.
- Draw it according to the size of the logo.
![]()
- Turn off the Fill option.
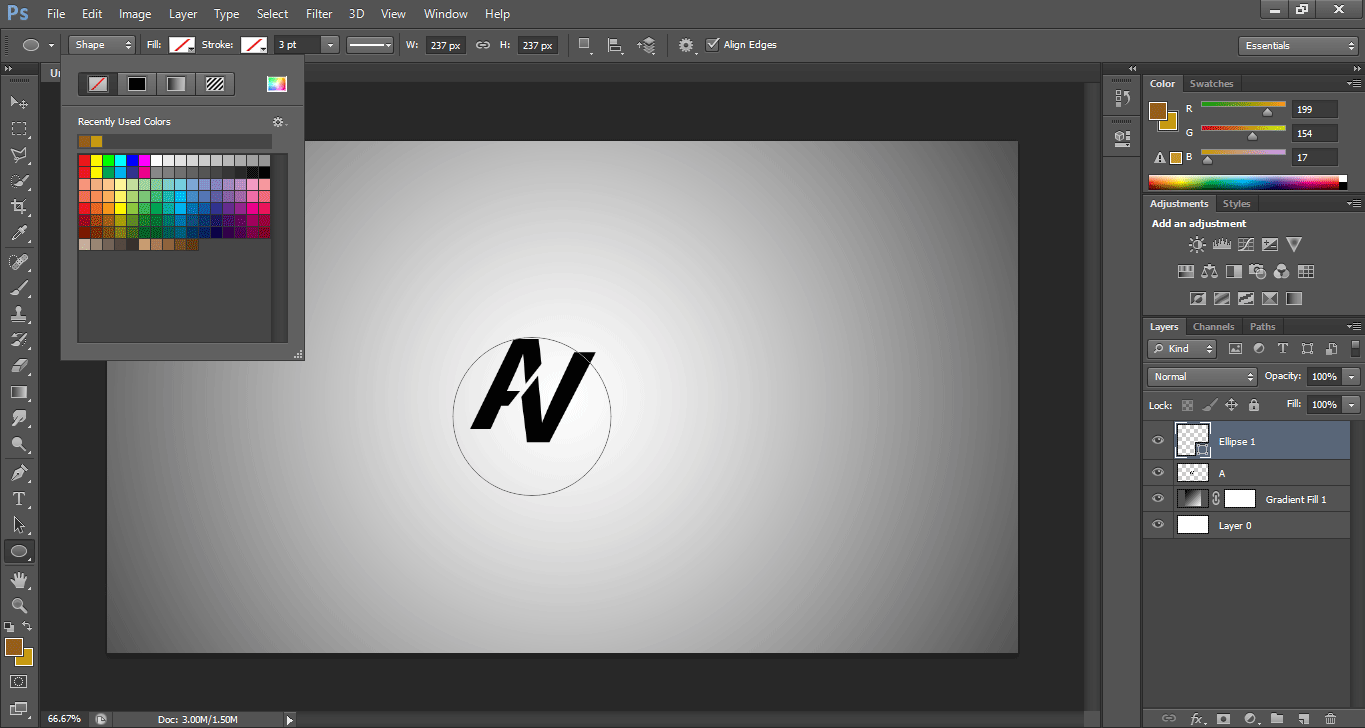
- Take black color like color of the stroke and increase the thickness of the stroke according to you.

- Now right-click on this circle layer for making it an image.

- Choose the Rasterize option from the drop-down list.
- Now select the Ellipse layer and layer A and drag them to the group layer icon, which is at the bottom of the layer section.
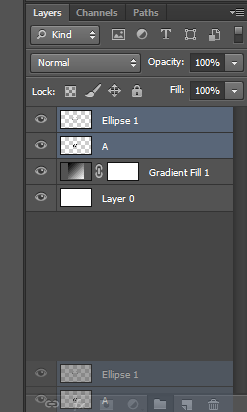
- Layers will be grouped now.
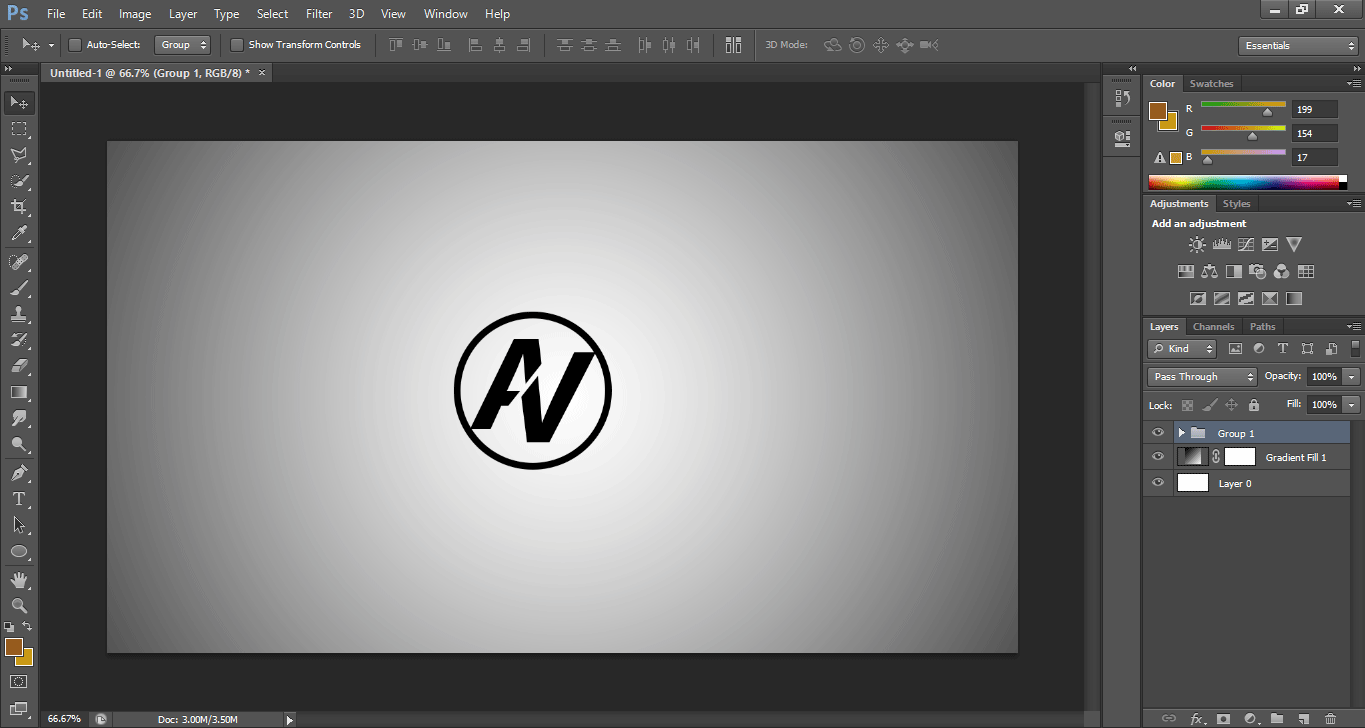
- Now I will take an image from My Folder by Drag and Drop method.
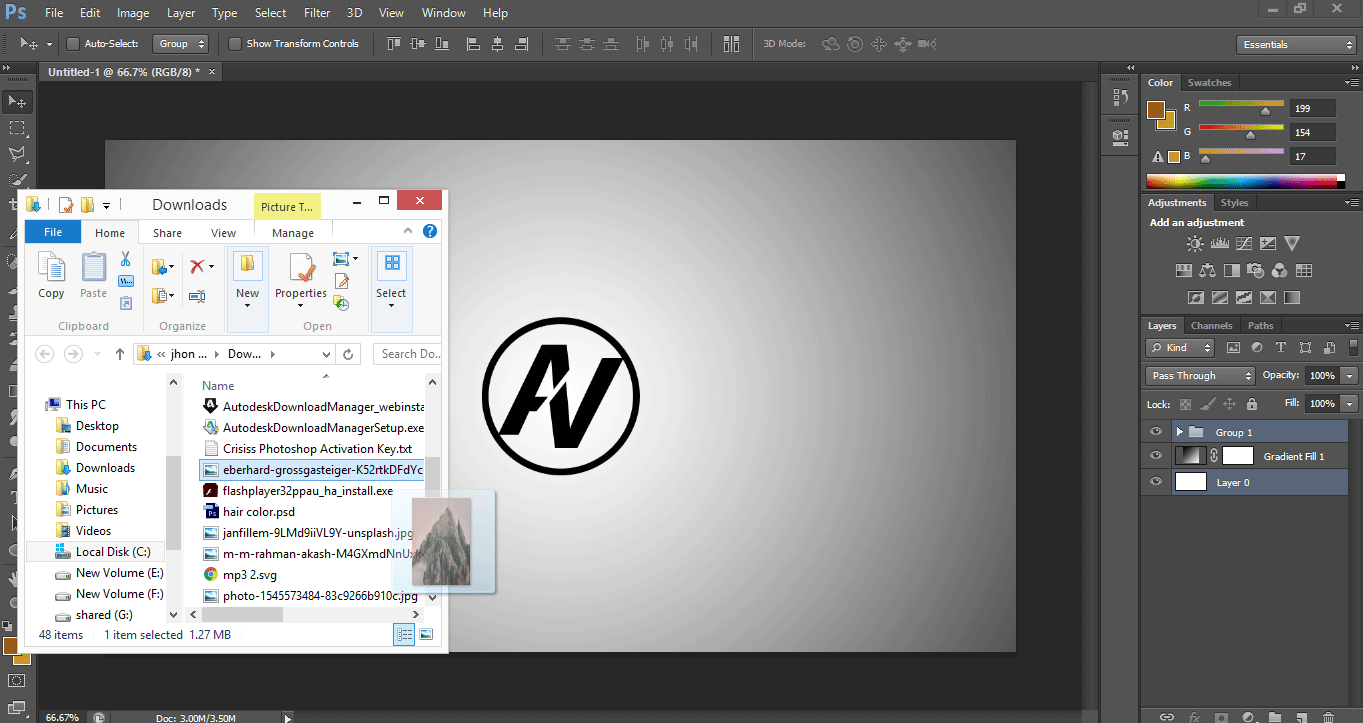
- Adjust this layer according to layer 0.
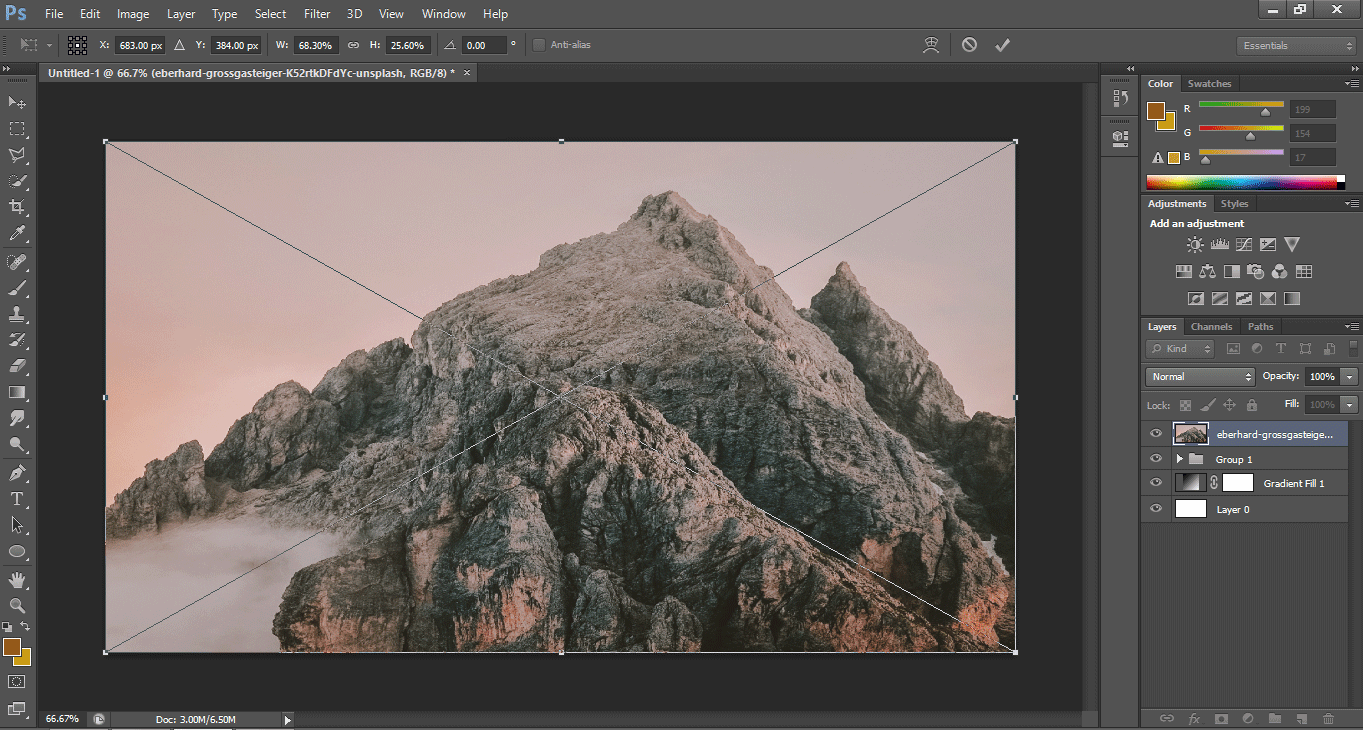
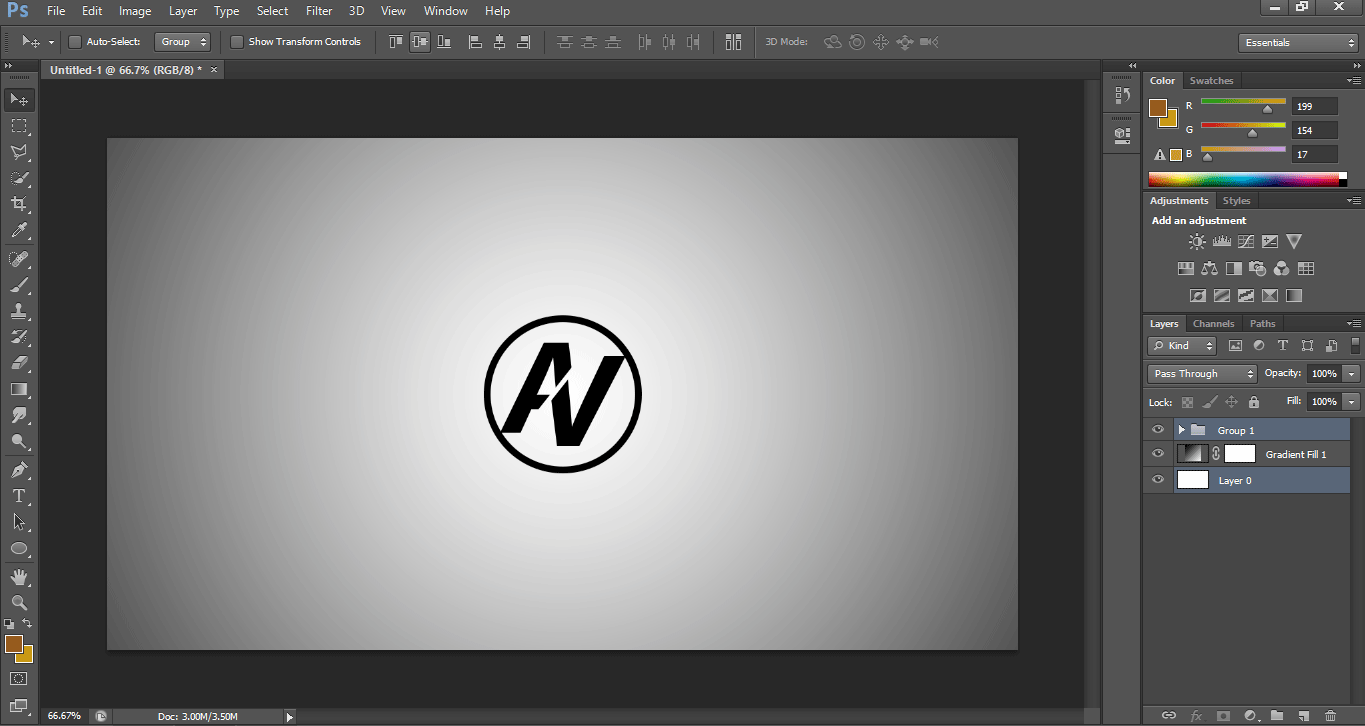
- And click on this icon to place this image in Photoshop.

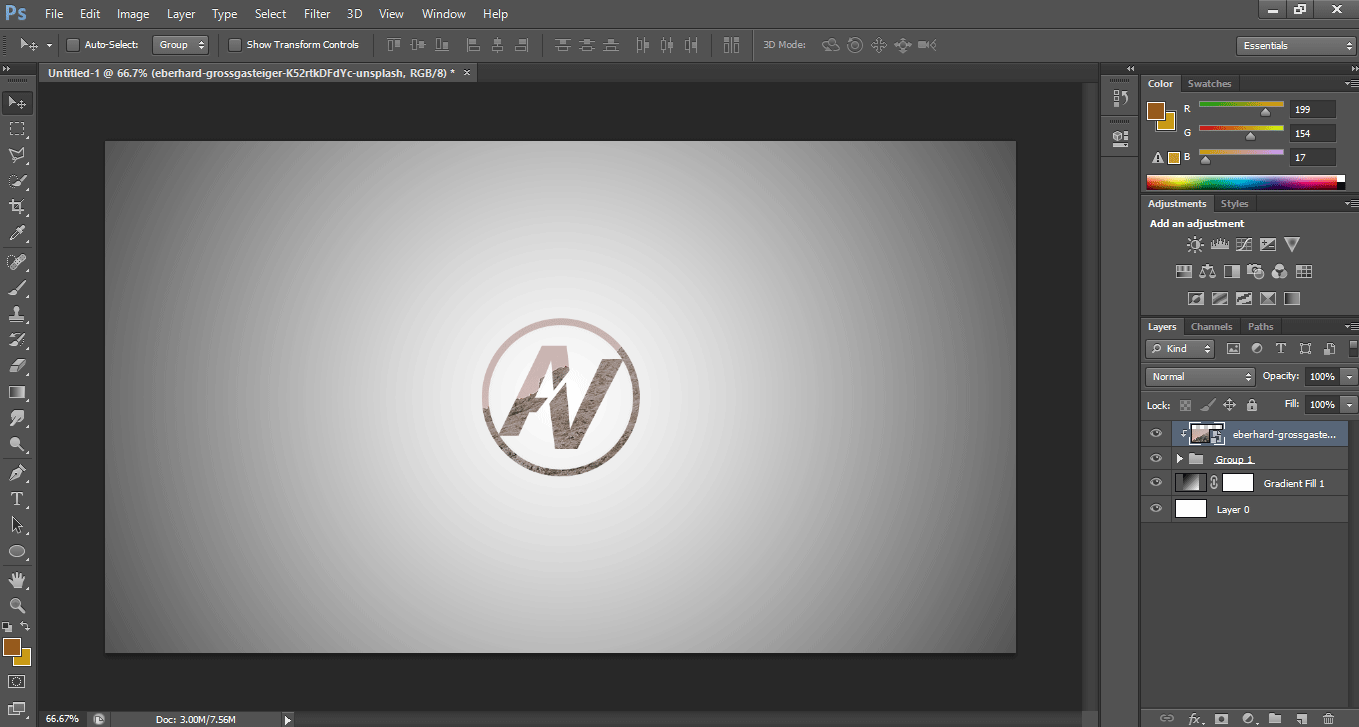
- Now click on this image by pressing the Alt key and send it back to the group layer. Adjust the image according to your logo. This is your final Logo.
Conclusion
After this article, you can find it very simple to create a logo in Photoshop. For making a logo in Photoshop, you must have a good command of the tools and some special features of this software, and then you can implement your ideas as a logo very easily in this software.
Recommended Articles
This is a guide on How to Make a Logo in Photoshop. Here we discuss creating a logo using Photoshop tools with a basic example for your better understanding. You can also go through our other related articles to learn more –
