Updated June 28, 2023
What is Texture in Illustrator?
Texture means adding extra highlights to any object, which enhances the detailing of that area and helps in understanding the purpose of that particular area in the artwork. You can also use Texture in Illustrator to make your imagination come true in your artwork with your idea. You can use the pre-designed texture of Illustrator for your artwork, or you can have it from the internet from several websites, or you can make your text by following some simple steps.
How to Add Texture in Illustrator?
You can add texture in Illustrator in a very easy manner. Here we will understand it by an example of adding texture to an artwork. So let us start our learning in a step-by-step manner. Before starting our learning about texture, it allows us to make a simple artwork for our learning. You can take your artwork for this task.
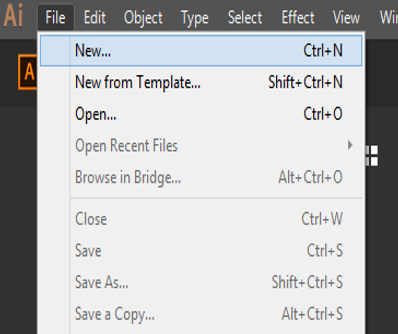
Step 1: Take a New document from the File Menu of this software’s Menu bar, which is at the top of the working screen.
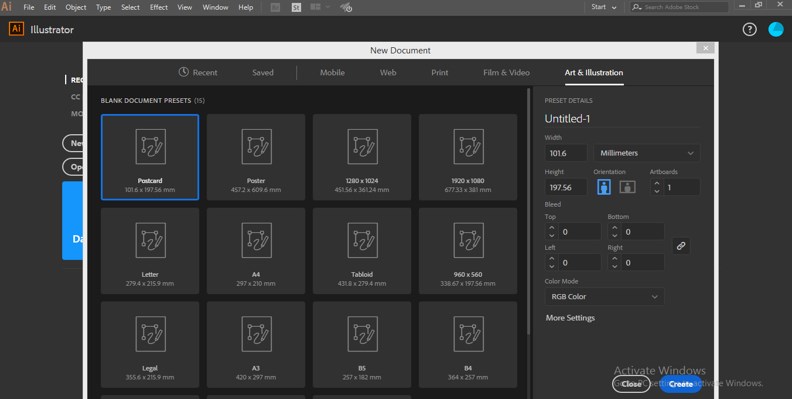
Step 2: Set the parameter of a document according to your requirement and click on the Create tab of this dialog box.
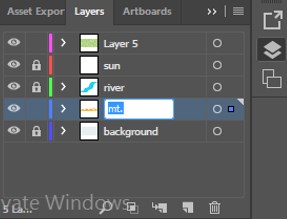
Step 3: Now, I will make a simple artwork like this by using the pen tool, shape tool, and color panel. Make each and every shape on a different layer so that you can give different textures to each layer and manage the texture parameter for them individually.
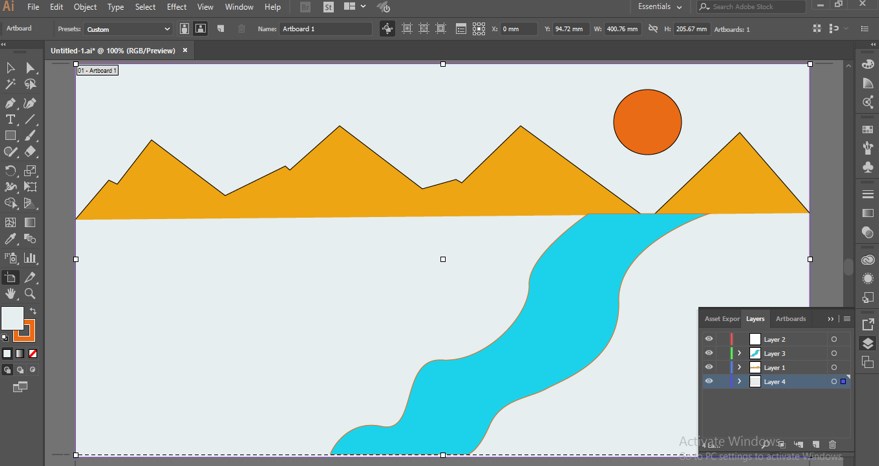
Step 4: Name each layer so I will see no confusion about layers. For naming the layer, double-click on it and name it according to you.
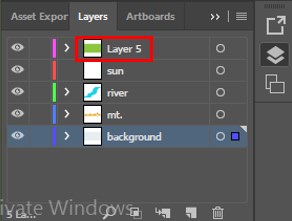
Step 5: To add texture to this artwork, make a new layer. To create a new layer, go to the layer section of this software and click on the ‘Create a new layer icon at the bottom end of this section.

Step 6: Place this layer at the top of all layers if it is not on the top.
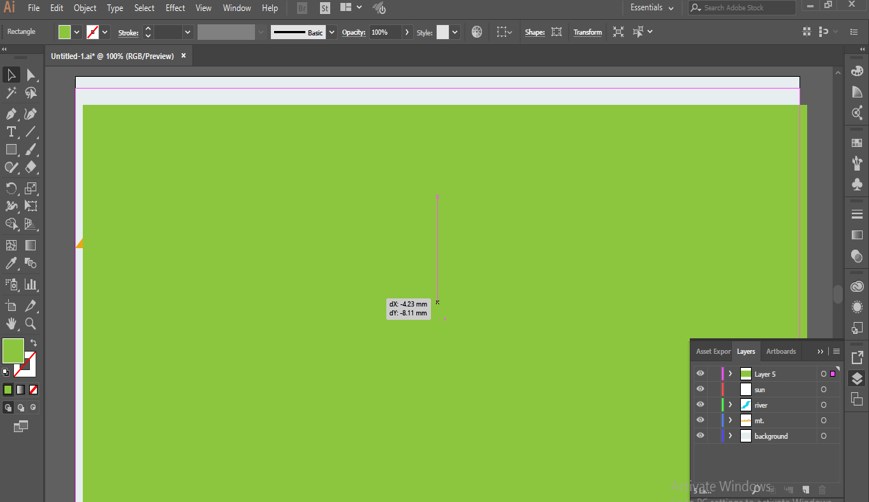
Step 7: Now, make a rectangle on this layer. Go to the tool panel of this software and take a rectangle tool for making a rectangle. Choose the color for this rectangle from the color panel. The color of the rectangle will become the color of the texture of your artwork. You can also pick any color from your artwork using this software’s eye drop tool.
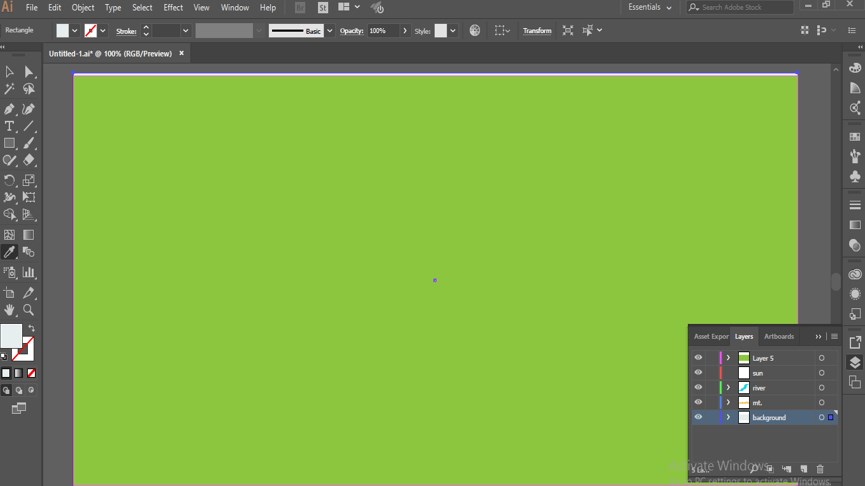
Step 8: When you make the rectangle make sure the rectangle should cover your artwork properly.
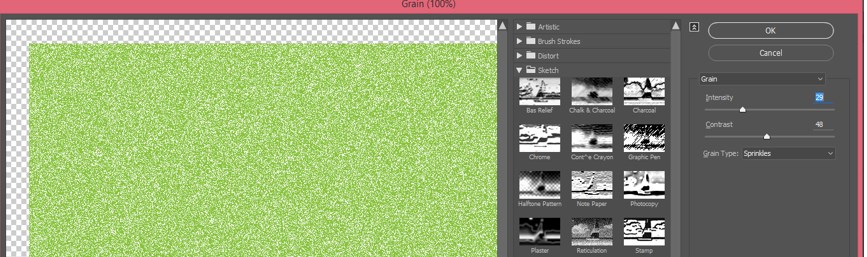
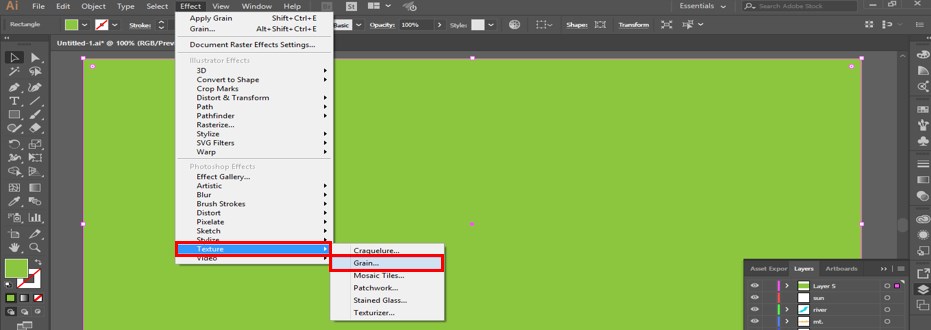
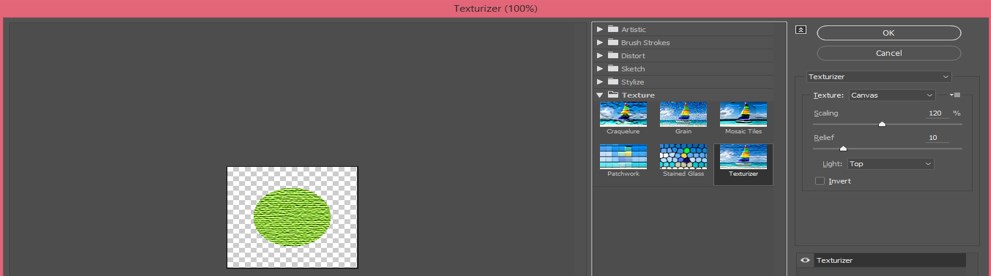
Step 9: Go to the Effect Menu of the Menu bar of this software. A drop-down list will be open. Go to the Texture option of this layer and click on the Grain option of the new drop-down list.
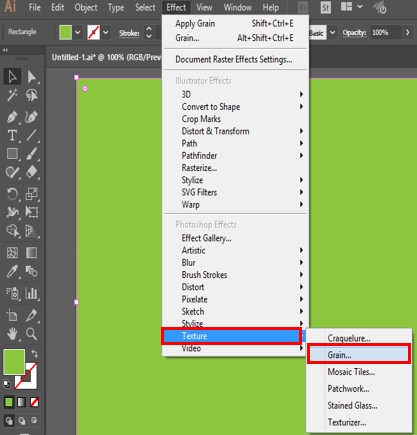
Step 10: A Texture dialog box will open. Here in this box, we have different types of textures. You can see the effect of every kind of texture one by one.
Step 11: Such as Mosaic Tiles give an effect like this

Step 12: Now, in this drop-down list, we have different types of patterns of texture. You can choose any one of them which suits your artwork.
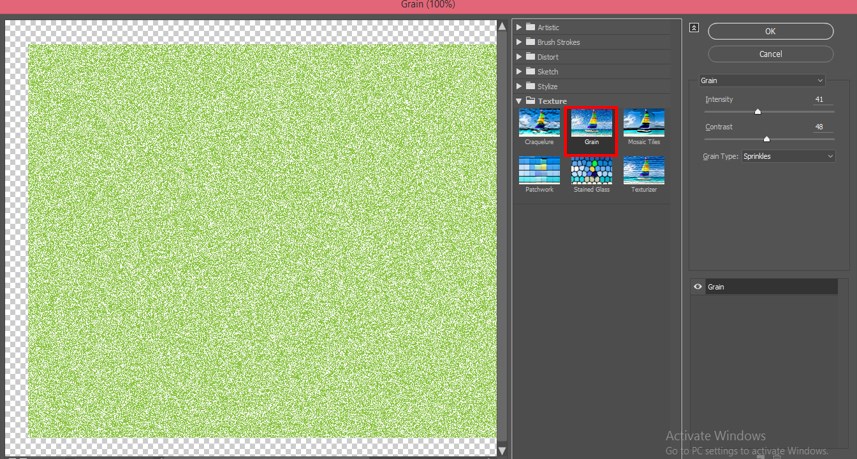
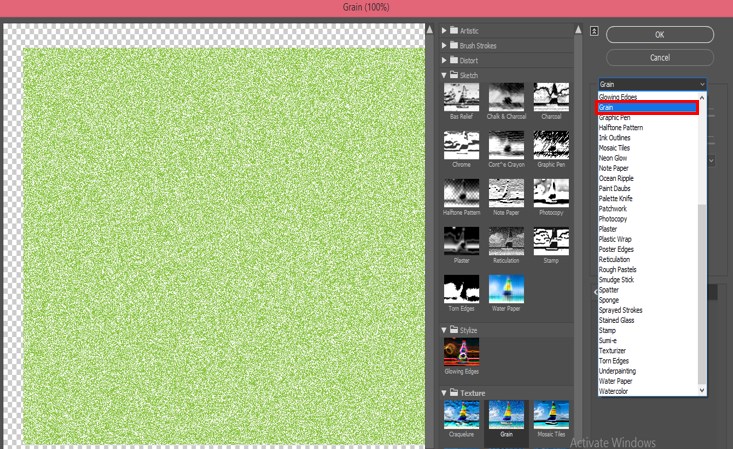
Step 13: I will choose Grain from here for the texture of our artwork.
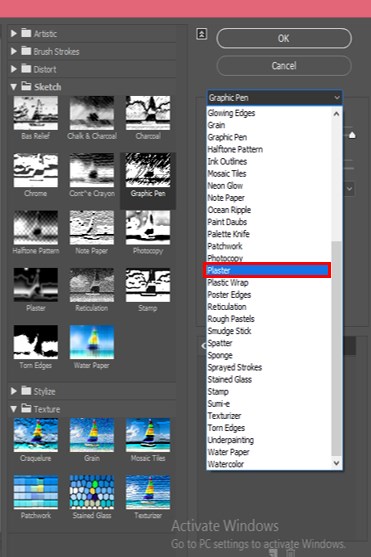
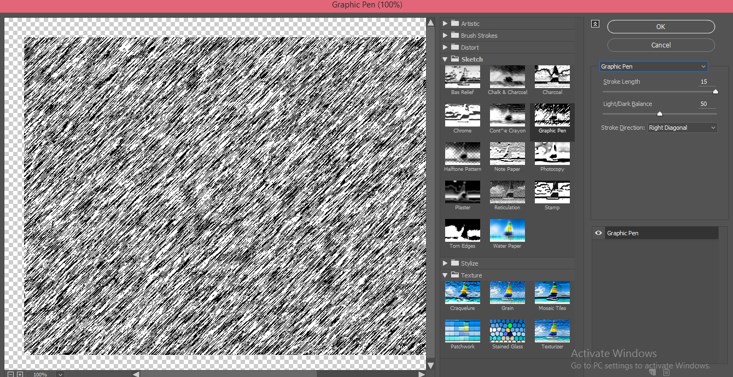
Step 14: If you go with Graphic Pen, the effect will be like this.
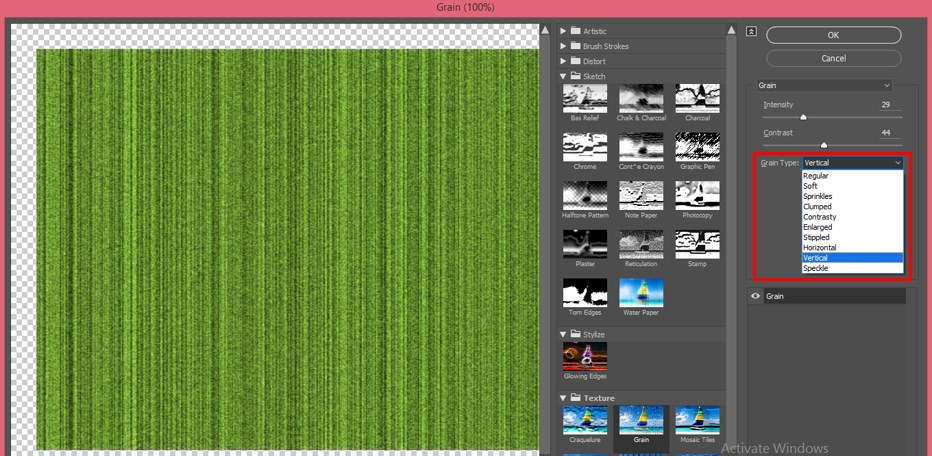
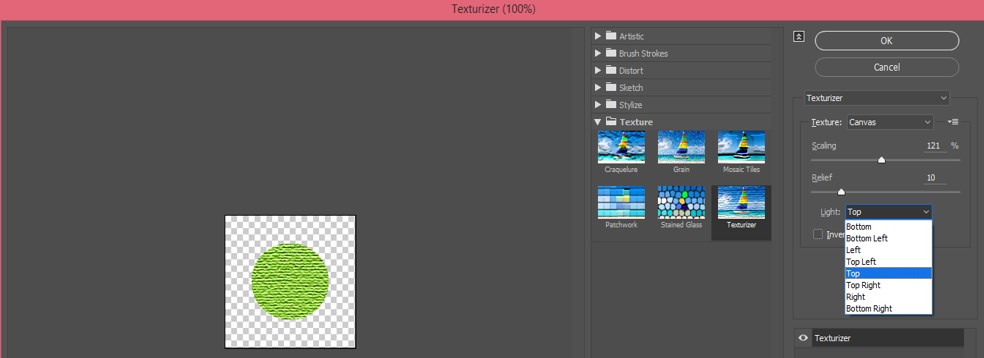
Step 15: Once you choose the type and pattern of texture, enter the parameter section of the chosen type. Here you can increase and decrease the texture’s intensity (density of texture) by increasing and decreasing the value of this option.
Step 16: You can also change the value of Contrast. Contrast increase and decrease the brightness of the color of the texture.

Step 17: The next option is the Grain type. In the ingrain type, we set the direction and pattern of chosen texture to enhance the texture’s detailing.
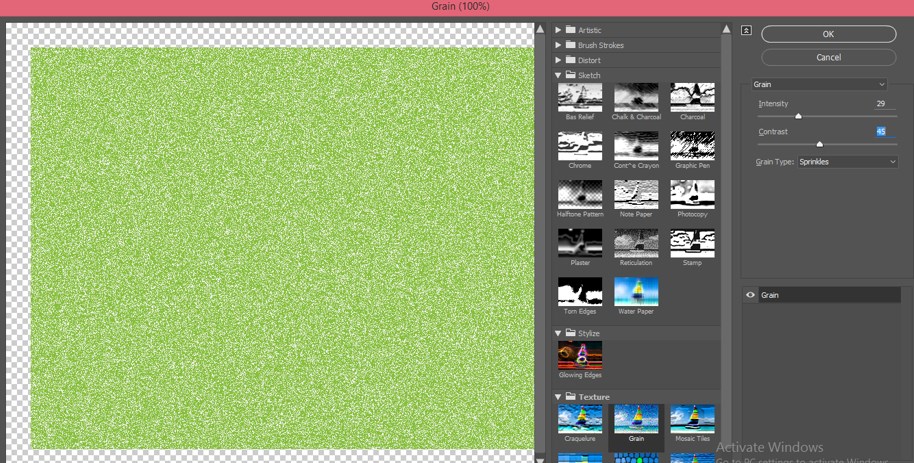
Step 18: After setting the parameter of grain texture, I will click on the Ok button of this dialog box.
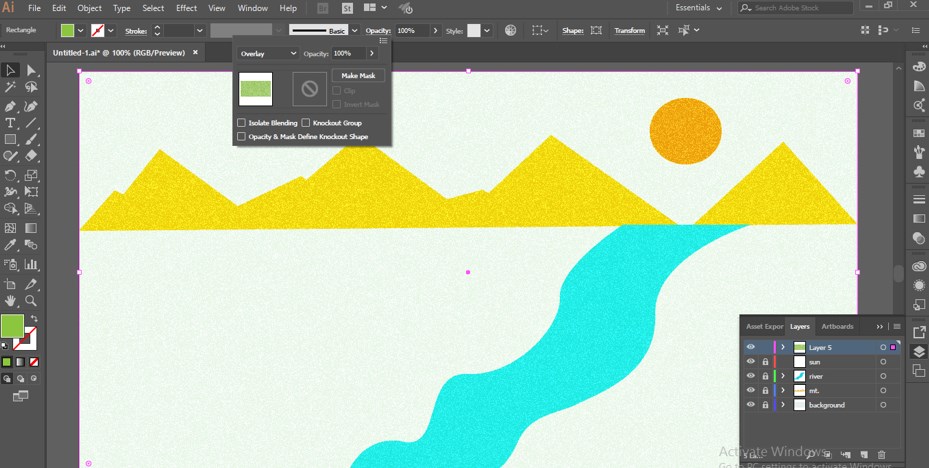
Step 19: Now for seeing the texture effect on your artwork. Go to the property bar of this layer, which is at the top of the working area. Click on the Opacity option and the down arrow button of a Blending mode.
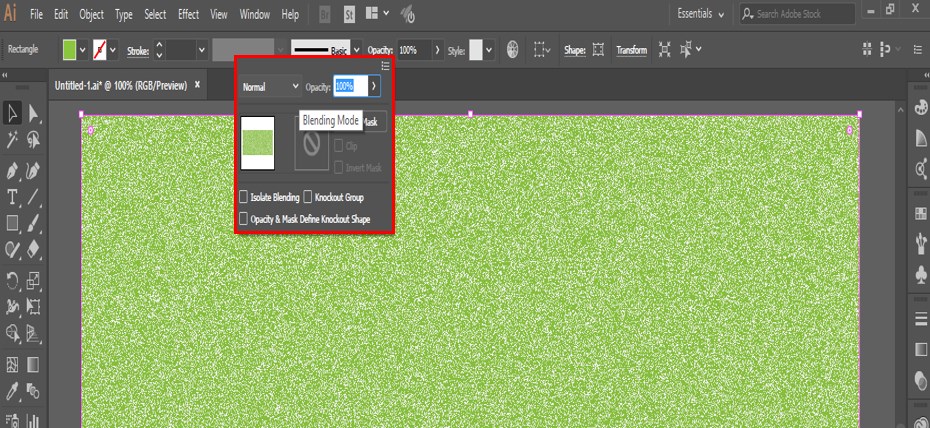
Step 20: A drop-down list will be open. Choose the Overlay option from here.
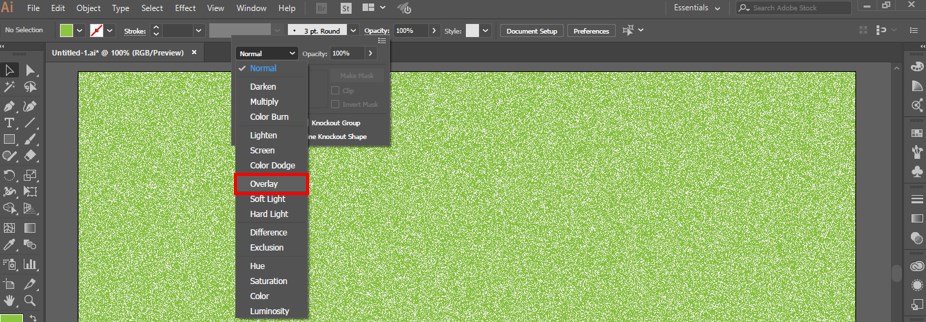
Step 21: Texture will be applied to your artwork like this.
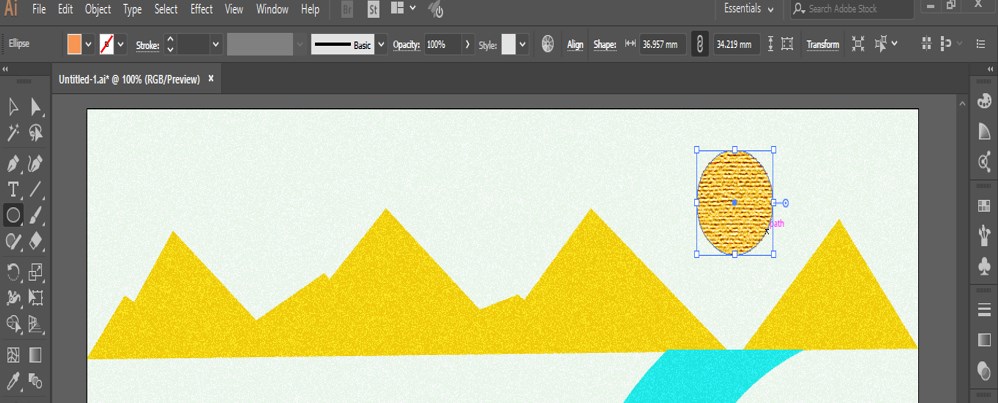
Step 22: You can add a different texture to the different artwork objects. For example, I want to add different text on the sun layer. Then select the Sun layer and cover the Sun with a circle using this software’s circle command.

Step 23: Now go to Effect Menu and go to texture and then choose Grain as we did previously.
Step 24: Now, choose your desired texture for this layer and set its parameters according to you.
Step 25: And click on the Ok button of this dialog box to apply the settings.
Step 26: New texture will be added in this Sun layer like this.
In this way, you can add a different texture to each artwork’s object and give a realistic look to that artwork. After getting expertise in texturing, you can easily make professional artwork.
Conclusion
Now, after this article, you can have good knowledge about Texture in Illustrator, and you can easily add any texture effect to your artwork to make it more and more realistic for its viewer. Adding texture in Illustrator is an interesting task; you will have a command of this work after practicing it.
Recommended Articles
This is a guide to How to Add Texture in Illustrator. Here we discuss the basic concept, an example of adding texture to artwork, using a simple and easy manner. You can also go through our other related articles to learn more –
