Updated June 9, 2023

Introduction to GIMP watermark
WaterMark is a very important feature through which you can show the brand name or logo or any particular pattern of any company on the letter pad or business card or on any other official thing of that company for having your trade mark on that thing. Watermark may be text or logo or any pattern that has very little visibility compared to the background or object of that particular document or image on which it is. So today, we will learn how to create a watermark of the official name of this website, EDUCBA, and you can create your own one after that. In this topic, we are going to learn about the GIMP watermark.
How to create WaterMark in GIMP?
You can create a watermark with the logo or text of your organization. Here I will explain it with text watermark as well as with brush mark. We will have the watermark on the plain background as well as on the image also. So let us get started.
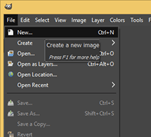
First of all, go to the File menu of the Menu bar and click on the New option of scroll down list to have a document.
Or you can drag an image from your saved folder to the document area of GIMP software on which you want to have a watermark so that I will have this image.

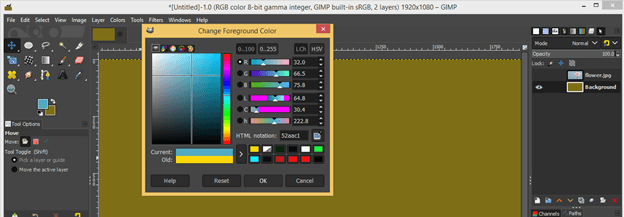
Now I will click on the foreground color box for choosing the color of our watermark background. I will choose this sky color and hit the Ok button of this dialog box.
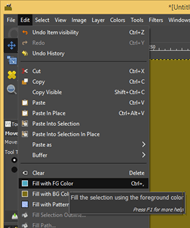
Now go to the Edit menu and click on the ‘Fill with FG Color’ option of scroll down list for fill foreground color on our document.
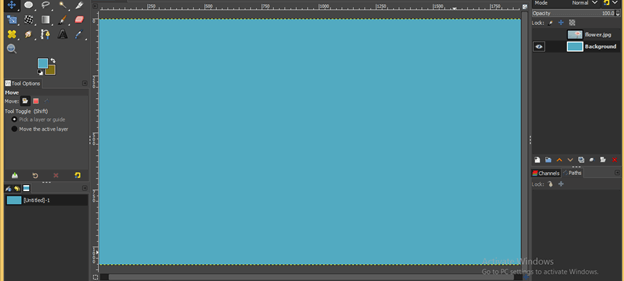
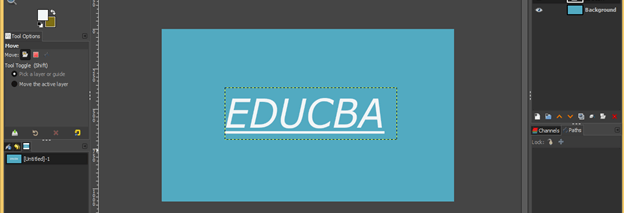
We have this nice color on the background of the watermark.
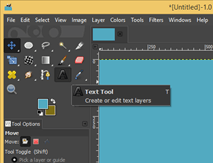
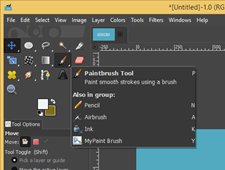
Now take the Text tool from the tool panel or press T as short cut key for this tool.
Take white color as foreground color because it will be our text color. White color will be good because it will be clearly visible on any background except the white color background.
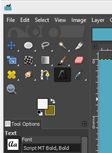
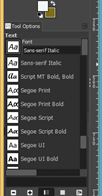
Choose your desired font from this list, or u can have any better font style for the internet.
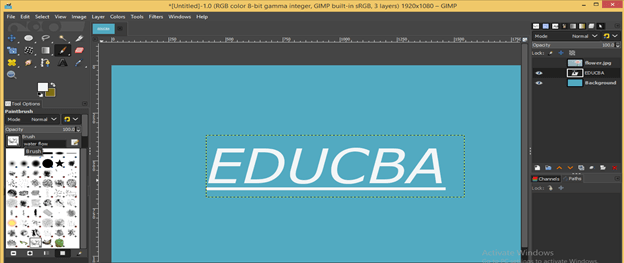
Type your desired text now. I will type EDUCBA as my text which is our official name. You can increase the size of your text according to you.
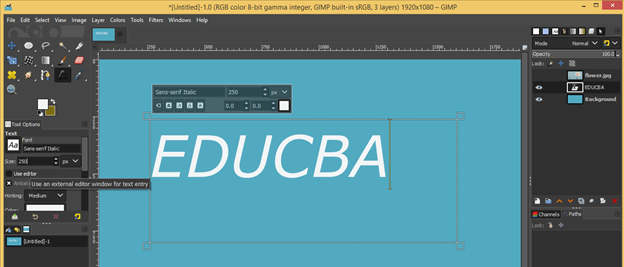
You can design your text as per your choice. I will add an underline to my text also.
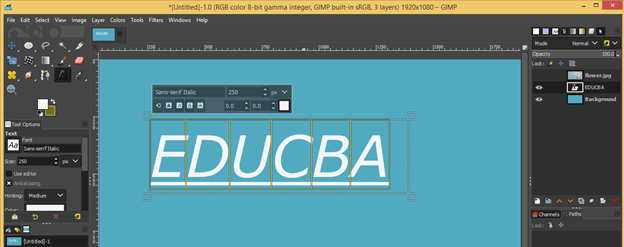
Now it will look like this.
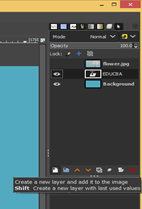
Now let us add a brush mark as a watermark with our text. To create a new layer by clicking on Create New button of the layer panel.
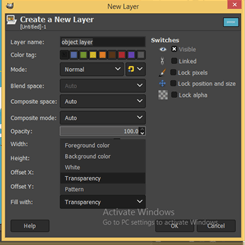
Create a transparent layer by choosing the transparency option from this create a new layer dialog box and leave other parameters as they are then hit ok.
Now take the Paint Brush tool from the tool panel of GIM or press P as the shortcut key of it.
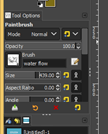
Choose your desired pattern of brush from the pattern design of parameters of the brush tool. I will choose one of my own designed brush patterns. If you want to learn about creating your own brush, you can find out our Paint Brush article.
Set the size of the brush according to you from the size parameters of the brush tool. I will take this size.
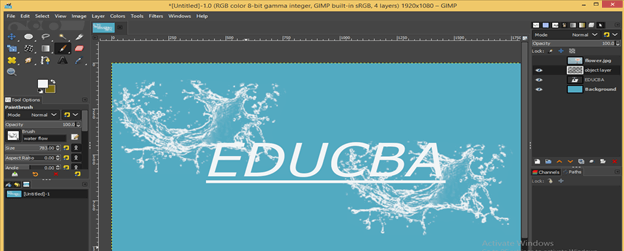
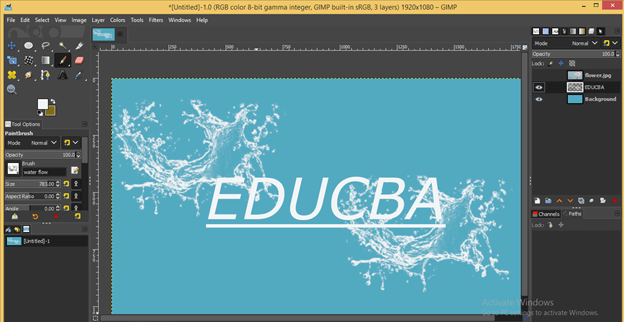
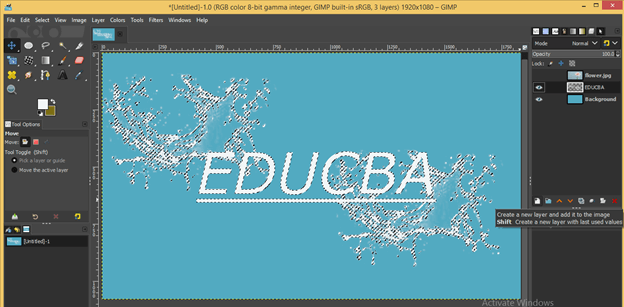
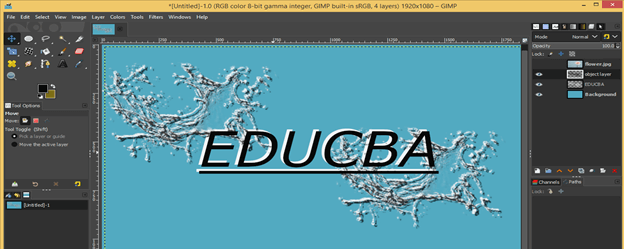
Now make a click on our created new transparent layer with a brush. I will make two clicks of my brush pattern for adding it to the text watermark as a watermark design. It is of water flow pattern.
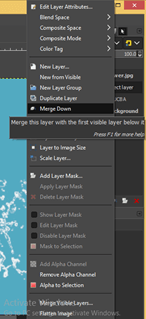
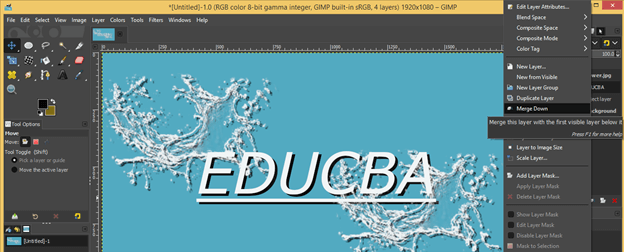
Now merge this brush layer with the text layer. For merging it, make right-click on the brush layer and click on the Merge Down option of the scroll down list.
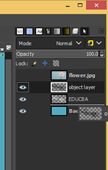
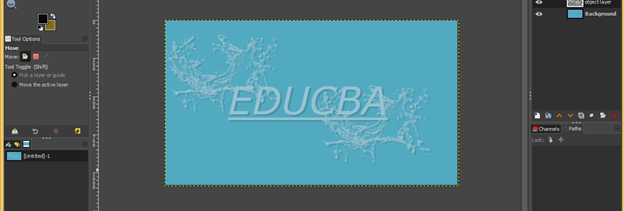
And we have a merged layer of the watermark in the layer panel. This watermark is looking good.
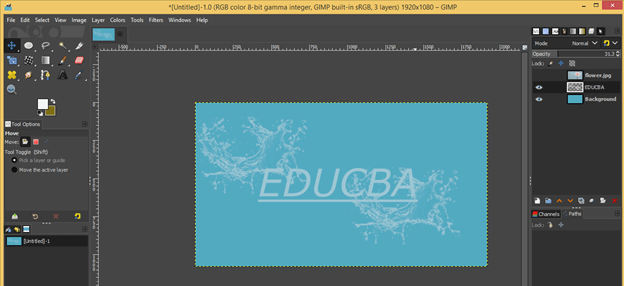
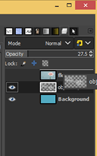
Now down the opacity of this layer, our watermark is ready to use it on our work.
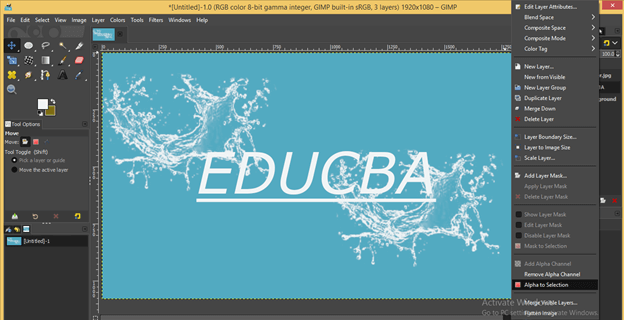
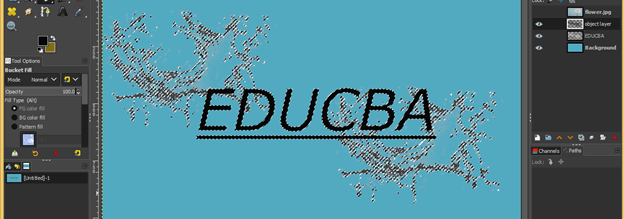
Let us add some shadow to this watermark for making it more effective. Bring opacity back to 100 % of this watermark layer and make right-click on it, then choose the Alpha to Selection option from the scroll-down list for selecting this watermark.
Now it is selected, then click on the create a new button of the layer panel to have a new layer again.
Take a transparent layer again and set black as the foreground color of the color box in the tool panel.

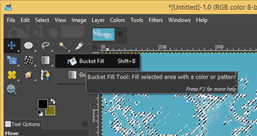
Take the Bucket Fill tool from the tool panel of GIMP or press Shift + B as the shortcut key of the keyboard.
Now make a click on a selection with bucket tool cursor for filling this black color on it.
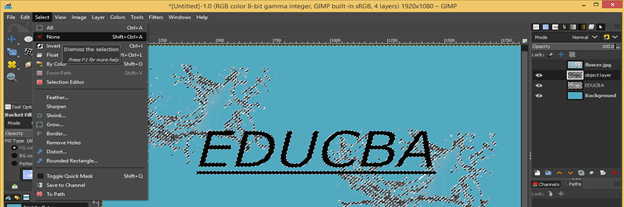
Now go to Select menu of the Menu bar of GIMP and click on None option of scroll down list for enabling selection around black watermark of this layer.
Now take the move tool from the tool panel and move this black watermark a little bit in an upward or downward direction or where you want to drop the shadow of your watermark.
Now go to the layer panel of GIMP and move the black watermark layer above to the original watermark layer by dragging it with the help of the mouse button.
Now merge this layer with a black color watermark layer so that we have one watermark layer, so make right-click on the original watermark layer, then click on the Merge Down option of scroll down list.
Now down the opacity of this merged layer for opacity option of this layer for making its watermark, and we have our watermark like this.
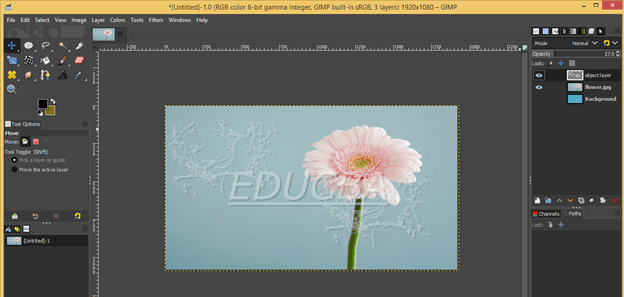
Now let place this watermark layer above the image layer for having this watermark on the image.
And it will look like this; you can adjust it here according to your image and the object on your image.
Conclusion – GIMP watermark
So now you are free to make a watermark of your desired text or logo and add your own brush mark after learning it from this article. You can also create a watermark of your own signature by making some changes to the process of making a watermark.
Recommended Articles
This is a guide to the GIMP watermark. Here we discuss how we can create a watermark, and You can also create a watermark of your own signature by making some changes. You may also have a look at the following articles to learn more –
