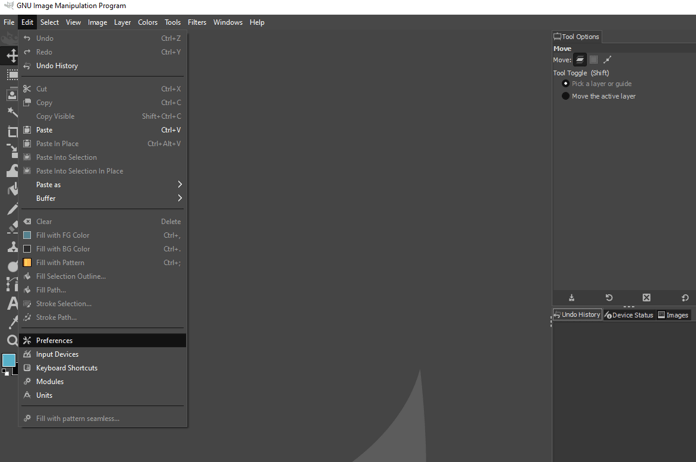
Introduction to GIMP Toolbox
In this article, we are going to learn about toolbox in GIMP. Toolbox is where all the operations which you need to perform on images and objects is located which is by default and the top left corner of the GIMP window. GIMP gives us many customization options of how you want to move and positions the toolbox to suit your needs. Apart from that Toolbox also has various grouping options so that you can make a group of tools that you use frequently and set the order of your tools according to your use. Not only that, even the icon theme can be changed if you want a more retro look or modern look.
Step 1: Let us first customize the toolbox if you do not like the original settings. We are aiming to align the tools on the left side like in other applications like photoshop. First, drag the tool option until it appears like a floating window.
Step 2: Now drag the tool options title inside the window until a blue line appears to the right besides the other panels. Now it should be docked to the right side.

Step 3: Similarly, we can drag all the other panels from the left to right as shown.
Step 4: We will get a structure similar to shown below with tool options and other panels.

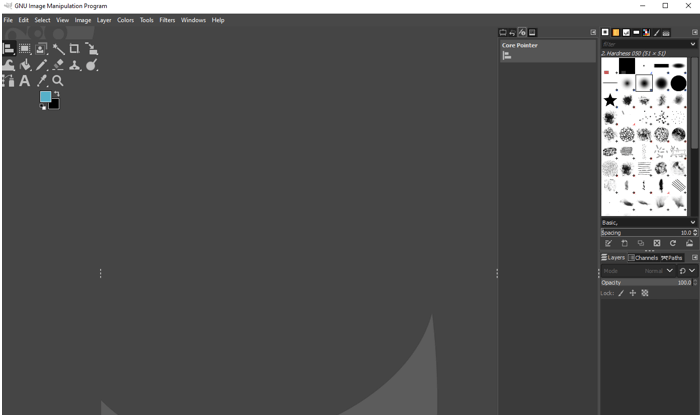
Step 5: Now we can drag the corners of three dots inside until we get all the tools in a straight line and now we have a single column toolbox. Now by default when you hover your mouse on any of the tool groups it will show all the tools.
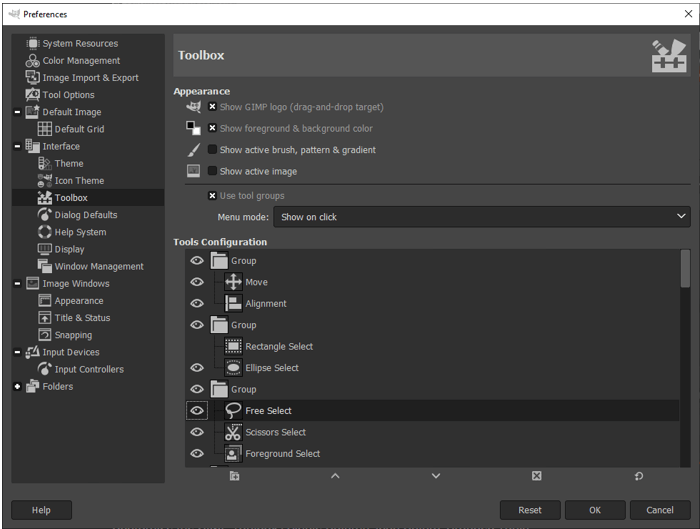
Step 6: Now we will do some additional customizations from Edit -> Preferences.
Step 7: Go to the toolbox section to customize it.
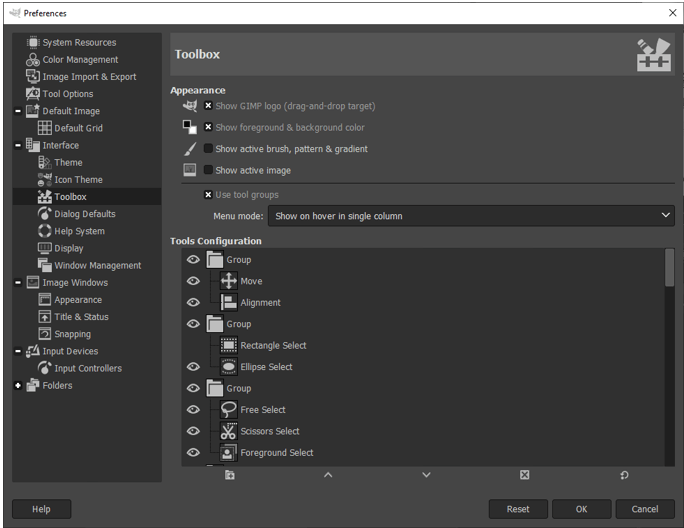
Step 8: First turn off show active groups which will remove grouping and show all the tools sequentially.
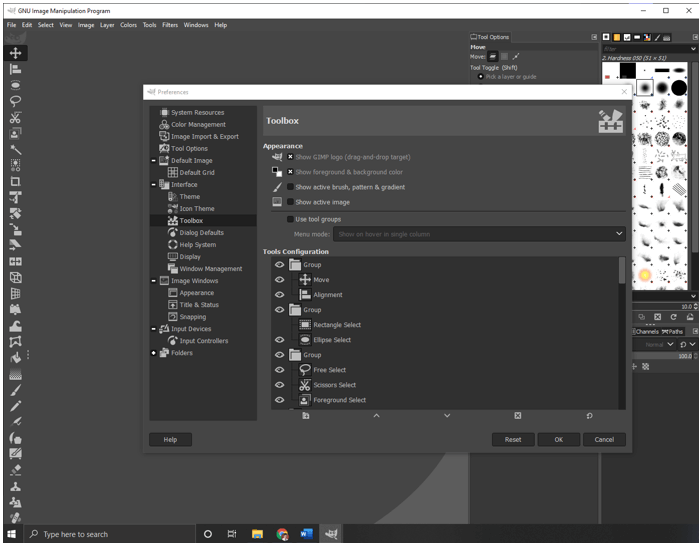
Step 9: You can drag the three dots again if you cannot see all the tools in the toolbox which will show it in the double column.
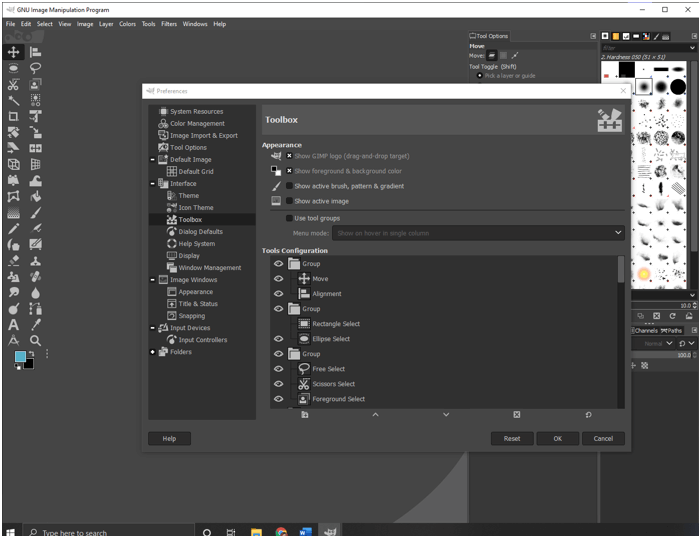
Step 10: For now, we will turn grouping on by using use tool group, and menu mode is set to show on hover in a single column which can be changed to show on click. Which is the default behavior which the default layout of GIMP comes with. Another option is to show on hover which will show tools in a group on hover regardless of any column layout of the toolbox.

Step 11: In tool configuration, you can select and change the group of a tool by clicking and dragging it into another group. You can also toggle the visibility of tools by clicking on the eye icon. Apart from that, there are also options to create a new group, reorder group, delete group, or reset the entire tool order and visibility to its original state.
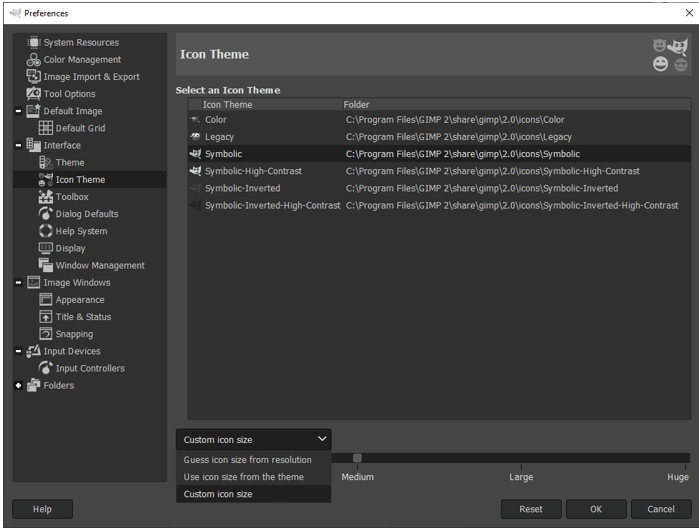
Step 12: Next you can change the theme of the icons which will affect the toolbox items. Currently, by default, it is set to symbolic but you can change to color or legacy.
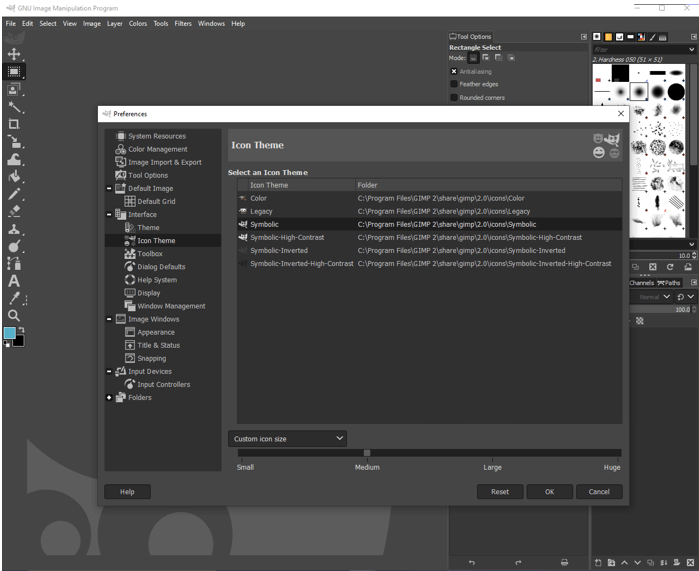
Step 13: As we can see the color theme gives color to all the icons.
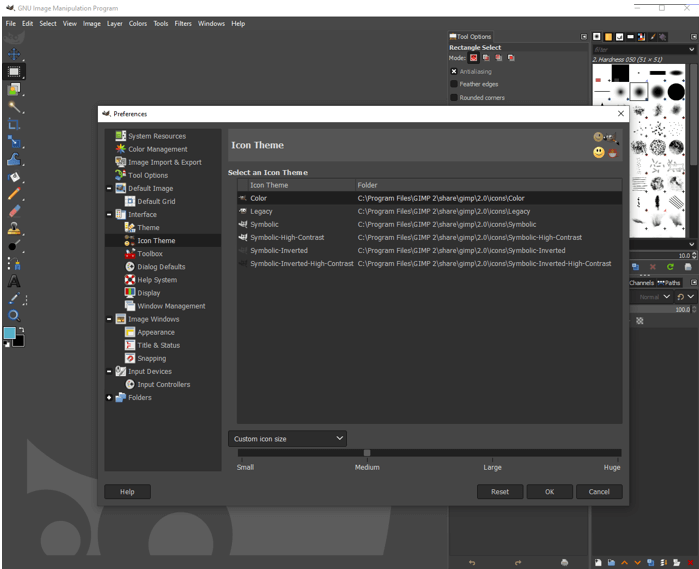
Step 14: If you are using something like symbolic inverted then you want to use a light theme for GIMP which will contrast with the icons nicely.
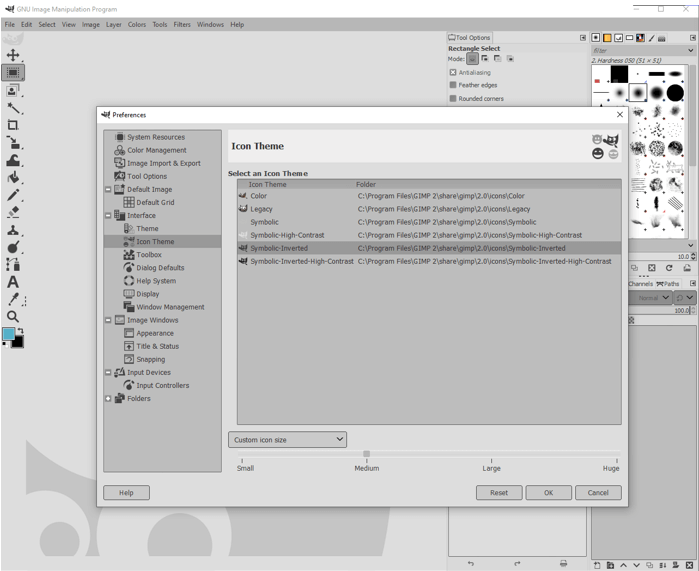
Step 15: Then there are options at the bottom of how large you want the size of your icons which can be small, medium, large, huge or you can set it according to the resolution of the monitor or let the theme set the size of the icons.
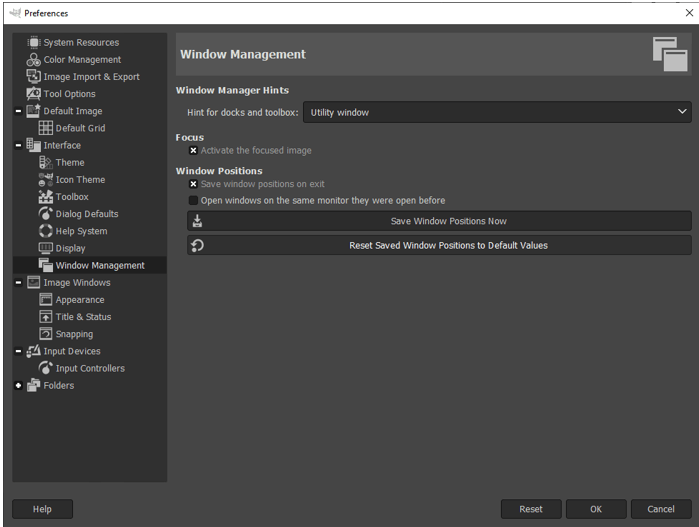
Step 16: If you want to reset the entire window positions to the original values then go to Windows management and reset saved window positions to default values. Your window will be rest when you restart GIMP.
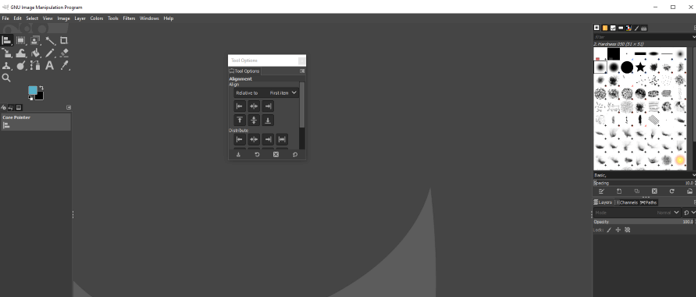
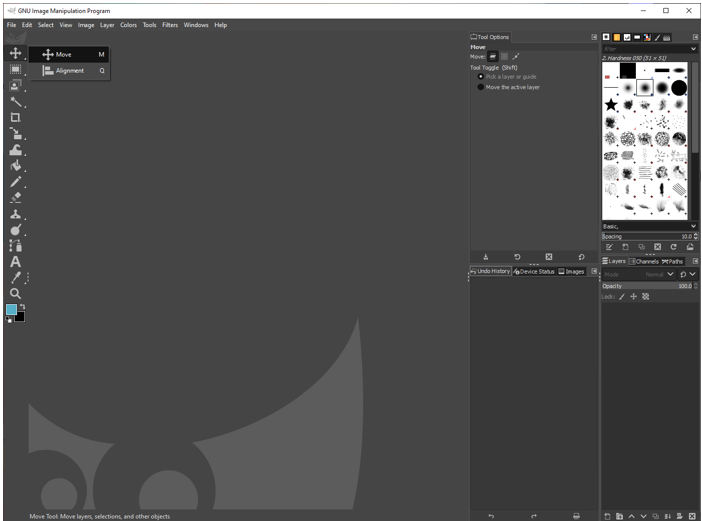
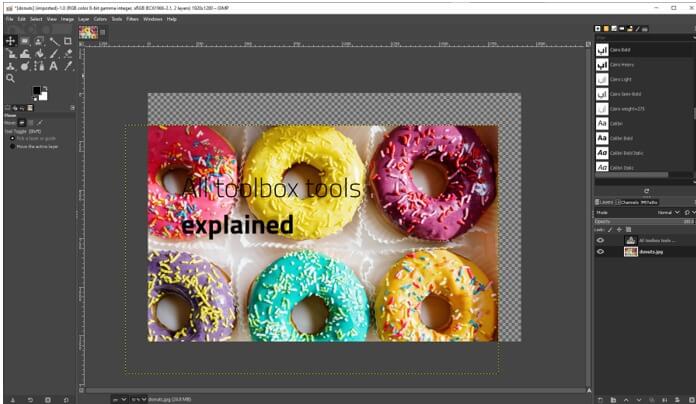
Step 17: Now we will look at some basic tools in the toolbox. Let’s start with the move tool. Using this tool, we can move any selected layer. Apart from that, there are other options to move a selection or move path.
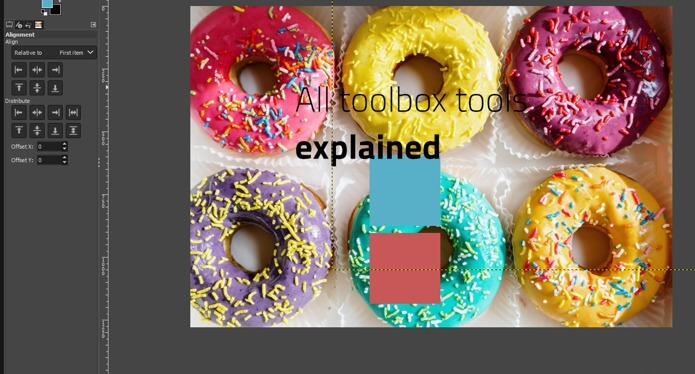
Step 18: Using the alignment tool we can align various layers relatively to the first item, image, selection, etc.
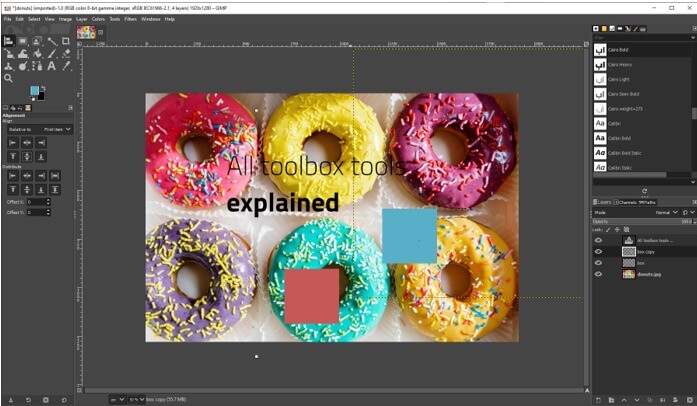
Step 19: We have aligned centers of the target as shown
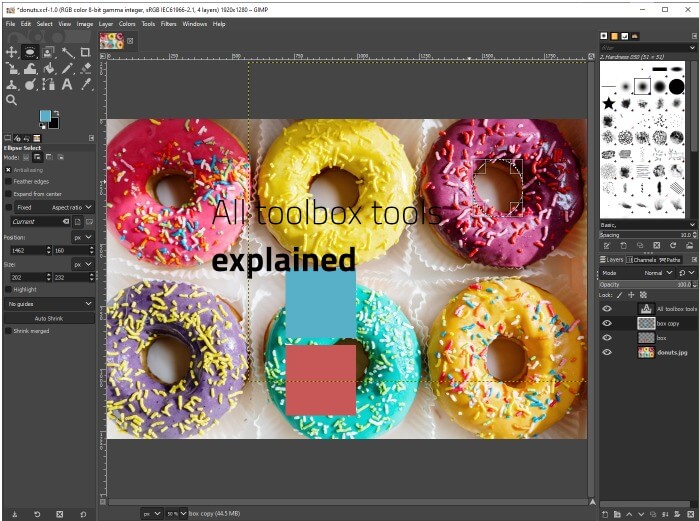
Step 20: Using the ellipse select tool you can make a circular selection with feather edges and other options to tweak the selection.
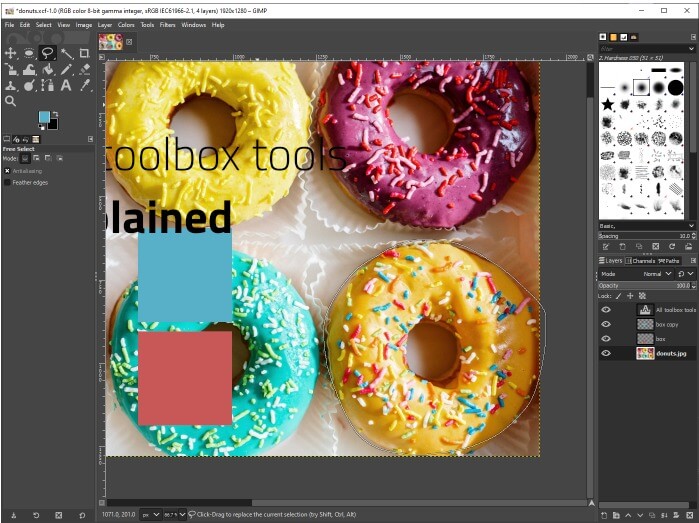
Step 21: Then there is a free select tool that will select on drag or click to select polygonal shapes but it gives freedom with the lack of precision.
Step 22: Then there is the option of the Scissor select tool which selects shape using intelligent edge fitting. Just click to select and GIMP will guess the edges which can be adjusted later.

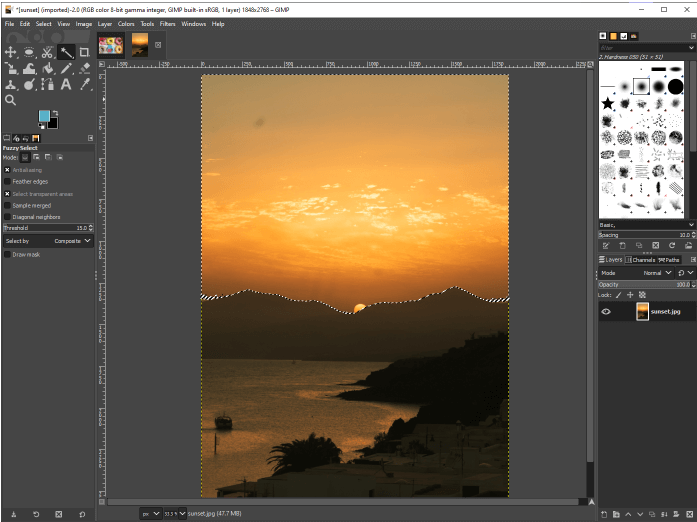
Step 23: Now using a fuzzy select tool you can click and drag downward to increase the selection based on color or drag up to decrease the selection. This type is mostly useful for backgrounds with gradients like a sunset.
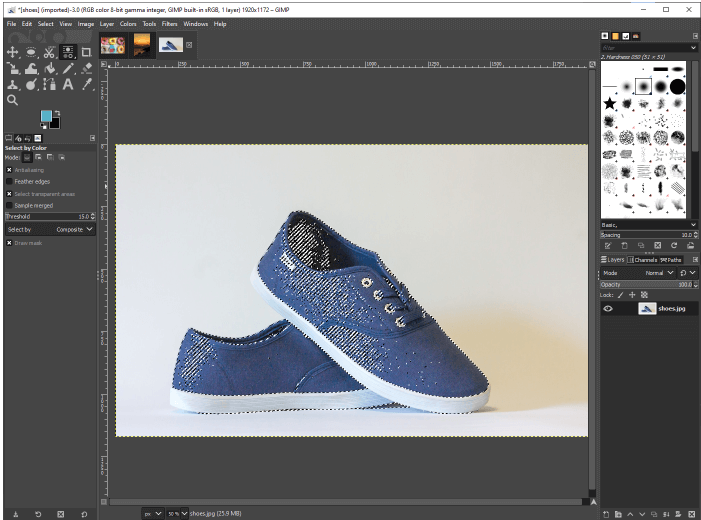
Step 24: Next in select by the color tool you can make a selection by clicking on a color and similar color will be selected and you can drag to increase the shades of that color.
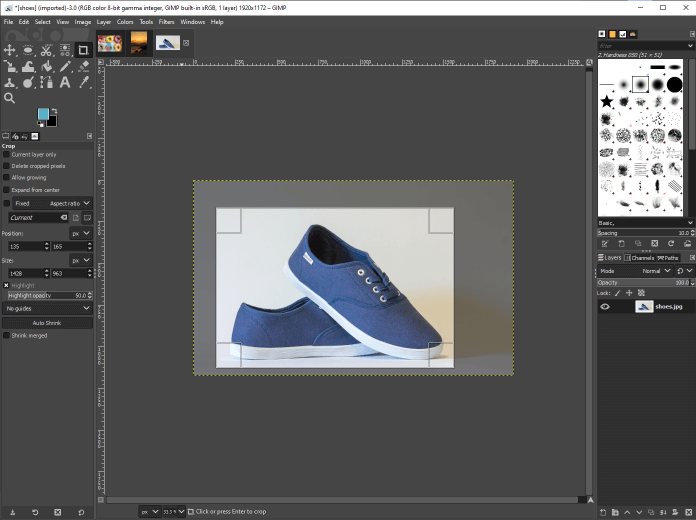
Step 25: Next is the crop tool which can be used to crop a certain part of the image which just redefines the edge of the document. If you want you can crop for just the current layer and also delete cropped pixels.
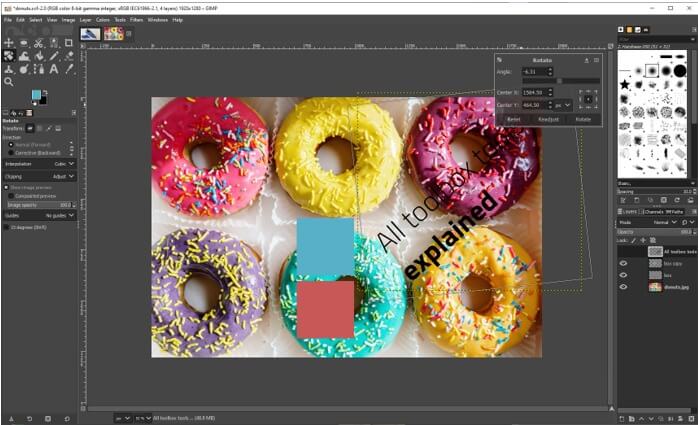
Step 26: Next the rotate tool allows to rotate objects and images on a single layer around an axis which can be placed wherever we want. Just click and drag on the layer to rotate or press shift to lock the rotation increments of 15 degree. The position of the rotation can also be changed if you move the rounded crosshair.
Conclusion
In this article, we have learned about the toolbox in GIMP. First, we went into customizing its location then we have created a single column layout for our entire toolbox just like in other photo editing applications. Then we have seen the ordering and other preferences for the toolbox along with themes and wrapped up with some use of basic tools.
Recommended Articles
This is a guide to GIMP Toolbox. Here we discuss the introduction, steps to use GIMP Toolbox. You may also have a look at the following articles to learn more –
