Updated March 4, 2023
Introduction to GIMP save as PNG
Save As PNG in gimp is an option through which we can save our image editing or manipulation work in PNG file format. PNG stands for Portable Network Graphics which give us compressed file with good image quality. We can save any image or any document of gimp in PNG format by using some option of Menu bar of this software. We can also save PNG file with transparent background, we just have to make some parametrical changes in our work for this purpose. Here we will discuss all possible ways through which we can save work of gimp in PNG. So let us discuss it.
How to save any image as PNG in GIMP?
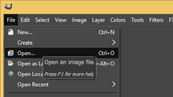
First of all open an image which you want to save in PNG file format. For opening an image, go to File menu of Menu bar and click on it. Then click on Open option of scroll down list or you can press Ctrl + O as short cut key.
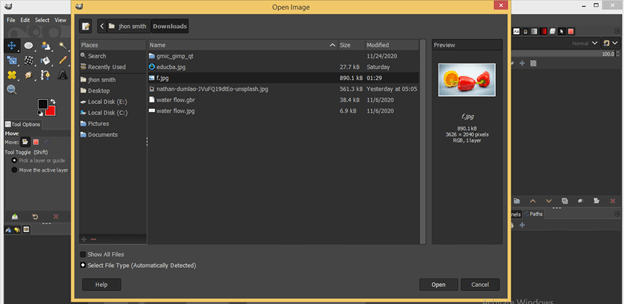
‘Open Image’ dialog box will be open. Here choose your desired image from its desired location. I will choose this image by click on it. You can see the preview of your selected image in this dialog box also. Now hit on Open button of this dialog box.
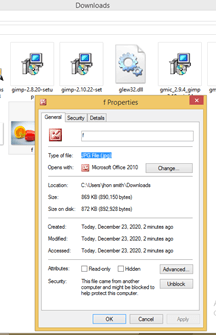
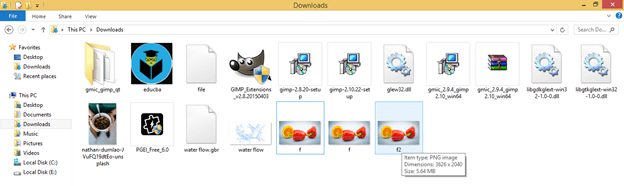
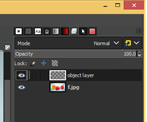
You can check the image is in JPG file format. Now we will save it as PNG in gimp.
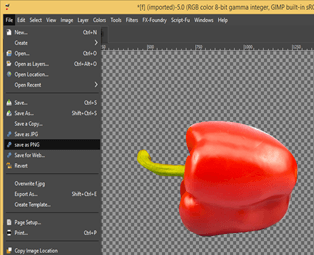
This is my image which I will save as PNG so for that go to File menu of menu bar and click on it then go to ‘Save as PNG’ option and click on it. This is first method through which you can save your work or image directly as PNG and there will be no dialog box open for saving work.
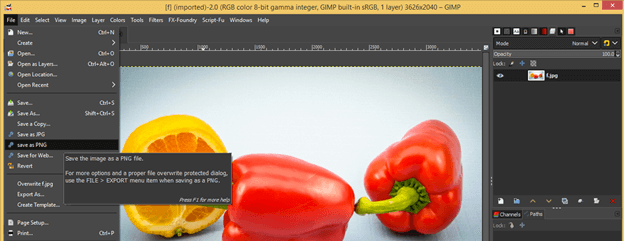
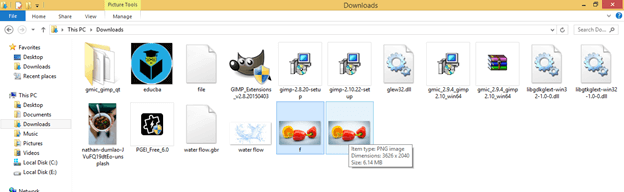
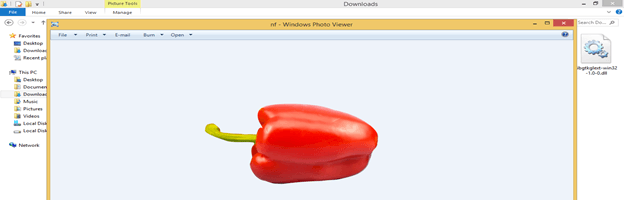
It will save in default folder automatically when you click on this option of File menu. You can see this is PNG file of same image.
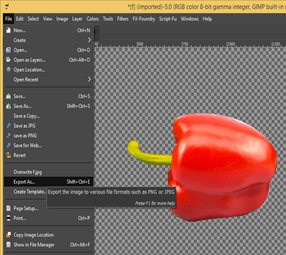
There is another way through which you can save your work or image as PNG which is ‘Export As’. Just again go to File menu of menu bar and navigate for Export As option in the scroll down list.
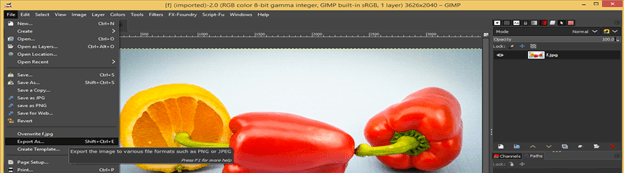
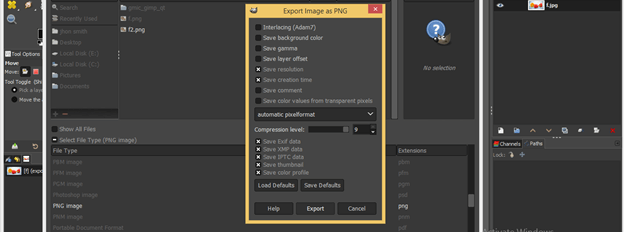
Once you click on this option an Export Image dialog box will be open like this. You can see this is .jpg file in the name box of this dialog box.
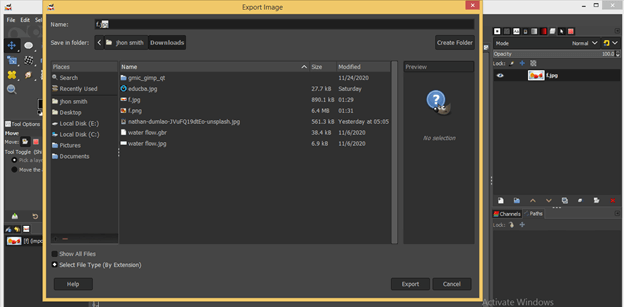
For saving it as PNG just type .png with the name of your file in Name box then click on Export button. Before clicking on this Export button choose location where you want to save your image.

Or you can click on ‘Select File type’ option of this box. Here in this option you will have number of file extensions in which you can save GIMP software work.

Search PNG extension here and click on it. After clicking on PNG extension hit on Export tab of this box.

A new dialog box of export will open. Go with default setting of this box then hit on Export button.
Now here our PNG file is ready.
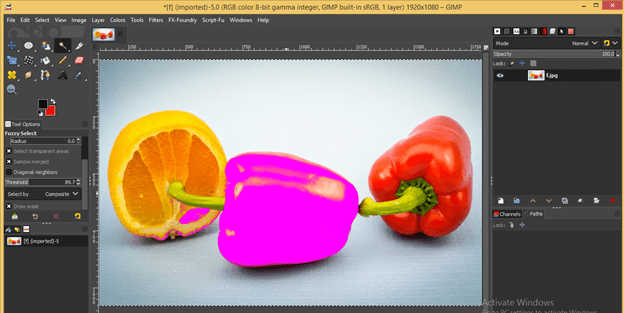
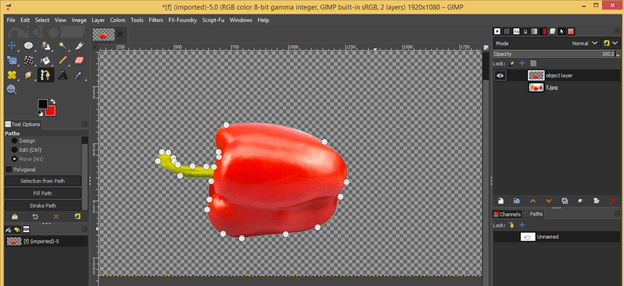
Now let us save PNG file with transparent background. For that let us create a transparent background for one vegetable of this image. I will cut center vegetable for this purpose. Take Fuzzy select tool for making selection around it.
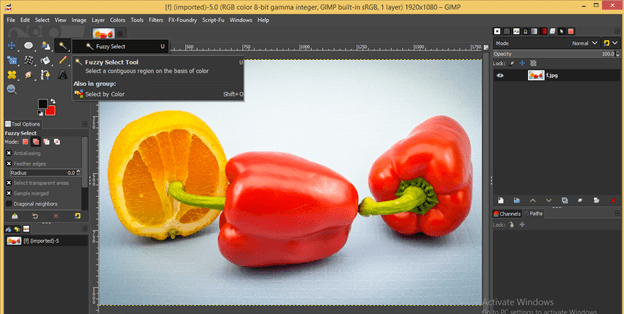
Make click on center vegetable for making selection. You can make multiple clicks for proper selection with Fuzzy select tool.
Or you can take Paths tool and make path around it like this.
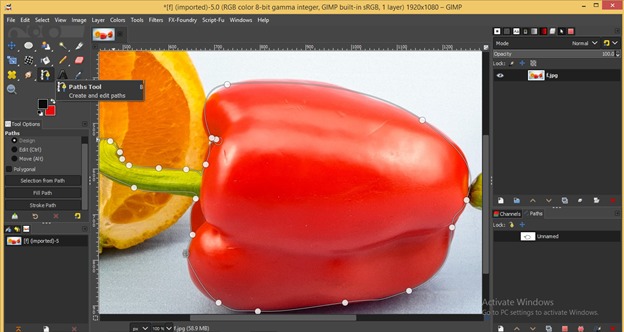
Manage paths around vegetable properly then hit enter for activating selection.
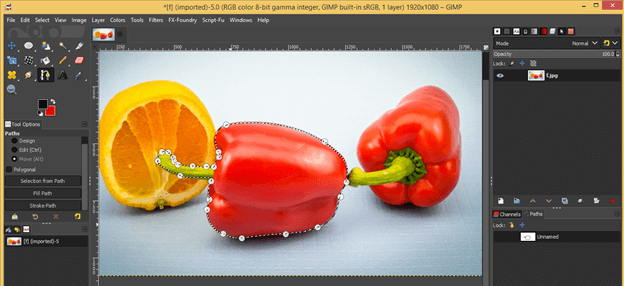
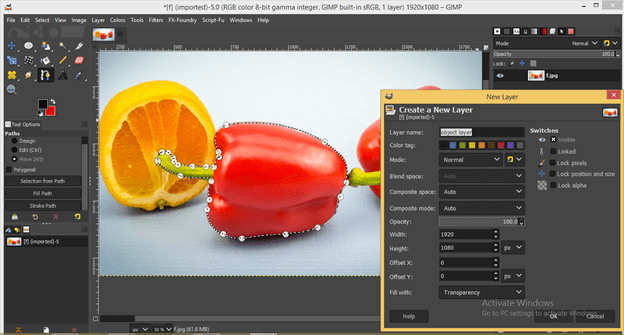
Create a new layer clicking on Create new button of layers panel then choose Transparency option in the ‘Fill with’ option of this dialog box for making transparent layer.
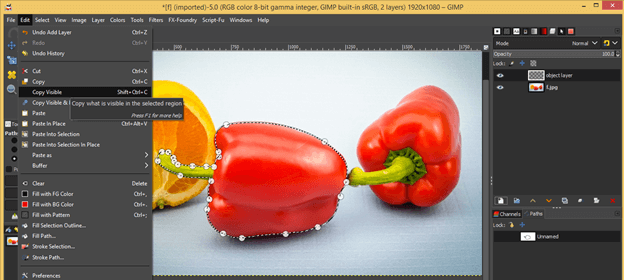
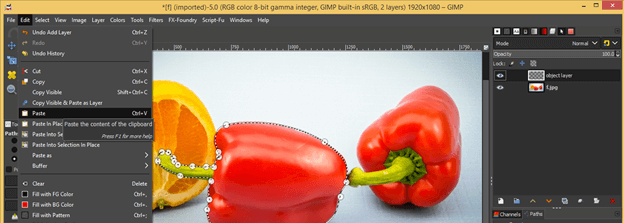
Now go to Edit menu and click on Copy Visible option for copying the selection.
Now select transparent layer in layers panel.
Then go to Edit menu once again and this time click on Paste option of the scroll down list.
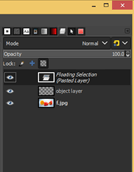
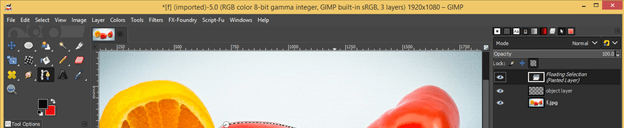
A Floating layer will be added in layers panel.
Click on Anchor the Floating layer button of the layers panel. You will find this button at the bottom of the layers panel.
Hide the original layer by clicking on Eye button of it and you will have a vegetable with transparent background.
Now save it by using any one of the saving as PNG methods.
And when you open it there will be transparent background with it. You can check it by placing it on other image.
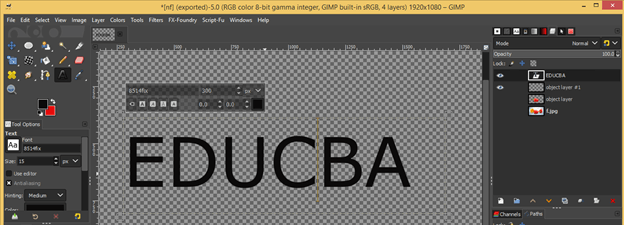
 also save text or any shape artwork of GIMP as PNG so let us have a look on it also. Again create a new transparent layer by the same method and take Text tool from tool panel then type a text here.
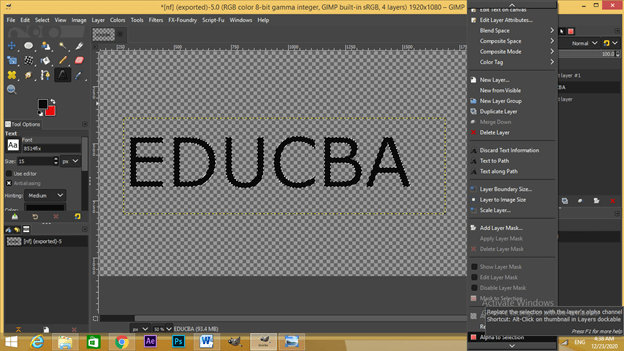
Make right click on the text layer and click on ‘Alpha to Selection’ option of scroll down list for making selection around this text.
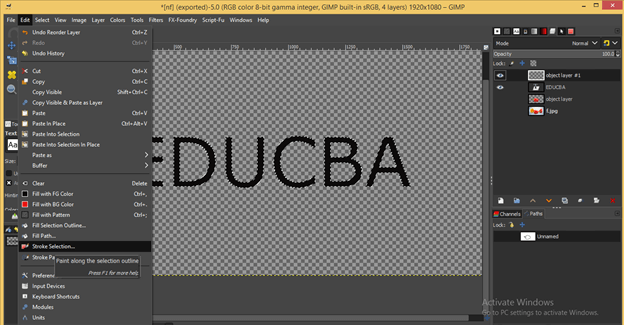
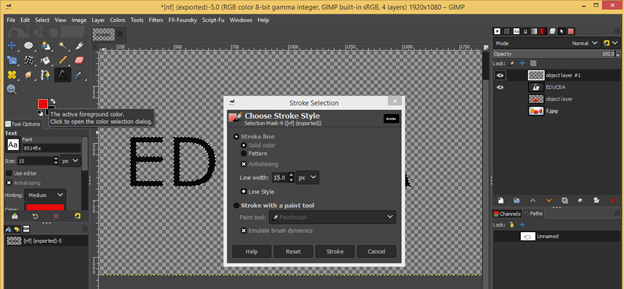
Now select transparent layer in layers panel and go to edit menu then click on .Stroke Selection. option of scroll down list.
Here set the width of outline stroke of this text. If you want to know other parameters of this dialog box properly then you can go with our ‘GIMP Outline Text’ article also. Now after making all settings in this box hit on Stroke button of this box.
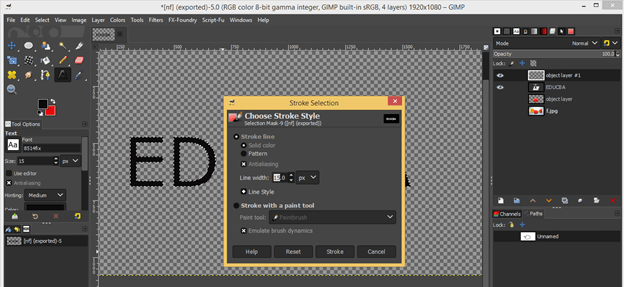
Before hitting on Stroke button if you want to change color of your stroke then change its color by changing the color of foreground color box of tool panel.
And outline of this text is ready.
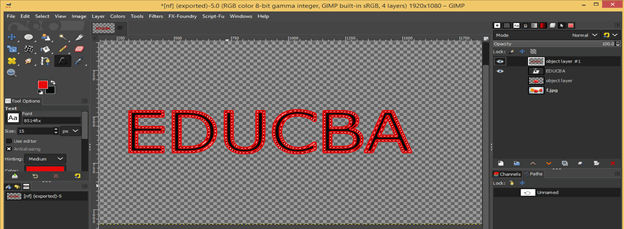
Hide text layer and disable selection around the text by None option of Select menu.
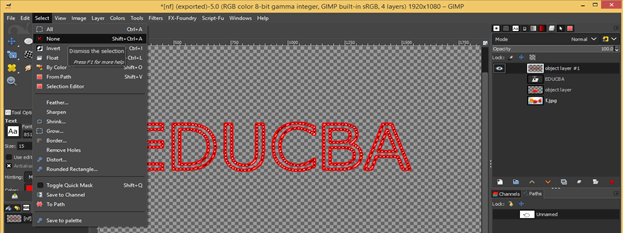
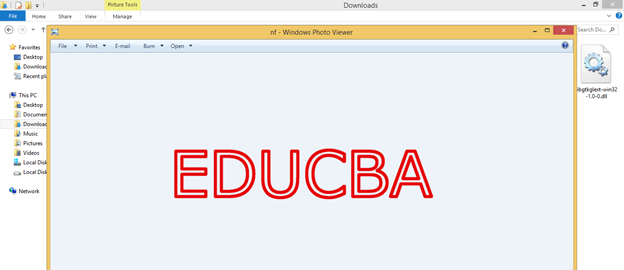
Now save it as PNG by same method and our PNG file of this text is ready.
Conclusion:
So here we discussed all possible way of saving as PNG in gimp and also analyze it on image as well as text layer of GIMP. Now you have good knowledge about the parameters that involves in saving process of PNG file.
Recommended Articles
This is a guide to GIMP save as png. Here we discuss How to save any image as PNG in GIMP and also the parameters that involves in saving process. You may also have a look at the following articles to learn more –
