
Introduction to GIMP magic wand tool
Magic wand tool is used for making a selection of the same color range of area in any image very quickly through which you can cut that particular area from an image or remove the background of the selected object by making some parametrical change in parameters of this tool as well as by using other option of this software, but in GIMP you will find this tool with name Fuzzy Select tool. In this article, we will learn different uses of fuzzy select tool and working algorithm thoroughly because this tool has different types of making selection method for any area of the image as well as some other parameters.
How to use the Magic Wand tool?
You can use this tool very easily because of the very handy parameters and their values. So let us analyze them.
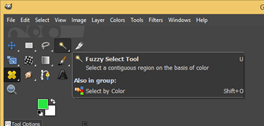
You will find the Fuzzy Select tool here with this icon with U as a shortcut key.
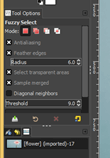
Once you select this tool, you will have these parameters for the Fuzzy Select tool in the parameters section of GIMP.
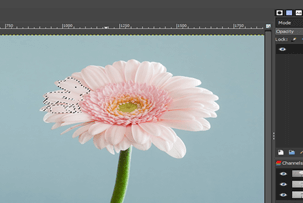
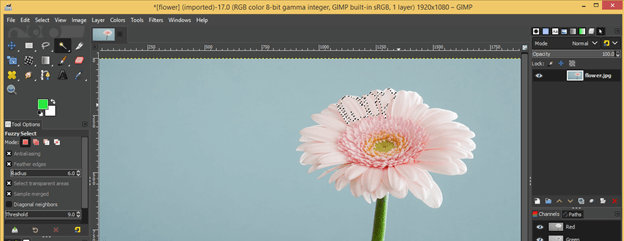
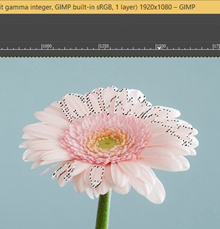
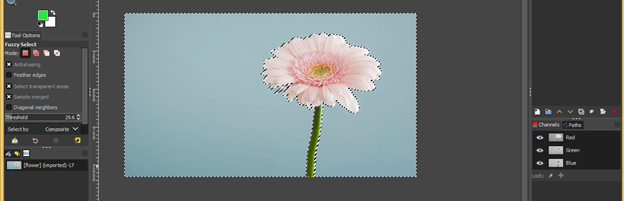
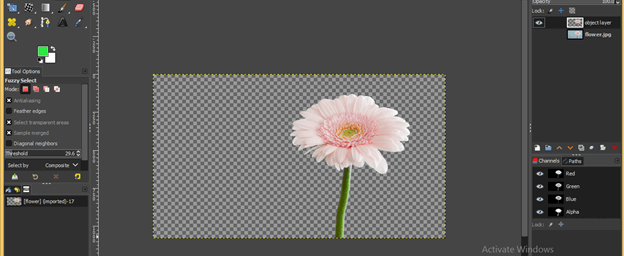
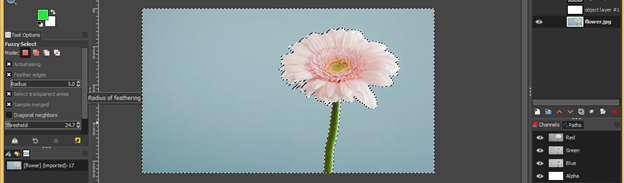
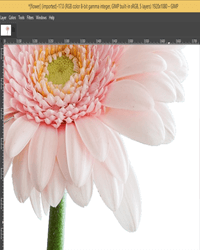
Now let us open an image on which we will use the fuzzy select tool. I take this flower image. The fuzzy tool will work with accuracy if there is good contrast between the background and the main object of the image.
Working of Magic Wand tool
Once you select this tool, you will have a cursor-like magical stick. Now click on the area you want to select with this tool, and you will have a selection active according to the same color range as this.
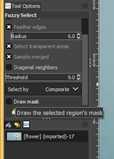
- Parameters of the Fuzzy Select tool:
Now let us understand every important parameter of this tool which are present in the parameters box.
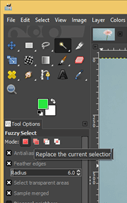
- Selection Mode:
We have four modes in the selection, and the first one is to replace the current selection.
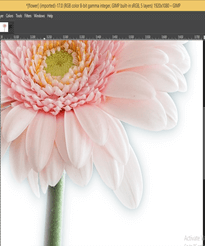
Enable this option and make click on the desired area of your image. I will click on the petal of these flowers and have this selection.
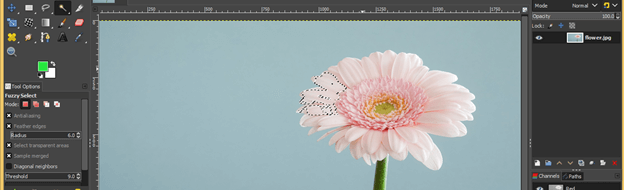
Now click on another area, and you will notice the previous selection will delete itself. So with this option for each new selection previous selection will delete automatically.
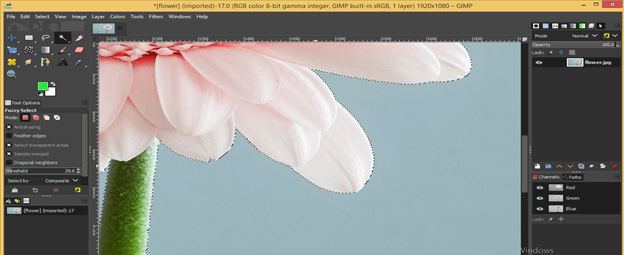
The next mode is to Add to the current selection. Now again, select an area on a flower like this.
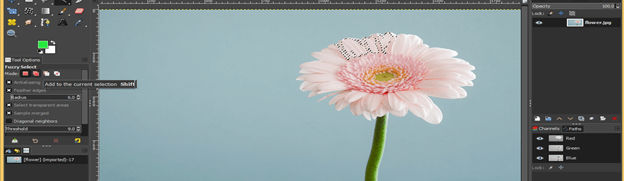
And make another click for making a selection. Here you will find new selection adds with the previous one. So it will continue adding each new selection with the previous selection. We use this mode generally for the selection process.
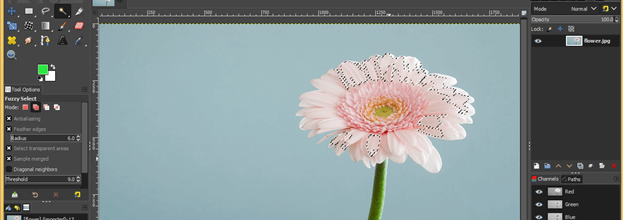
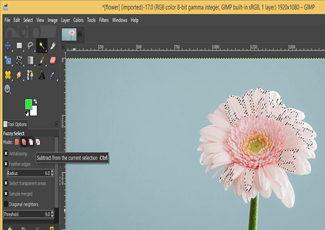
Next is Subtract from the current selection. This helps in the removal of that selection which is unwanted for you. Just make a click on the unwanted selection. You can make multiple clicks for this purpose.
- Draw Mask
If you want to see the selection area before clicking on that area, then enable the Draw mask option.
And just make a click on your desired area and hold the click to see the selection area. It will highlight with a magenta color like this.
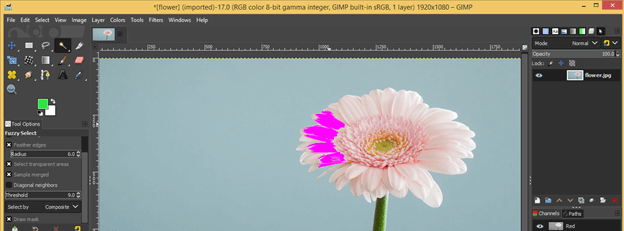
And once you release it, click it to make your selection around the chosen area.
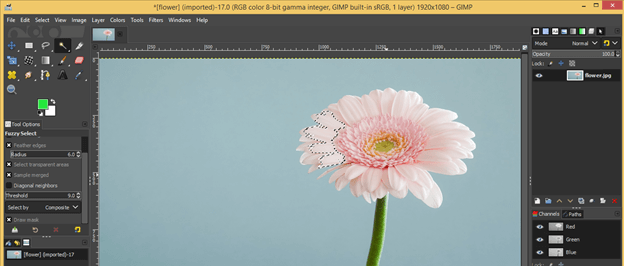
- Threshold:
The threshold is a very important parameter of this tool. During selection, we have to choose the right value of the threshold for proper selection.
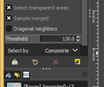
For example, increase the value of the threshold and make a click on the background of this flower image, and you will have this type of selection.
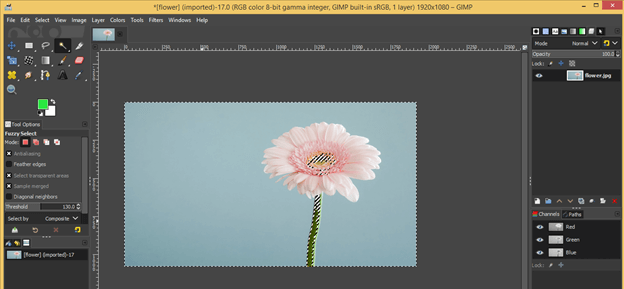
Now decrease the value of the threshold and again make a selection, and you will notice selection has been changed by changing the value of the threshold.
So check the value on which you have a proper selection like this. The threshold value for proper selection changes with every image.
You can see this selection is very good at this threshold value.
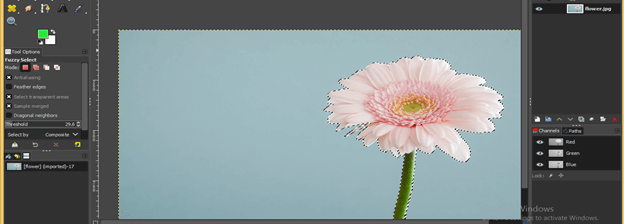
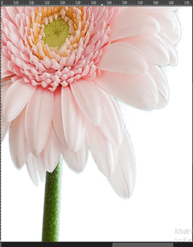
Now let us cut this flower from the image. This selection is on background because we click on the background. Now invert this selection for making selection around this flower. So go to the Select menu and click on the Invert option of scroll down list.
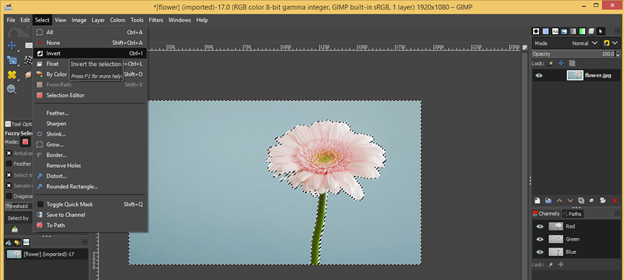
Now you can notices selection become around the flower. You can identify it by having yellow dotted lines around the background of the image. This yellow line indicates the canvas area of the image.
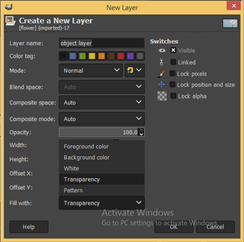
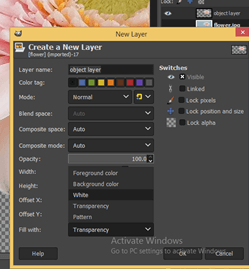
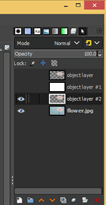
Now click on the Create new layer button.

Choose Transparency as fill for this layer in this dialog box and hit ok.
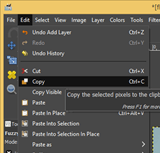
Now come on your original flower layer and copy your selection. For coping it go to the Edit menu and click on the Copy option.
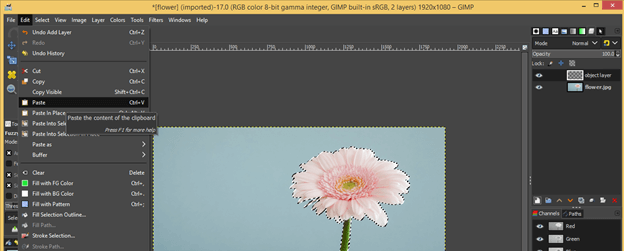
Now go to the transparent layer and click on the Paste option of the Edit menu for pasting this flower on this layer.
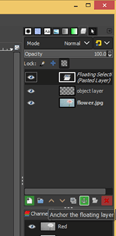
Now you will have a floating selection layer above the transparent layer, so click on the Anchor button to comb these layers.
Now you will have flower pasted on this layer.
Now again, have a new layer fill with white color.
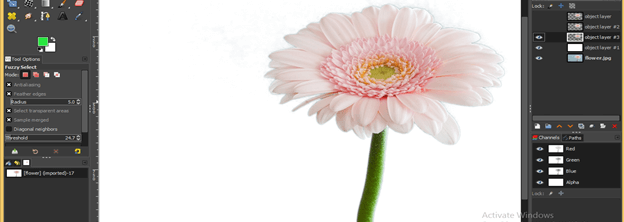
Now you will have a white background for your pasted flower. Zoom out it for seeing the accuracy of selection. You will have less clarity on the edges.

Now let us do something for a better result.
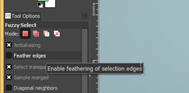
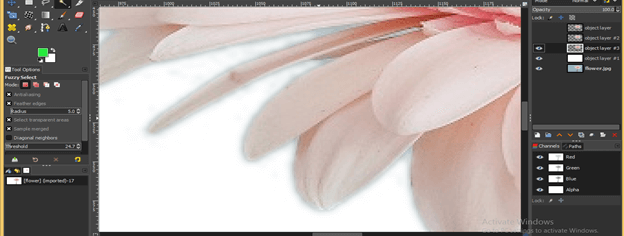
- Feather Edges:
Now enable this option for accuracy in selection. It will refine edges.
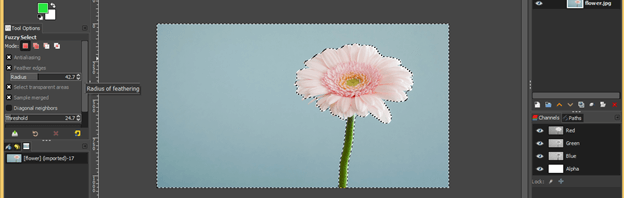
Now take the highest value of the radius of this option at which you will able to make a selection around this flower (Repeat all the processes of selection as we did in previous).
And paste your flower on a new transparent layer.
Place it above the white layer, and you can see there is a feather around the edges. I think this is the high value of feather, which made edges very blurry.

Now again, make a selection and this time take feather radius as 5.
Paste your selection on a new transparent layer and see it on a white background.
And here, you will have perfect edges of the selection.
Now you can find differences between all three images.
Without Feather
With Maximum Feather Value
With Minimum Feather Value
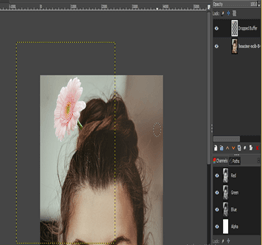
Now you can take this flower on another image and use it there.

Conclusion
I think this was a good experience for you about learning about this topic from this article, and now you can use this tool very accurately in your work. You can make changes in the parameters of this tool for getting knowledge about the variation of the selection process and other features.
Recommended Articles
This is a guide to the GIMP magic wand tool. Here we discuss the different uses of the fuzzy select tool and working algorithm thoroughly because this tool has different types of making selection. You may also have a look at the following articles to learn more –
