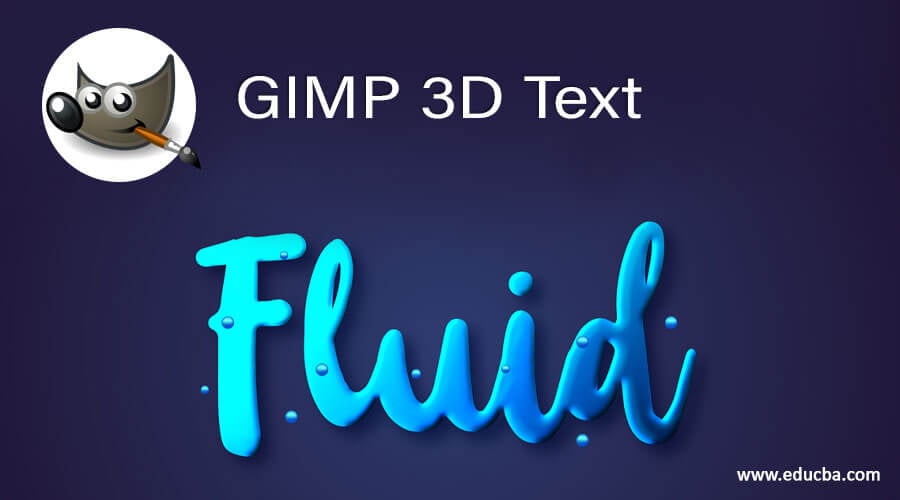
Introduction to GIMP 3D Text
You can understand 3d text as a text which has a three-dimensional look which creates an illusion of 3d object for its viewer, and in GIMP, we can create it very easily by using brush tool’s parameters, by making path with the help of path tool as well as by using text tool which is a very necessary part of it. We also use some features of the layer panel of this software for getting 3d effect on our text. With 3d text, you can add effects and eye-catching features in our image manipulation work and artwork.
How to Create 3d Text in GIMP?
Just stay with us, and creating 3d text in GIMP will not be a very difficult task for you anymore. You just have to follow some easy ad simple steps of setting different parameters of different tools of the tool panel.
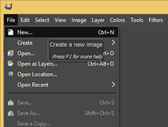
The first thing which you have to do is create a new document. For this, go to the File menu and hit on it, then click on the ‘New’ option of scroll down list.
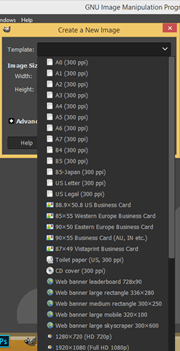
You can have any preset of document from this list according to your text.
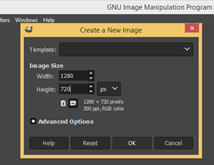
Or set the value of your document size. I will take a 1280 x 720-pixel document.
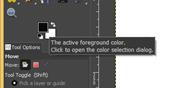
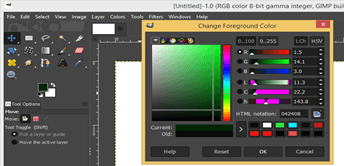
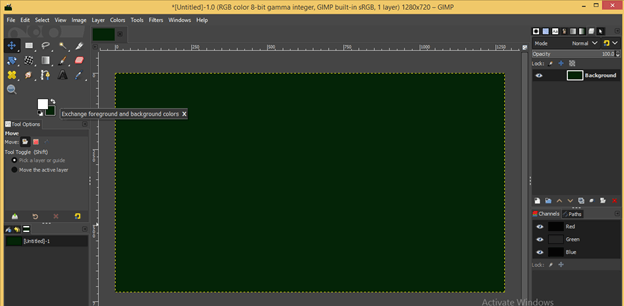
Now let us fill a good contrast color on our document, which will be the background of your text. So click on the foreground color box.
Choose this dark green color.
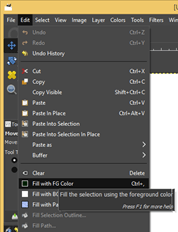
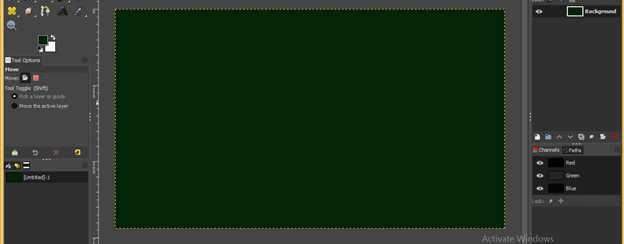
Now go to the Edit menu and hit on it, then click on Fill with FG color option for filling document with our chosen foreground color.
This is our chosen color.
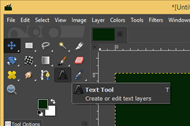
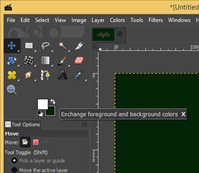
Now go to the tool panel and take the text tool from there.
Switch foreground color to bright color so that we can see our text on this dark background easily.
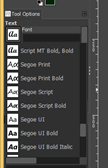
Now choose a good font for 3D text. I will choose this Script MT bold font.
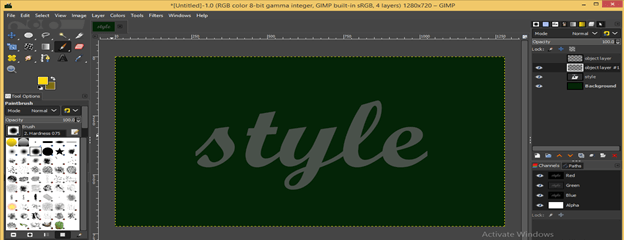
Type your text here.
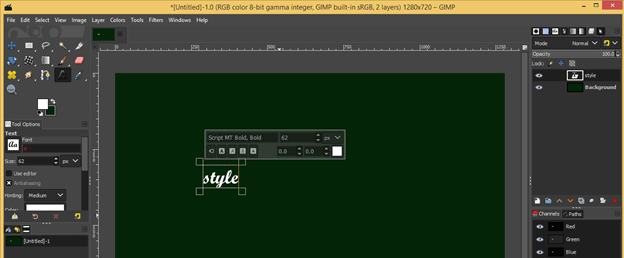
Scale it up as per your choice or increase font size.
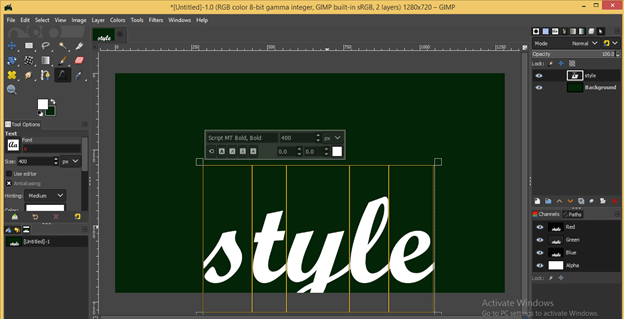
Bring it to the center of the document area by moving with the move tool.
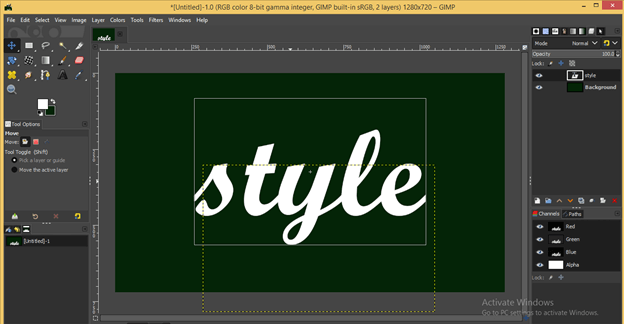
Now down the opacity of this layer a little bit by the layer panel’s opacity scale value.
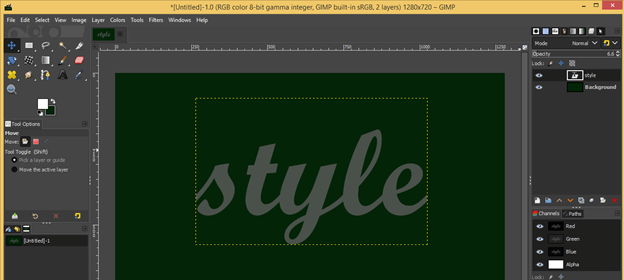
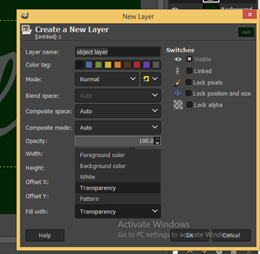
Now go to the layer panel and click on Create new layer button for creating a new layer.
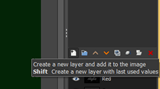
Now a dialog box for setting parameters of the new layer will be open. Don’t change the parameters of this box; just choose the Transparency option as the ‘Fill with’ option for having a transparent layer, then hit on the Ok button.
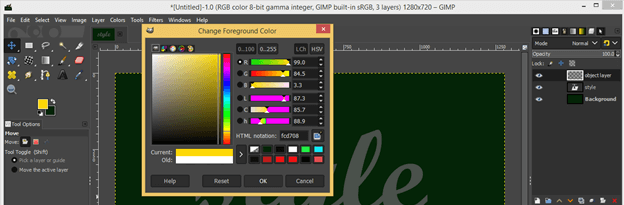
Now let us choose foreground and background color, which will be color of our gradient for our 3d text.
Choose it one by one. I will choose bright yellow as the foreground color from this color picker box.
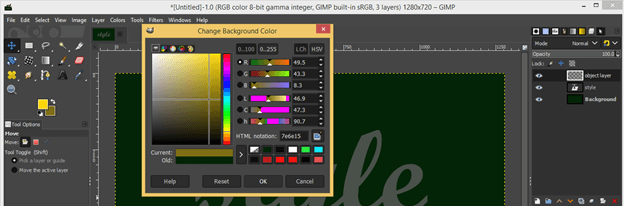
Then choose this little bit of dark yellow color as a background color. You can choose any other color according to you. It totally depends on your creativity.
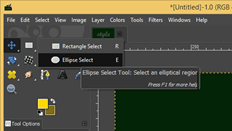
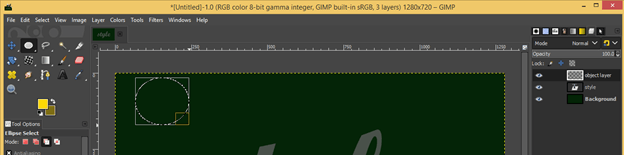
Now again, go to the tool panel and click on the Ellipse Select tool for making a circle. We are making this circle for using it as a pattern of paintbrush tooltip.
Make sure you have a transparent layer selected. Now draw a circle by holding the Ctrl key of the keyboard.
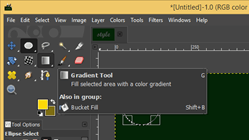
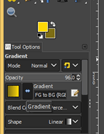
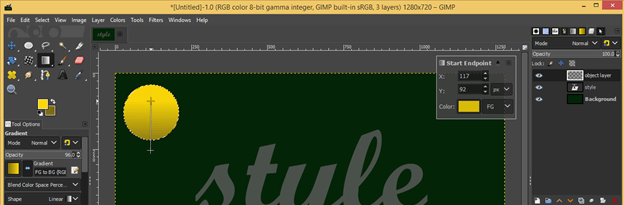
And take gradient tool or blend tool from the tool panel.
Choose FG to BG option in the paintbrush tool parameter so that you have a gradient of your chosen foreground and background color.
Now draw a gradient on this circle like this.
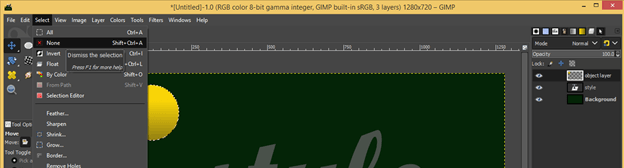
And go Select menu, then click on the ‘None’ option for enabling selection around the circle.
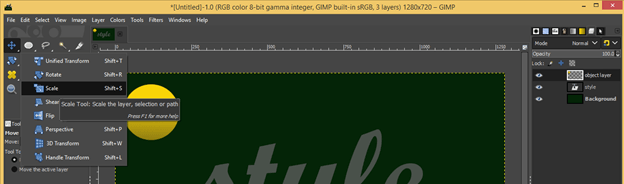
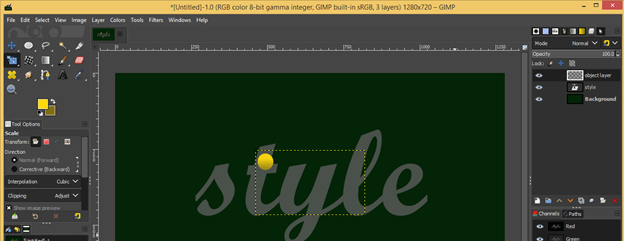
Now take the Scale tool from the tool panel for scaling down this circle because we want to make it a paintbrush tip pattern.
Scale it like this.
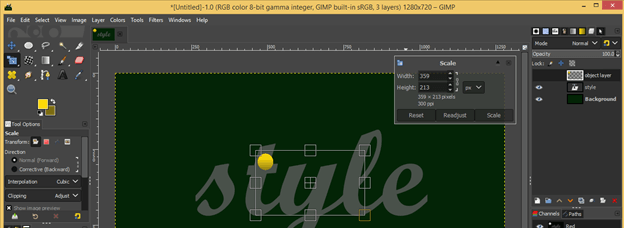
Then hit the enter button on the keyboard.
Now go to the layer panel and right-click on a transparent layer. Choose the ‘Alpha to selection’ option from the scroll-down list.
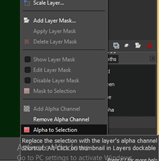
Now go to the ‘Edit menu of the menu bar and click on the Copy option or press the Ctrl + C button as a shortcut key for a copy this circle in the clipboard of GIMP software.
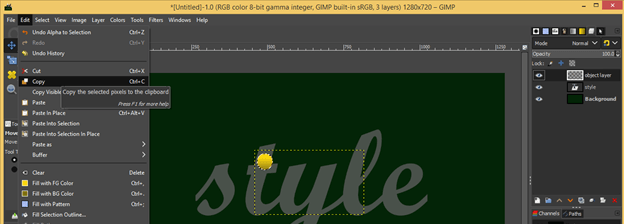
Now enable selection around this circle, so click on the ‘None’ option of Select Menu of the menu bar.
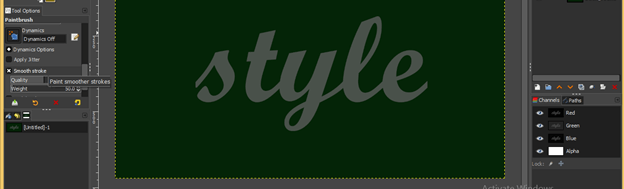
Now make this layer invisible by click on the eye button of it and take the Paintbrush tool from the tool panel. Click on the pattern option of brush tool parameters. You will have your copied circle as a brush pattern in the list. Choose it.
Enable Smooth stroke option for smooth stroke on your text.
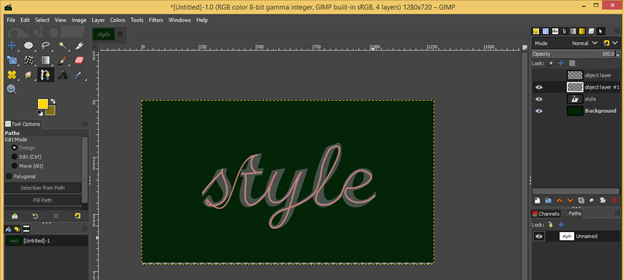
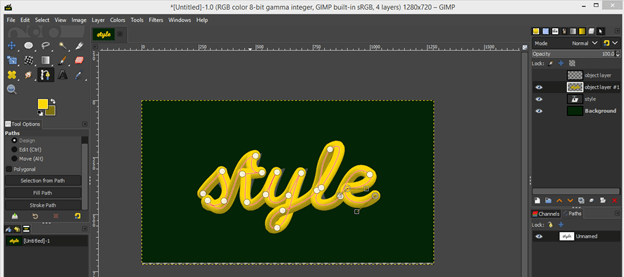
Now you can draw this type of 3d shape with this pattern.
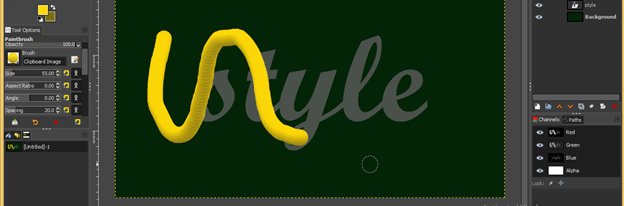
You can write a free hand text if you have a good command of it.
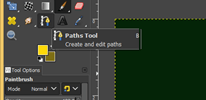
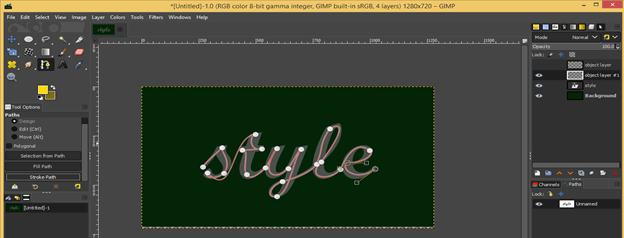
But if you have not, then don’t worry, let us do something different. Take Path tool from the tool panel.
And draw a straight line path like this.
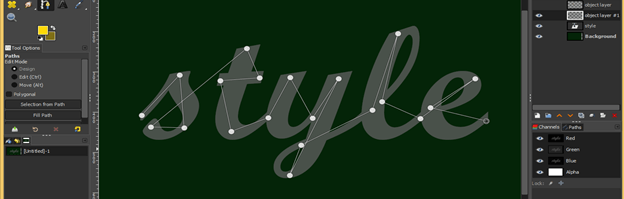
Now adjust it curves like this.
I did it like this. You do it according to your text.
You have lost your path by mistake, then don’t worry; go to the Paths tab, which is below to layer panel and click on it. You will have your path here; just make a click on it, and you will have it again.
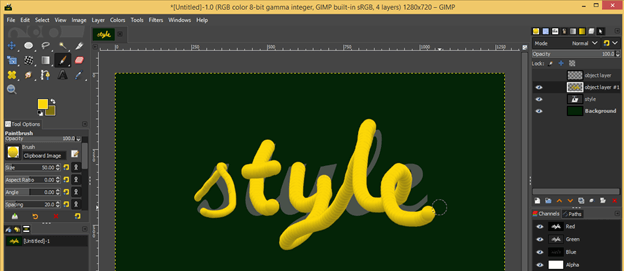
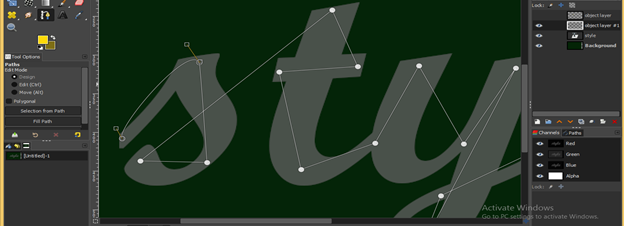
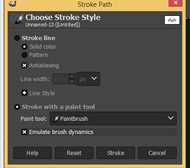
Now select it by click on it and click on the Stroke Path option of the paintbrush tool.
Now click on the radio button of the ‘Stroke with a paint tool’ option of this dialog box.
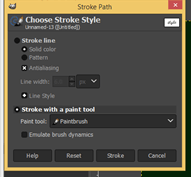
Choose the Paintbrush option in the Paint tool.
Enable Emulate brush dynamics option of this dialog box also and hit on Stroke button.
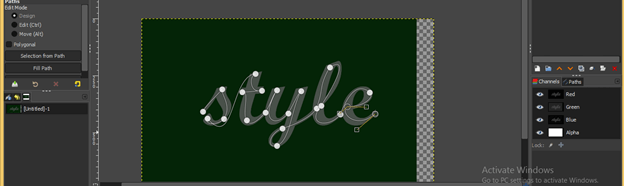
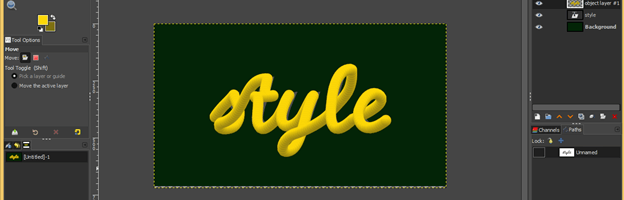
And you will have your brush stroke on your text like this. This is a 3d text.
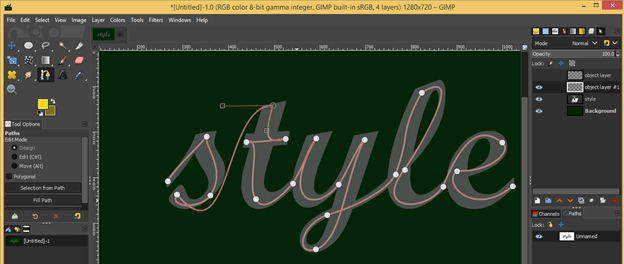
If you are not satisfied with the path’s curves, go to the Edit menu and click on Undo Stroke Path option.
And edit it according to you.
This way, you can create 3d text in GIMP.
Conclusion
Now you have a handful of knowledge of how to create 3d text in GIMP, and you can also make a different variation in parameters of different tools we use in this process to have a better result. You can also try another way for making 3d text; this was only one technique.
Recommended Articles
This is a guide to GIMP 3D Text. Here we discuss How to Create 3d Text in GIMP and How to make a different variation in parameters of different tool. You may also have a look at the following articles to learn more –
