Updated August 25, 2023

Introduction to Fire Effect in Photoshop
Adobe Photoshop is used to create many amazing and stunning effects and models. One of the most realistic and perfect examples of this is the creation of a fire effect in Photoshop, which has a vast variety of tools and filters that are used to create this effect with perfection. Filters such as the Wind Effect and Gaussian Blur effect and a combination of Hue and saturation are used to create this effect without any errors. These filters may not be present in every image editing program, and that is why Photoshop is called the father of all image editors.
How to Create a Fire Effect in Photoshop?
Photoshop is a powerful program that comprises of numerous processes to create an effect and achieve certain results. One such effect is to create a fire effect on the program. While there is no direct functional effect or tool to create the same, we use a process to achieve the result. It may not seem easier and direct to create this effect as a host of filters and techniques is involved in creating this effect. But, once created, the effect looks real and attractive.
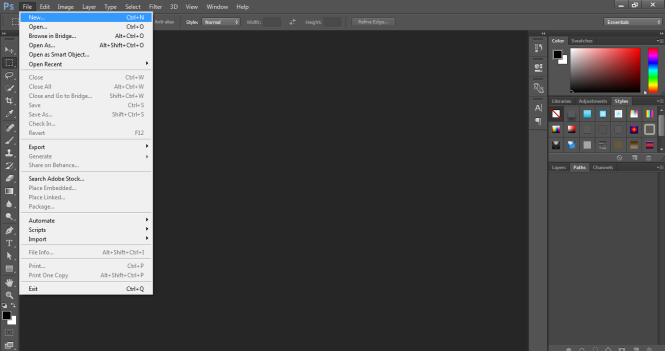
Step 1: Create a New Document in the Software.
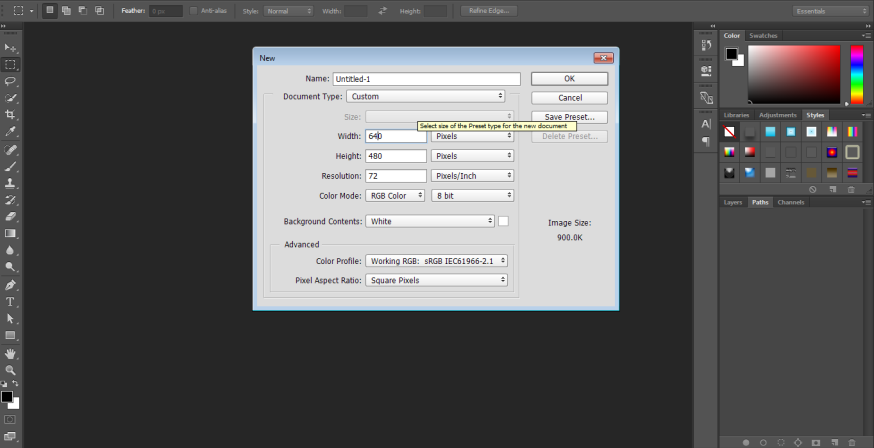
Step 2: Adjust the properties of the document using the dialog box that appears. Use the width size as 640 * 480 Pixels.
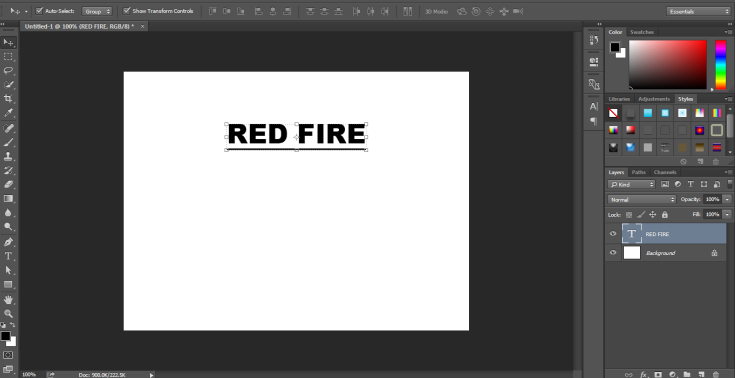
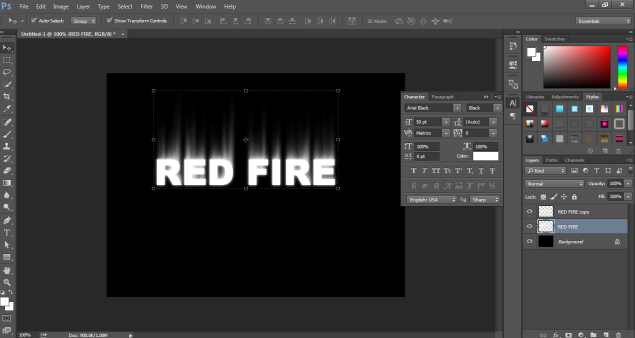
Step 3: Click on the Text Tool and write RED FIRE on the page.

Step 4: Make the text Bold and use the Arial Black font as shown in the image.
Step 5: Once the text is written, bring the text down using the arrows keys. Next, go to the Layer menu and click on the Rasterize.
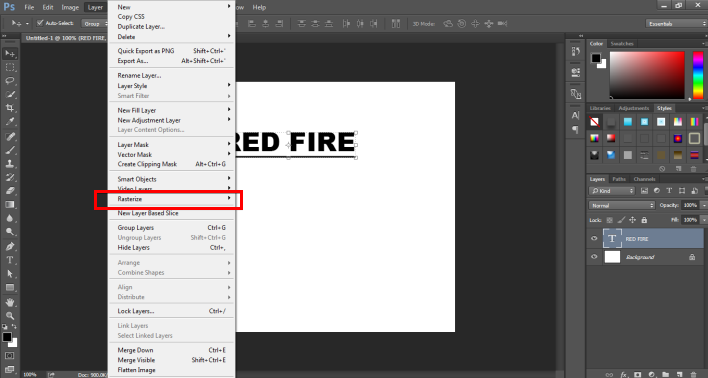
Step 6: Next, click on Type from the menu.
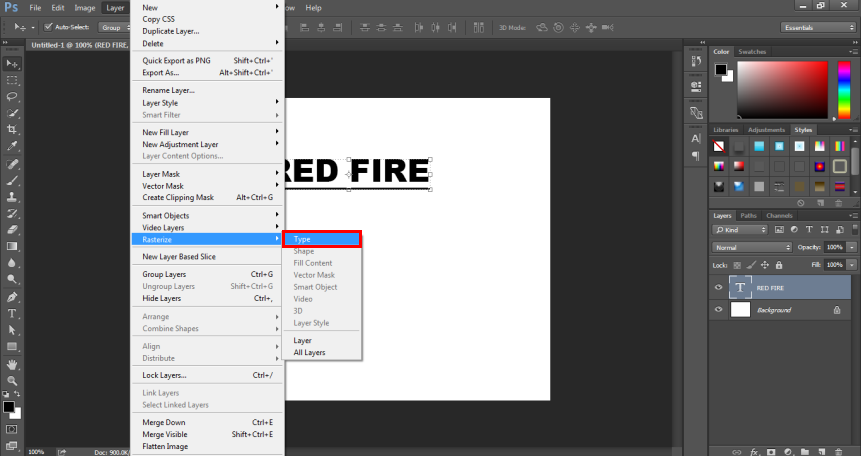
Step 7: As soon as the image is Rasterized, the user can’t change the text properties or edit the text itself. The rasterization process in Photoshop is to change the text layer to an image layer and work on the same. This will lock the text properties and change the layer completely to the image layer.
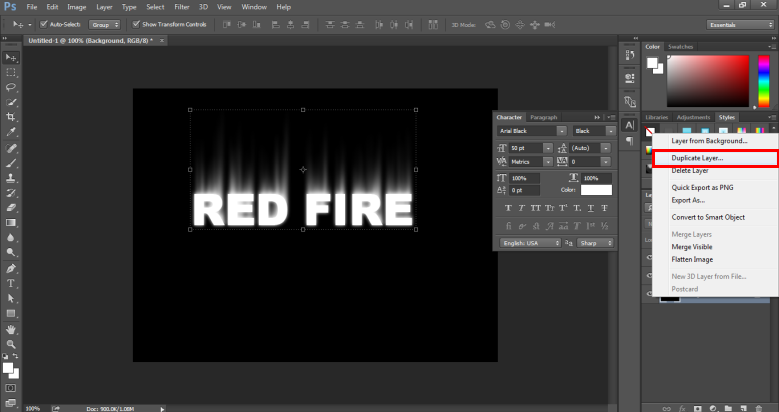
Step 8: Now, duplicate the image layer by right-clicking on the image and selecting Duplicate Layer.

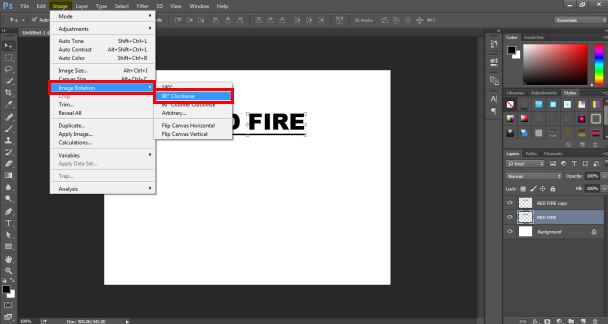
Step 9: Now, select the original layer and go to the IMAGE menu and select ROTATE CANVAS. In this option, select ROTATE 90 CW. This option will rotate the canvas in the clockwise direction at 90 degrees.
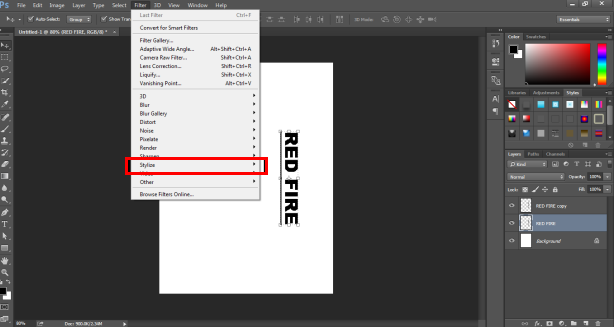
Step 10: Now, click on FILTER and go to the STYLIZE menu.
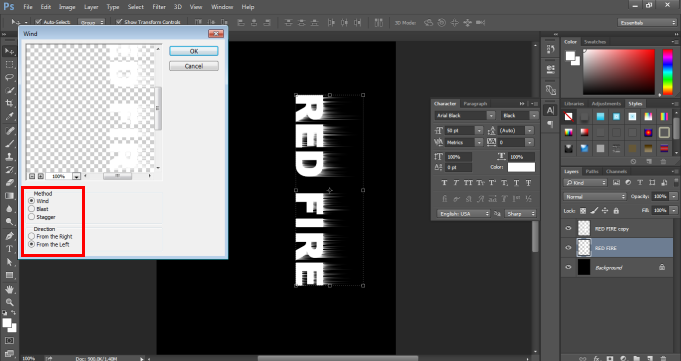
Step 11: Use the WIND option from the menu.
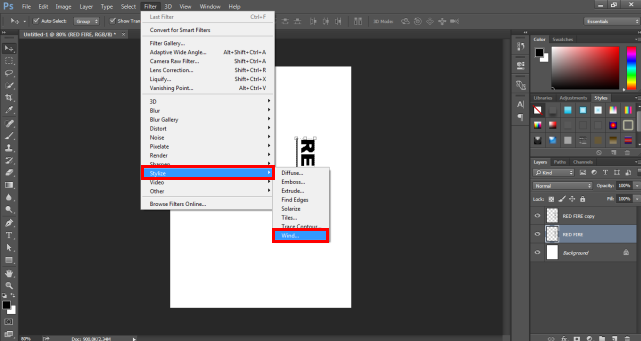
Step 12: A dialog box will appear. Select HORIZONTAL and FROM LEFT in the properties menu. Click on OK to save the settings. The wind command is used to generate spikes from the text, as shown in the image.
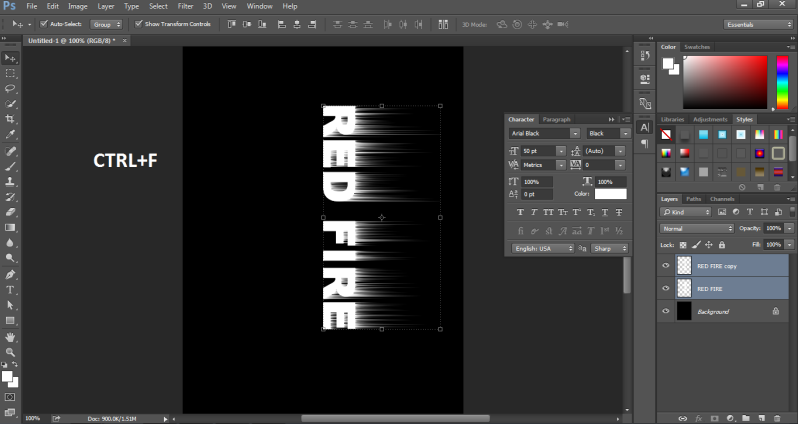
Step 13: Now, to add more spikes to the text, either select the WIND option from the filter gallery or use the CTRL+F command to repeat the last filter added. Use this method twice and see the results.
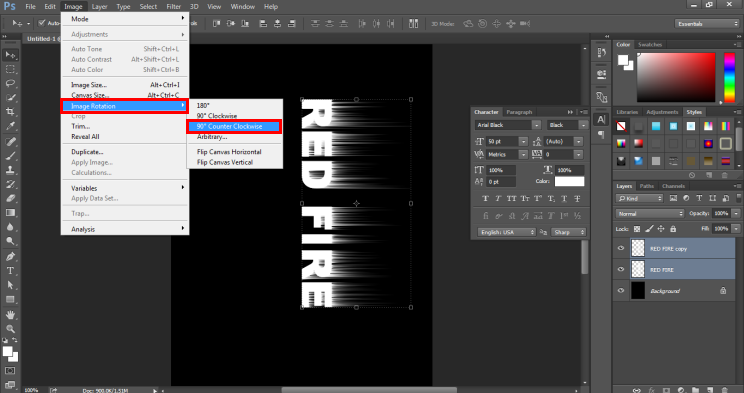
Step 14: Next, again go to the IMAGE menu and select ROTATE CANVAS. Now, select ROTATE 90 CCW. This will bring the canvas to its original place.
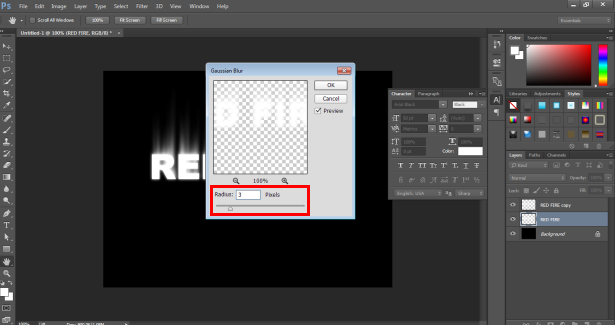
Step 15: To give a realistic effect. Now, click on the FILTER OPTION and go to blur > Gaussian blur from the menu.
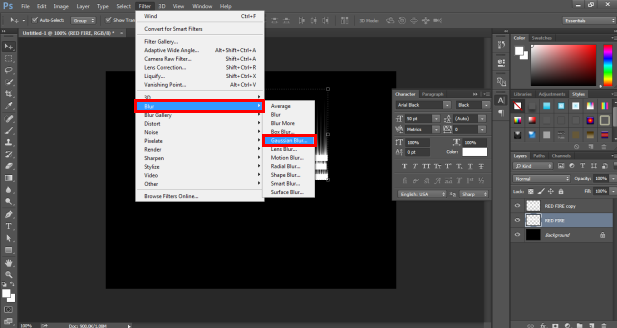
Step 16: A dialog box will appear. Select “3” as the quantity of the blur effect and click OK to save the settings.
Step 17: Next, right-click on the BACKGROUND LAYER and select DUPLICATE LAYER.
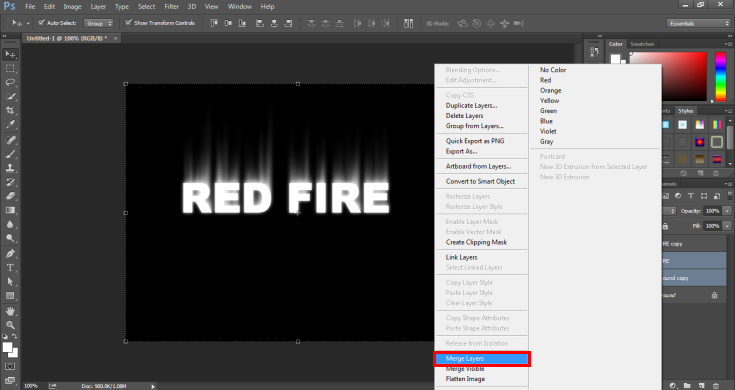
Step 18: Next, select the duplicate background layer and the original image together, then right-click on the same and click on MERGE LAYERS.
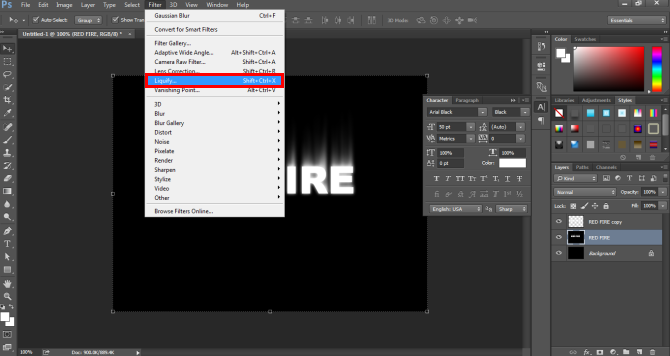
Step 19: Now, go to FILTER MENU and select LIQUIFY OPTION. The liquify tool is used to rotate, reflect, push, pull and bloat the pixels of the image.
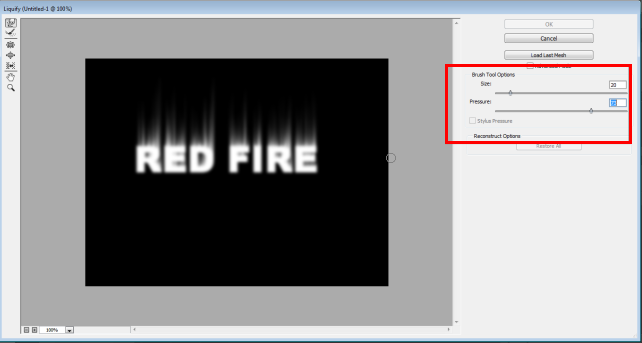
Step 20: Now, a dialog box will appear as shown in the image. Change the brush size, density and pressure accordingly from the menu.
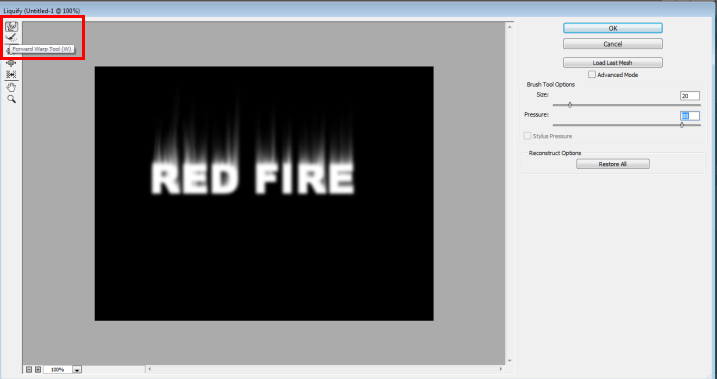
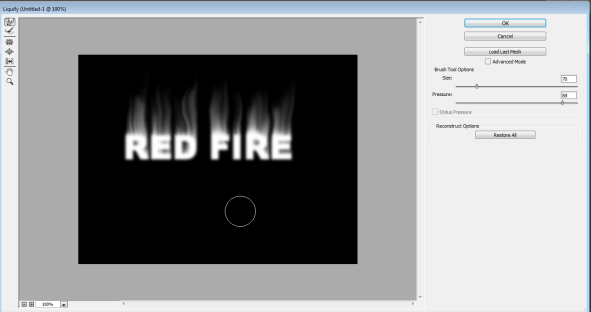
Step 21: Now, select the FORWARD WRAP TOOL and use this tool to create an effect of fire on the text as shown in the image.
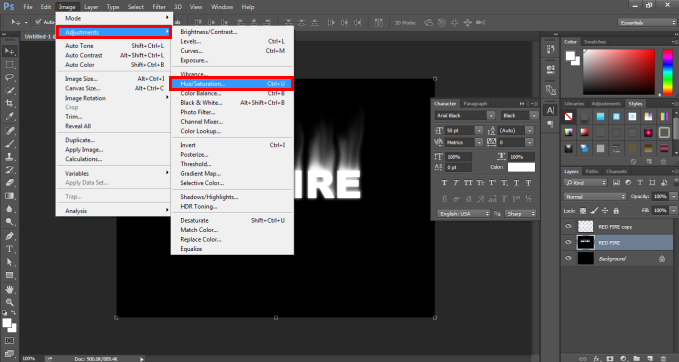
Step 22: Now, click on IMAGE and go to ADJUSTMENTS. Click on HUE/ SATURATION.
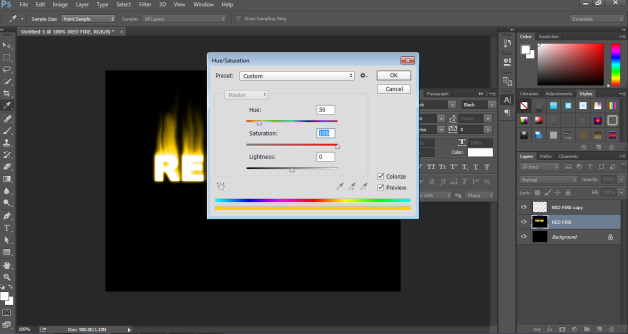
Step 23: A dialog box will appear. Select the COLORIZE option. Then, in the HUE option, write value 50 and in SATURATION, write value 100 and press OK.
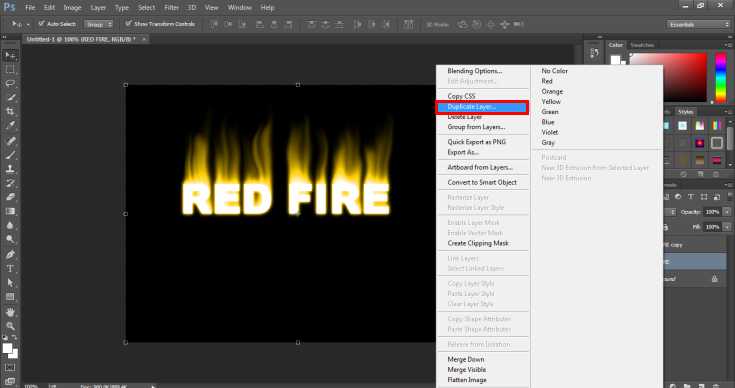
Step 24: Now, duplicate this layer as shown in the image.
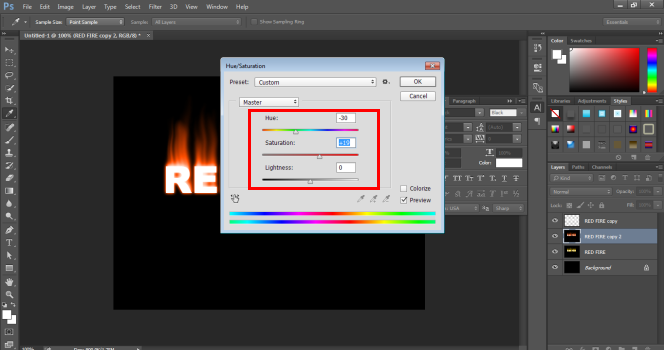
Step 25: Now, again, go to IMAGE> ADJUSTMENTS> HUE AND SATURATION. In the HUE, write -30 as value and click Ok.
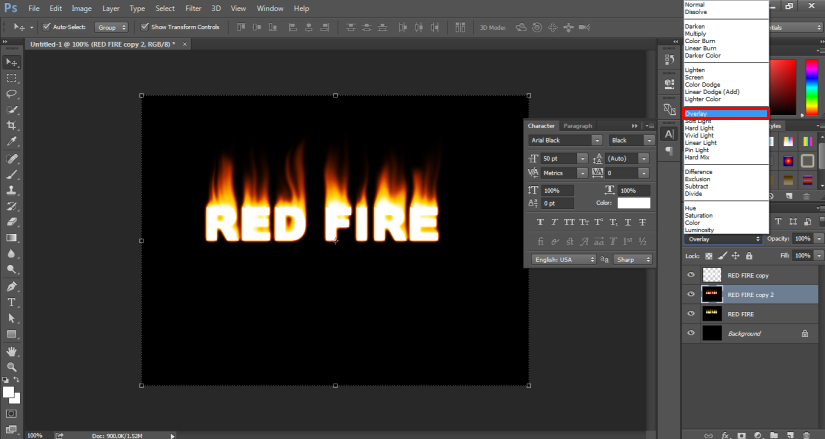
Step 26: Now, click on the mode style of the duplicate layer and select OVERLAY, as shown in the image below.
Step 27: Now, lock the 1st layer and change the color mode of the second using the gradient tool as shown in the image below.

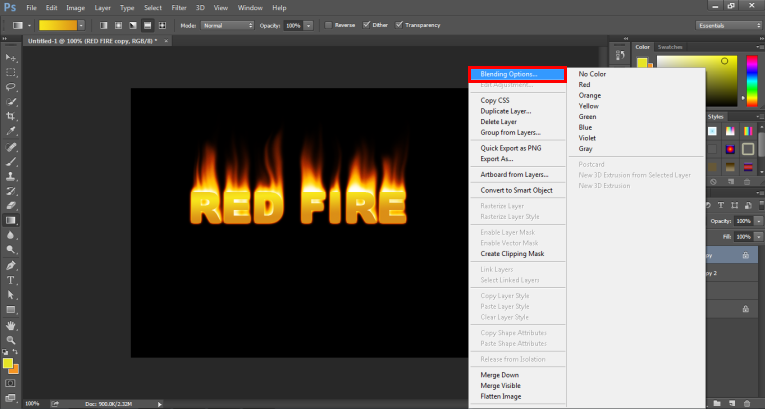
Step 28: Now, right-click on the layer and go to BLENDING OPTIONS. Use the drop shadow menu, inner shadow menu, and outer glow as shown in the image.
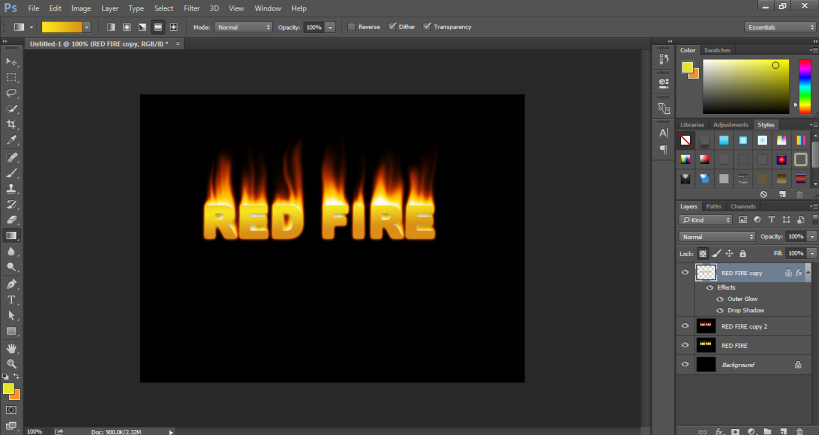
Step 29: The final image of the fire effect is shown below.
Conclusion
In the above example, we have used various tools and filters that help the user to create a perfect and realistic fire effect. Although, the user must be aware of the use and technique of all the filters and tools used in this process. Attempting to create such an effect requires effort and determination. The user must practice the software to get a hand on the program and understand the techniques of the tools.
Recommended Articles
This is a guide to Fire Effect in Photoshop. Here we discuss some useful techniques and tools in photoshop for creating realistic fire effects. You can also go through our other related articles to learn more –
