Updated August 28, 2023

Introduction to Export in After Effects
Adobe After Effect software is generally used for manipulating our work related to videography and photography. It also helps in providing animation to our project for making it more and more effective for viewers. Export means saving our work in an appropriate file format at the desired location. In Adobe After Effect software, we use Export for the same work that is saving our project in our required file format for presenting it in the real world. Export in After Effects is a basic and important part of After Effect because we need it to use it in every project.
Exporting Projects in Adobe After Effects
Figuring out how to export your first After Effects project can be difficult. Here’s a quick guide on how to get started, and you will also learn how to export any project in the desired format and desired location.
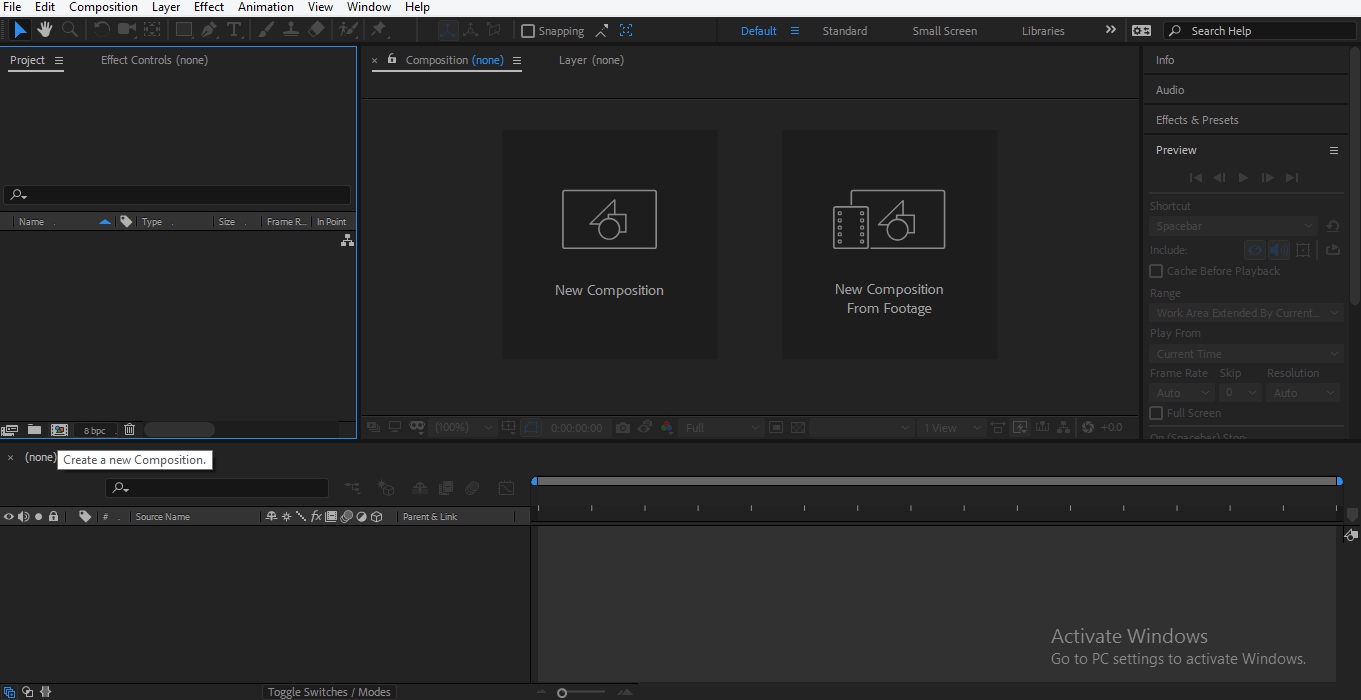
We have a different type of section here for making our work easy. We have a small tool panel at the top of the work area, a Project Window at the left corner of the work area, a Layer section at the lower-left corner, a Timeline section at the bottom, and a Composition window in the middle of the work area. First of all, we will make a simple animation and learn how to Export this animation for saving it in the desired format.

- First of all, we will take a New Composition. For taking New Composition, click on the New Composition tab, which is present in the Composition window area.

- Or click on Create a new Composition tab which is present on the project window of this software.
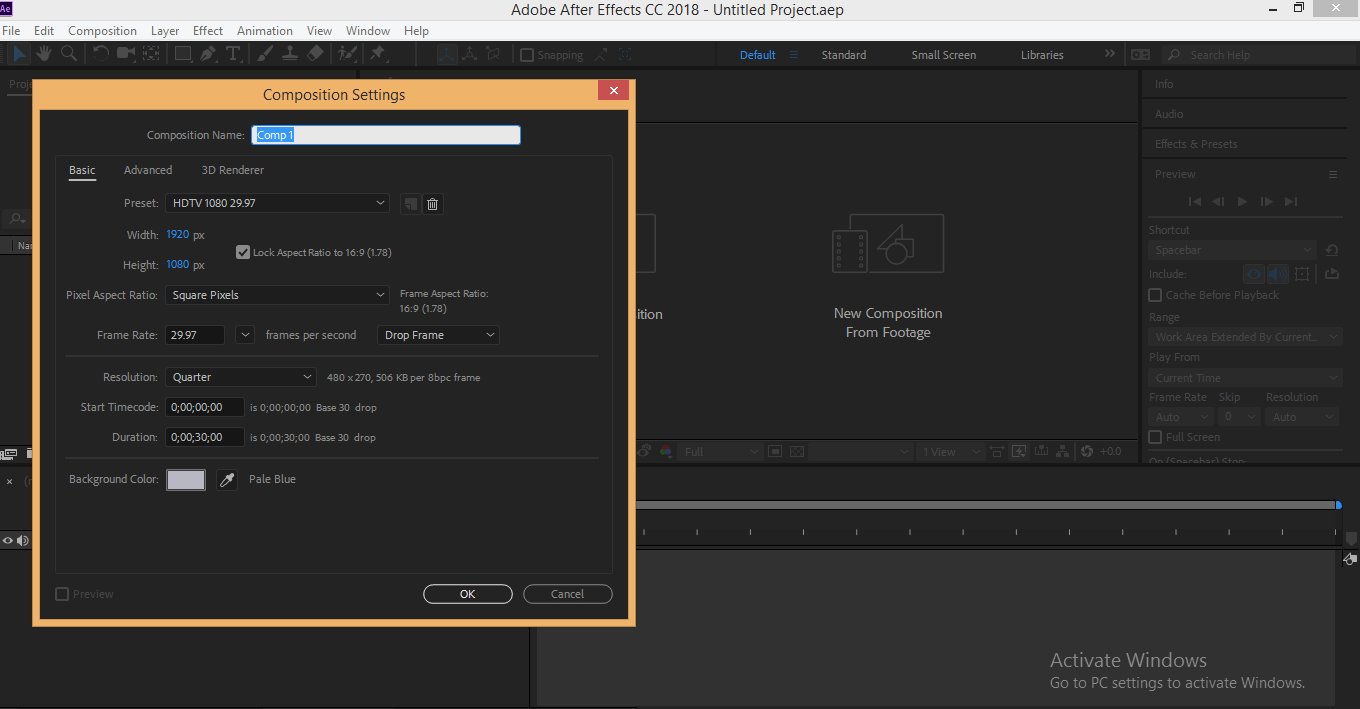
- The composition Setting dialog box will open; choose your desired setting for your composition. Here I will choose the default setting for my composition and press on the OK tab of this dialog box to apply your composition setting.
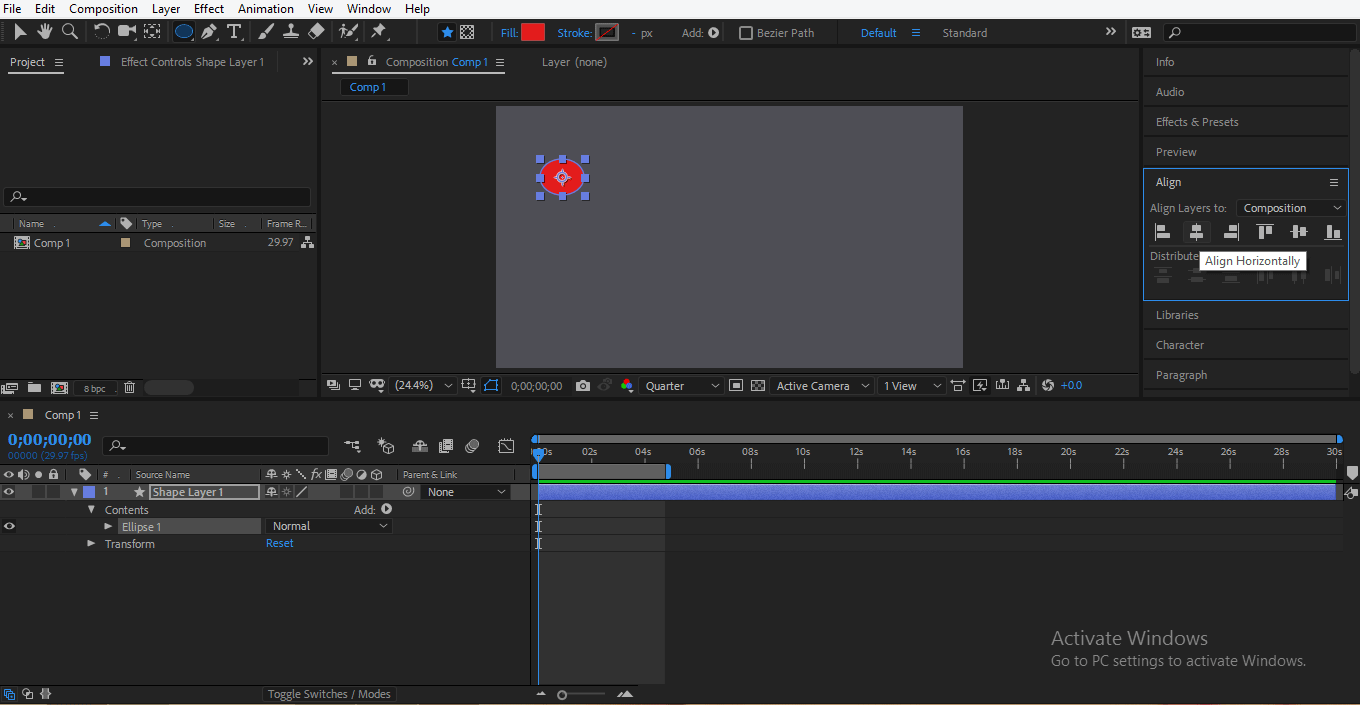
- Take a circle command from the tool panel by clicking on the circle icon, which is present in the drop-down list of rectangle tools, now draw a circle.

- Go to align command at the right side of the work area, to align the circle at the center of the composition, press the Ctrl+Alt+Home key and then the Ctrl+Home key on the keyboard.
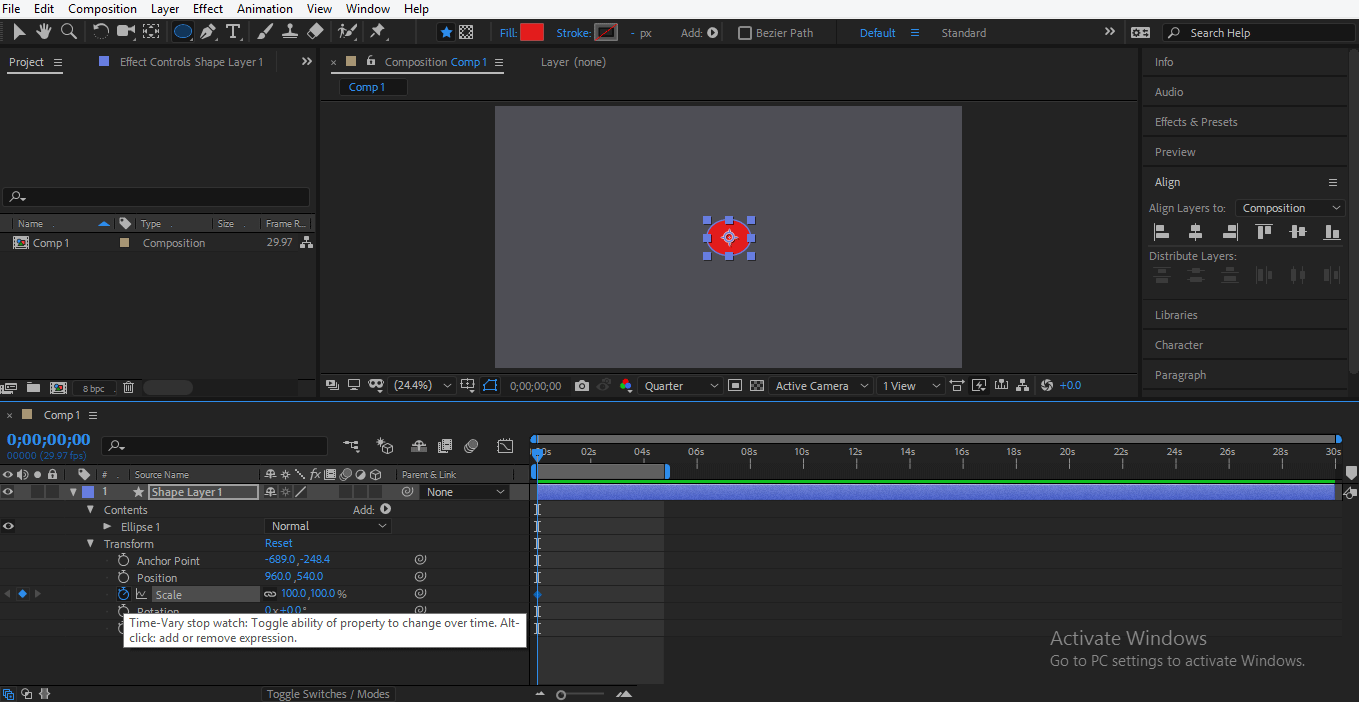
- Now we will animate this circle, so click on the shape layer at the layer section of this software and click on the small arrow button of the shape layer’s transform property; now, sub-properties of the transform property will open.
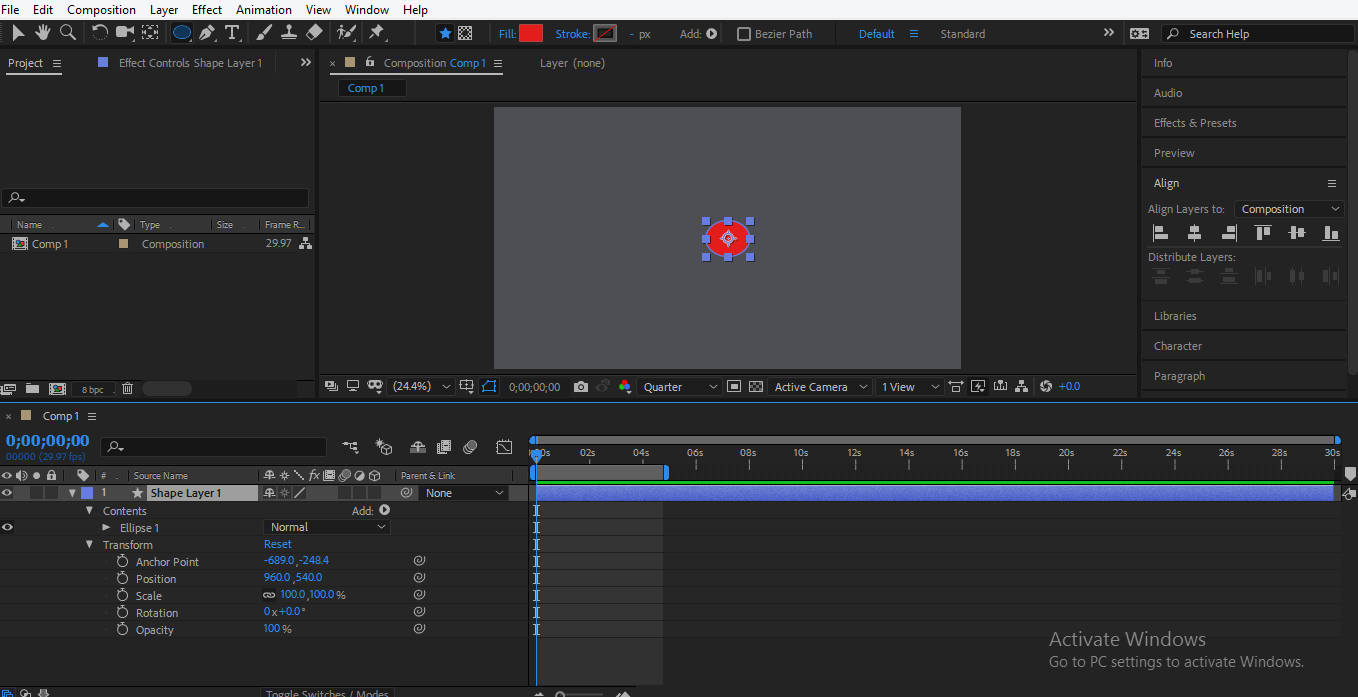
- We will animate the circle’s scale and position property, first click on the clock icon of the scale property to generate the start key for the animate scale property.
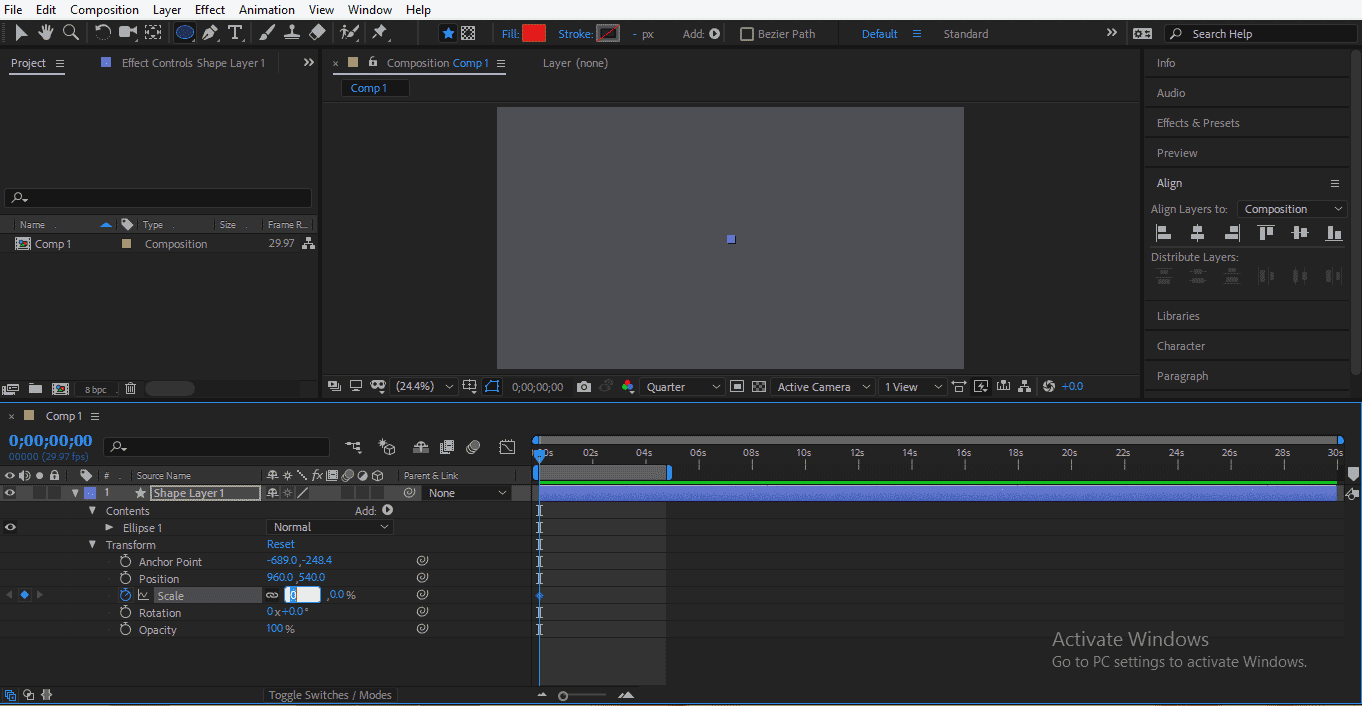
- Now I will make the scale property value to zero percent so that the circle becomes invisible to me at the starting keyframe.
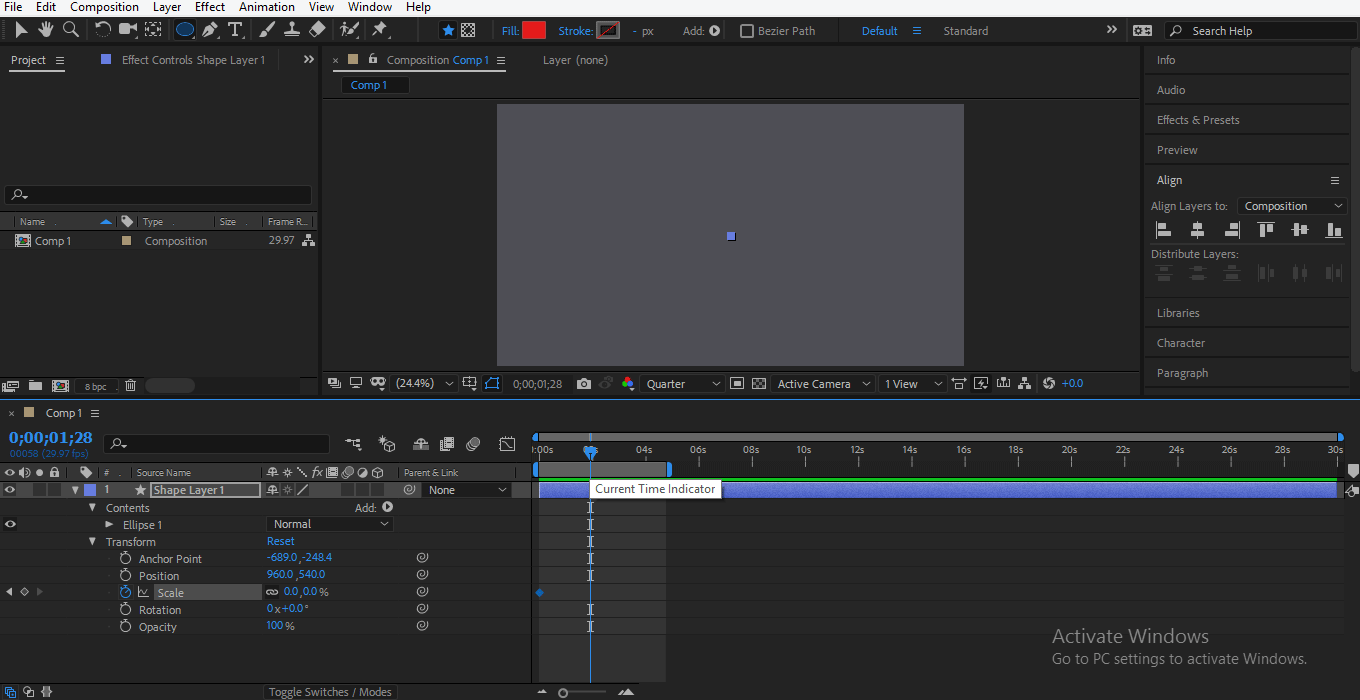
- Now I will set the keyframe play head at 2 sec; you can set it according to you.

- And make the value of the scale property to 100%.

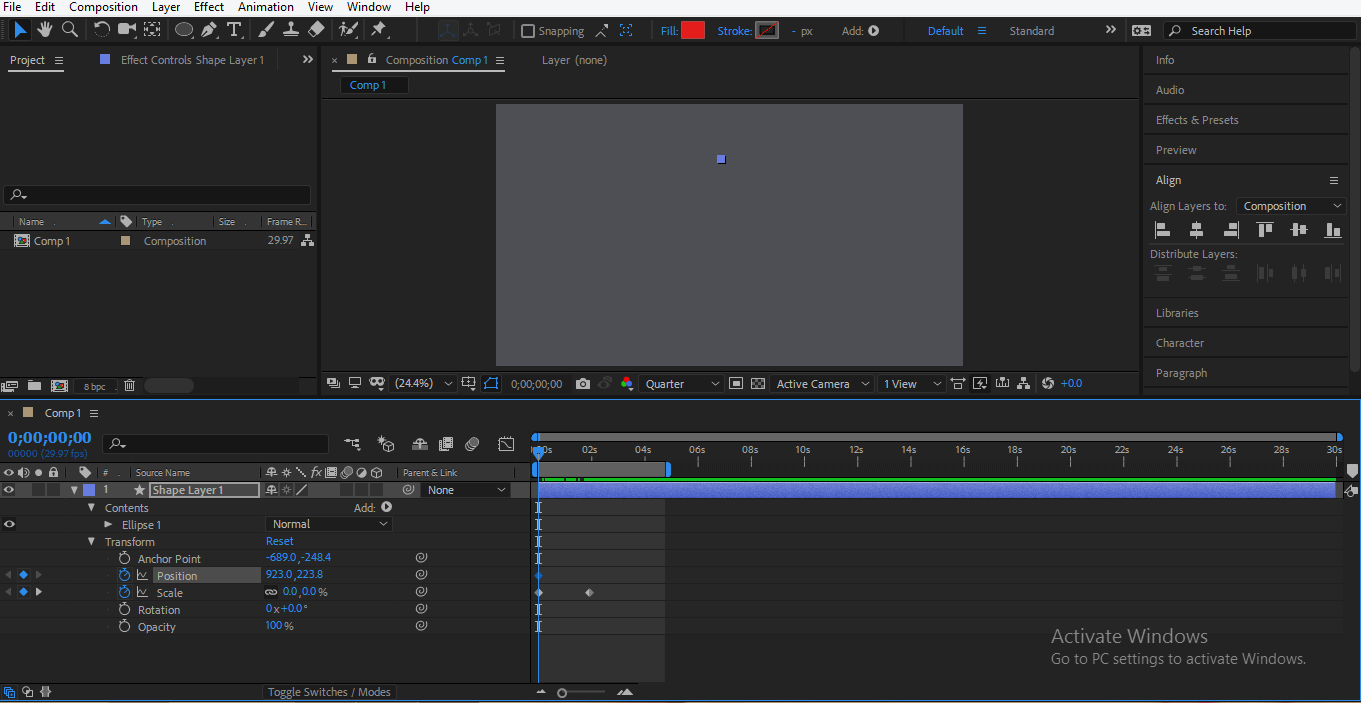
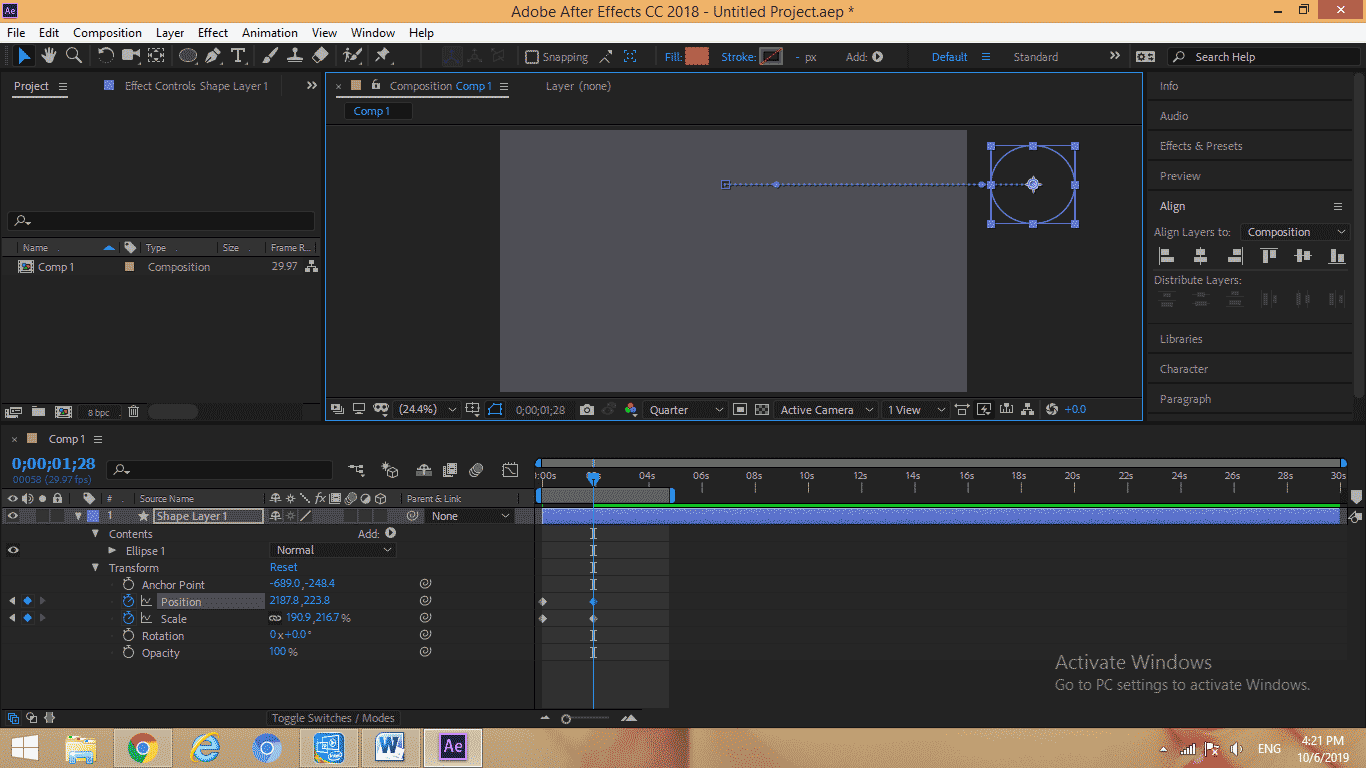
- Now drag the keyframe play head at the starting point to set other property animation and click on the clock icon of the position property of circle to generate a start keyframe for it.
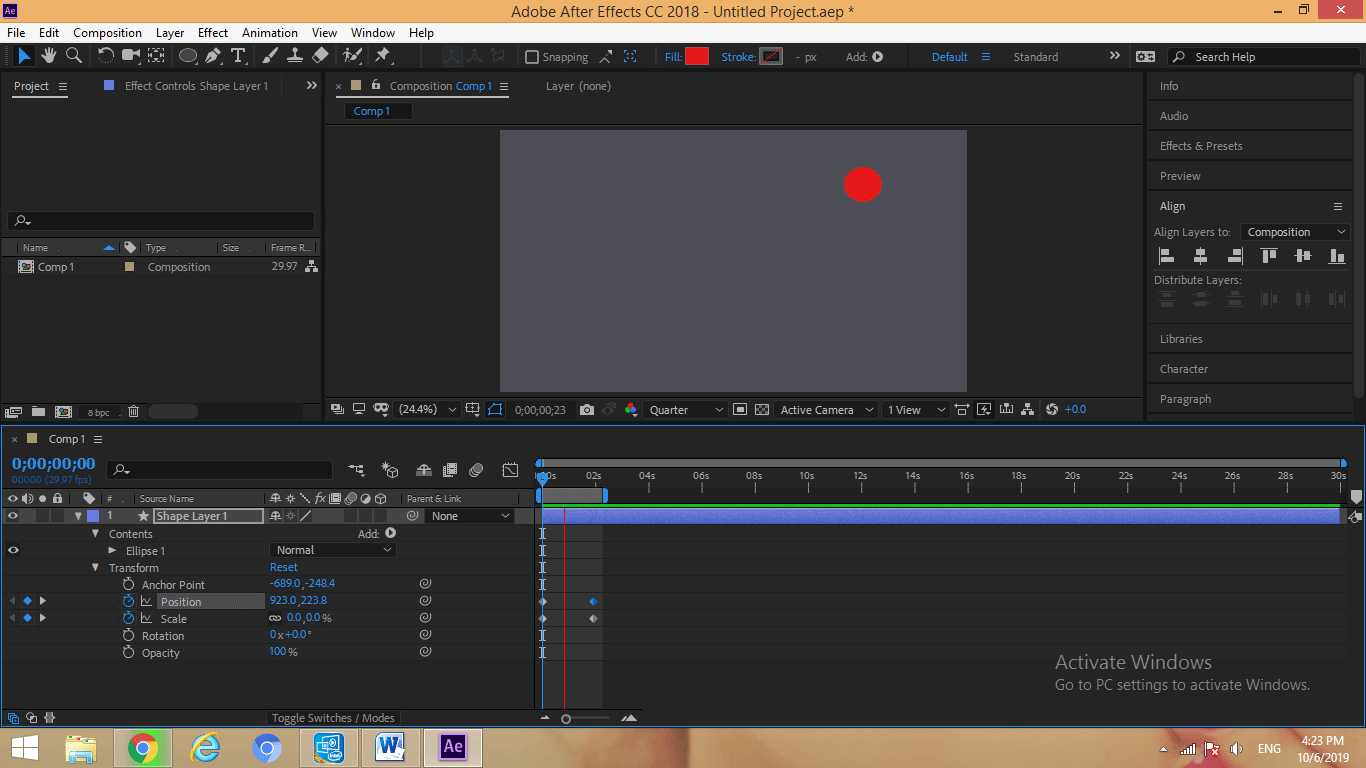
- Now I will place the circle at the top position in my composition.
- Drag the keyframe play head at the same time of the end key of scale property of the circle and place the circle out of the composition.
- Now you can see the animation by pressing the spacebar key or press the Play button from the Preview option on the right side.
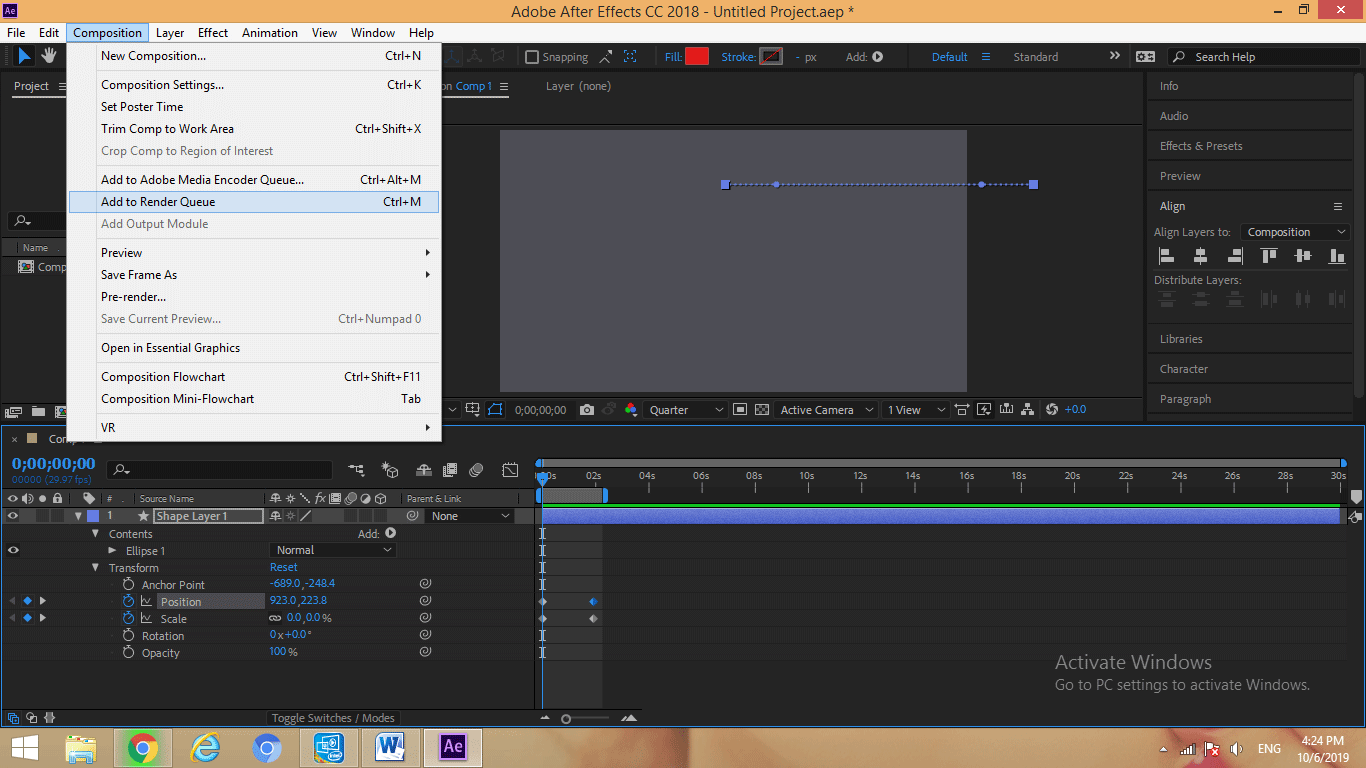
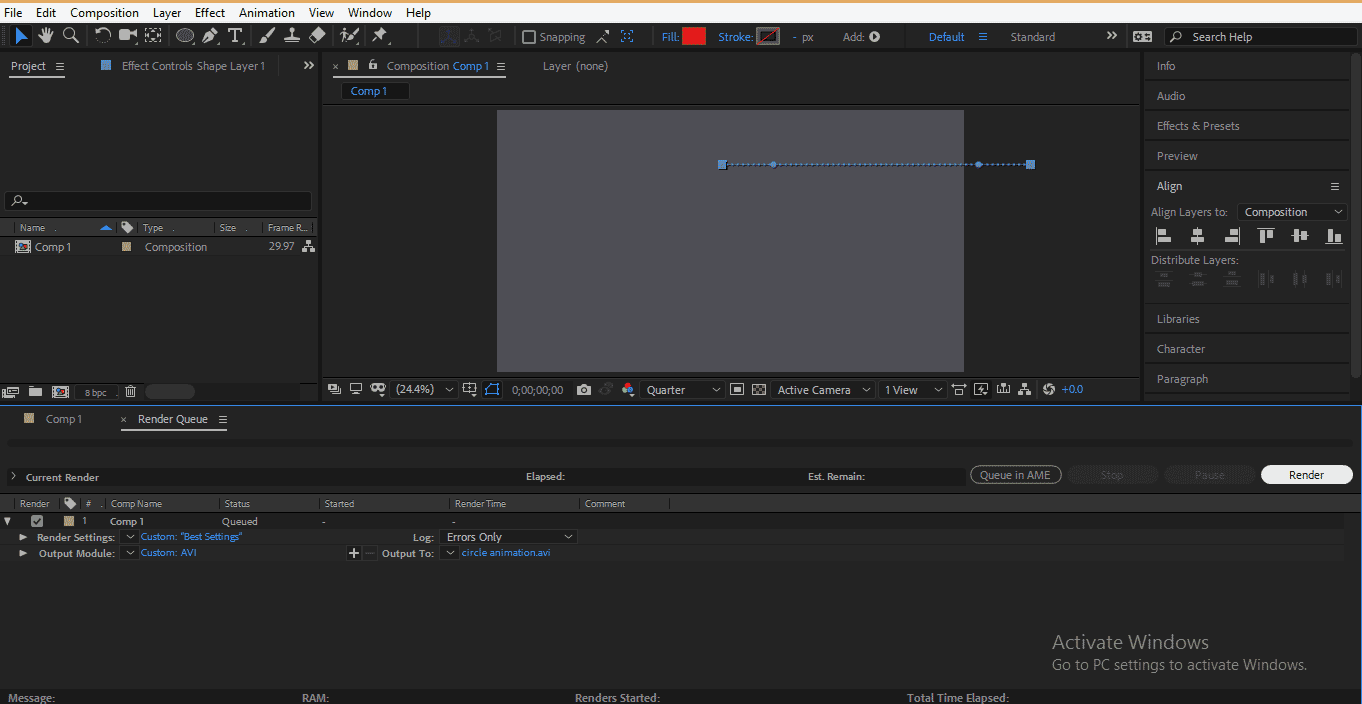
- Now we will export this animation. For exporting, click on the Composition tab at the top of the work area and click on Add to Render Queue option of the drop-down list.
- Click on the Best tab of the Render settings option in the layers section, a dialog box will open.
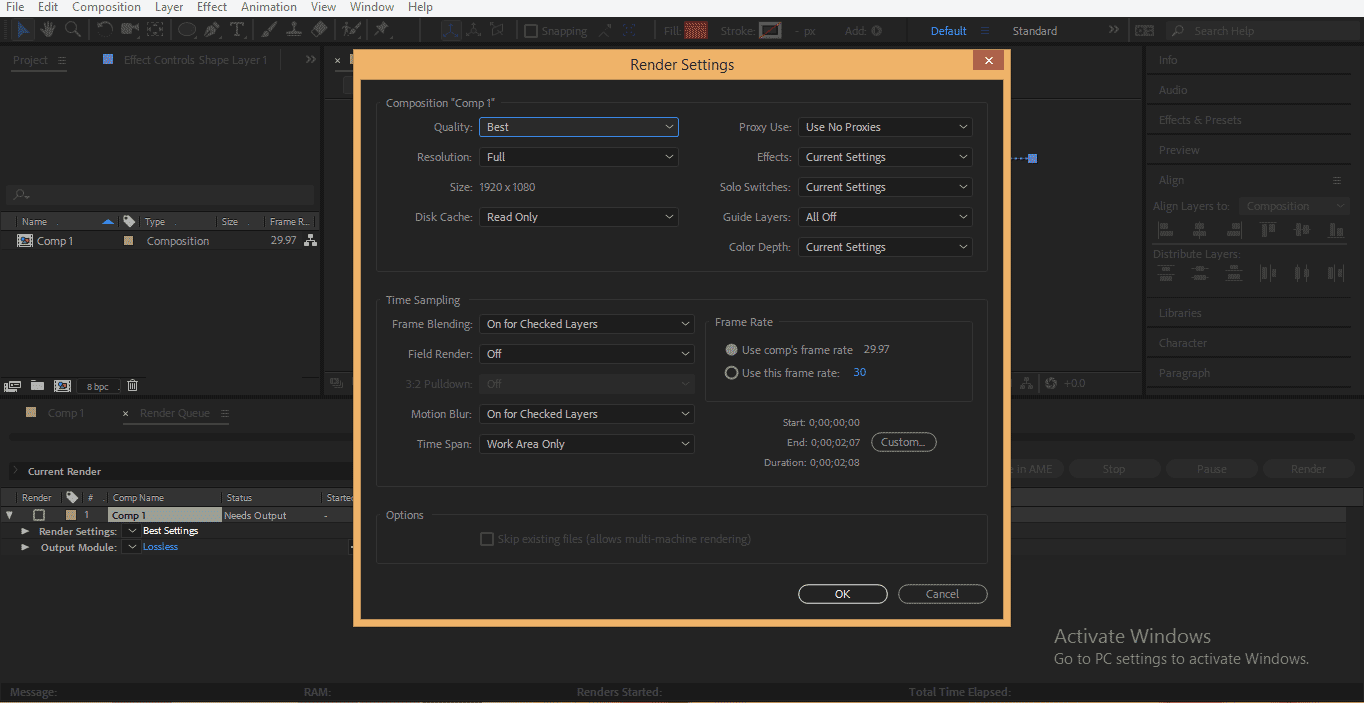
- Choose Best as the Quality and Full as a resolution from this dialog box for your project’s best rendering. You can set other settings according to you; press on the OK tab of this dialog box to apply your project’s settings.

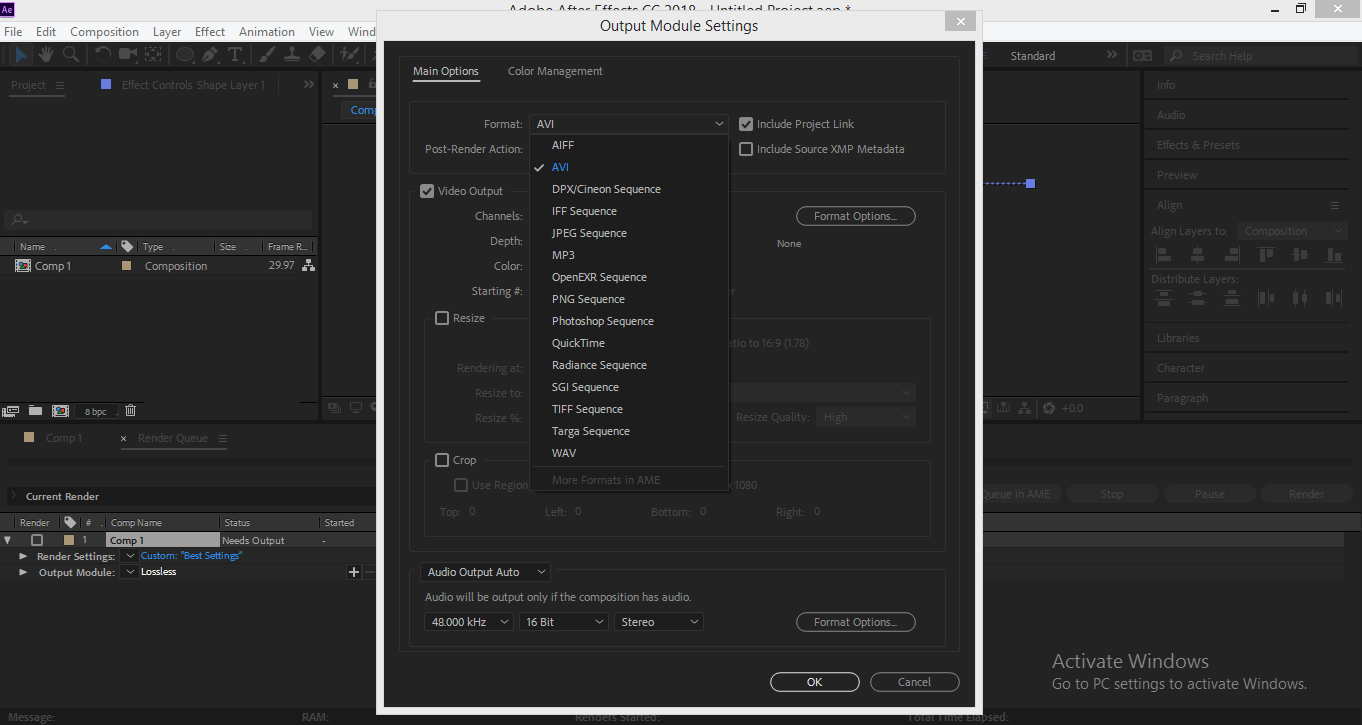
- Now click on the Lossless option of the Output module option in the layer section a dialog box will open; we can set the file format of our project from here.
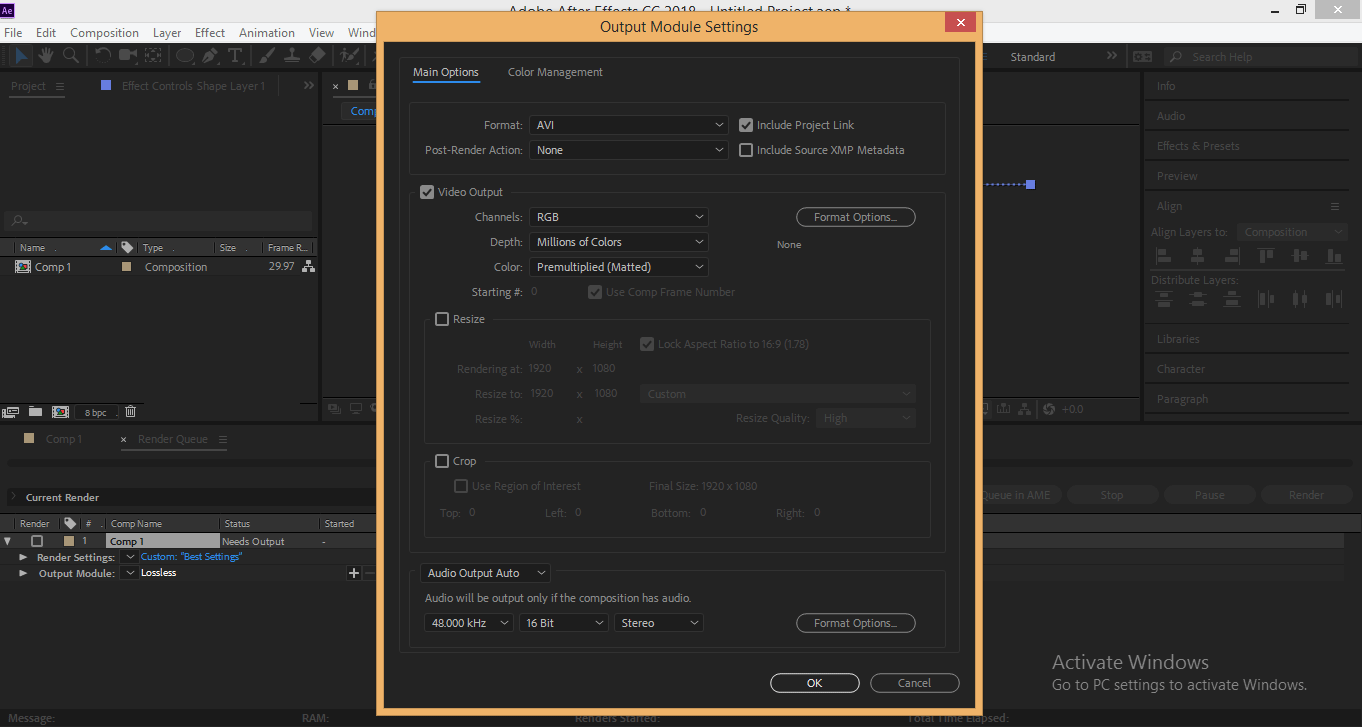
- You can choose any format from here I will choose the AVI format for exporting my project; you can set other settings according to you. Press on the OK tab.
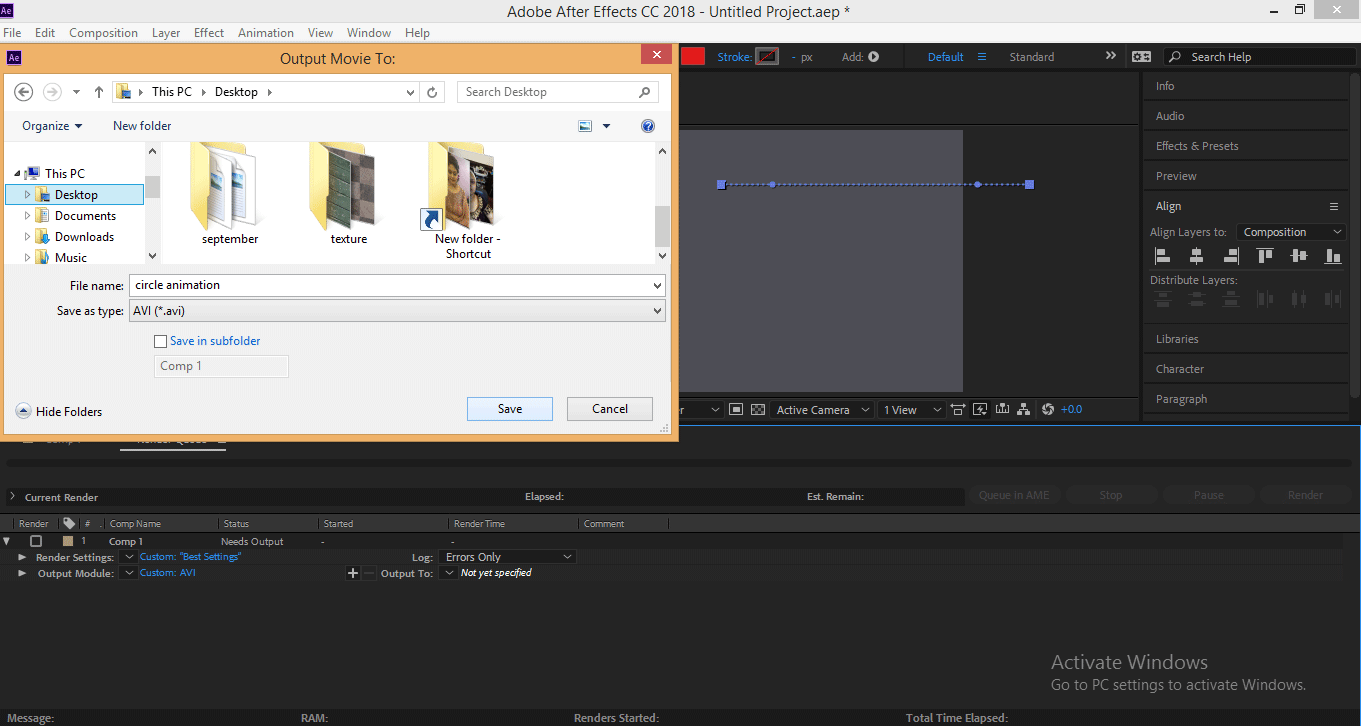
- Now click on the Not yet specified option of the Output To tab – to name your project –

- A dialog box will open name with Output Movie To– choose the location where you want to save it and name your project – I will name it as Circle motion – click on the save button of this dialog box to save it –
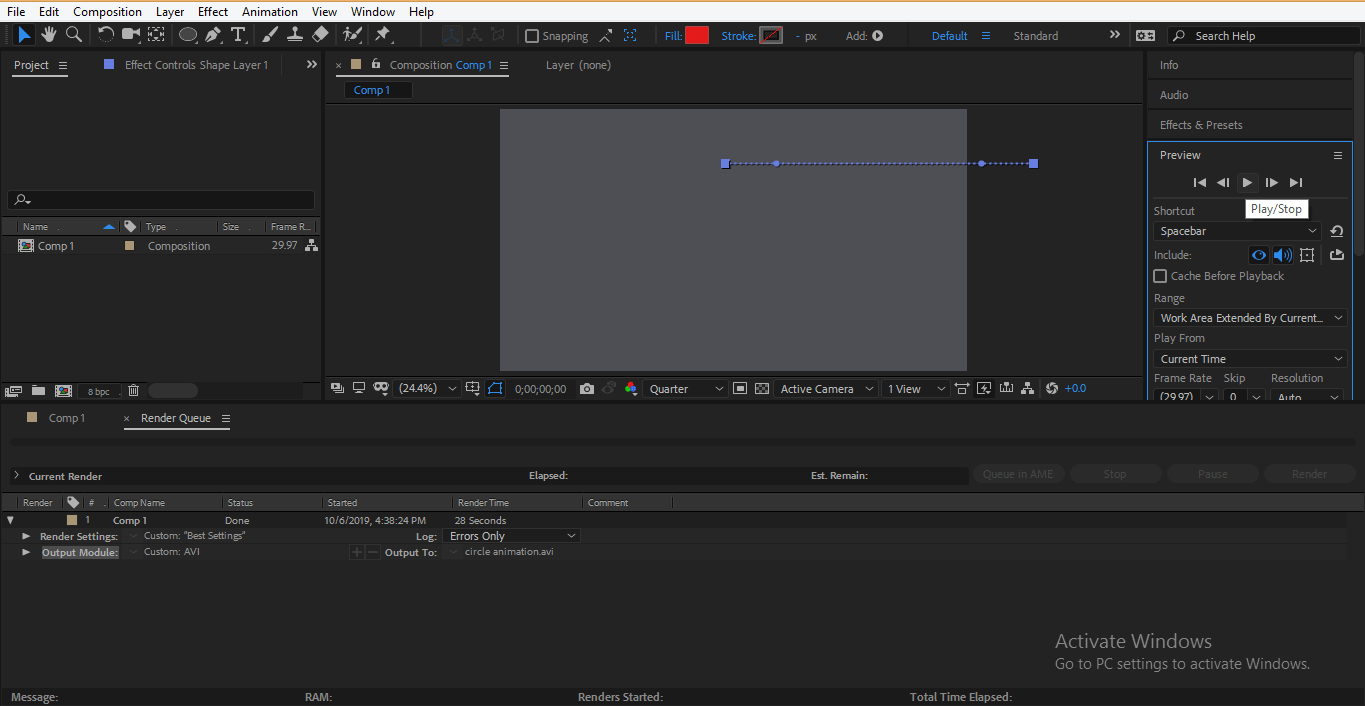
- Now click on the Render tab at the right corner of the working area to render your animation –
- It will take some time – Render time will depend on the size of your animation or project – size means the number of layers, type of animation used in your project and many more things –
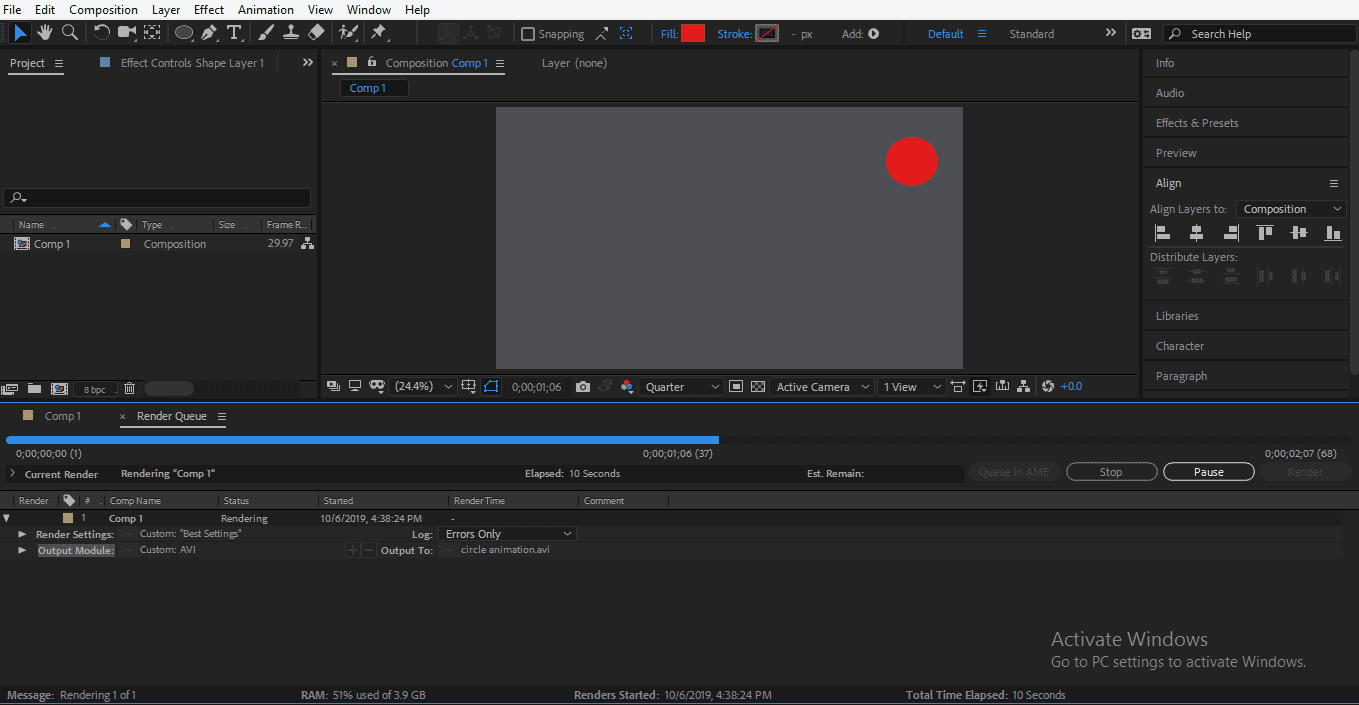
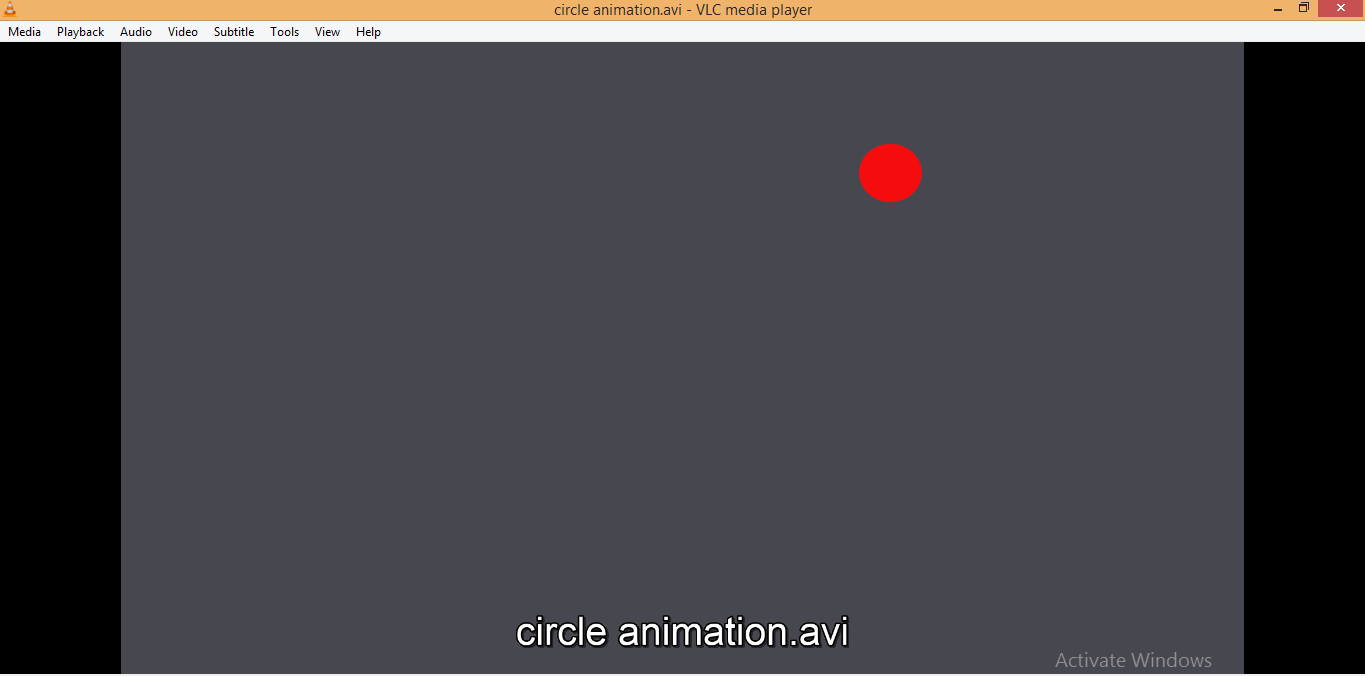
- Now your project is ready in your desired format and at desired location –

- And you can see your animation by play it on any video player –
Conclusion
Here you learned about the Export command of Adobe After Effect Software with me, and after this tutorial, you can easily save your project in the appropriate format and make it compatible for your real purpose. Now you have full command of Adobe After Effect software after this tutorial because you can actually make your project a useable thing with the export command.
Recommended Articles
This is a guide to Export in After Effects. Here we discuss an Overview of Export in After Effects and Steps for Export any project from Adobe After Effect. You may also look at the following article to learn more –
